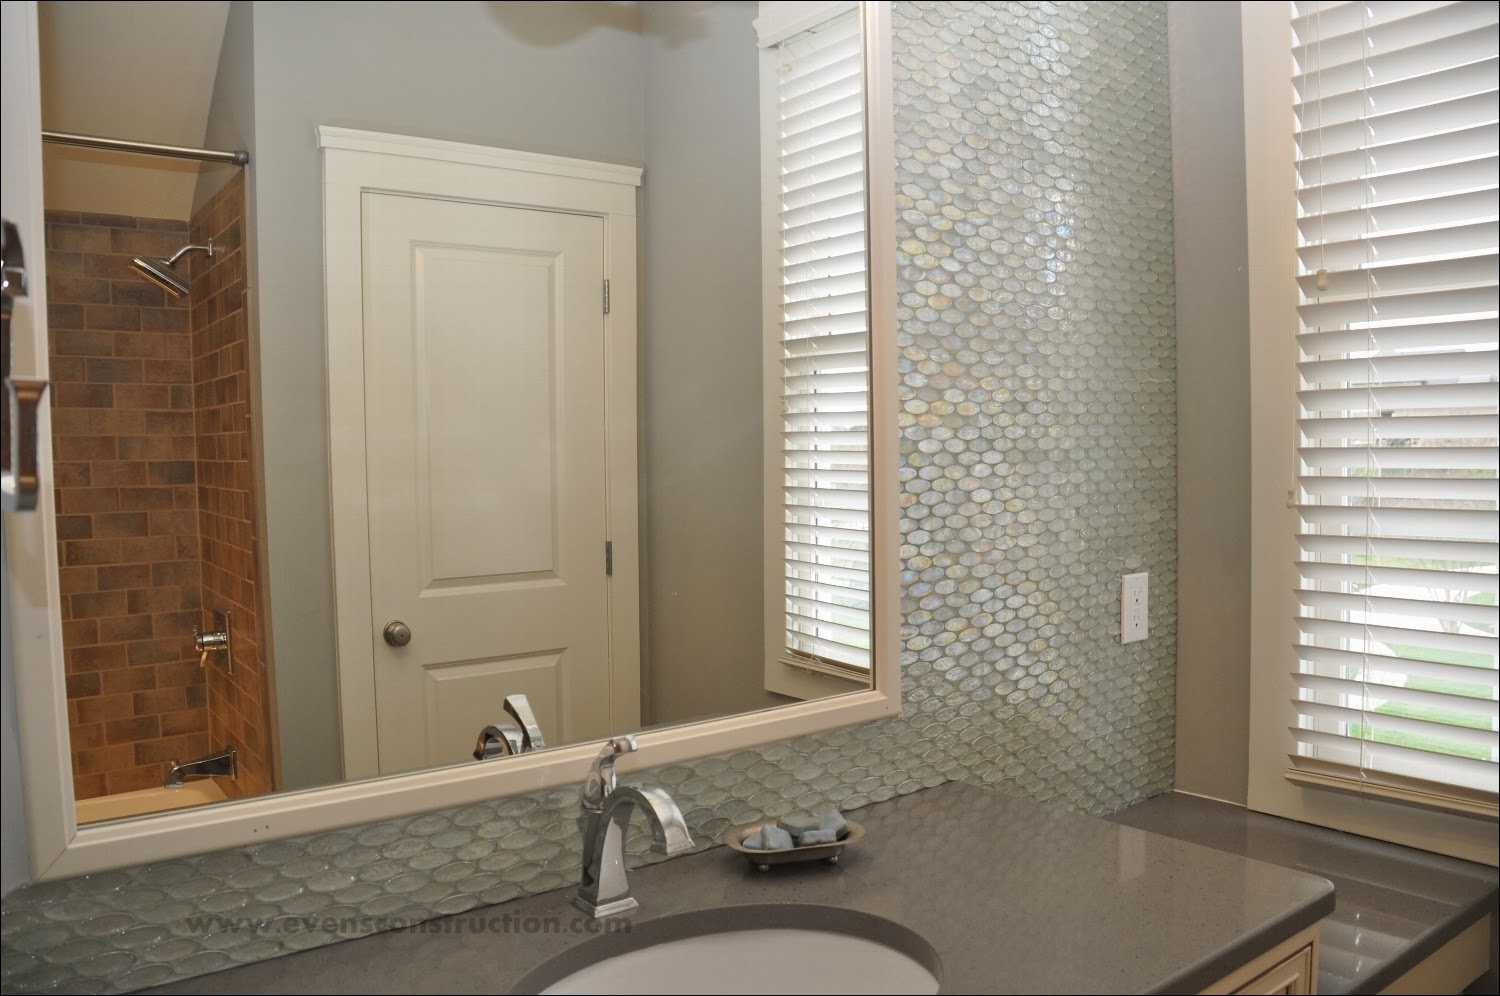
How to remove tile from bathroom wall? Removing tile from a bathroom wall is a task that requires patience, precision, and the right tools. Whether you’re renovating your bathroom or simply updating the tile, knowing how to properly remove it is essential. In this comprehensive guide, we’ll walk you through the step-by-step process of removing tile from a bathroom wall, covering everything from preparation to cleanup.

Preparation:
Before you begin removing the tile, it’s essential to prepare the area to minimize mess and protect surrounding surfaces. Here’s what you’ll need to do:
Gather Your Tools and Materials:
- Safety goggles
- Dust mask
- Work gloves
- Hammer
- Pry bar or chisel
- Putty knife
Protect the Surrounding Area:
- Clear the bathroom wall color of any obstacles and remove items from the walls and surrounding areas.
- Lay down drop cloths or plastic sheeting to protect the floor and fixtures from debris.
- Use painter’s tape to cover edges and corners where the wall meets other surfaces.
Removing the Tile:
Now that you’ve prepared the area, it’s time to start removing the tile from the bathroom wall. Follow these steps:
Step 1: Remove Grout:
- Start by removing the grout surrounding the tiles using a grout saw or a rotary tool with a grout removal bit.
- Work carefully to avoid damaging the adjacent tiles.
Step 2: Loosen the Tiles:
- Use a hammer and chisel or a pry bar to gently tap and loosen the tiles from the wall.
- Start at a corner or edge and work your way across the wall, gradually breaking the tiles free.
Step 3: Scrape Off Adhesive:
- Once the tiles are removed, use a putty knife or tile scraper to scrape off any remaining adhesive from the wall.
- Be careful not to damage the underlying surface.
Step 4: Inspect the Wall:
- Inspect the wall for any remaining adhesive or uneven areas that may need additional attention.
- Sand down any rough spots or high spots to create a smooth surface for the new tiles.
Clean Up:
With the tile removed, it’s time to clean up the area and prepare it for the next steps. Follow these instructions:
Step 1: Sweep or Vacuum:
- Sweep or vacuum up any loose debris from the floor and surrounding areas.
- Dispose of broken tiles and debris in trash bags or containers.
Step 2: Wipe Down Walls:
- Wipe down the walls and surrounding areas with a damp cloth to remove any remaining dust and debris.
- Allow the walls to dry completely before proceeding with any repairs or installations.
Optional: Use Chemical Adhesive Remover (if necessary):
If the tiles were installed with adhesive, you may need to use a chemical adhesive remover to dissolve and loosen the adhesive from the wall. Follow these steps:
Step 1: Apply Adhesive Remover:
- Follow the manufacturer’s instructions for application and safety precautions.
- Use a power drill with a mixing paddle to mix the adhesive remover thoroughly before applying it to the wall.
- Allow the adhesive remover to sit for the recommended amount of time before scraping off the softened adhesive.
Safety Tips:
- Always wear safety goggles, a dust mask, and work gloves to protect yourself from flying debris and dust.
- Work carefully to avoid damaging the surrounding walls and fixtures.
- Use caution when working with power tools and sharp objects.
- Ventilate the area by opening windows or using fans to reduce exposure to dust and fumes.
By following these steps and safety tips, you can effectively remove tile from a bathroom accent wall and prepare the surface for new tile installation or other finishes. Remember to take your time and work carefully to achieve the best results.
