
How to tile bathroom wall? Tiling bathroom walls is a rewarding DIY project that can transform the look and feel of your space. From choosing the right tiles to preparing the surface and applying grout, this comprehensive guide will walk you through each step of the process to ensure a successful and professional-looking result.
Planning and Preparation
Assessing the Space
Before you begin tiling, carefully measure the area of the half wall bathroom you plan to cover. Take into account any obstacles such as windows, doors, or fixtures, and calculate the number of tiles needed based on the square footage.
Choosing Tiles
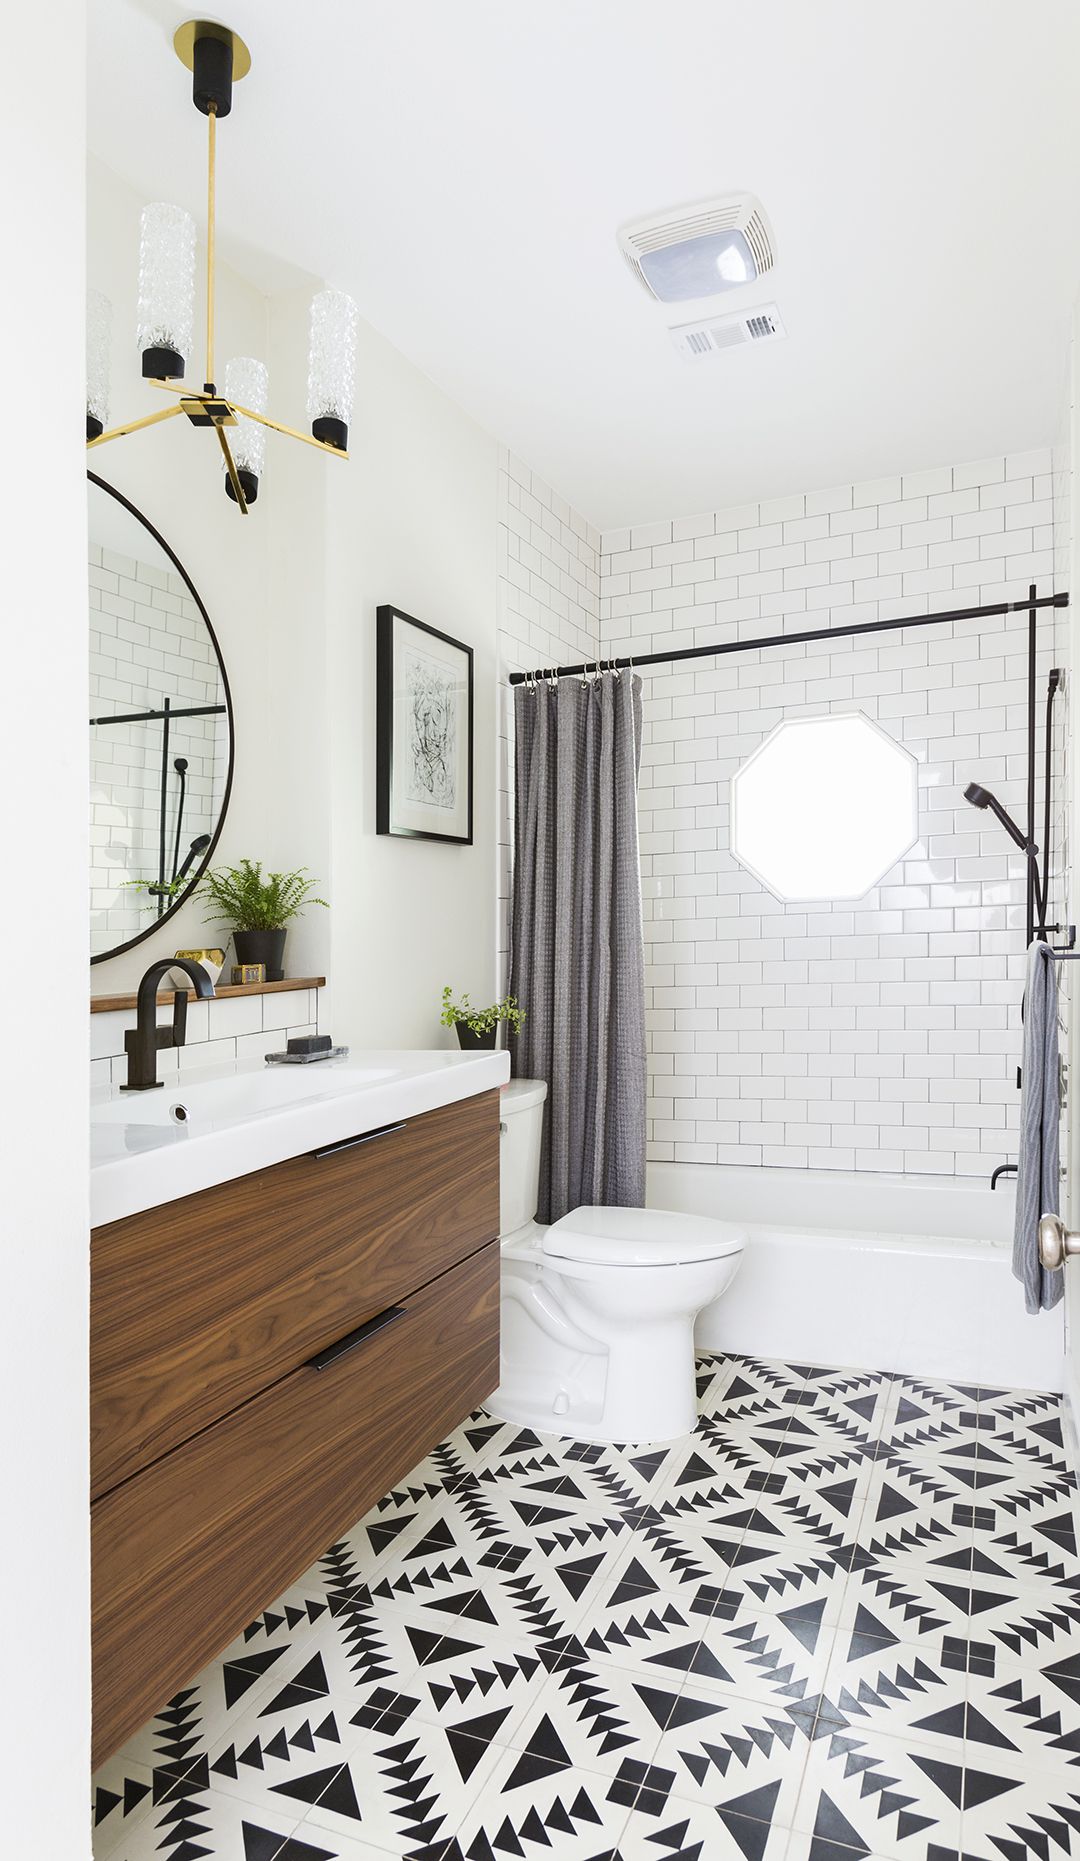
Selecting the right tiles is essential for achieving the desired aesthetic and functionality. Consider factors such as size, color, material, and texture, keeping in mind the style of your bathroom and your personal preferences.
Gathering Materials and Tools
Make a list of materials and tools you’ll need for the project, including tiles, adhesive, grout, spacers, tile cutter, trowel, level, sponge, grout float, and protective gear such as gloves and goggles.
Preparing the Surface
Ensure that the walls are clean, dry, and free of any debris or contaminants. Repair any cracks or holes, and use a level to check for uneven surfaces. Apply a primer if necessary to promote adhesion and prevent moisture penetration.
Installation
Mixing Adhesive
Follow the manufacturer’s instructions to prepare the tile adhesive, mixing it to the desired consistency using a trowel or mixing paddle. Avoid mixing more adhesive than you can use within the specified pot life to prevent waste.
Applying Adhesive
Using a notched trowel, spread the adhesive evenly onto the wall in small sections, working from the bottom up. Ensure that the adhesive layer is uniform in thickness to provide adequate support for the tiles.
Setting Tiles
Carefully place each tile onto the adhesive, using spacers to maintain consistent spacing between tiles. Press down firmly to ensure good adhesion, and use a level to check for straightness and alignment.
Cutting Tiles
Use a tile cutter or wet saw to cut tiles as needed to fit around obstacles or along edges. Measure carefully and mark the tiles before cutting to ensure accuracy, and wear safety goggles to protect your eyes from flying debris.
Allowing Adhesive to Cure
Allow the adhesive to cure according to the manufacturer’s instructions before proceeding to grouting. This typically takes 24 to 48 hours, during which time you should avoid disturbing or applying pressure to the tiles.
Grouting
Mixing Grout
Mix the grout according to the manufacturer’s instructions, using a grout float or mixing paddle until it reaches a smooth, lump-free consistency. Avoid over-mixing, as this can introduce air bubbles and weaken the grout.
Applying Grout
Working in small sections, use the grout float to spread the grout evenly over the tiles, pressing it into the joints at a 45-degree angle. Remove excess grout from the surface of the tiles using the edge of the float, and wipe away any haze with a damp sponge.
Finishing Touches
After allowing the grout to set for the specified time (usually 10 to 20 minutes), use a clean, damp sponge to gently wipe away any remaining grout residue from the surface of the tiles. Buff the tiles with a dry cloth to restore their shine and remove any remaining haze.
Sealing Grout
To protect the grout from stains and moisture, apply a grout sealer according to the manufacturer’s instructions once it has fully cured. Use a brush or roller to apply the sealer evenly, and allow it to dry completely before using the shower or bath.
Maintenance and Care
Cleaning
Regularly clean black wall bathroom with a mild detergent and water solution to remove soap scum, grime, and mineral deposits. Avoid abrasive cleaners or scrub brushes that can scratch the tiles or grout.
Preventing Mold and Mildew
To prevent mold and mildew growth, ensure that the small bathroom is well-ventilated and dry, especially in areas prone to moisture such as shower enclosures and around sinks. Consider installing a ventilation fan or dehumidifier if necessary.
Repairing Damage
Promptly repair any cracked or damaged tiles or grout to prevent water intrusion and maintain the integrity of the tiled surface. Use a grout saw to remove damaged grout, and carefully replace the affected tiles using adhesive and grout.
Conclusion
Tiling bathroom walls is a rewarding DIY project that can enhance the beauty and functionality of your space. By carefully planning and preparing the surface, selecting the right tiles and materials, and following proper installation and maintenance techniques, you can achieve professional-quality results that will stand the test of time. With the information and guidance provided in this guide, you’ll be well-equipped to tackle your bathroom tiling project with confidence and success.