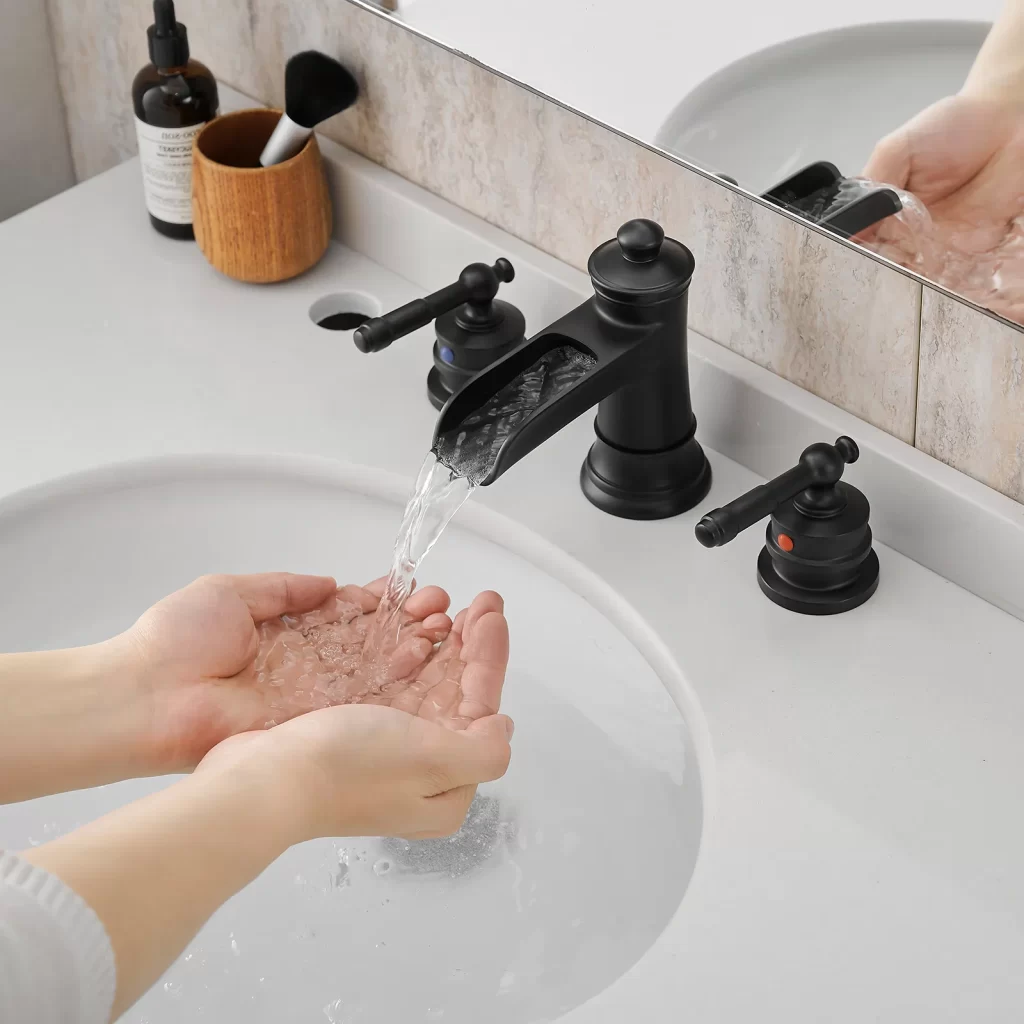
Dante faucets are stylish and high-quality fixtures that can elevate the look of any bathroom or kitchen. However, before you can enjoy the benefits of these faucets, you’ll need to install them properly. In this guide, we’ll walk you through the step-by-step process of installing Dante faucets so you can have a functional and beautiful fixture in no time.

Tools and Materials Needed
Before you start the installation process, it’s important to gather all the necessary tools and materials. Here’s a list of what you’ll need:
- Dante faucet
- Adjustable wrench
- Plumber’s tape
- Bucket
- Cleaning rag
- Phillips head screwdriver
- Silicone caulk
- Plumber’s putty
- Pipe cutter
- Teflon tape
- Adjustable pliers
Prepare the Sink or Countertop
Before you can install the Dante faucet, you’ll need to prepare the sink or countertop where it will be installed. If you’re installing the faucet in a new sink or countertop, you can skip this step. However, if you’re replacing an old faucet, start by removing the old fixture and cleaning the area thoroughly.
Install the Deck Plate (if applicable)
If your Dante faucet comes with a deck plate, now is the time to install it. Place the deck plate over the pre-drilled holes in the sink or countertop and ensure that it is properly aligned. Use the screws provided with the faucet to secure the deck plate in place.
Install the Mounting Hardware
Next, you’ll need to install the mounting hardware for the Dante faucet. This typically involves securing a mounting nut or plate underneath the sink or countertop. Follow the manufacturer’s instructions for your specific faucet to determine the correct installation method.
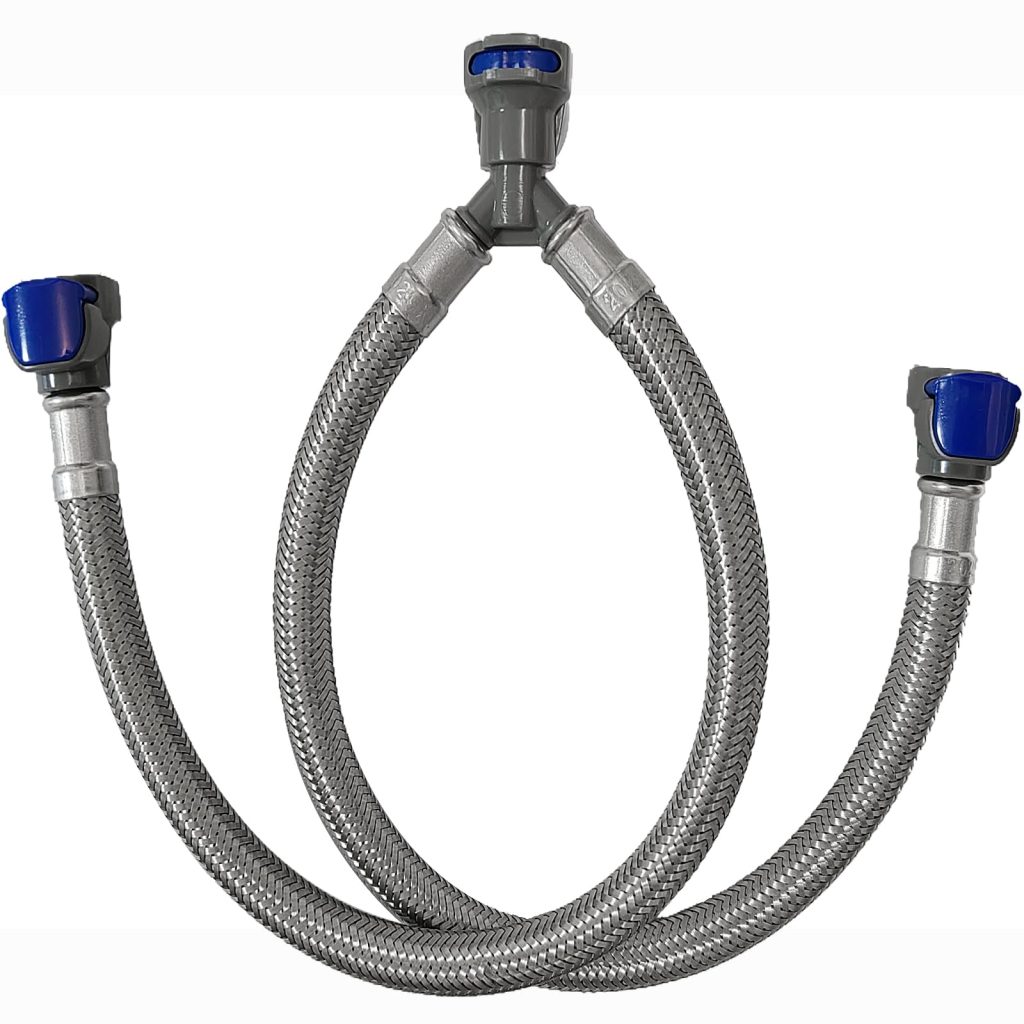
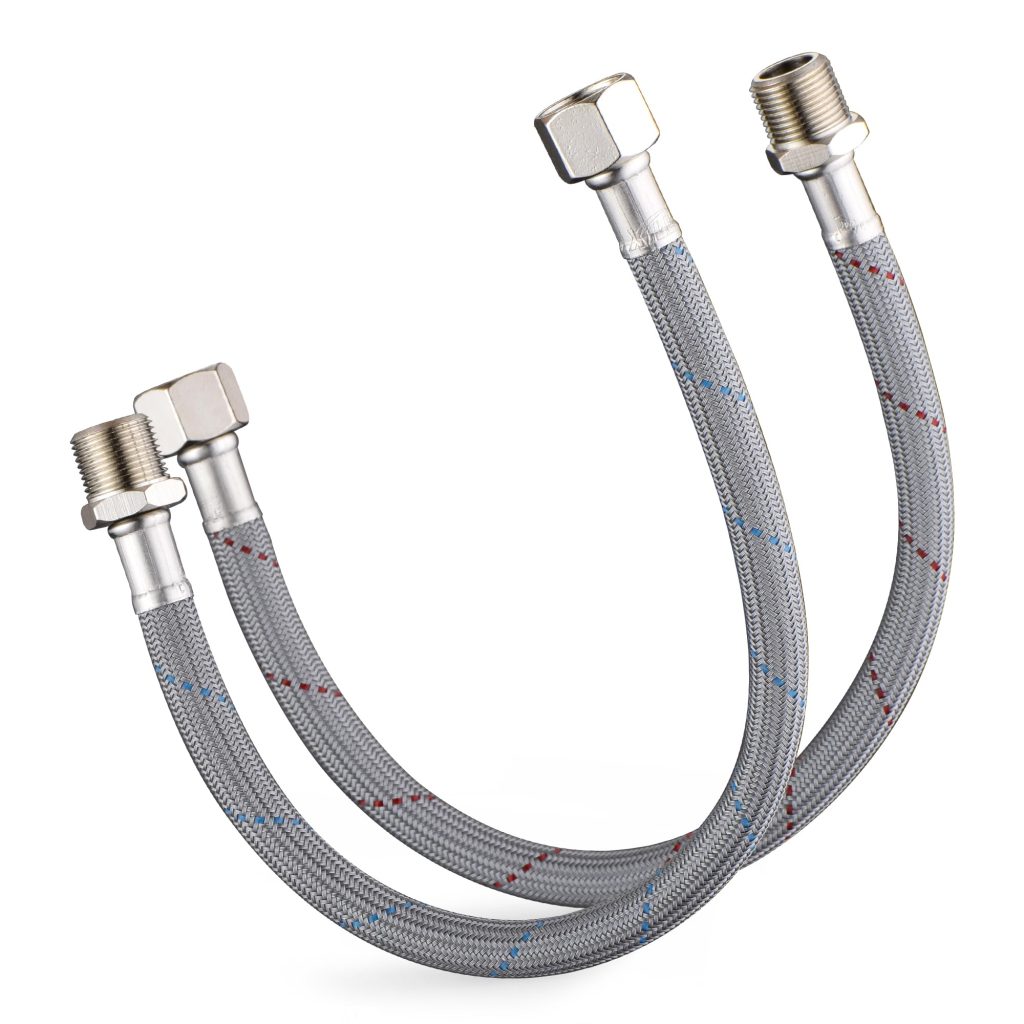
Connect the Water Supply Lines
Once the mounting hardware is in place, it’s time to connect the water supply lines to the faucet. Start by applying plumber’s tape to the threads of the water supply valve. Then, use an adjustable wrench to tighten the water supply lines to the faucet. Be sure to connect the hot water line to the hot water inlet on the faucet, and the cold water line to the cold water inlet.

Secure the Faucet to the Mounting Hardware
With the water supply lines connected, you can now secure the Dante faucet to the mounting hardware. Insert the faucet into the pre-drilled holes in the sink or countertop, making sure that it is positioned correctly. Use the provided hardware to tighten the faucet in place, taking care not to over-tighten and potentially damage the fixture.
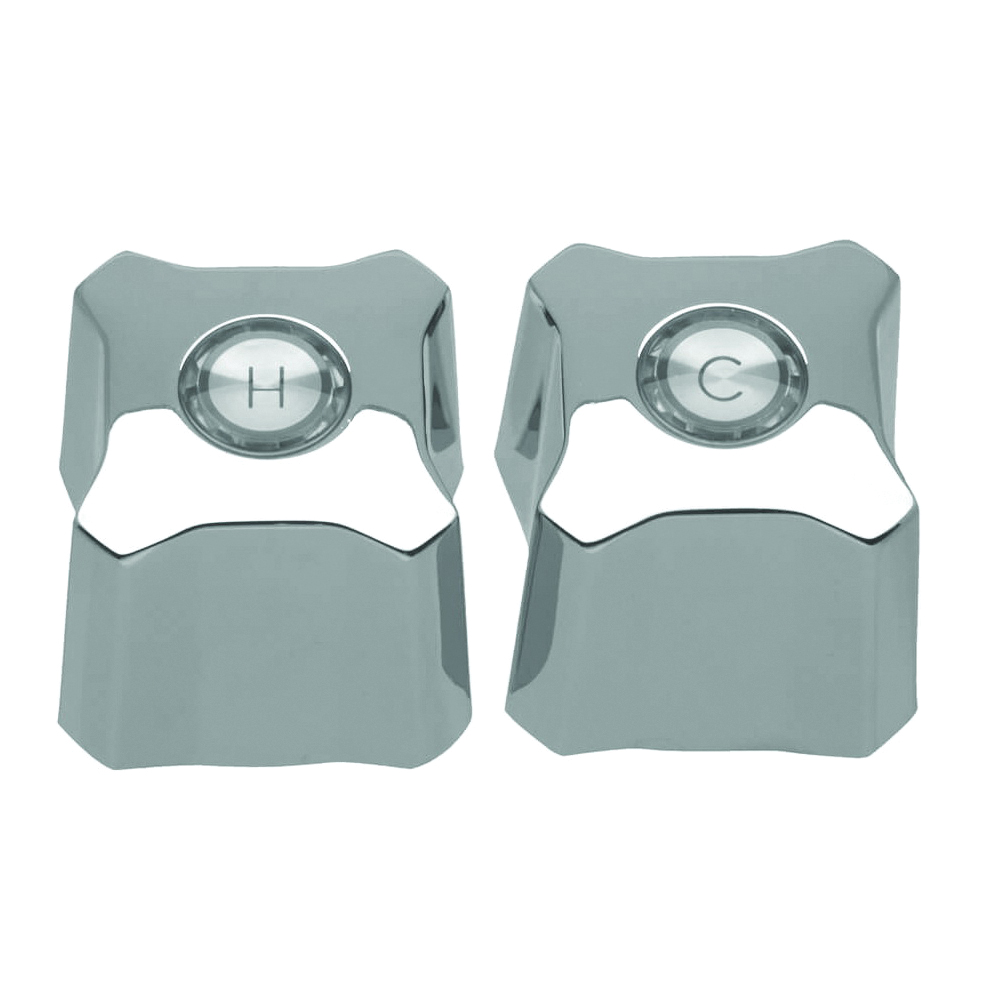
Attach the Handle and Spout
Once the faucet is secured, it’s time to attach the handle and spout. Follow the manufacturer’s instructions to assemble these components and attach them to the faucet body. Use a Phillips head screwdriver to tighten any screws or fasteners as needed.
Check for Leaks
With the faucet fully assembled, turn on the water supply valves and check for any leaks. If you notice any leaks, tighten the connections as needed. Wipe away any excess water with a cleaning rag and continue to monitor for leaks over the next few hours.
Apply Silicone Caulk (if applicable)
If your Dante faucet requires the use of silicone caulk, now is the time to apply it. Carefully apply a bead of caulk around the base of the faucet where it meets the sink or countertop. Use a damp cloth to smooth the caulk and remove any excess. Allow the caulk to dry according to the manufacturer’s instructions.
Finishing Touches
Once the silicone caulk is dry, you can make any final adjustments to the faucet and handle. Use an adjustable wrench or pliers to tighten any loose connections and ensure that the faucet is secure. If necessary, use a pipe cutter to trim any excess supply lines.
What are the styles of dante faucets?
When it comes to enhancing the aesthetic appeal of your home, every detail matters. This includes the style and design of your faucets. If you are looking for premium, high-quality faucets that are not only functional but also stylish, look no further than Dante Faucets. With a wide range of styles to choose from, you are sure to find the perfect faucet to complement your home décor.
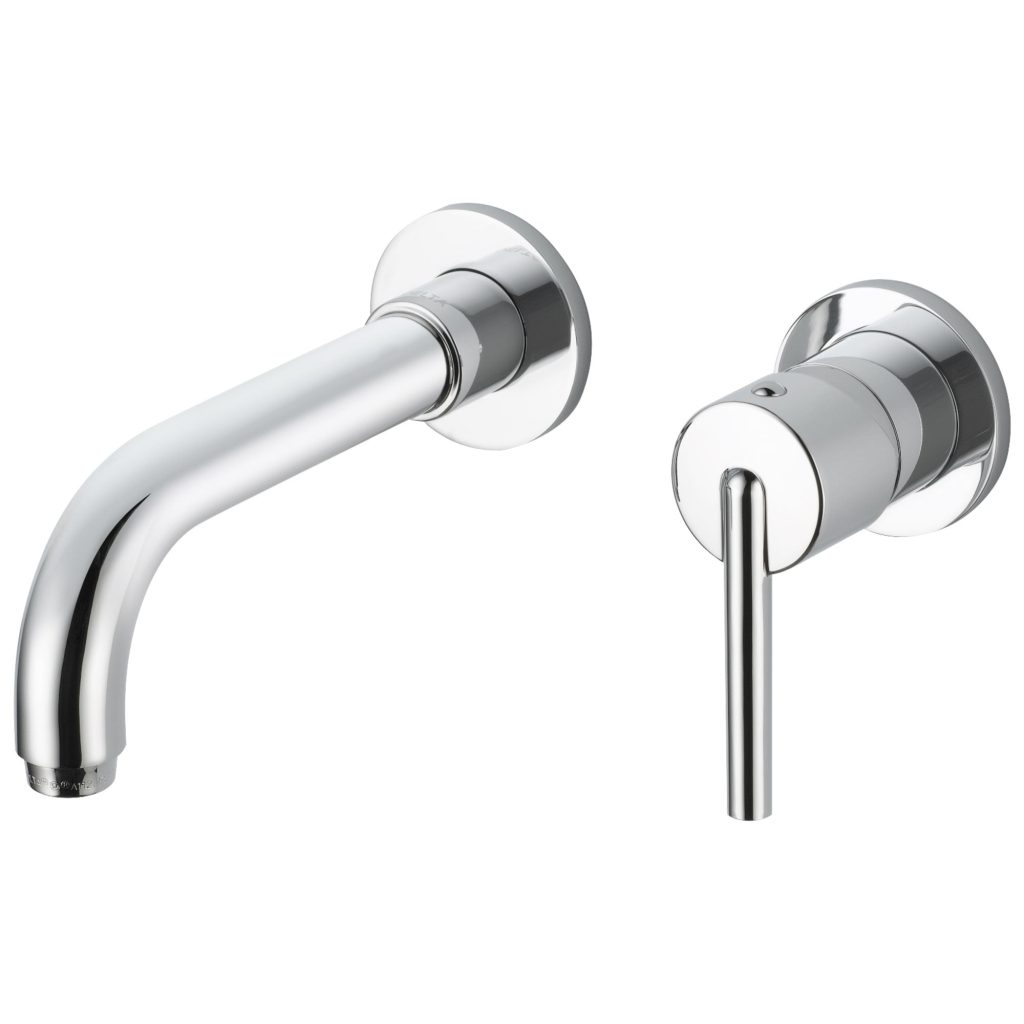
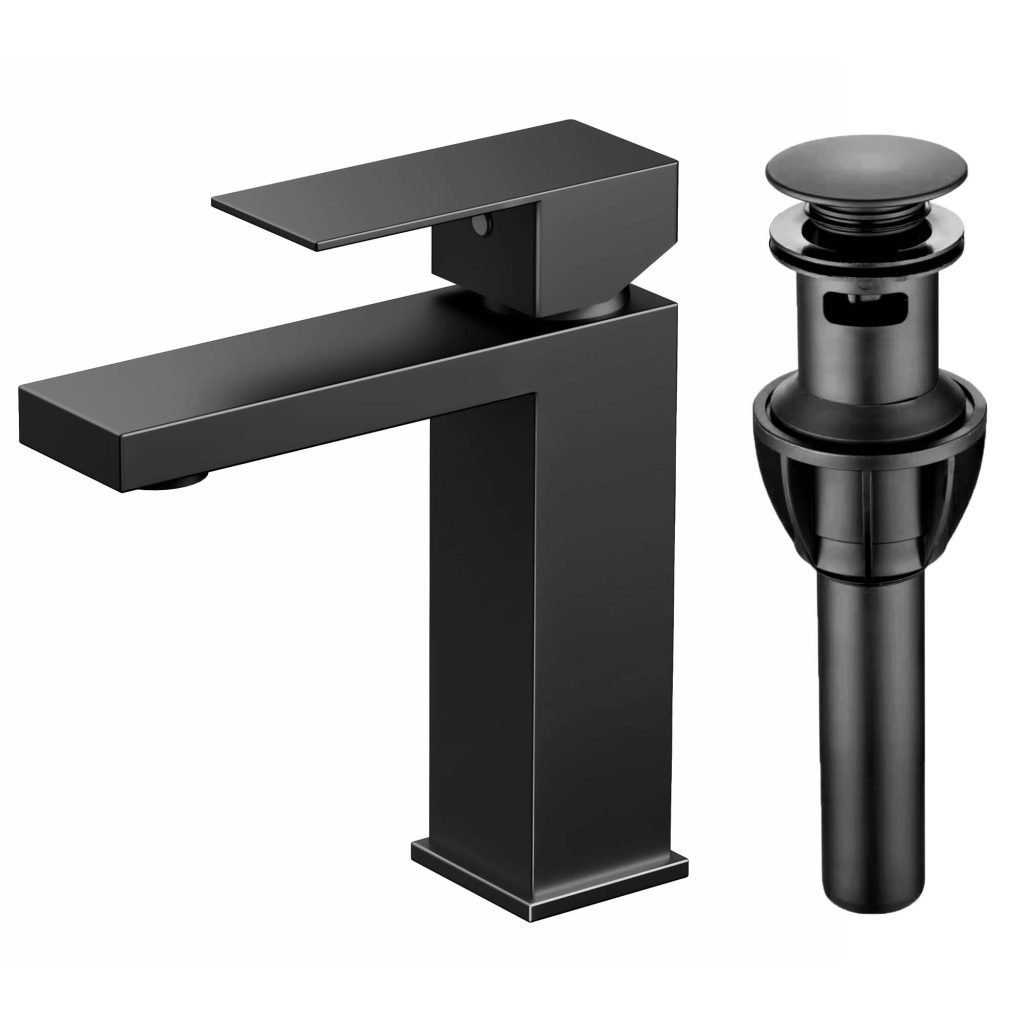
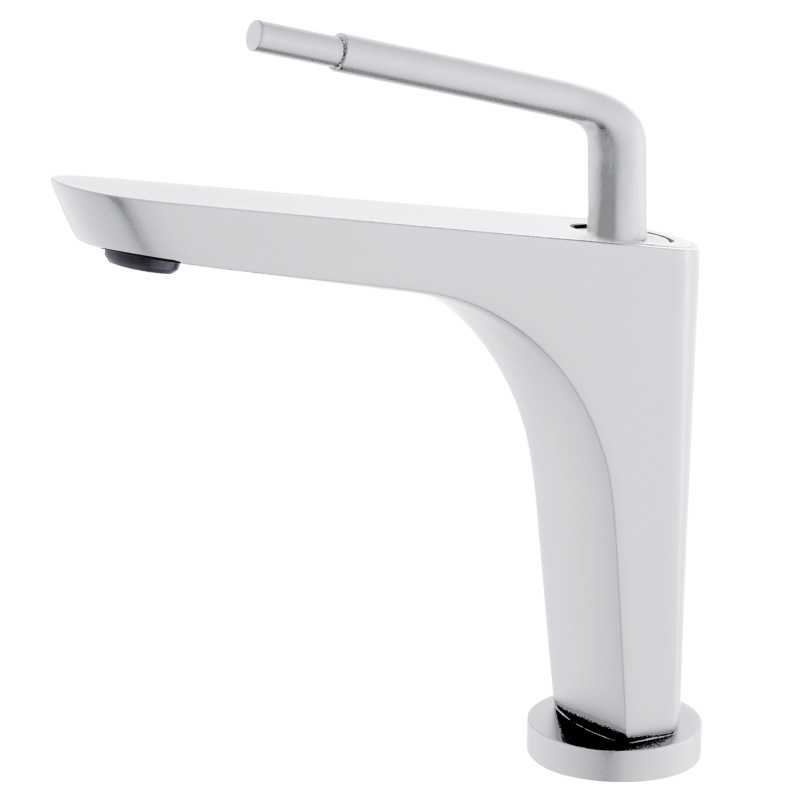
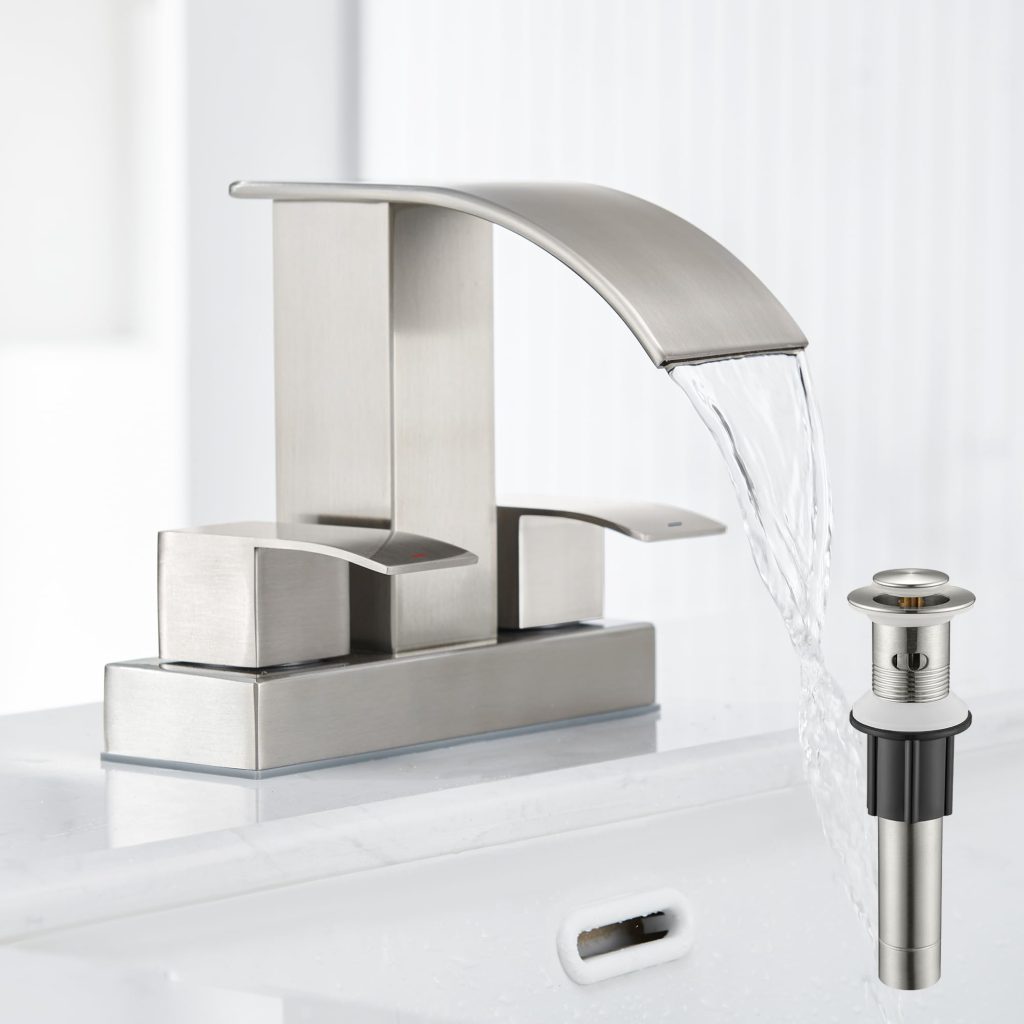
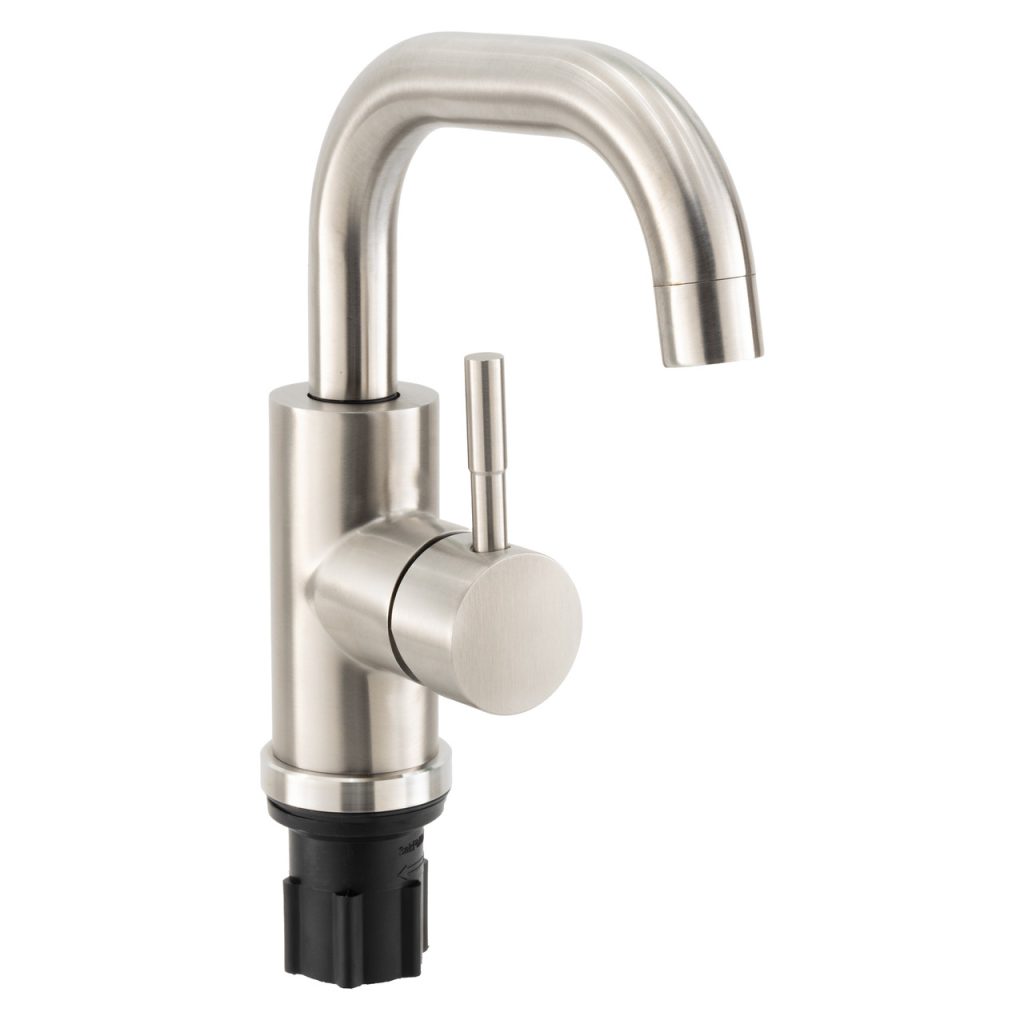
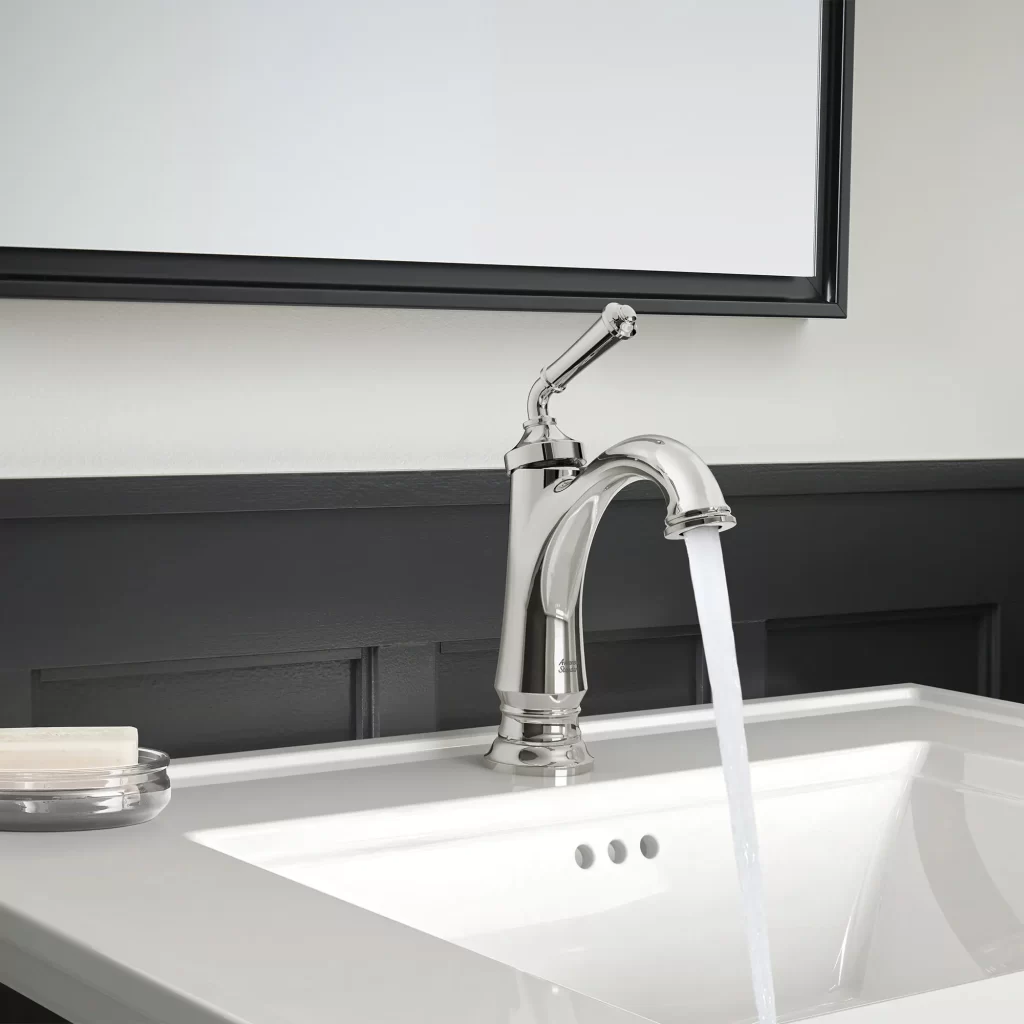
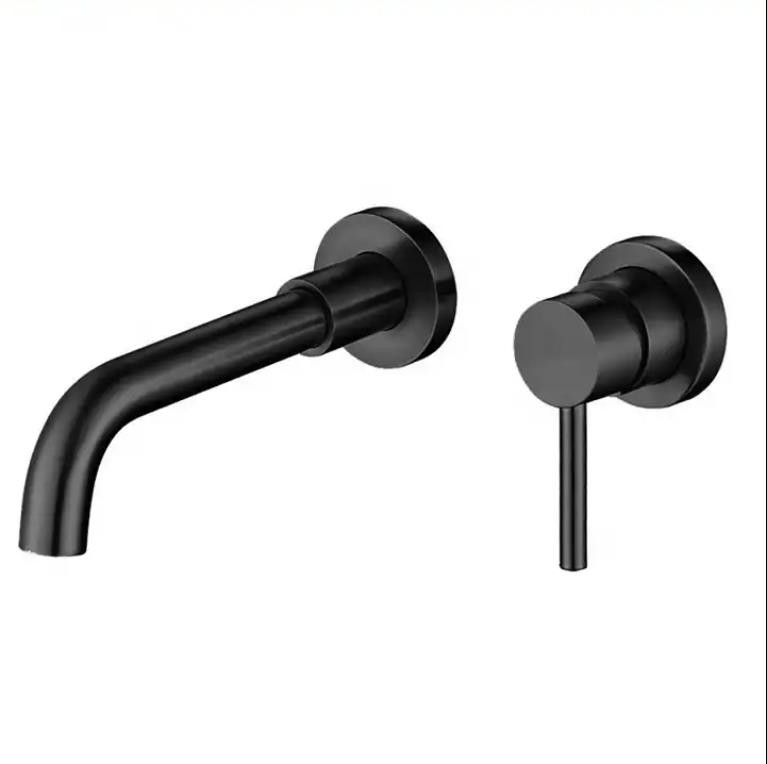
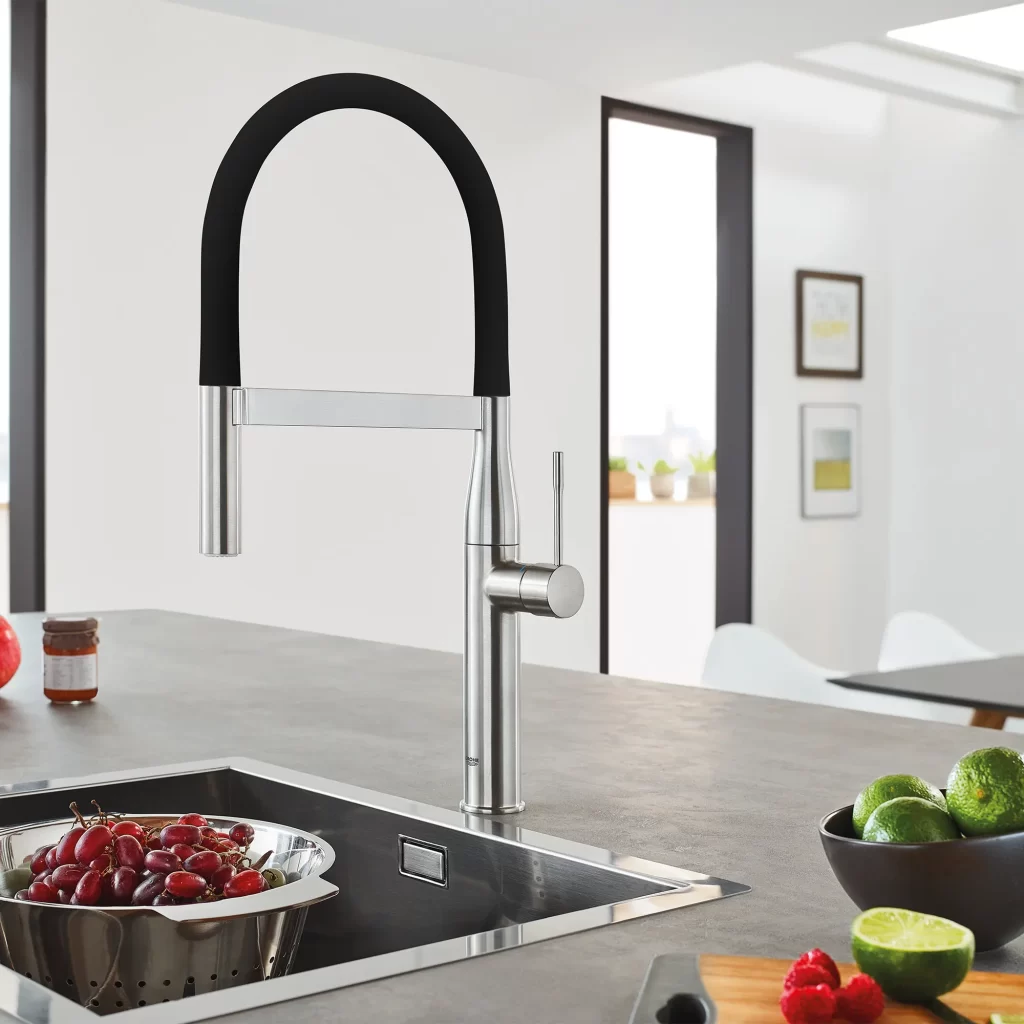
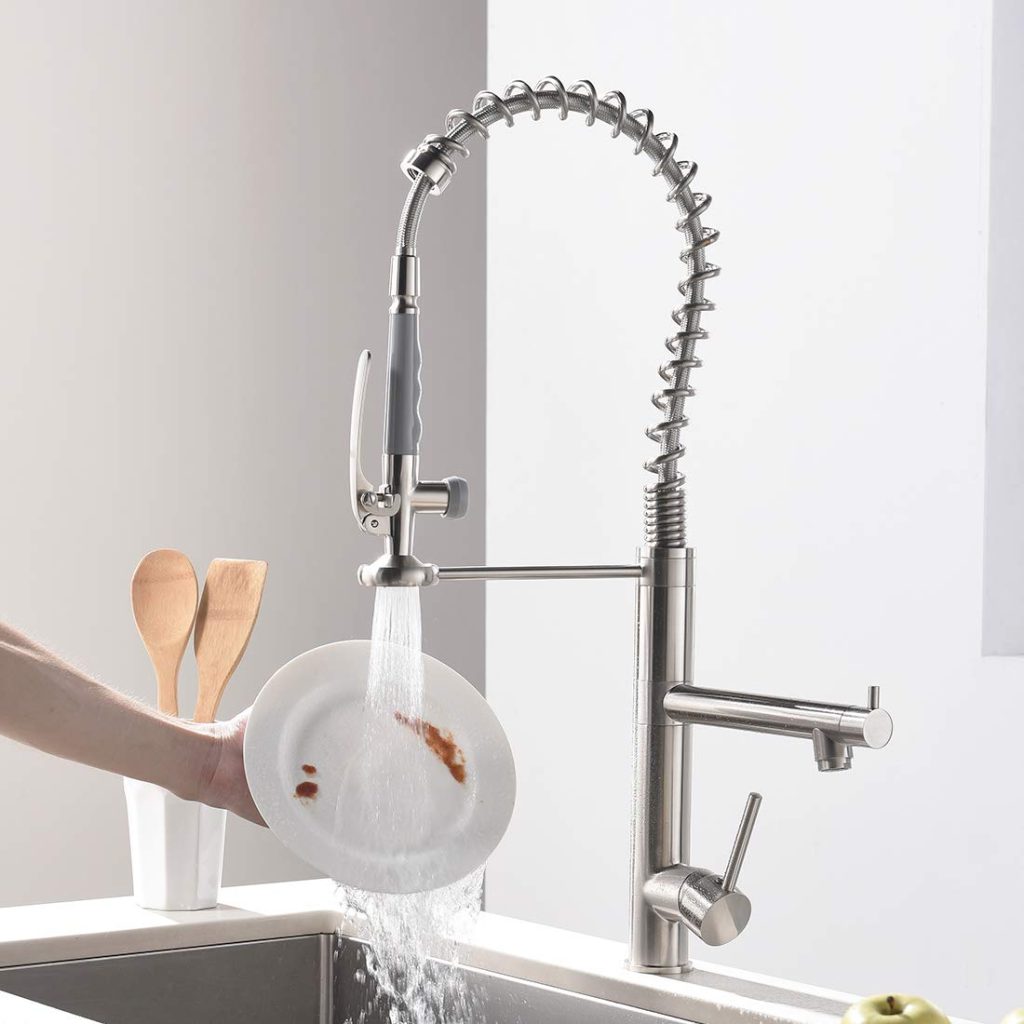
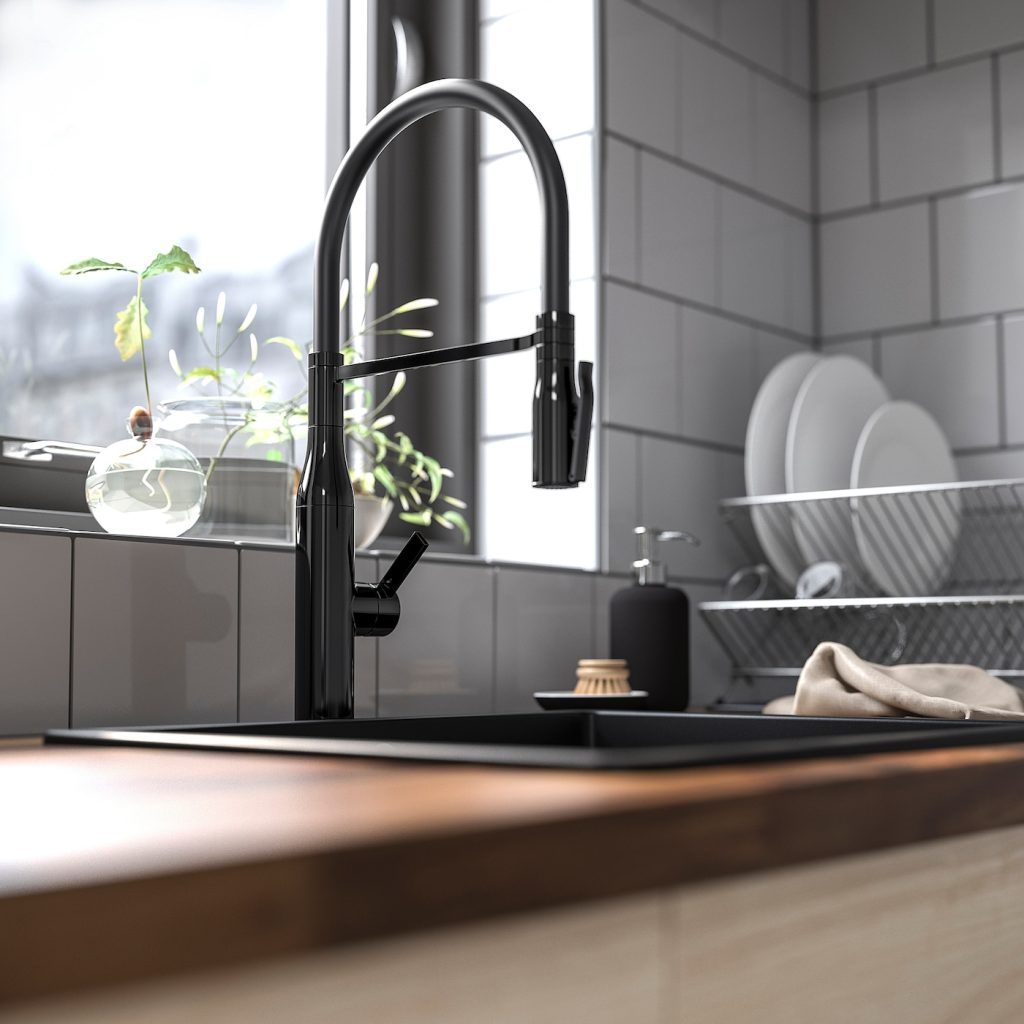
Sleek and Modern
For those who prefer a sleek and modern look, Dante Faucets offers a variety of styles that are sure to impress. From sharp, angular designs to smooth, curved lines, these faucets are perfect for contemporary homes. The minimalist design of these faucets adds a touch of sophistication to any space, making them a popular choice for homeowners who want to create a stylish, modern look in their kitchens and bathrooms.

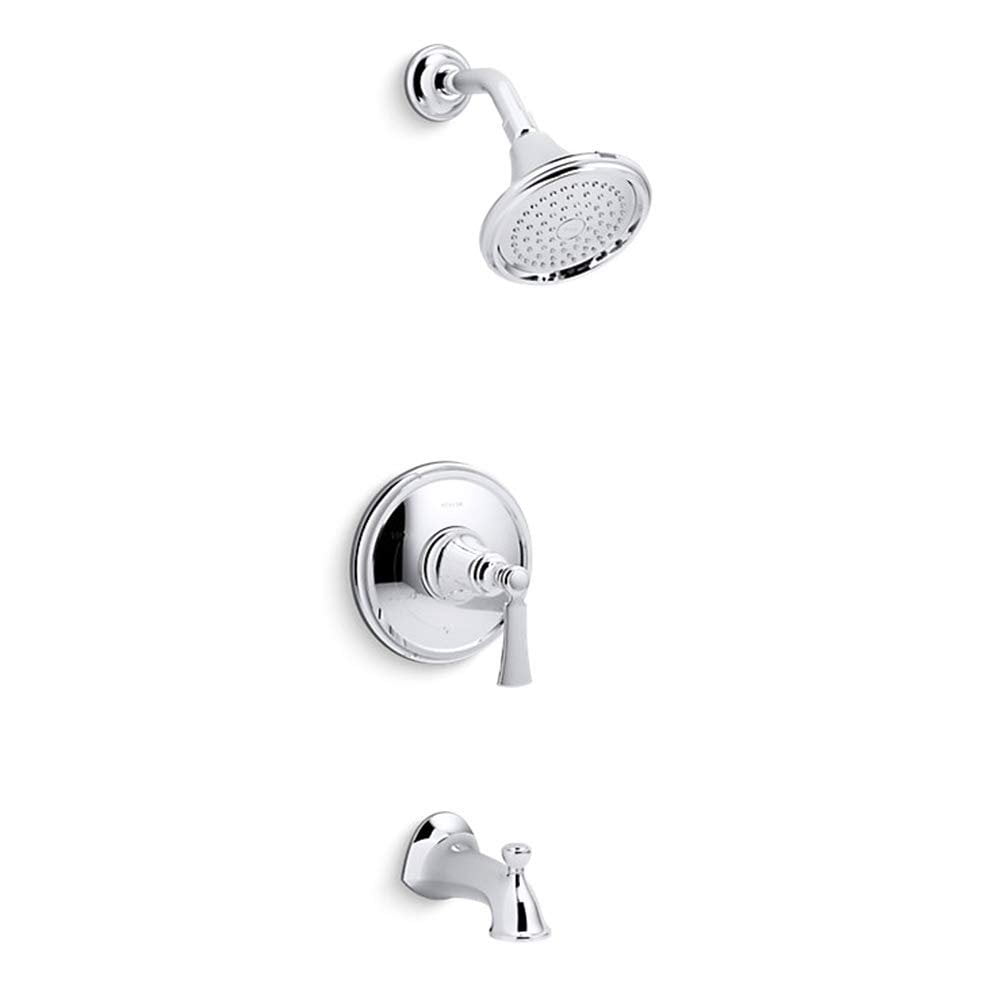
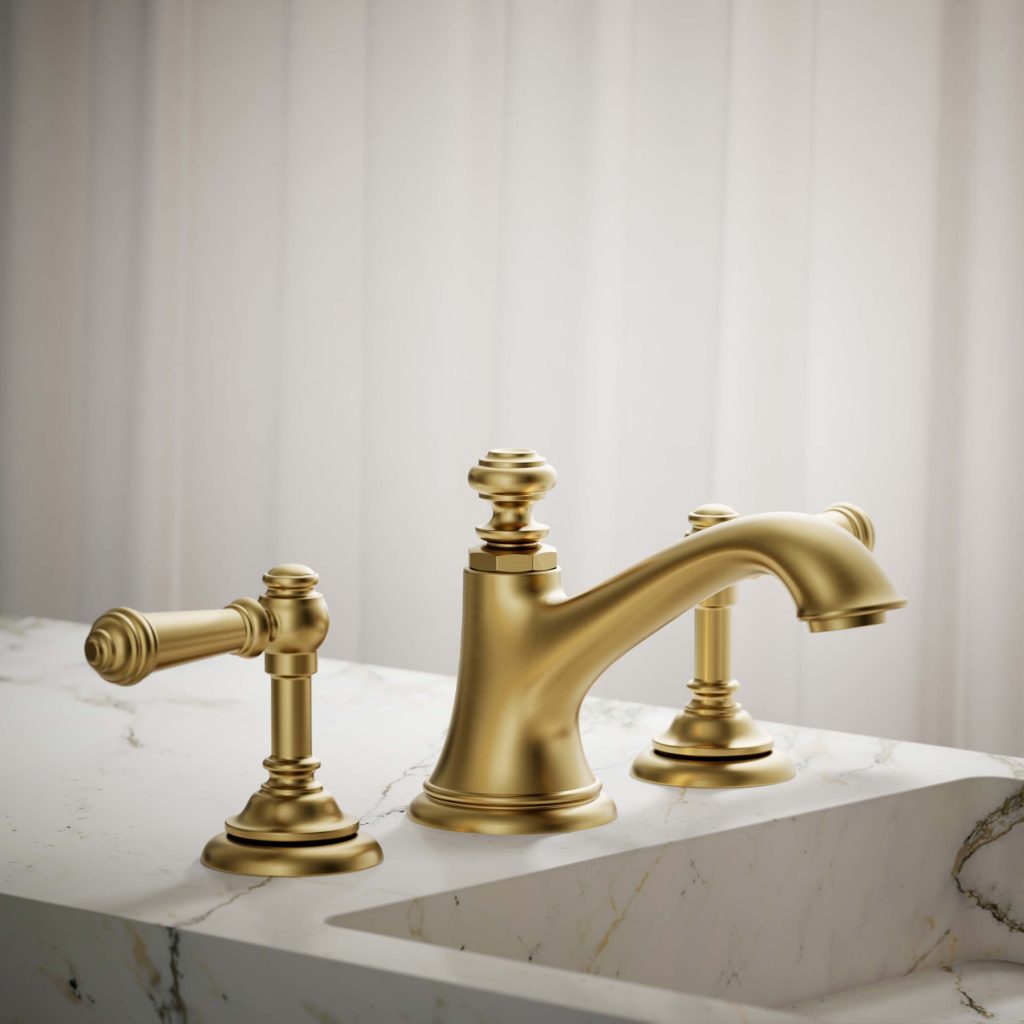
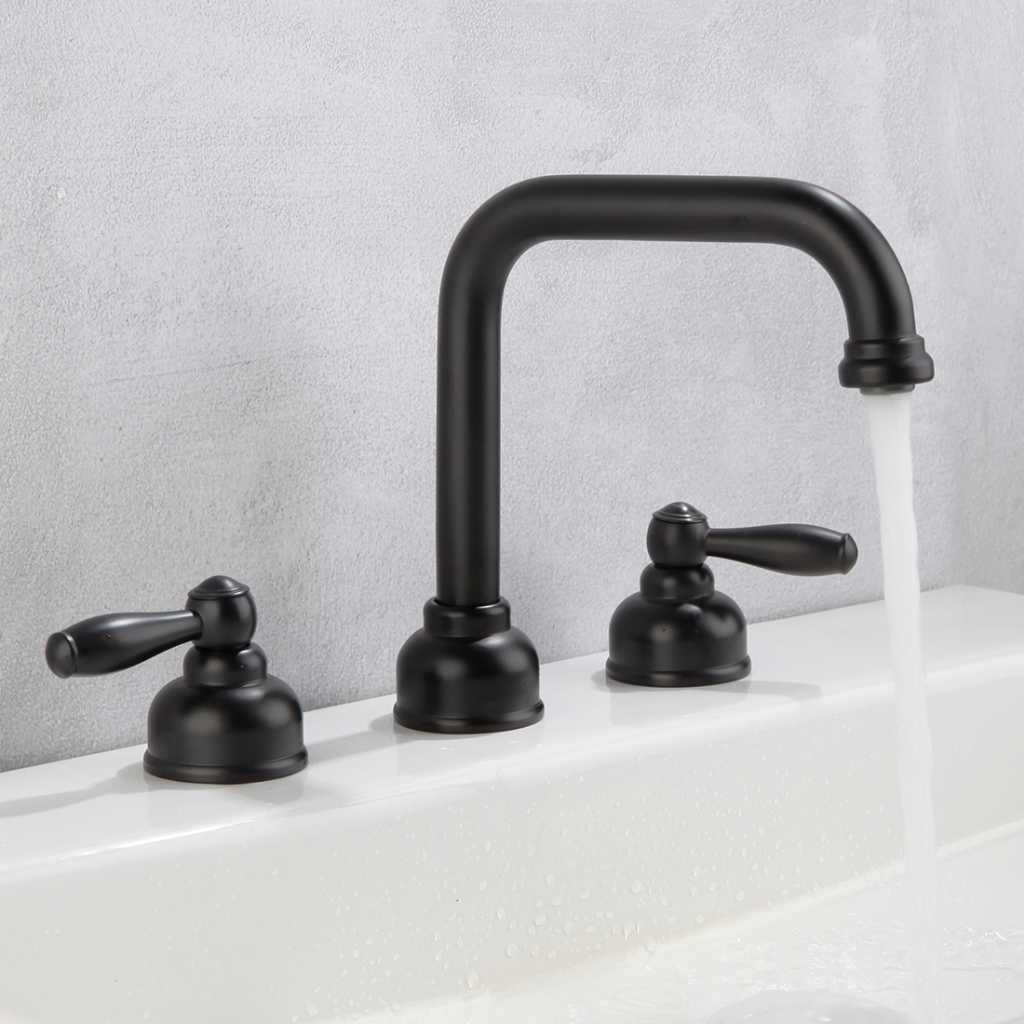
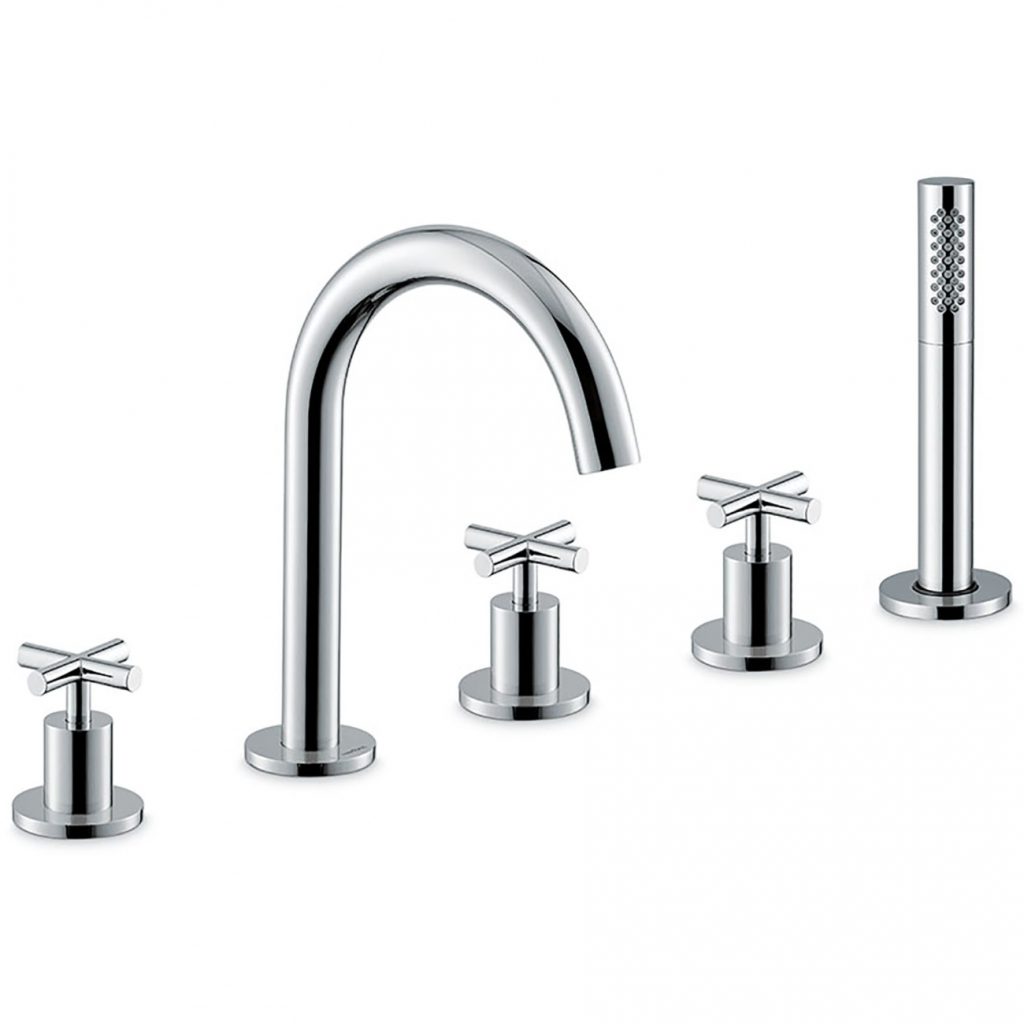
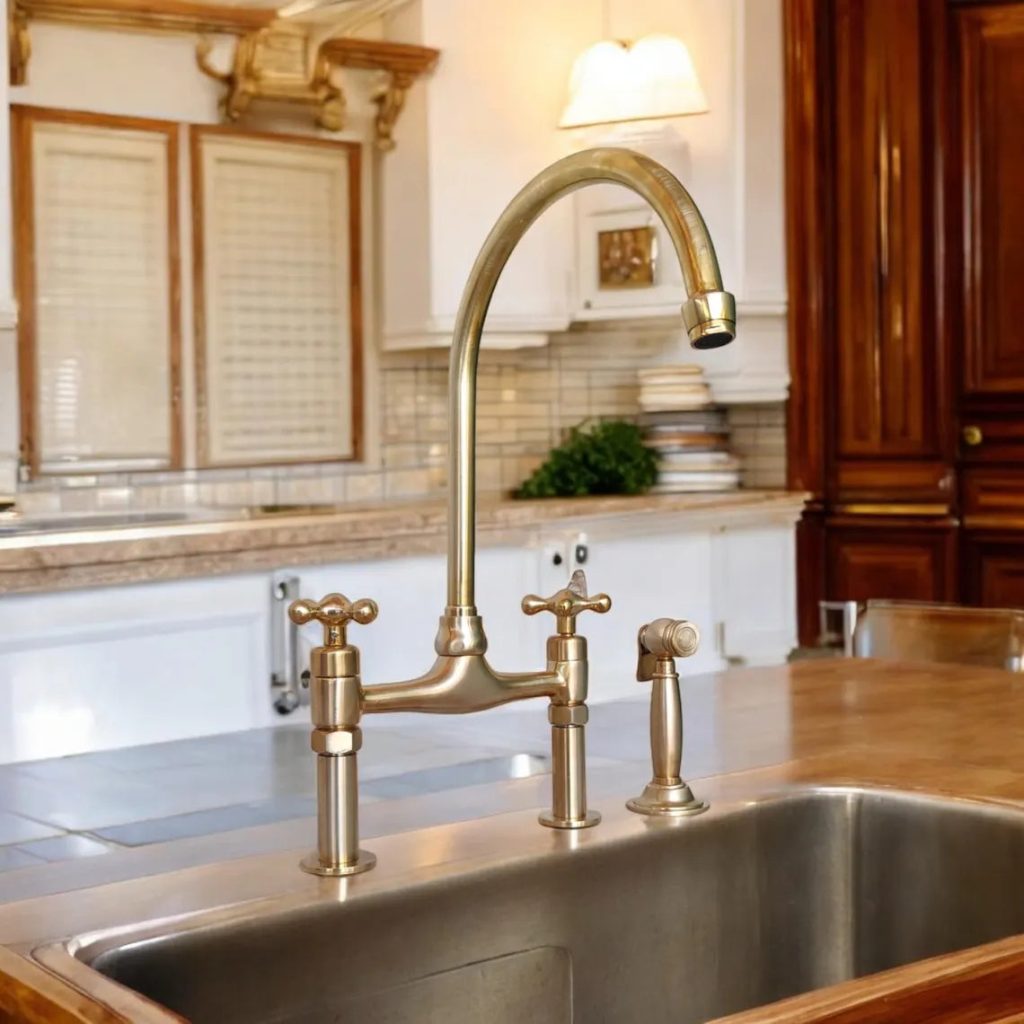
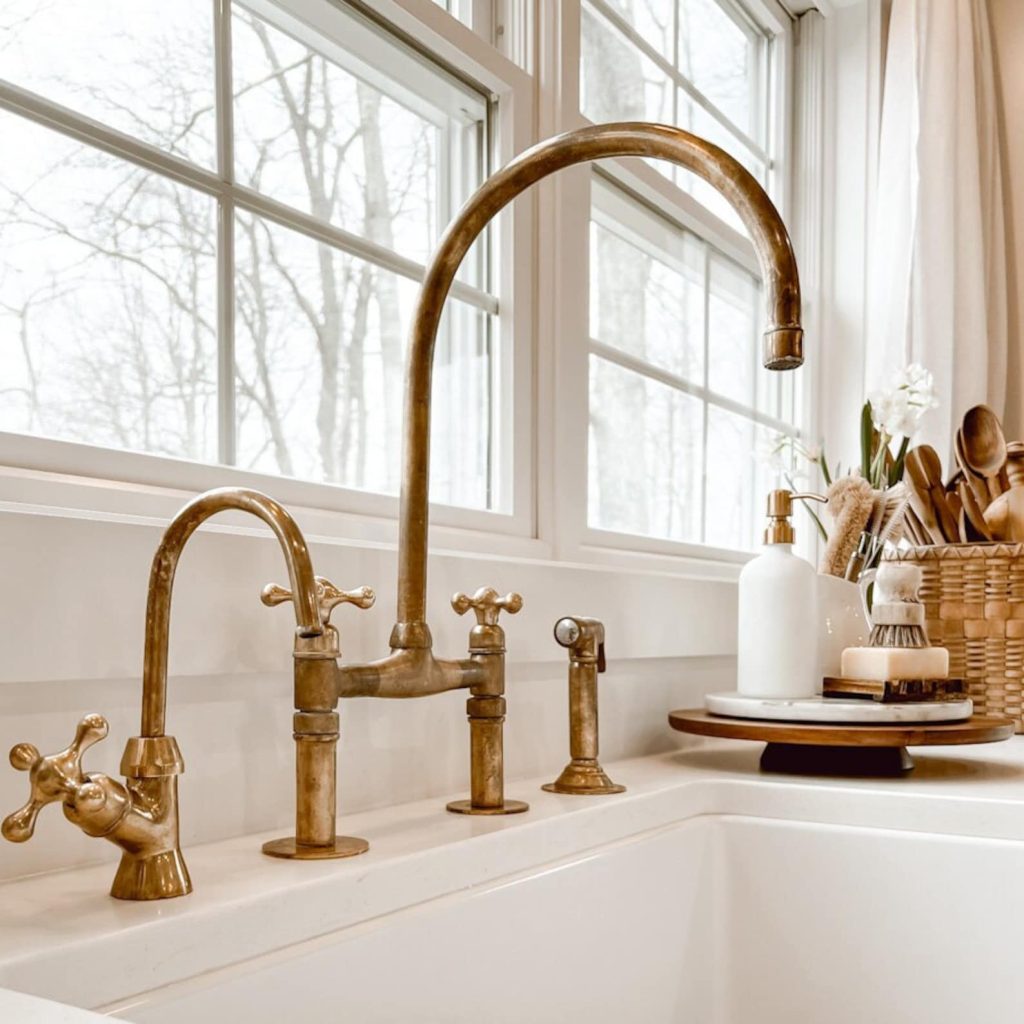
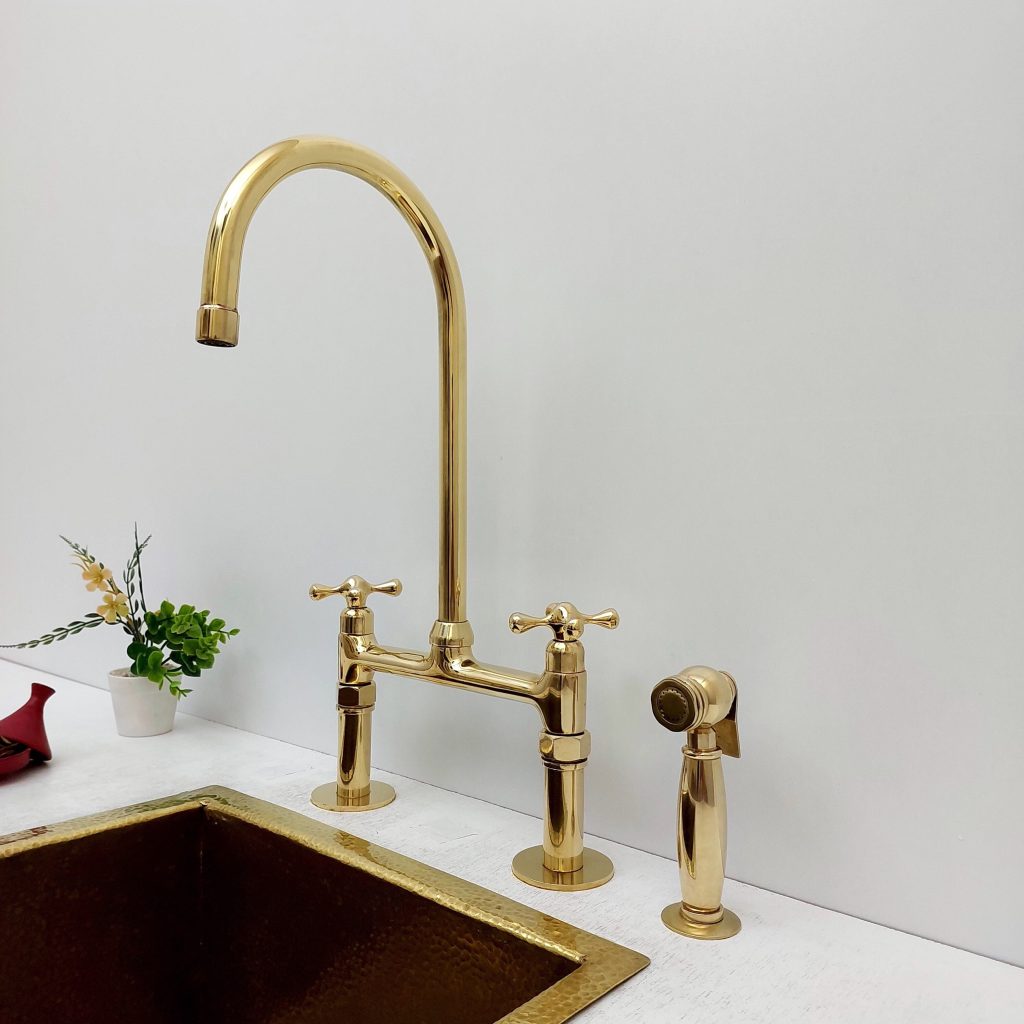
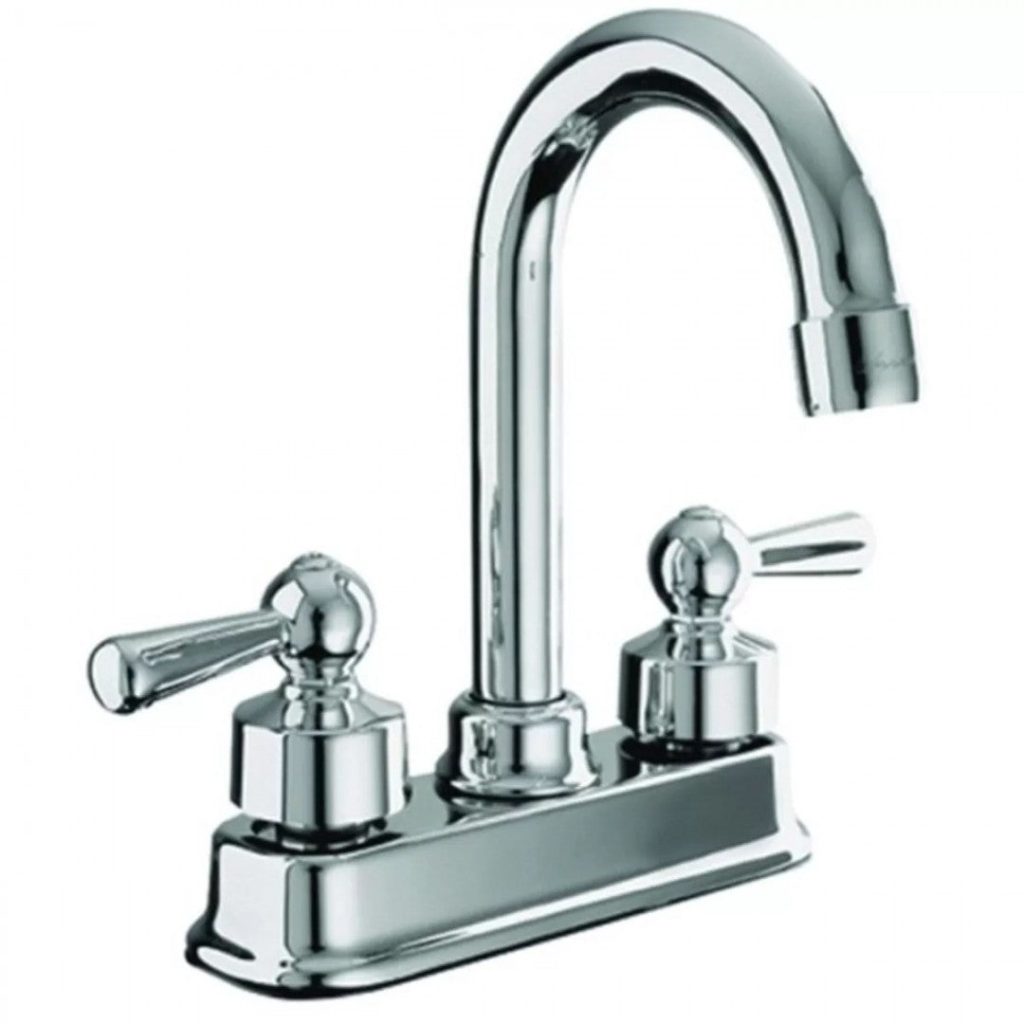
Classic and Timeless
If classic elegance is more your style, Dante Faucets has a range of timeless designs that will never go out of fashion. These faucets feature traditional shapes and details that exude a sense of timeless beauty. Whether you prefer a polished chrome finish or an antique brass look, you can find the perfect faucet to add a touch of old-world charm to your home.
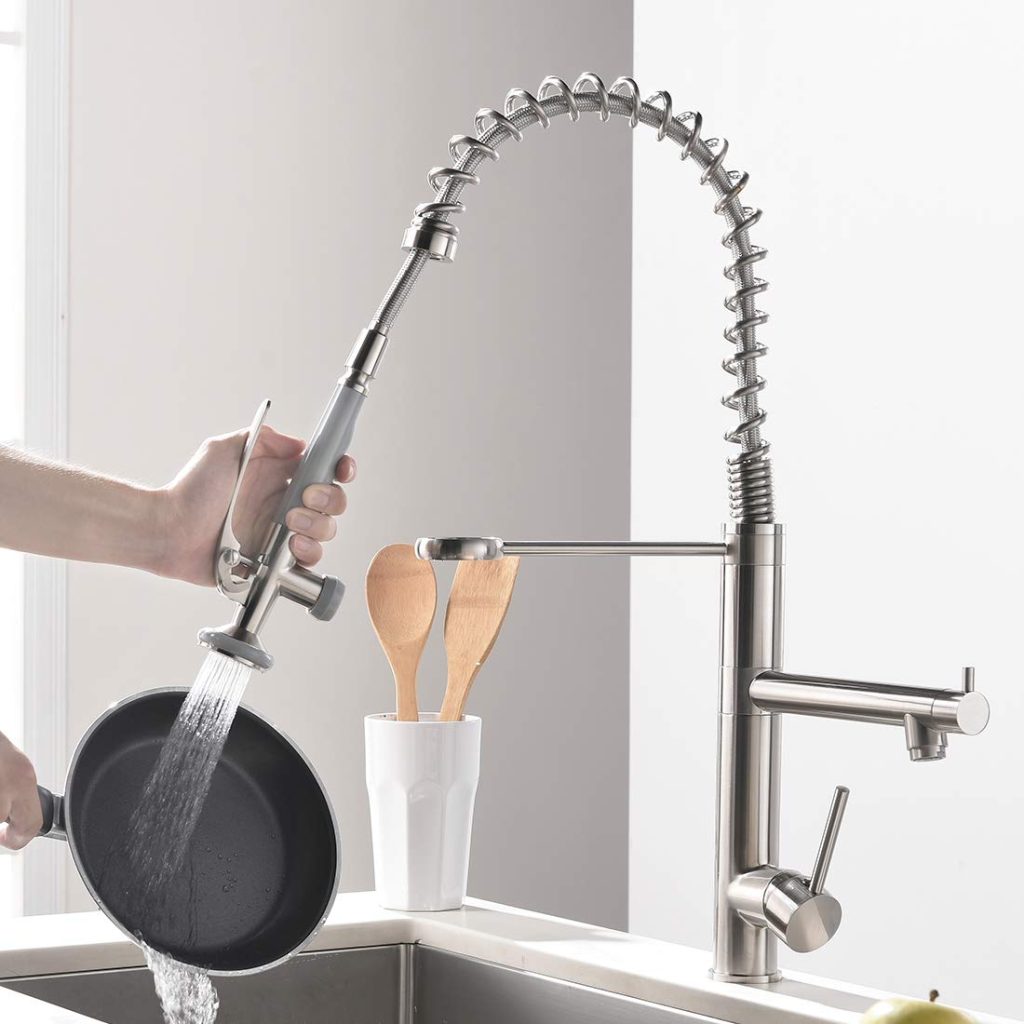
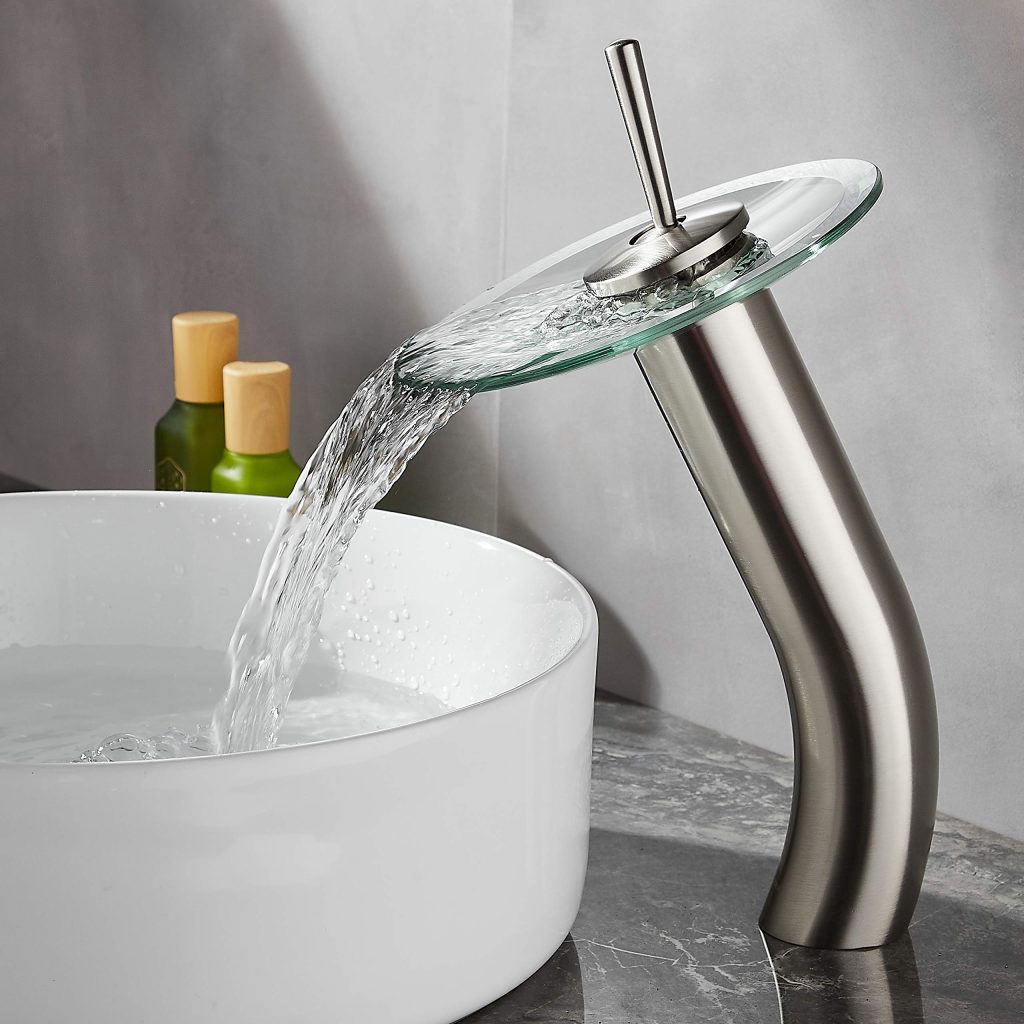
Functional and Durable
In addition to their stylish designs, Dante Faucets are also known for their functionality and durability. Made from high-quality materials and built to last, these faucets are a practical choice for any home. The precision engineering and expert craftsmanship that goes into each faucet ensures that you will have a reliable and long-lasting fixture in your kitchen or bathroom.
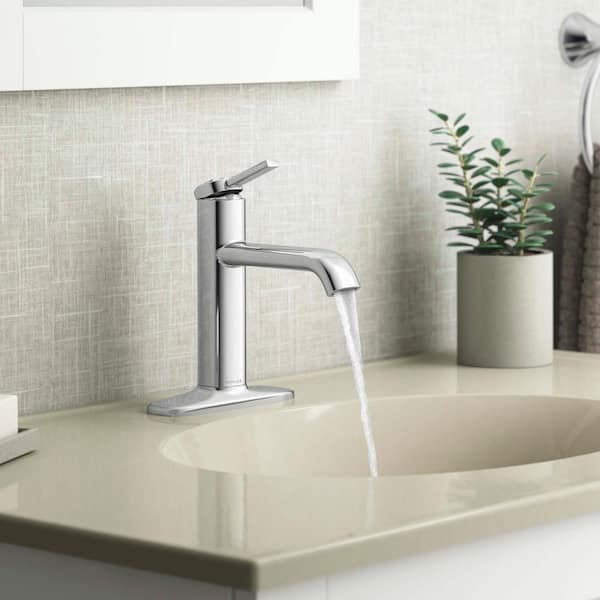
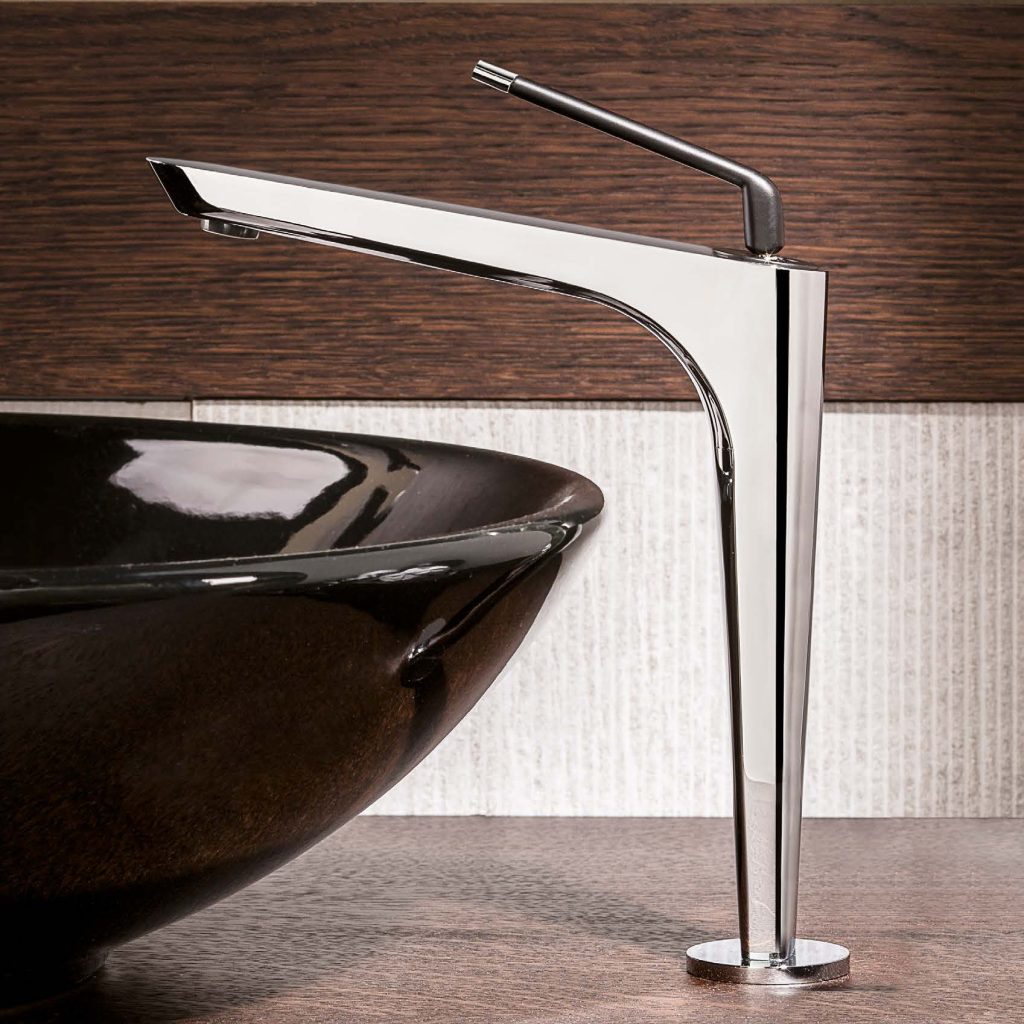
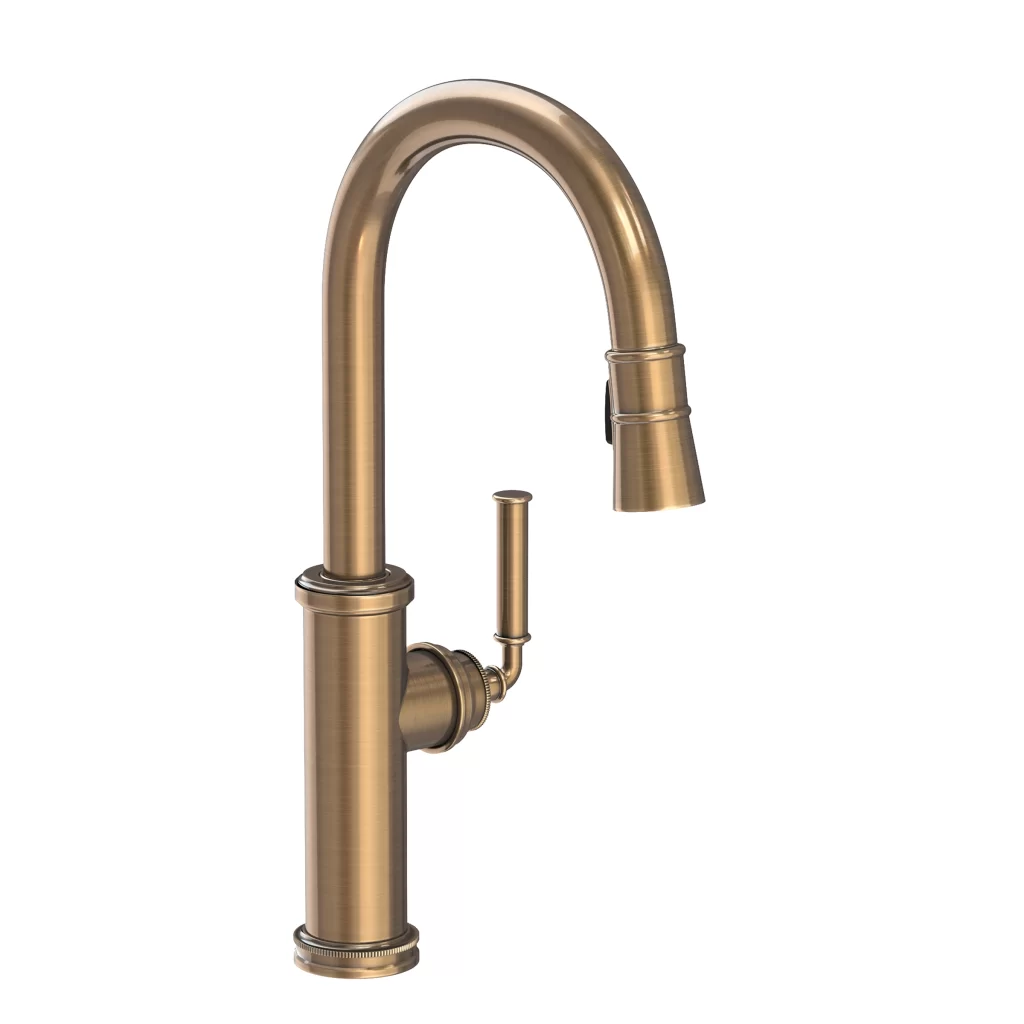
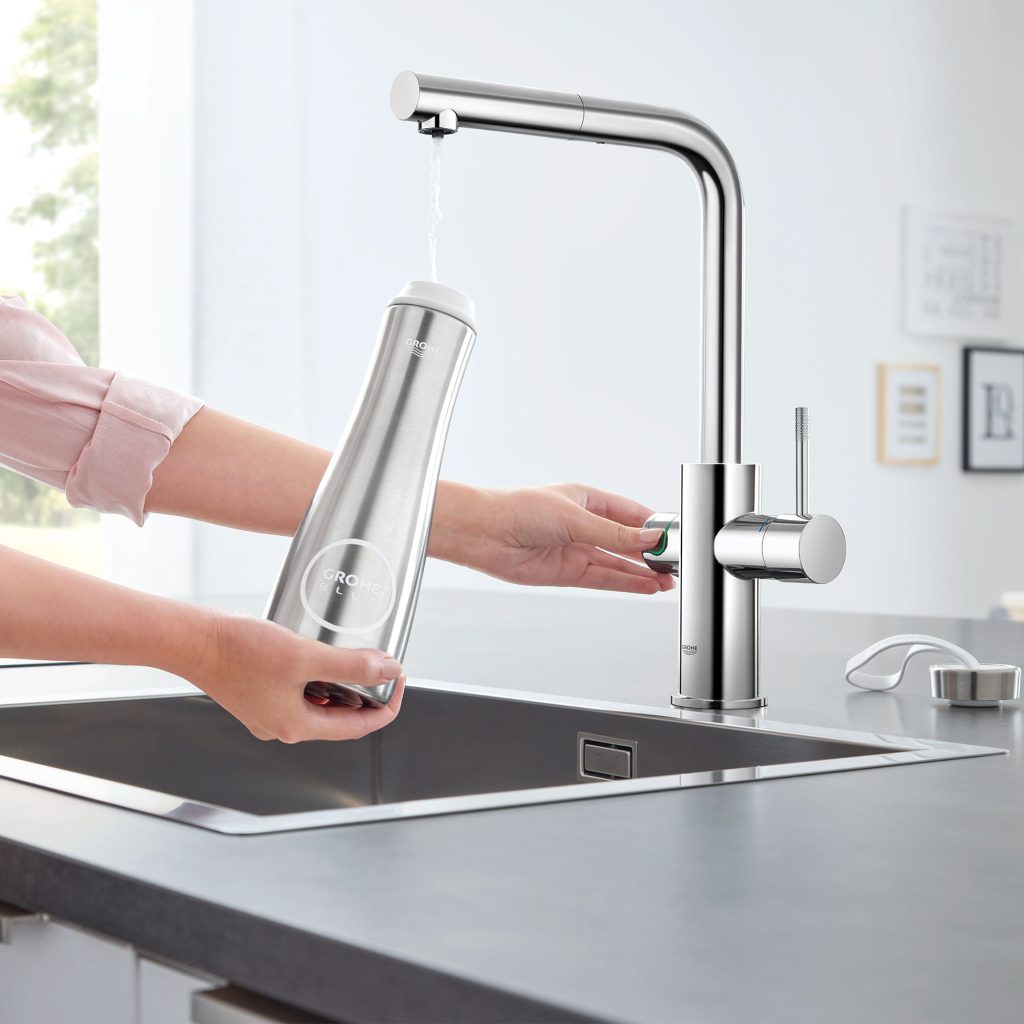
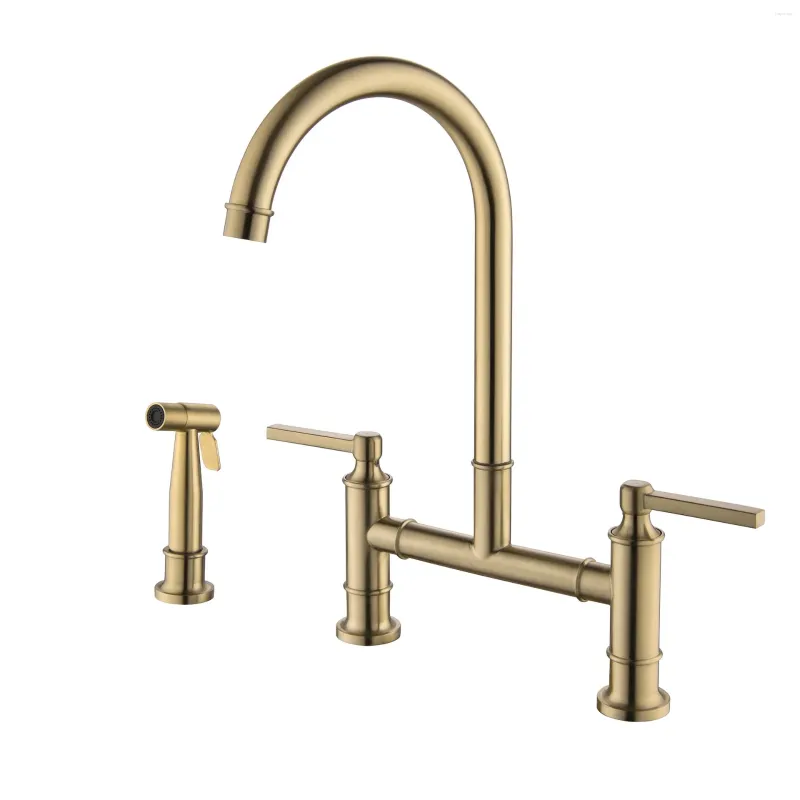
Versatile Designs
One of the best things about Dante Faucets is their versatility. Whether you have a modern, minimalist kitchen or a traditional, cozy bathroom, you can find a faucet that perfectly complements your space. With a wide range of sizes, finishes, and styles to choose from, Dante Faucets has something to suit every taste and need.
The Perfect Finishing Touch
Your choice of faucets can make a big impact on the overall look and feel of your home. With Dante Faucets, you can add the perfect finishing touch to your kitchen and bathroom. The stylish designs, high-quality materials, and exceptional craftsmanship of these faucets will elevate the style of any space, giving you a beautiful and functional fixture that you will love for years to come.
Advantages of Dante Faucets
Dante Faucets is a renowned brand that has been providing high-quality faucets for both residential and commercial use. With a wide range of styles, finishes, and innovative designs, Dante Faucets has managed to establish itself as a leader in the industry.
Quality and Durability
One of the primary advantages of Dante Faucets is the exceptional quality and durability of their products. The faucets are made using high-grade materials such as solid brass, stainless steel, and ceramic disc cartridges. This ensures that the faucets are not only sturdy and long-lasting but also resistant to corrosion and wear and tear. This means that you can trust Dante Faucets to provide reliable performance for years to come.
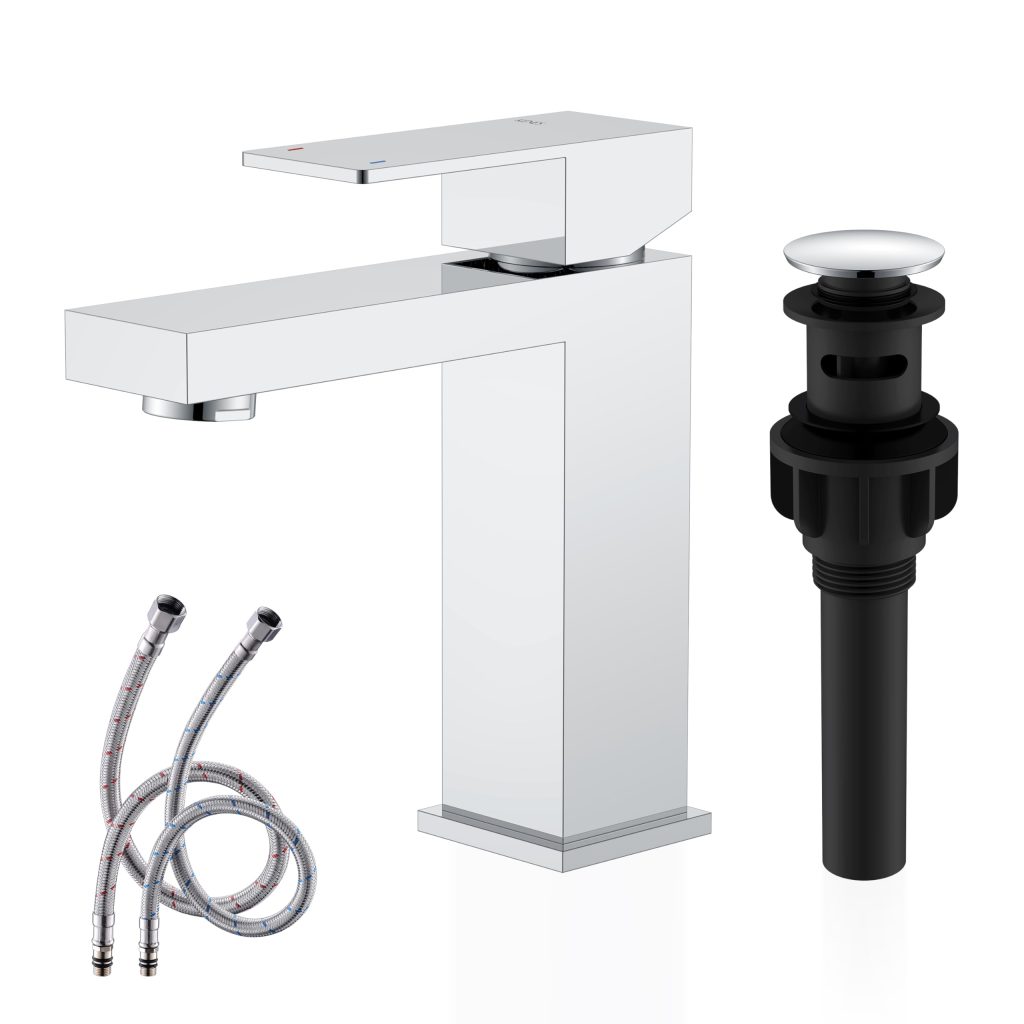
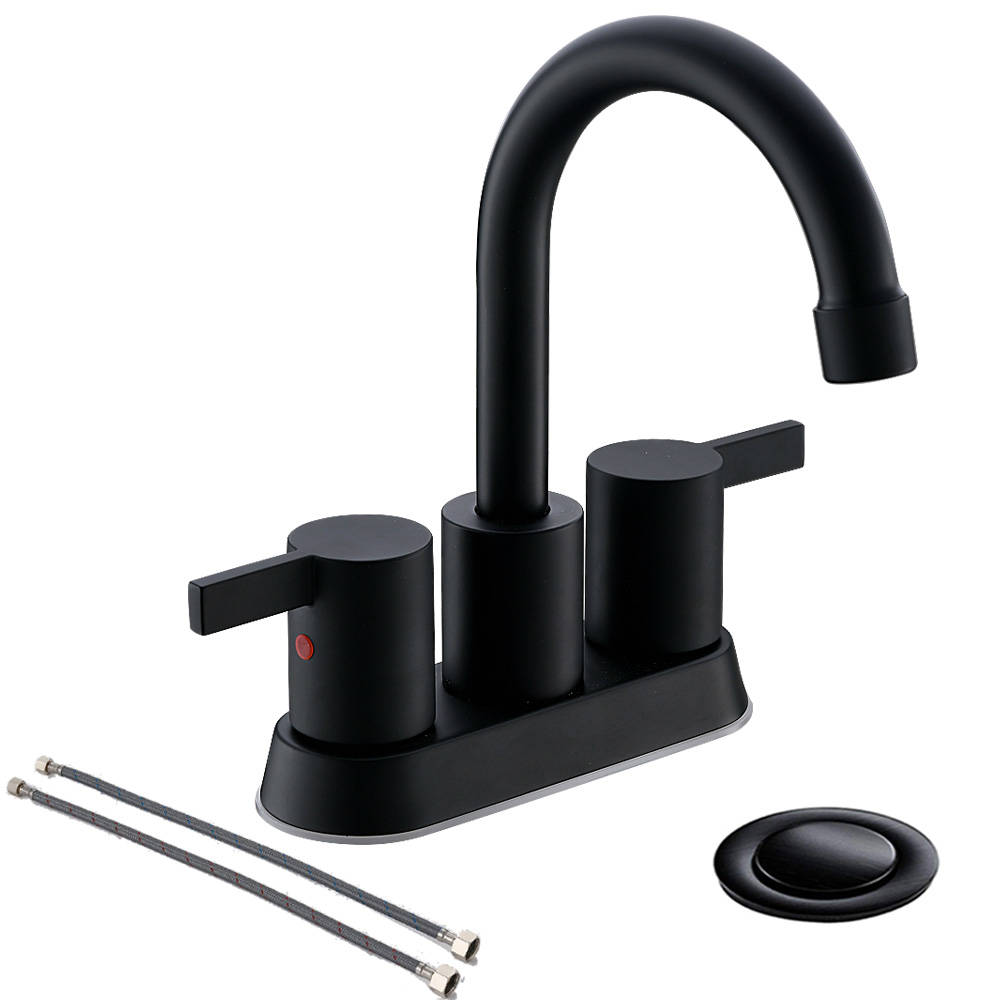
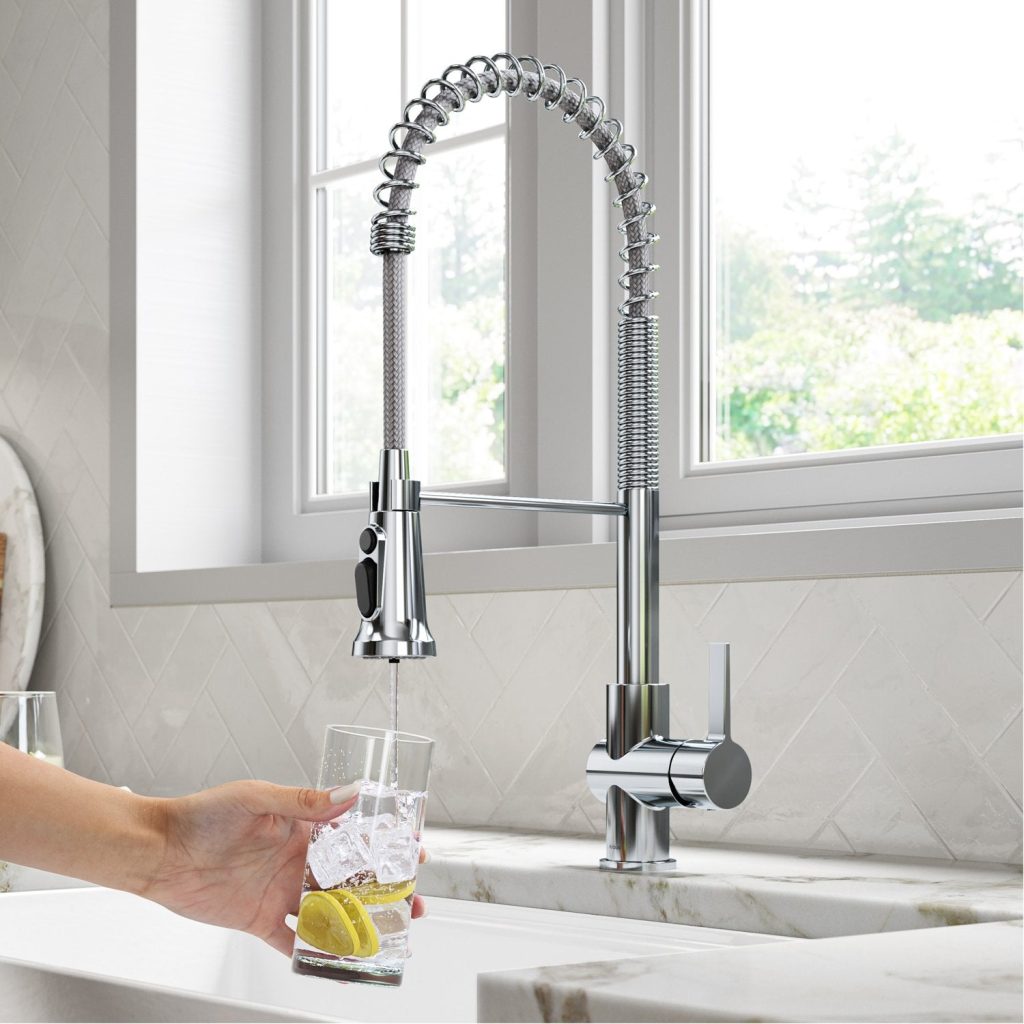
Wide Range of Styles and Finishes
Another key advantage of Dante Faucets is the wide range of styles and finishes they offer. Whether you are looking for a modern, sleek design or a more traditional, classic look, Dante Faucets has a variety of options to suit your taste. Additionally, their faucets are available in a range of finishes including chrome, brushed nickel, oil-rubbed bronze, and more. This allows you to find the perfect faucet to complement the design of your kitchen or bathroom.

Conclusion
Congratulations! You have successfully installed your Dante faucet. With proper installation and maintenance, your new fixture should provide years of reliable service. Enjoy the convenience and elegance of your new Dante faucet!