Installing a kitchen faucets costco is a simple and straightforward process that can be done over the weekend with a few basic tools. Whether you’re replacing an old faucet or installing a new one, this guide will walk you through the step-by-step process of installing a kitchen faucet purchased from Costco.
Before you begin
Before you start the installation process, it’s important to gather all the necessary tools and materials. Here’s a list of what you’ll need:
- New kitchen faucet from Costco
- Adjustable wrench
- Plumber’s tape
- Bucket
- Towels
- Silicone caulk
- Pipe wrench
- Channel locks
- Safety goggles
- Flashlight
Remove the old faucet
The first step in installing a new kitchen faucet from Costco is to remove the old faucet. To do this, shut off the water supply to the sink and place a bucket under the sink to catch any water that may drip out. Then, disconnect the water supply lines and remove the mounting nuts that hold the faucet in place. Once the old faucet is removed, clean the area around the sink where the new faucet will be installed.
Install the new faucet
Start by reading the instructions provided with your Costco kitchen faucet. Different faucets may have slightly different installation processes, so it’s important to familiarize yourself with the specific instructions for your faucet. Begin by installing the faucet base onto the sink, making sure it is align properly. Then, attach the water supply lines to the faucet and tighten them with an adjustable wrench. Make sure the lines are connected to the correct hot and cold water supplies.
Connect the sprayer and handle
If your Costco kitchen faucet comes with a separate sprayer and handle, you’ll need to connect these as well. This may involve attaching the sprayer hose to the faucet and connecting the handle to the faucet base. Follow the specific instructions provid with your faucet to ensure everything is connect properly.
Test the faucet
Once the faucet is install, turn the water supply back on and test the faucet to make sure everything is working properly. Check for any leaks around the base of the faucet and the connections to the water supply lines. If you notice any leaks, tighten the connections or reapply plumber’s tape as need.
Apply silicone caulk
After the faucet is in place and test, apply a thin bead of silicone caulk around the base of the faucet. This will help create a watertight seal and prevent any water from leaking into the cabinet below the sink.
Clean up and check for leaks
Once the silicone caulk has been apply, clean up any excess caulk with a damp cloth. Then, check the faucet and all the connections for any leaks. If you notice any leaks, tighten the connections or reapply plumber’s tape as need.
Final touches
Once everything is install and check for leaks, turn on the water supply and test the faucet again. Make sure the water flows properly and that there are no leaks. If everything looks good, you can consider the installation process complete.
How to use kitchen faucets Costco
Kitchen faucets are an essential component of any kitchen, as they are use for tasks such as washing dishes, filling pots, and providing clean water for cooking and drinking. With the wide variety of options available in the market, it can be overwhelming to choose the right kitchen faucet for your home. Costco, a popular wholesale retailer, offers a range of kitchen faucets that cater to different styles, functions, and budgets. In this guide, we will explore the different types of kitchen faucets available at Costco, their features, and their potential benefits for your home.
Types of Kitchen Faucets at Costco
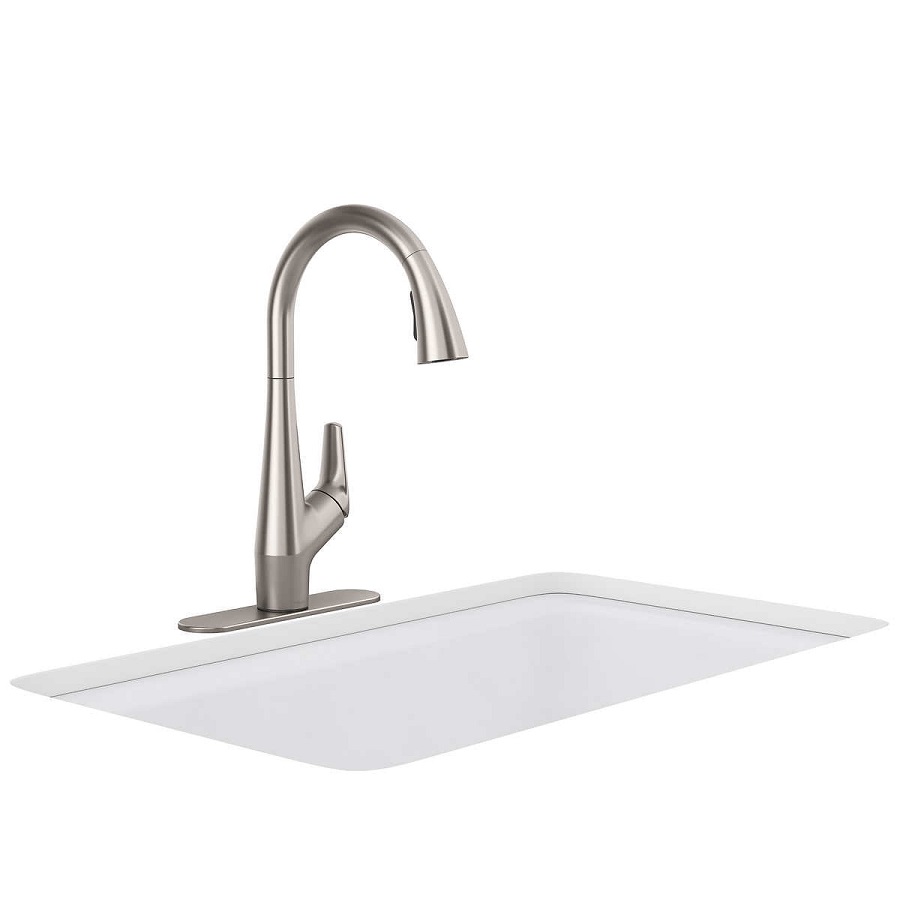
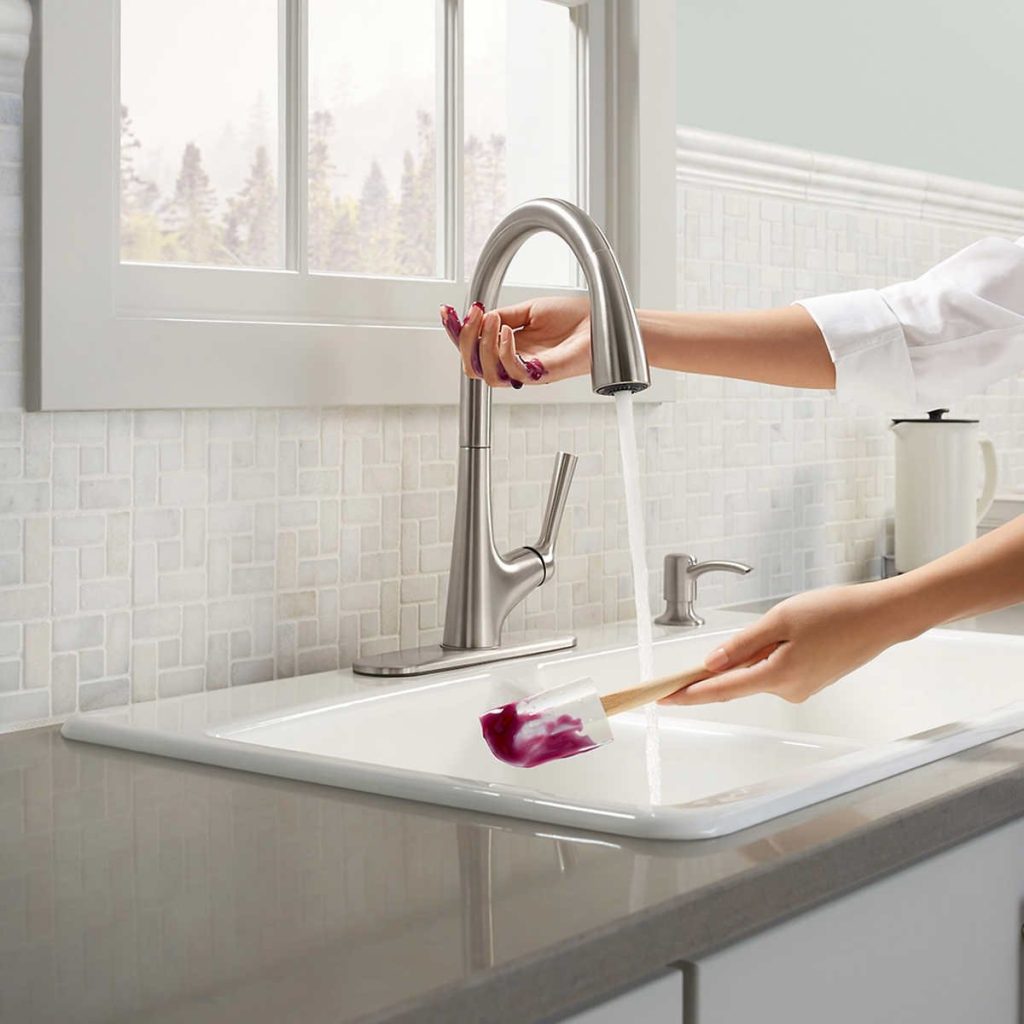
Pull-Down Faucets
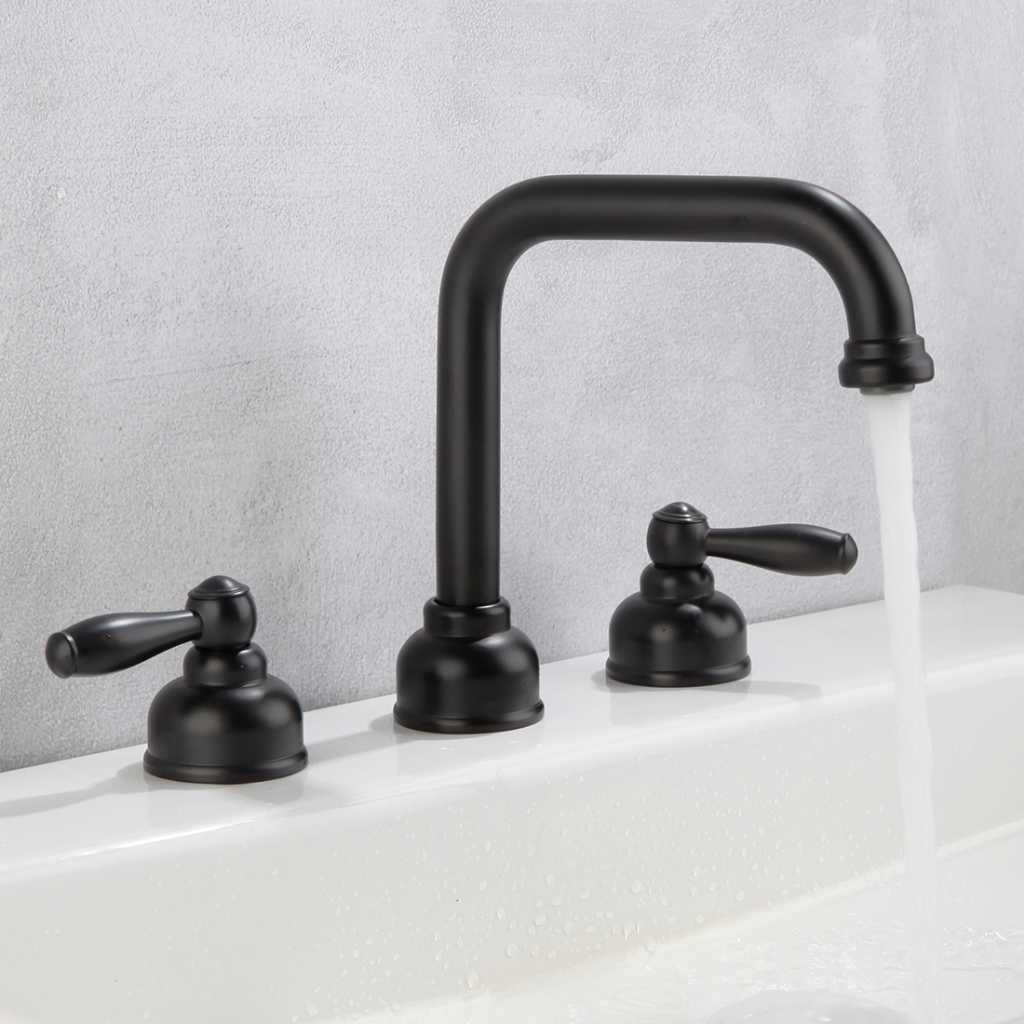
Pull-down faucets feature a retractable hose that allows for easy and flexible maneuvering. These faucets are ideal for filling pots and cleaning large cookware. Costco offers pull-down faucets in various finishes such as chrome, stainless steel, and matte black, allowing customers to choose a faucet that complements their kitchen decor.
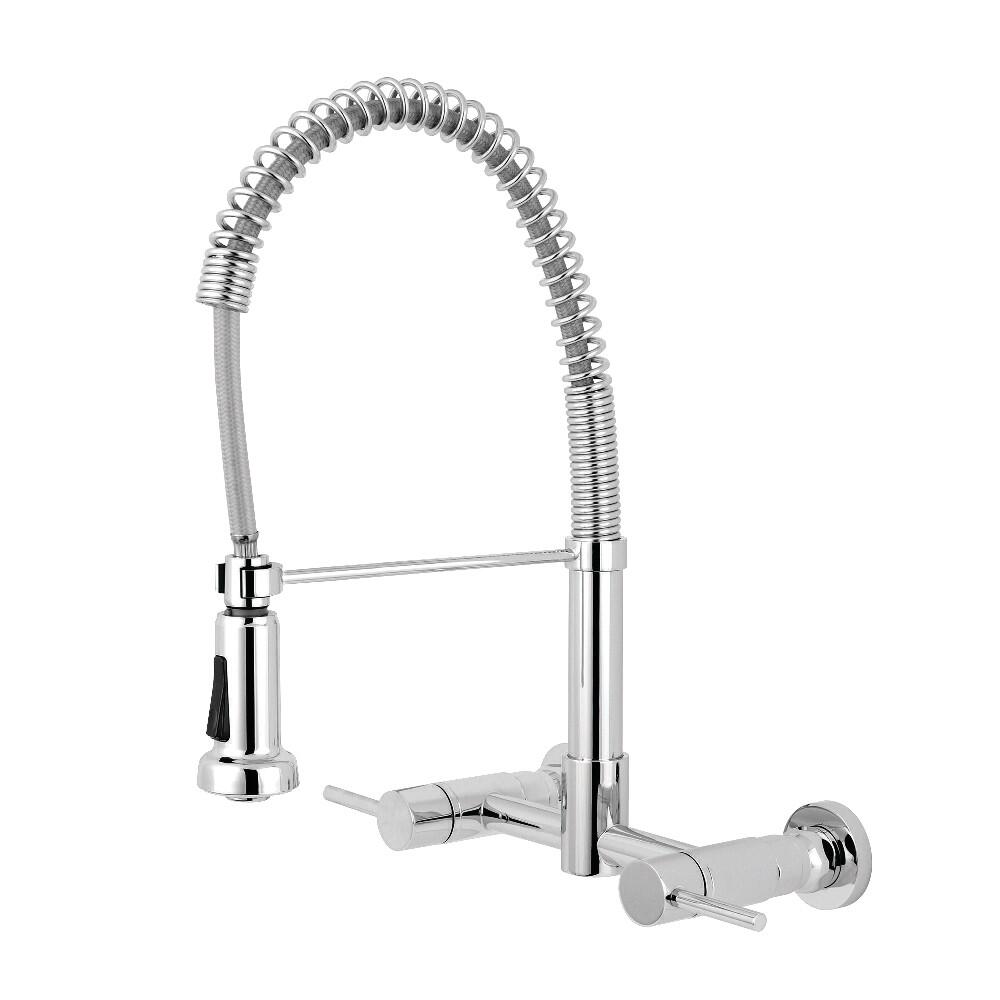
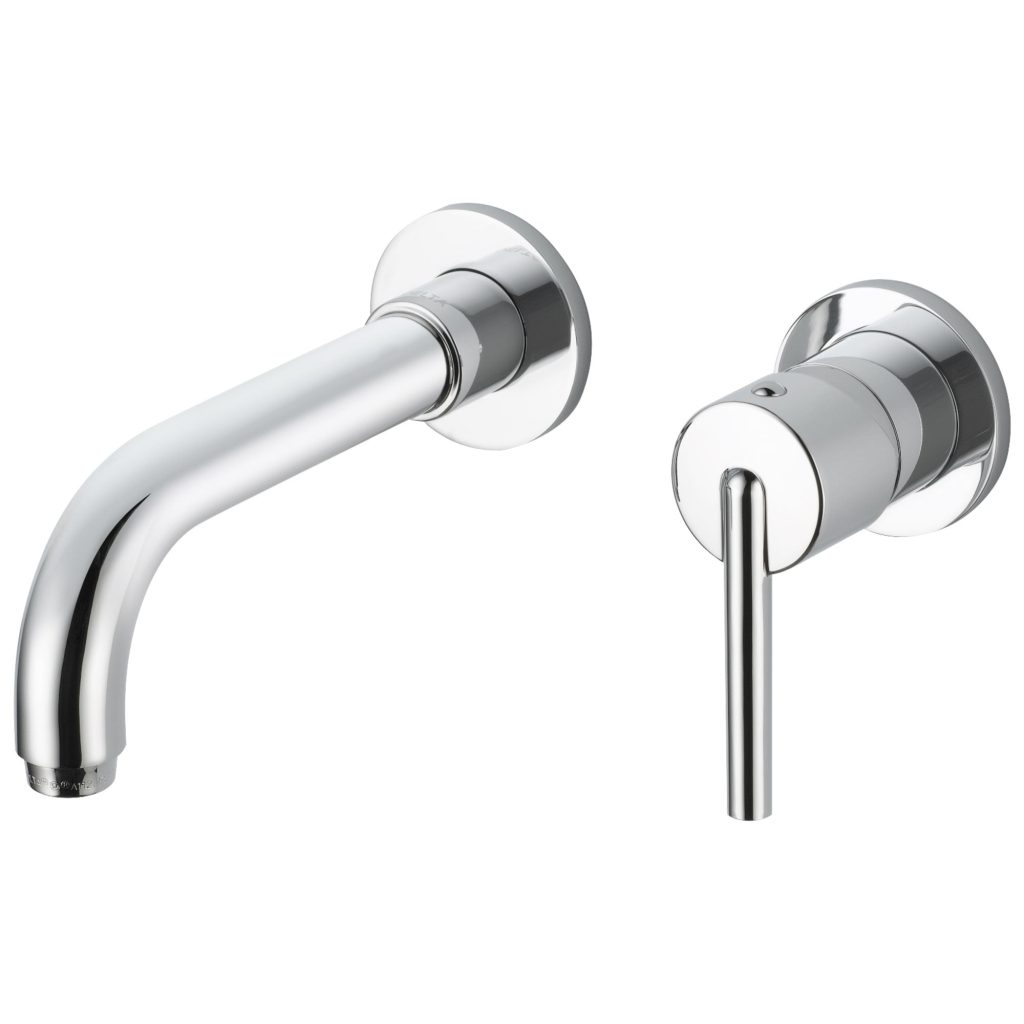
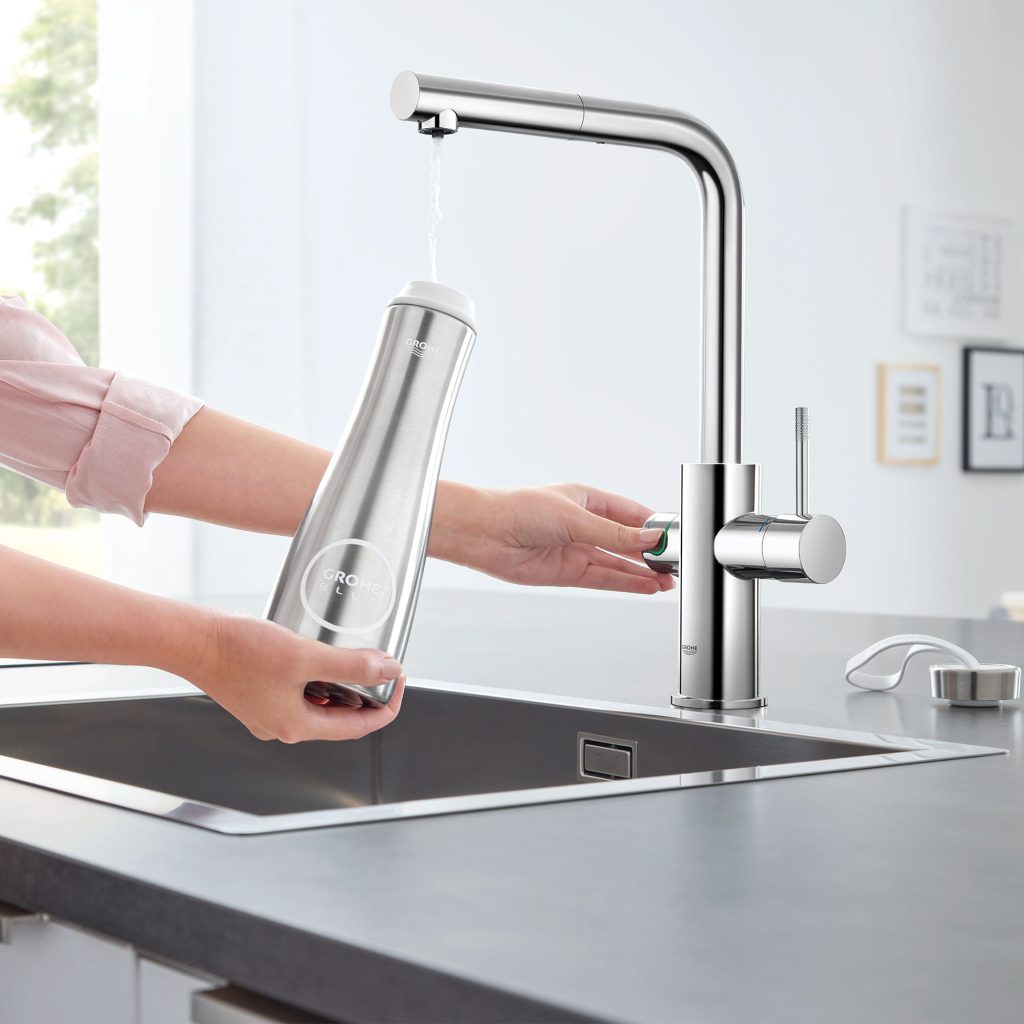
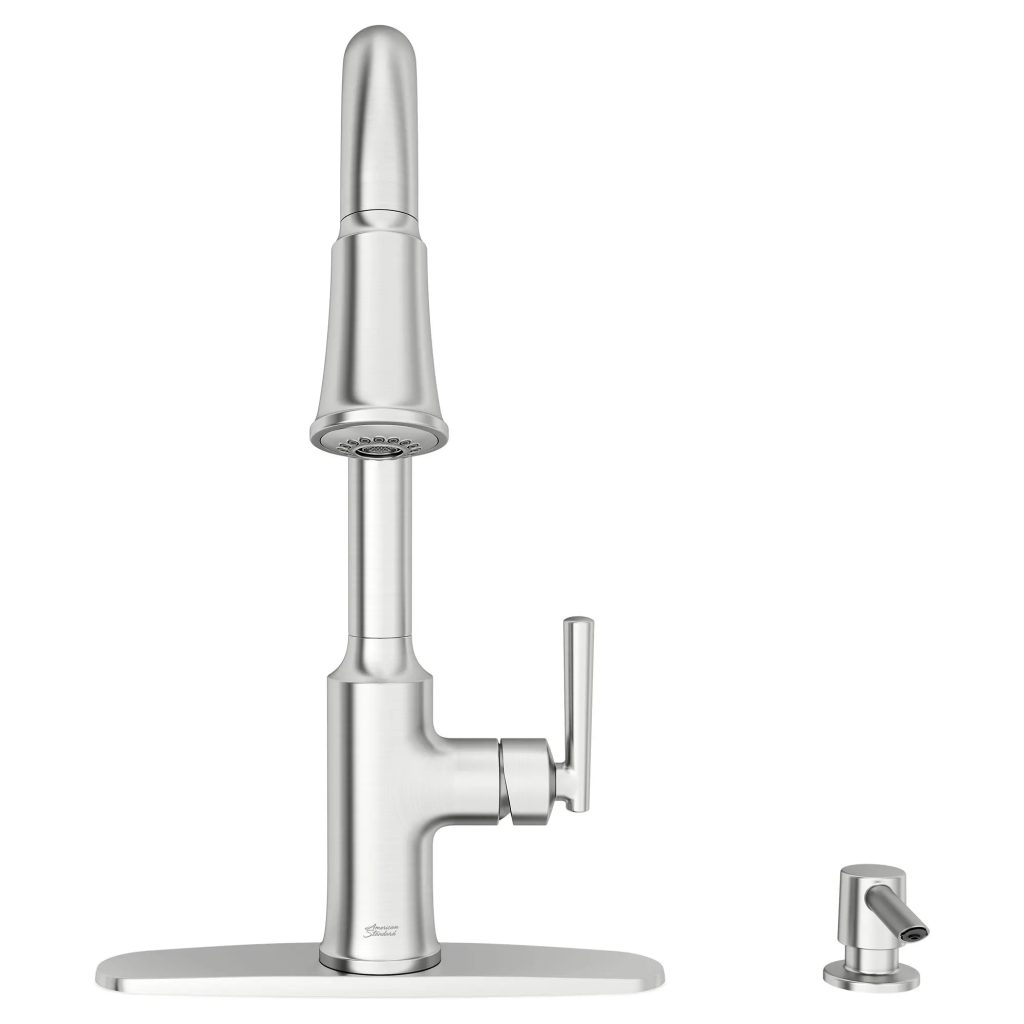
Pull-Out Faucets
Similar to pull-down faucets, pull-out faucets also feature a retractable hose but with a more vertical design. This type of faucet is versatile and can be use for tasks such as rinsing vegetables and cleaning the sink. Costco’s selection of pull-out faucets includes models with different spray options, making it easier to customize the water flow for various kitchen tasks.
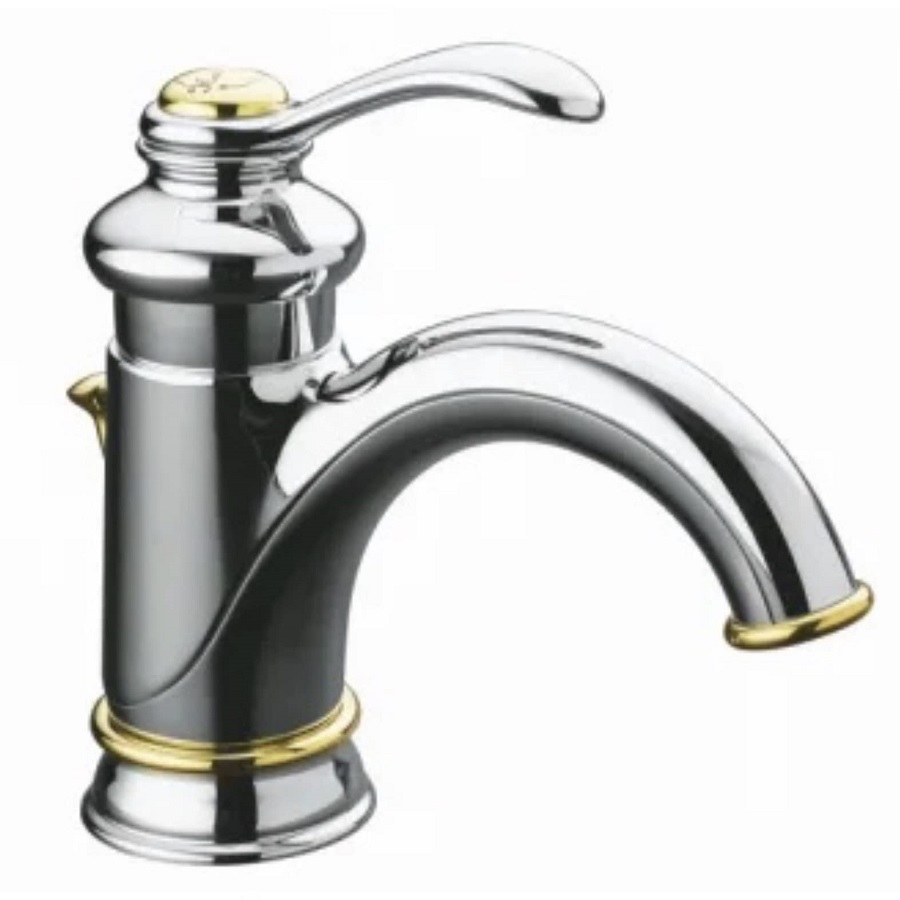
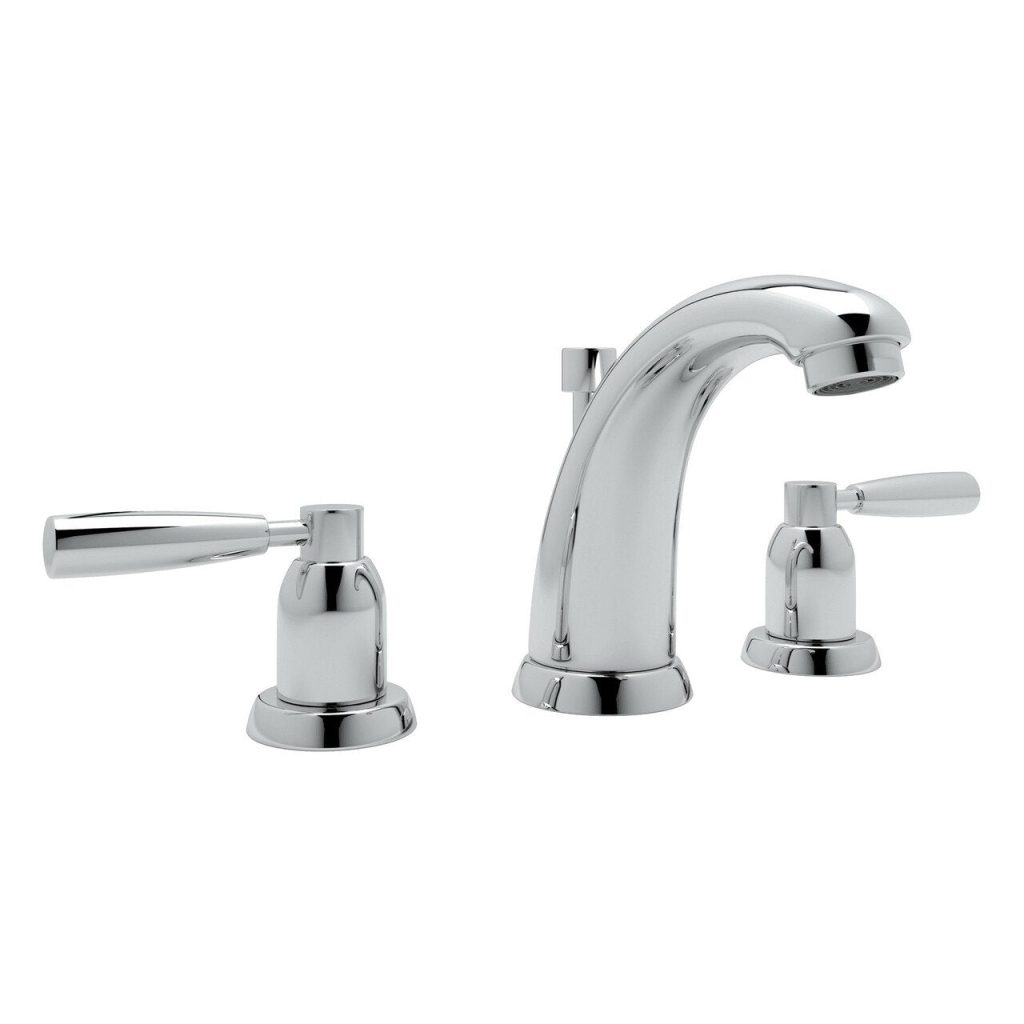
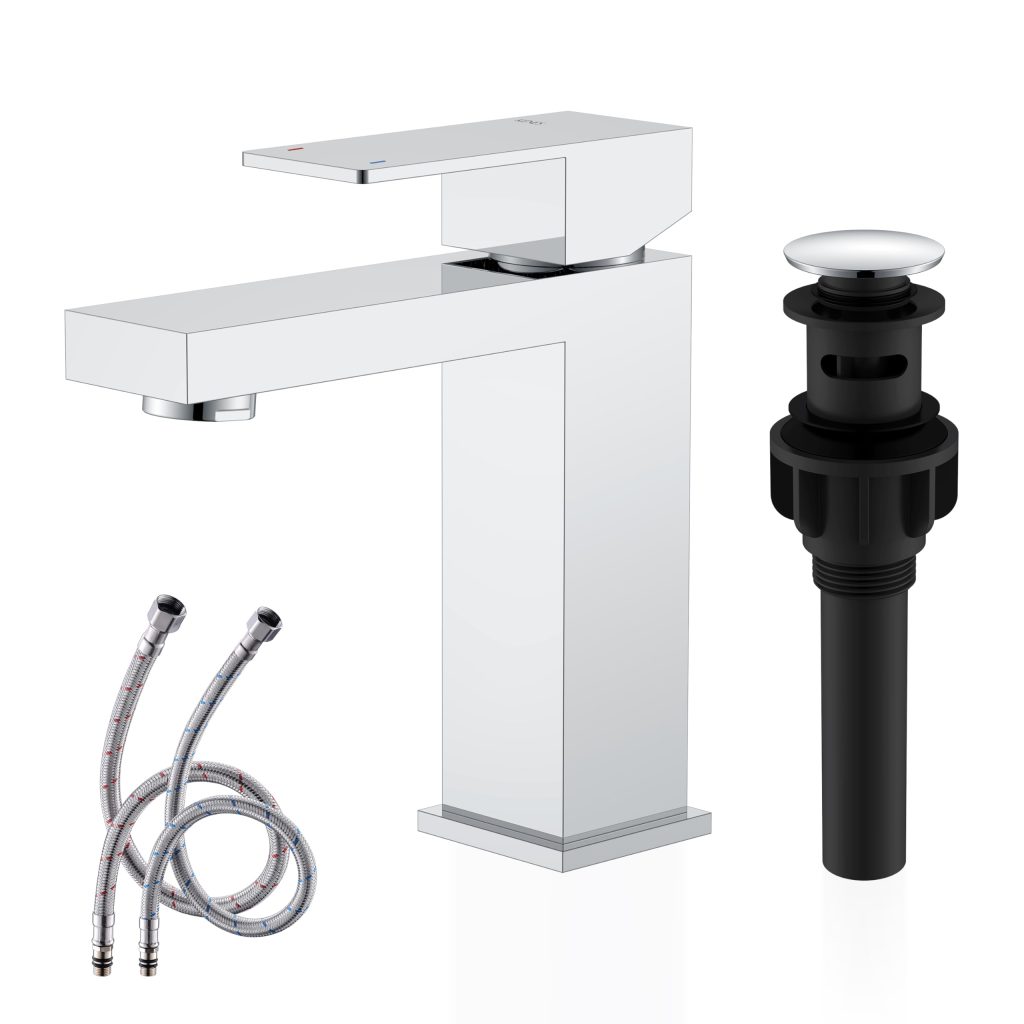
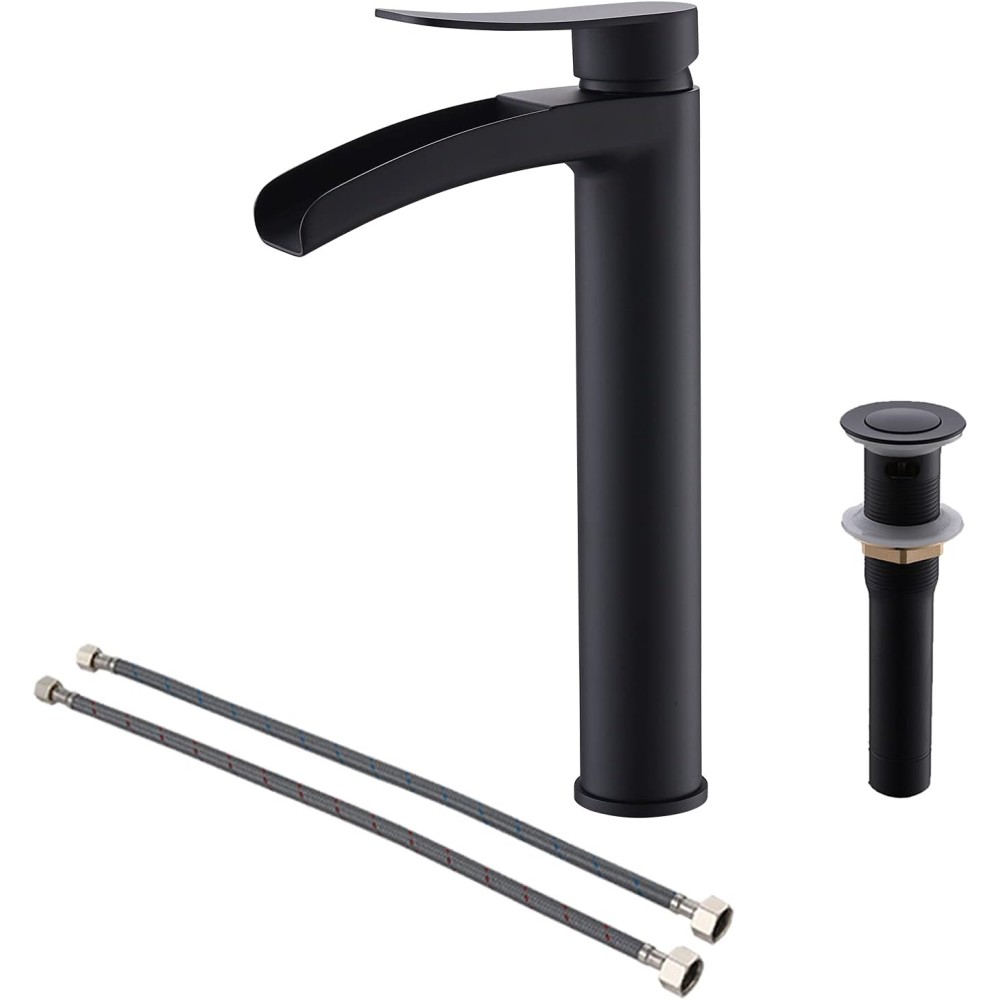
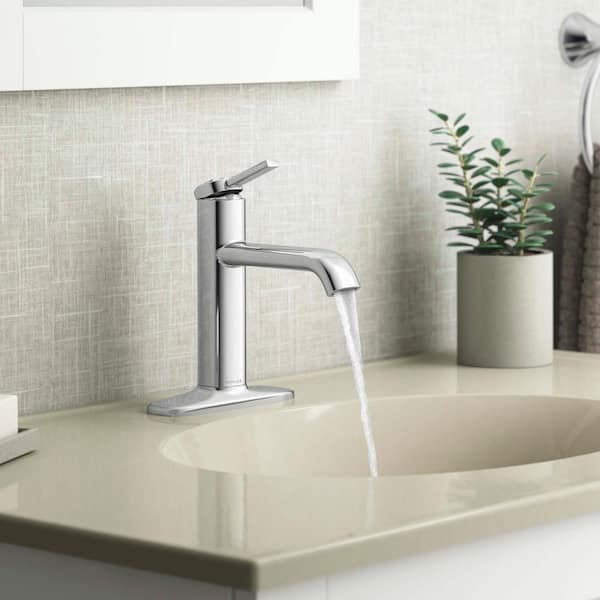
Single-Handle Faucets
Single-handle faucets have a sleek and minimalist design, making them a popular choice for modern kitchens. These faucets feature a single lever that controls both the temperature and the flow of water. Costco offers single-handle faucets in a range of finishes and styles, making it easy to find a faucet that suits your kitchen aesthetic.
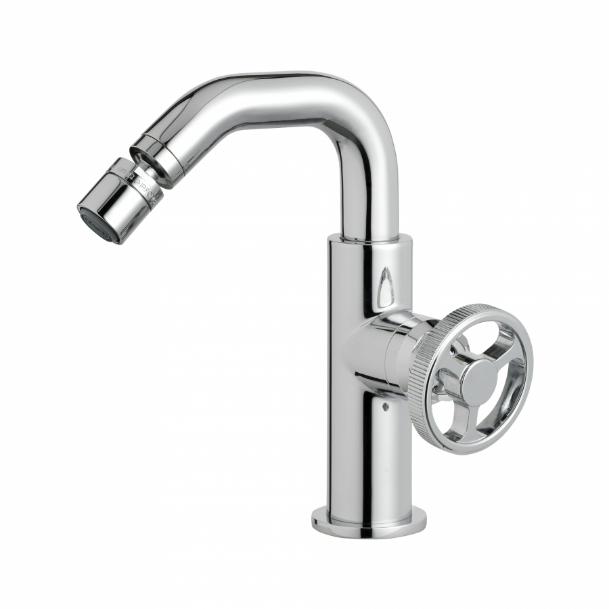
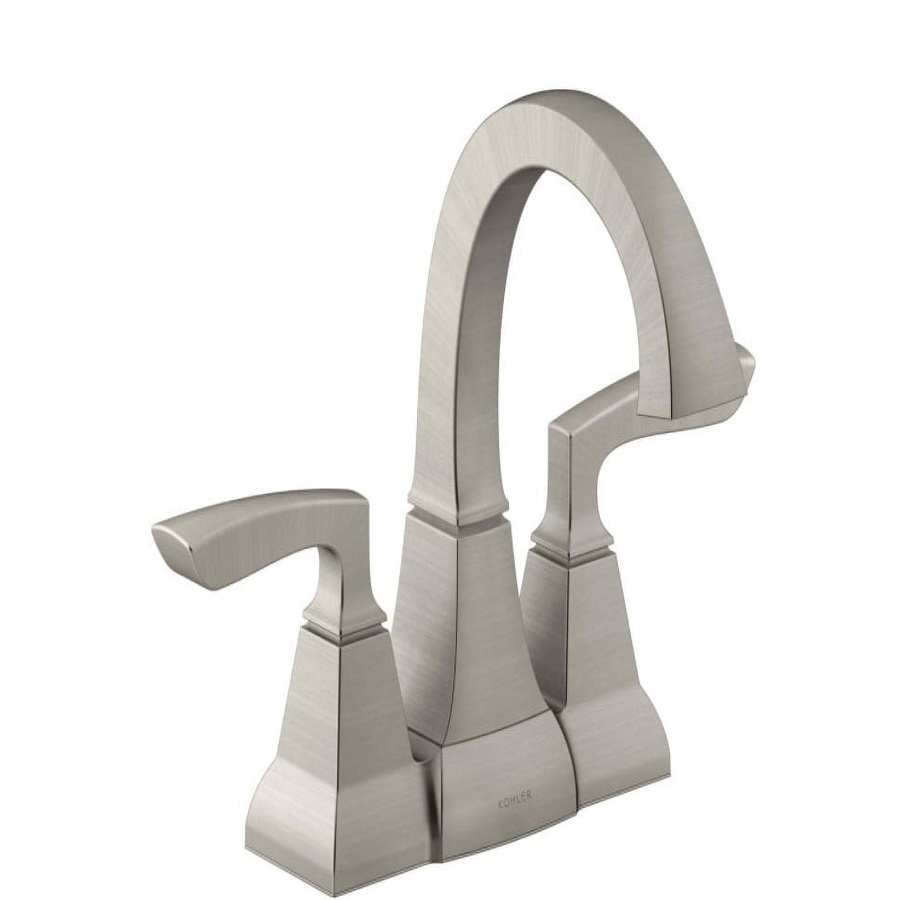
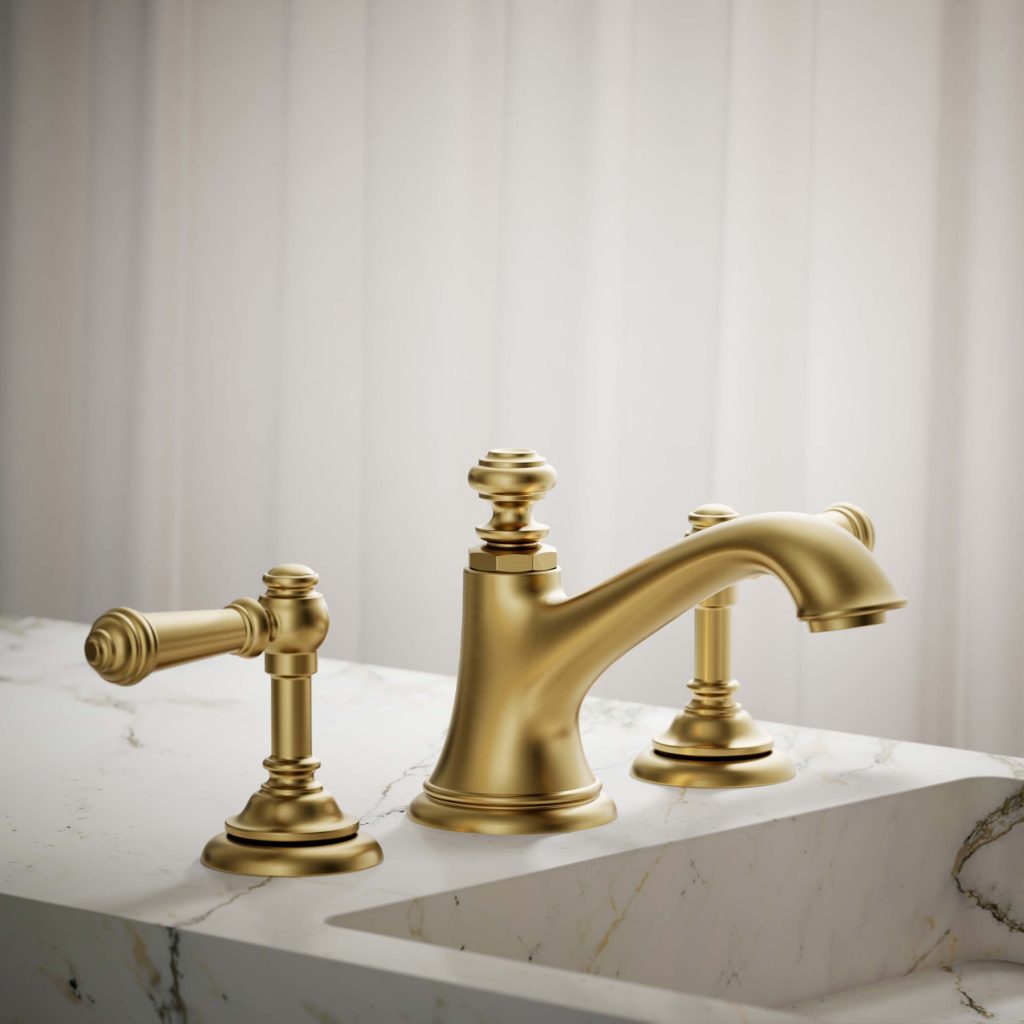
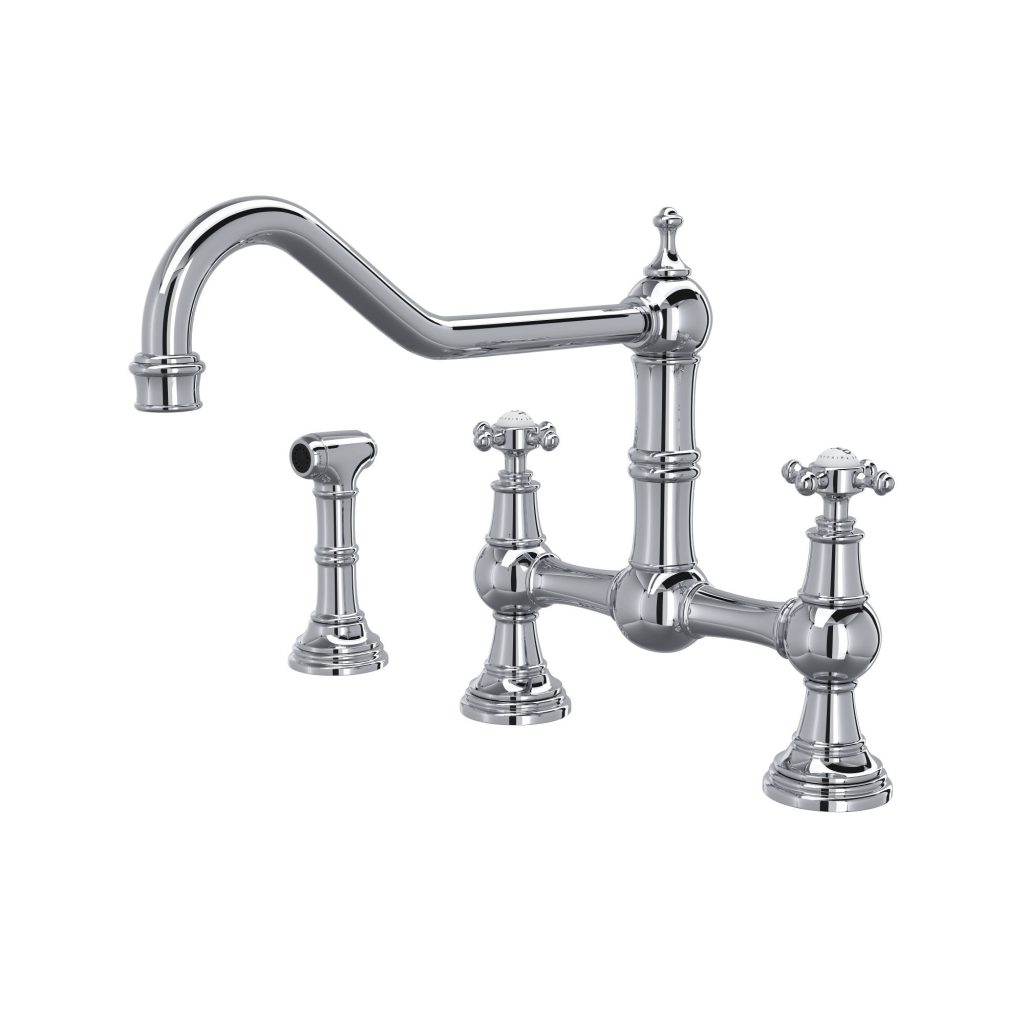
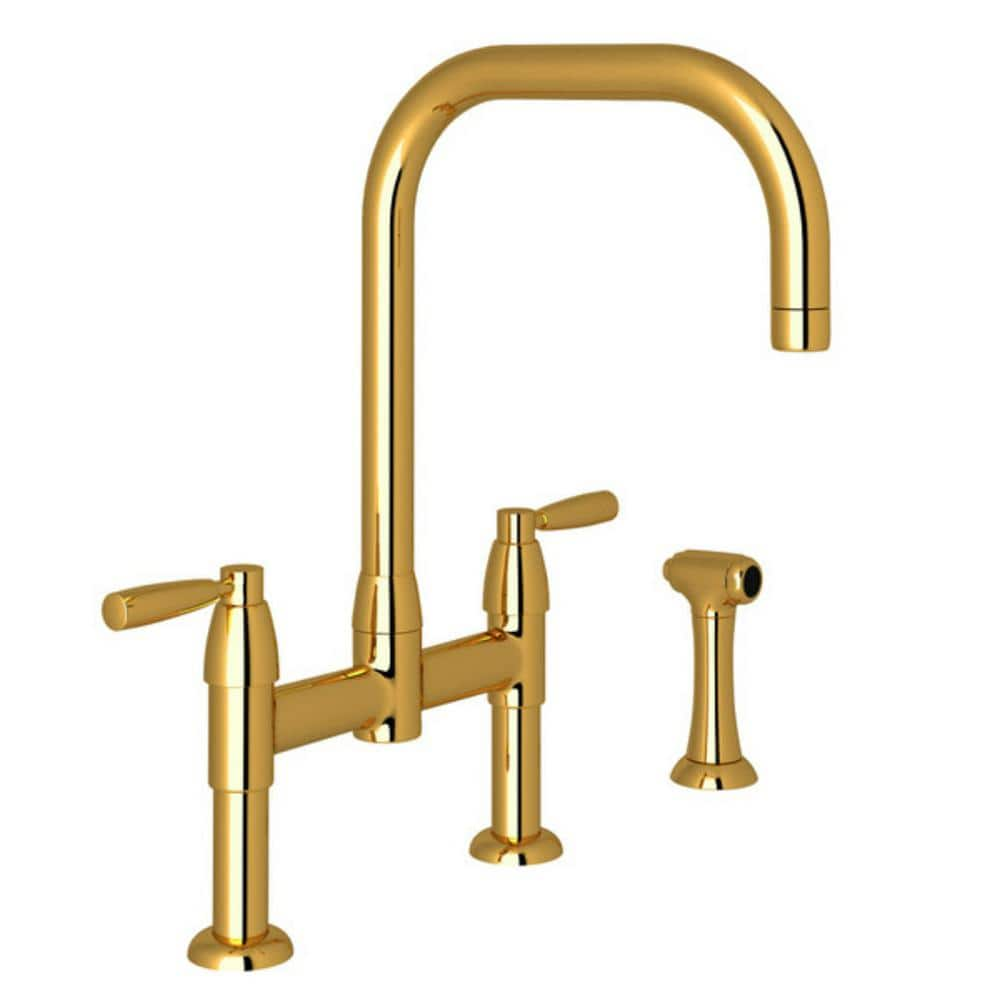
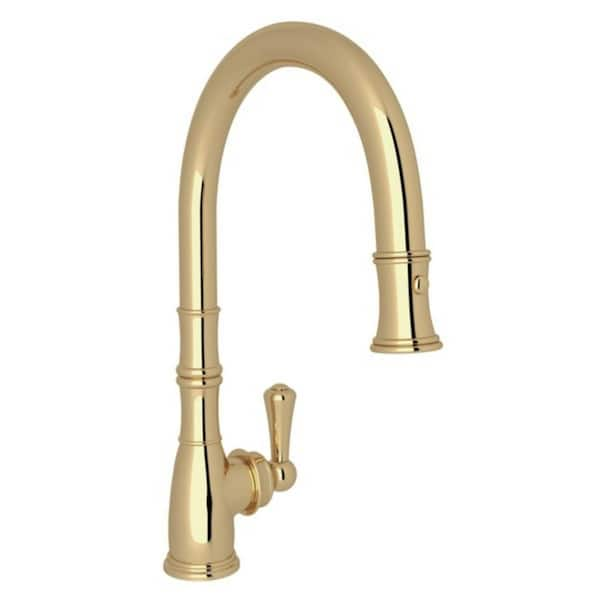
Two-Handle Faucets
Two-handle faucets have separate handles for hot and cold water, providing precise control over water temperature. Costco’s collection of two-handle faucets includes classic and traditional designs, making them a great choice for homeowners looking to create a timeless look in their kitchens.
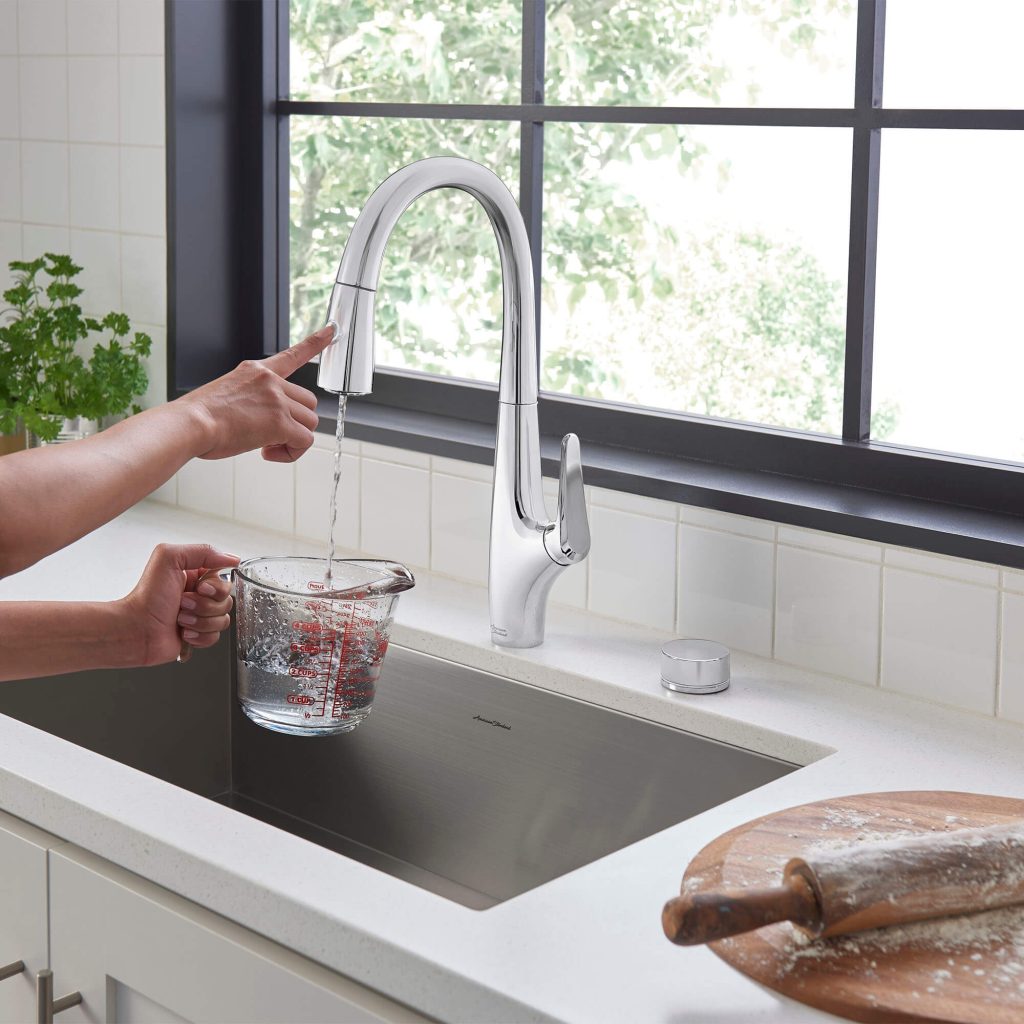
Touchless Faucets
Touchless faucets are equip with motion sensors that allow users to turn the water on and off without physically touching the faucet. This hands-free operation is convenient for tasks such as food preparation and cleanup. Costco offers a selection of touchless faucets with various features, including adjustable sensor range and temperature control.

Features and Benefits of Costco Kitchen Faucets
Costco’s kitchen faucets come with a range of features that enhance their functionality and performance. Some of the key features and benefits of Costco kitchen faucets include:
- High-quality construction: Costco’s kitchen faucets are made from durable materials such as stainless steel and brass, ensuring long-lasting performance and resistance to corrosion.
- Easy installation: Many of Costco’s kitchen faucets are design for easy DIY installation, saving homeowners time and money on professional installation services.
- Water-saving features: Some of Costco’s kitchen faucets are equip with water-saving technologies, such as low-flow aerators, which help conserve water without sacrificing performance.
Advantages of kitchen faucets costco
Kitchen faucets play a crucial role in the functionality and aesthetic appeal of the kitchen. They are essential for washing dishes, filling pots, and providing access to clean water for drinking and cooking. When it comes to choosing a kitchen faucet, homeowners often look for durability, functionality, and style.
Quality Construction and Durability
One of the key advantages of purchasing kitchen faucets from Costco is the quality construction and durability they offer. Costco is known for its commitment to providing high-quality products, and their kitchen faucets are no exception. These faucets are built to last, with a focus on using durable materials such as solid brass and stainless steel for the construction of the faucet body and components. This ensures that the faucet can withstand the rigors of daily use, including regular washing and exposure to water and cleaning chemicals.
Affordability
Costco is recognize for offering products at competitive prices, and their kitchen faucets are no different. Whether you’re in the market for a basic, budget-friendly faucet or a high-end, luxury model, Costco has options to fit every budget. The affordability of Costco’s kitchen faucets makes it possible for homeowners to upgrade their kitchen with a new faucet without breaking the bank. Furthermore, Costco frequently offers promotions and discounts on their kitchen faucets, allowing customers to enjoy additional savings on their purchase.
Conclusion
Installing a kitchen faucet from Costco is a simple and straightforward process that can be done with a few basic tools and some time. By following the step-by-step instructions provid in this guide, you can easily install a new kitchen faucet from Costco and enjoy a fresh, update look for your kitchen. If you have any concerns or encounter any issues during the installation process, it’s always best to consult with a professional plumber for assistance.