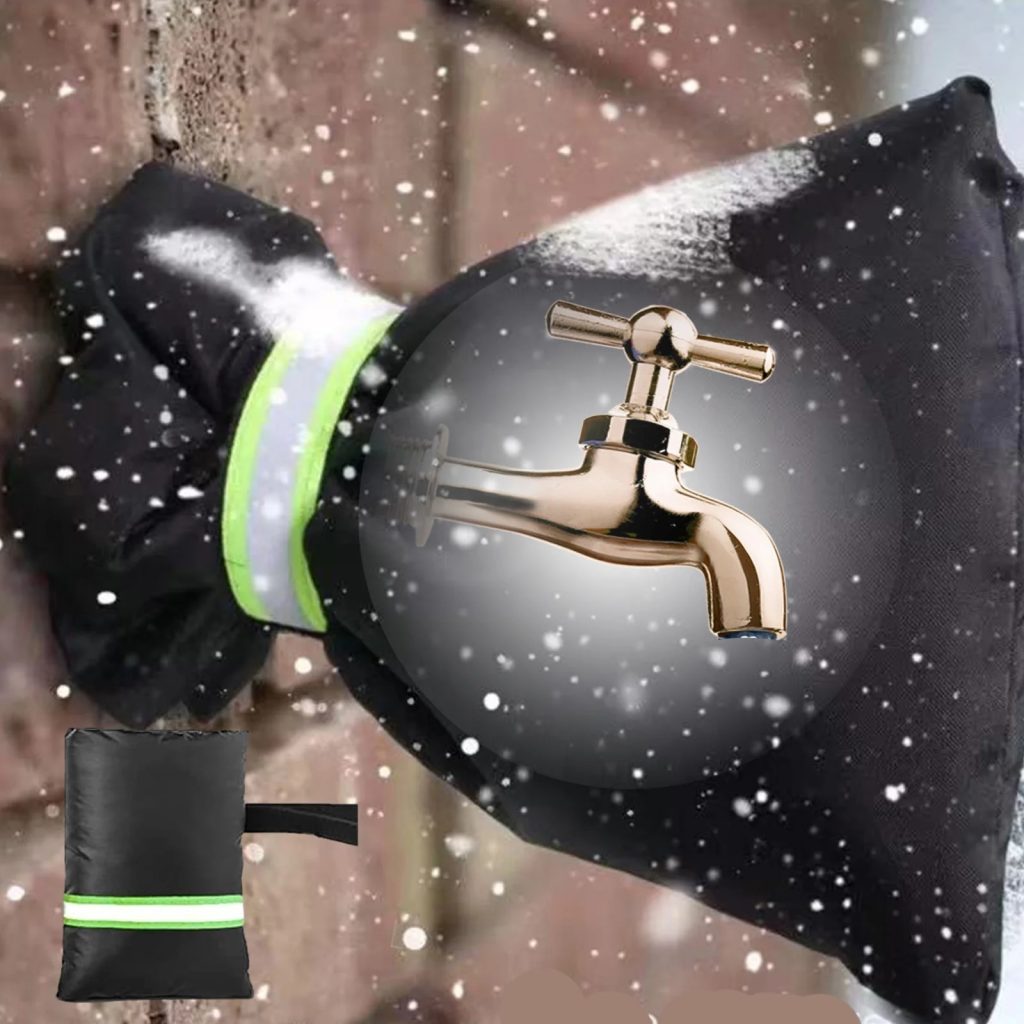
Importance of Protecting Outdoor Faucets in Cold Weather
How to cover faucets in winter? Protecting outdoor faucets in winter is crucial. When water freezes, it expands and can cause pipes to burst. This can lead to costly repairs. Covering faucets adds a layer of insulation to prevent freezing. Insulated covers help maintain heat. They stop frost from forming on faucet metal. Faucet covers are simple but effective. They are worth the investment for peace of mind. Burst pipes from freezing are not only inconvenient; they can cause serious water damage. Especially in colder climates, it’s essential to take proactive steps. Covering faucets is an easy way to protect your home’s plumbing.
When to Consider Covering Your Exterior Faucets
How to cover faucets in winter? As winter approaches, determining when to cover your outdoor faucets is key. Not all climates require it, but being prepared is vital. Covering faucets is most crucial when temperatures drop below freezing for several hours. This often means when forecasts predict 28 degrees Fahrenheit or lower. Early preparation prevents last-minute rushes and supply shortages.
Consider covering your faucets:
- When a freeze warning is issued in your area.
- If temperatures are expected to plummet overnight.
- Before the onset of the winter season, especially in cold climates.
Materials and Tools Needed for Faucet Insulation
To insulate your outdoor faucets effectively, you will need some specific materials and tools. Ensuring you have the right supplies on hand before the cold weather hits can make the insulation process easier and more effective. Below is a list of the essentials to gather:
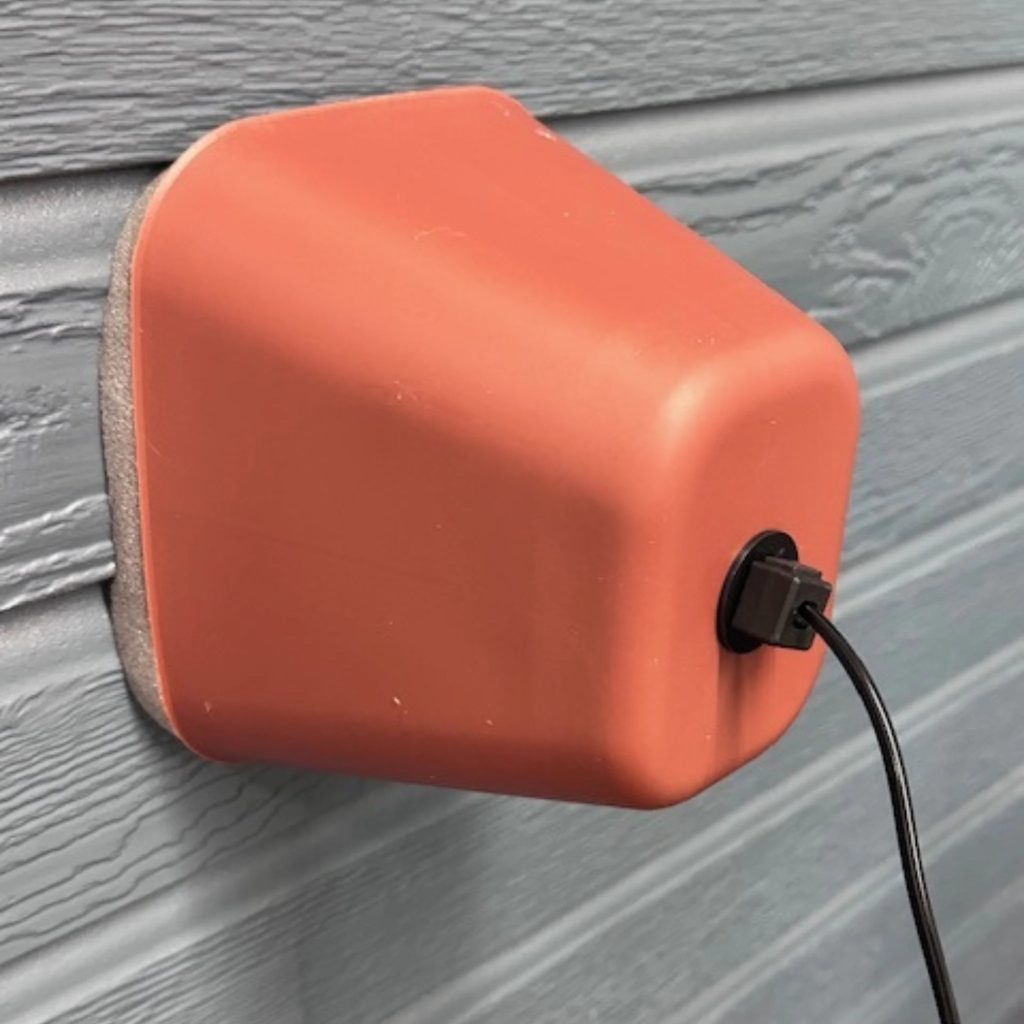
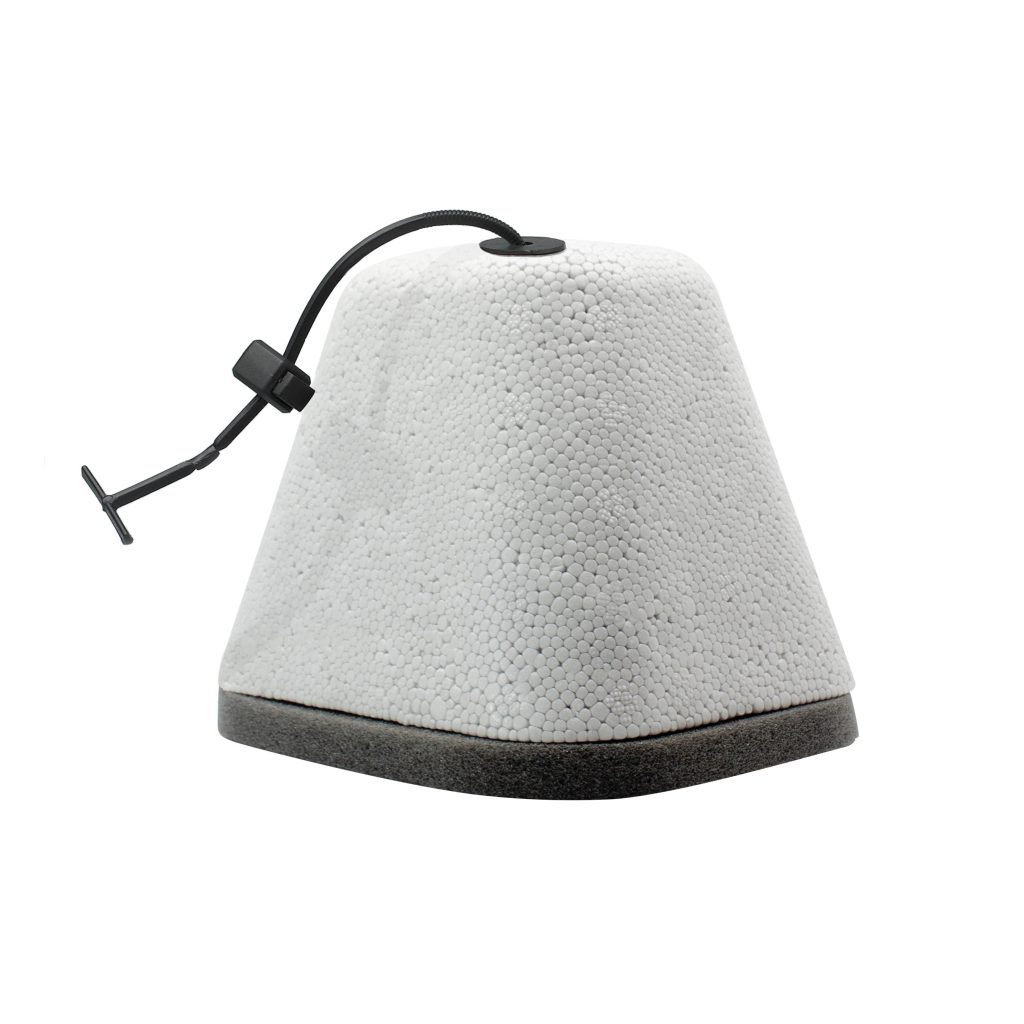
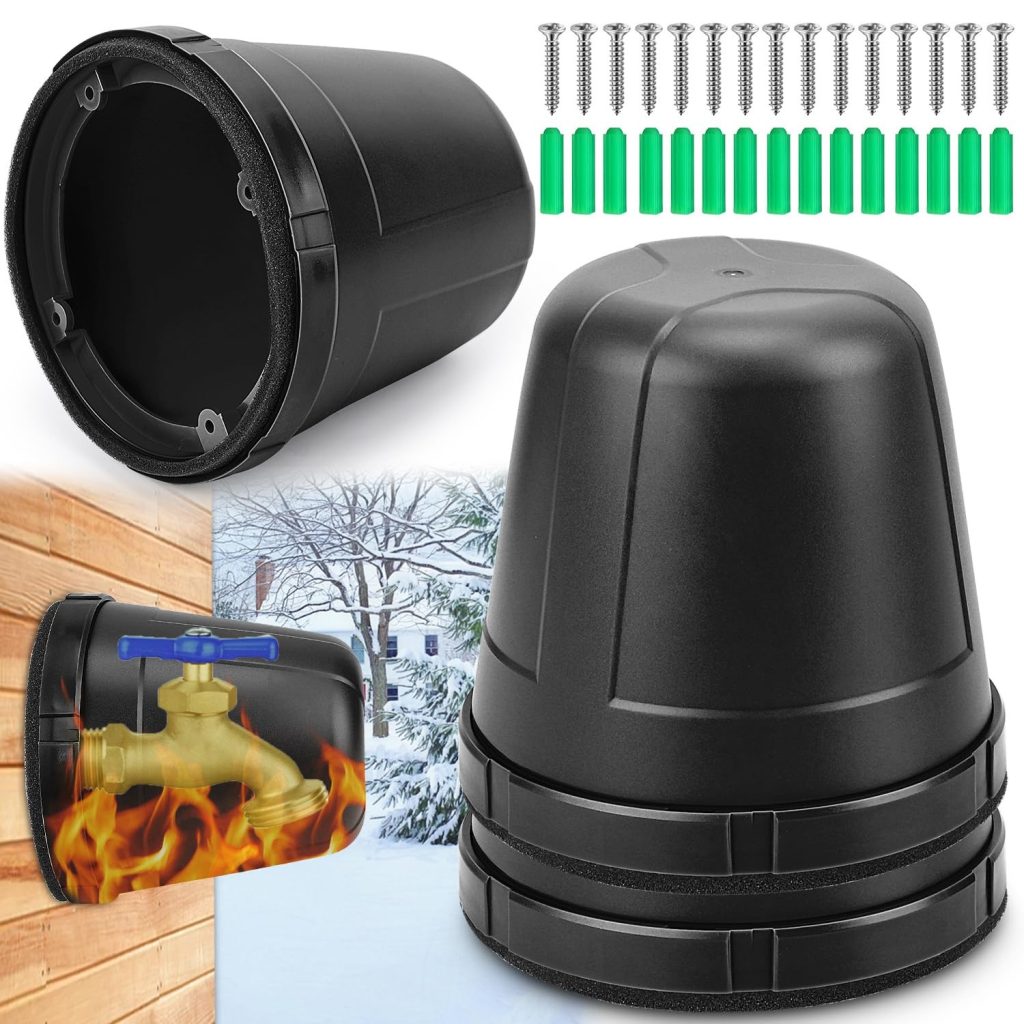
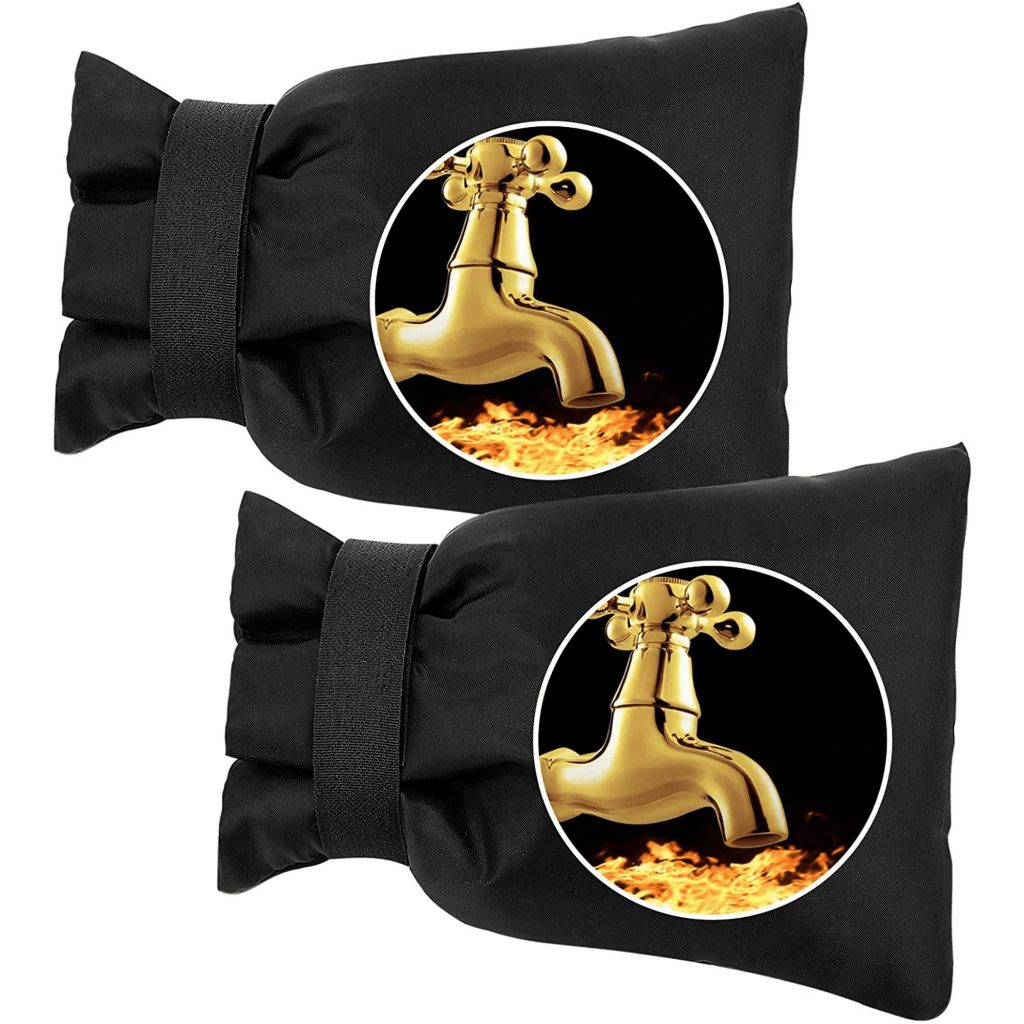
- Insulation covers: Commercial faucet covers are ideal. They are built for insulation and ease of use.
- Old towels or rags: Useful for wrapping around pipes and faucets for added insulation.
- Large ziplock bags or plastic shopping bags: To provide a waterproof barrier over the insulation.
- Duct tape or packing tape: To secure the bags and insulation in place.
- String or twist ties: An alternative to tape, if needed, for fastening.
For a quick DIY solution, you can use household items. An old shirt or a towel, combined with a plastic bag and tape, can suffice. Simply wrap the material around the faucet for insulation, cover with the bag, and secure with tape.
DIY Methods to Cover and Insulate Outdoor Faucets
- Use Old Towels or Shirts: Wrap your faucets tightly with old towels or shirts. This adds a layer of insulation against the cold.
- Secure with Bags: Over the fabric, place a large ziplock bag or plastic shopping bag. This creates a waterproof shield.
- Tape Everything: With duct tape or packing tape, secure the bags to keep them in place. Ensure no part of the faucet is exposed.
- String or Twist Ties: If tape is not available, use string or twist ties to fasten the covering snugly.
- Layer Up: For extra protection, consider adding multiple layers of fabric before securing the bag.
Preparing these items before the cold season hits will save time. It also ensures you’re not caught unprepared. Additionally, as highlighted by bloggers from colder climates, such as those in Colorado, utilize extra insulating materials like wool or bubble wrap for heightened protection in extreme cold.
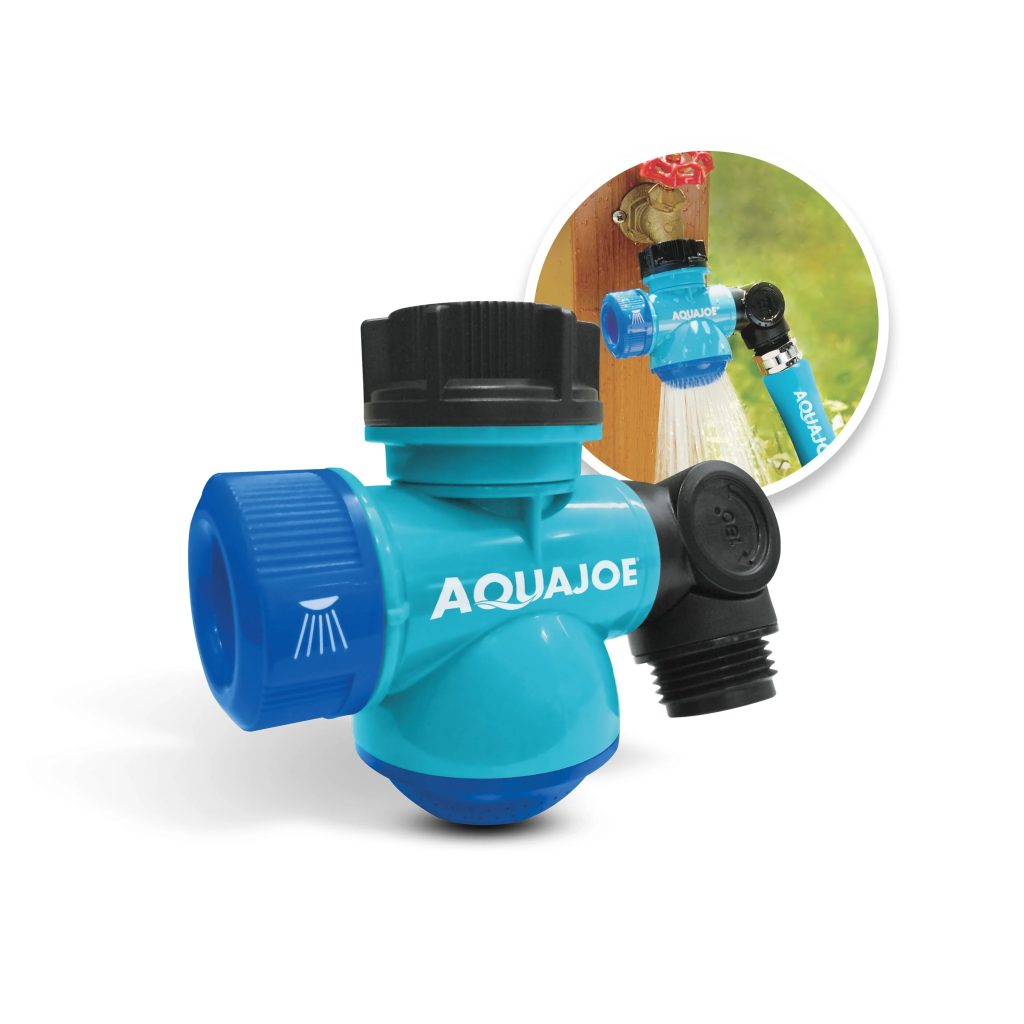
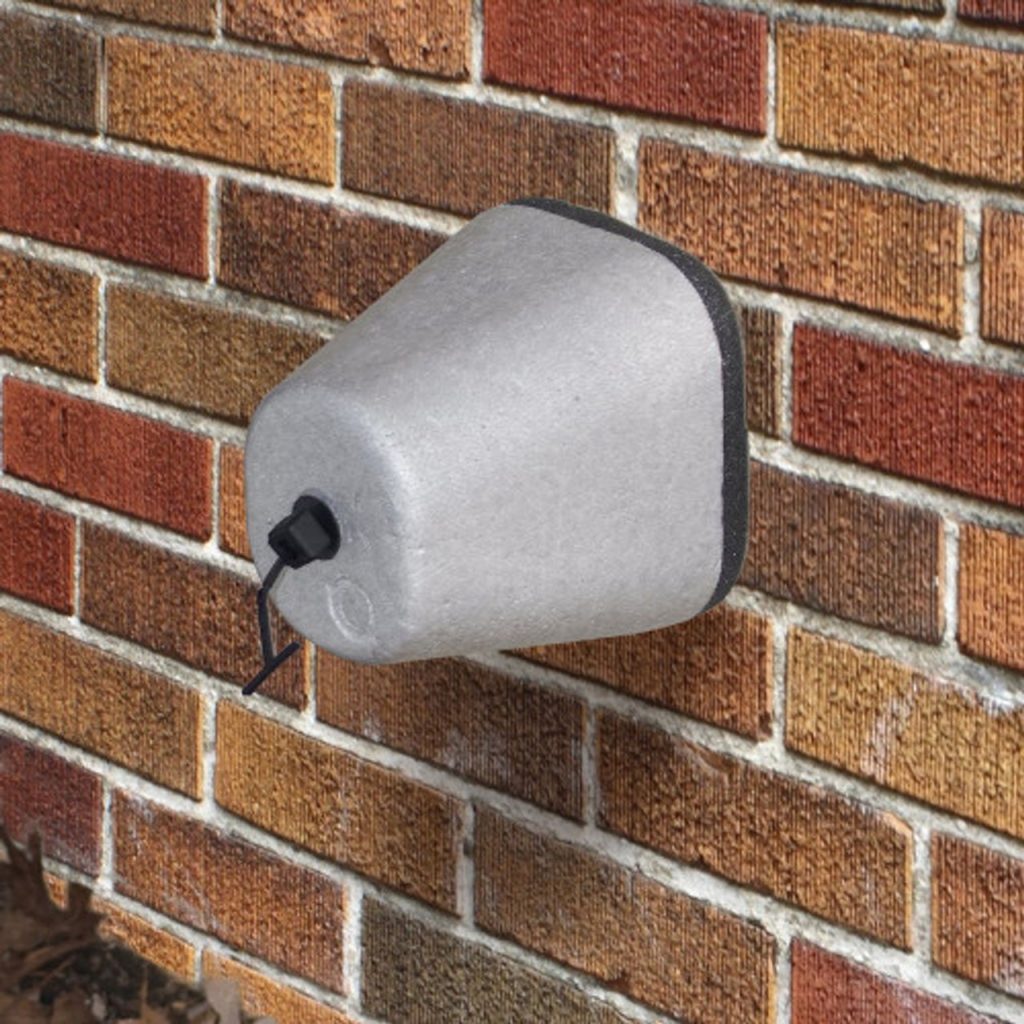
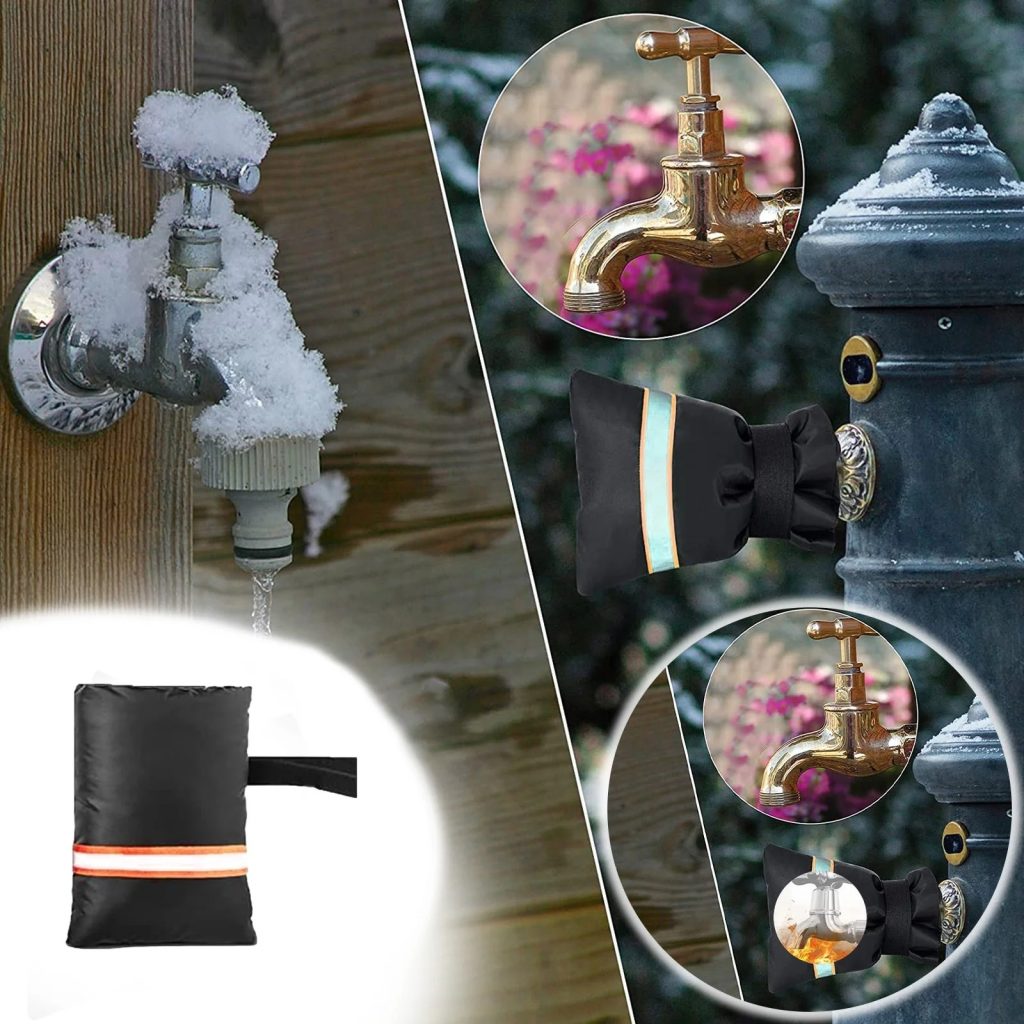
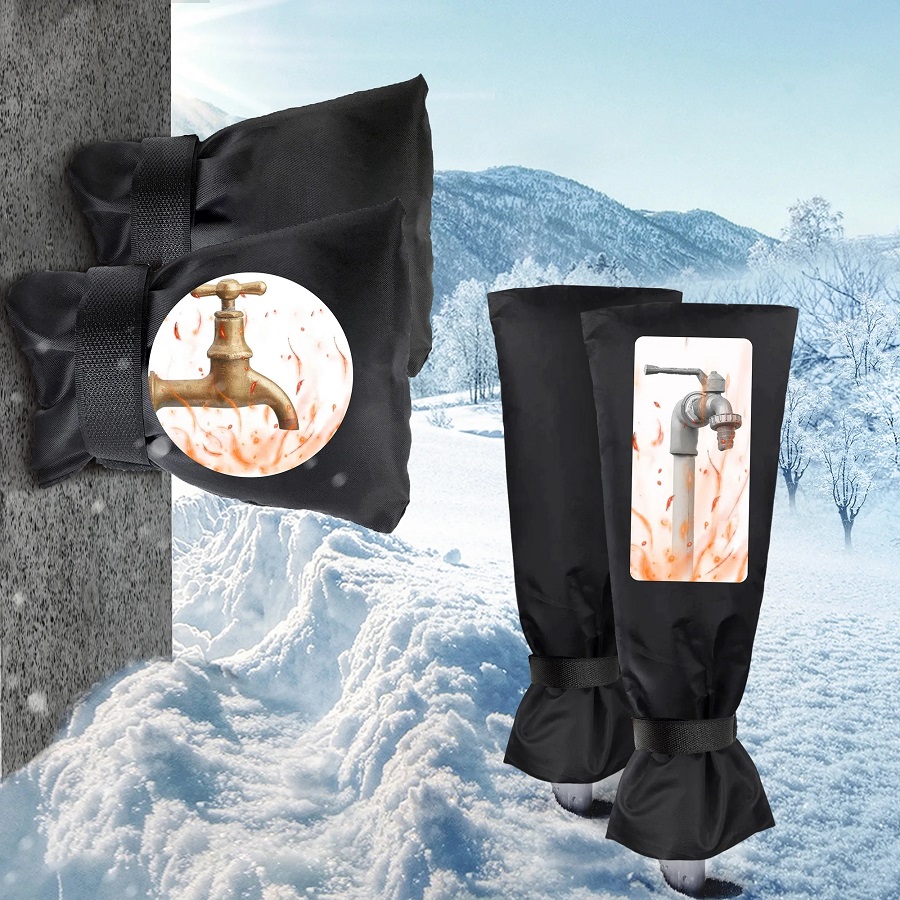
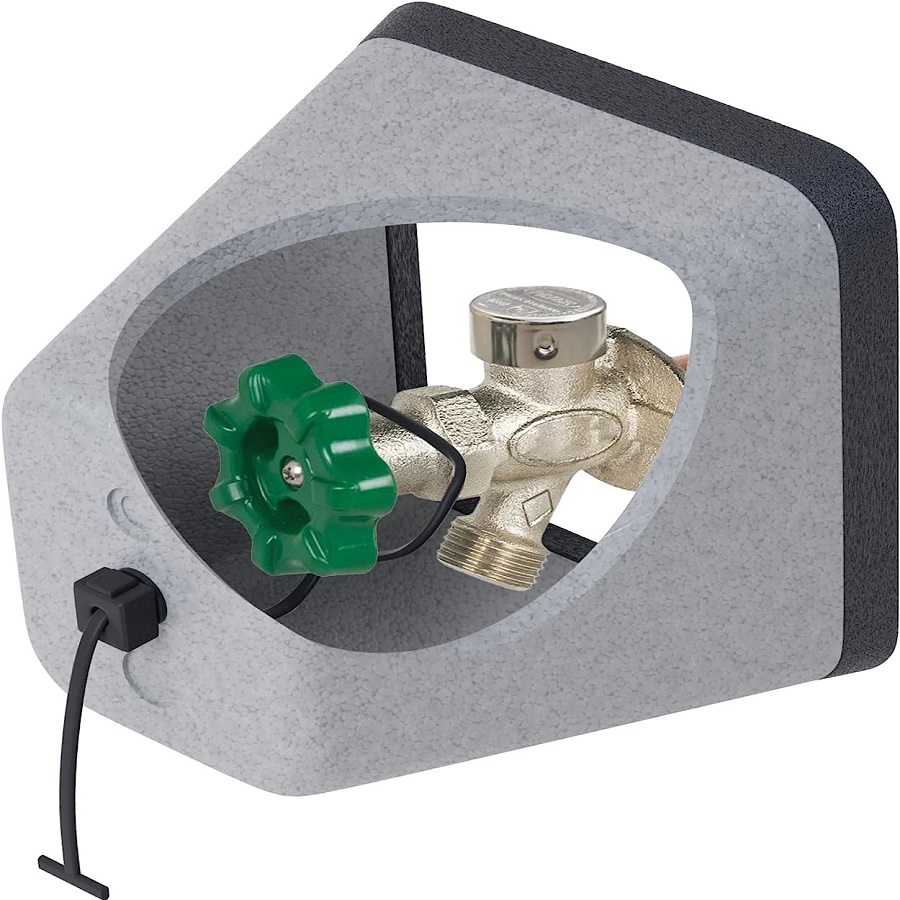
Commercially Available Faucet Covers and Their Benefits
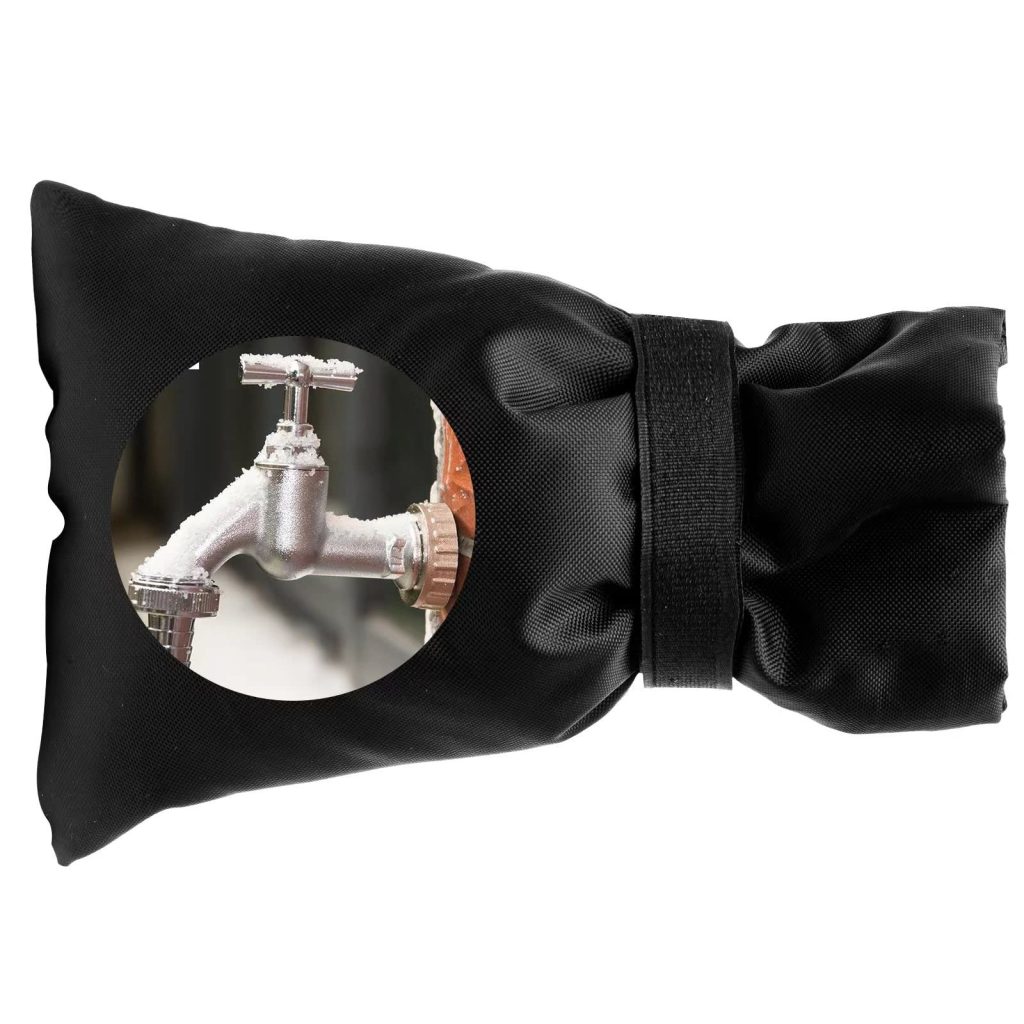
Commercial faucet covers are easy to use. They provide effective insulation for outdoor faucets. These specialized covers help prevent freezing. This saves you money on costly repairs. Most covers are affordable and durable. They are designed for quick installation and removal.
Advantages of Using Store-Bought Covers
- Simple Installation: Most covers have a simple slip-on design. This makes them easy to put on and take off.
- Built-in Insulation: They come with integrated insulation material. This offers better protection than DIY methods.
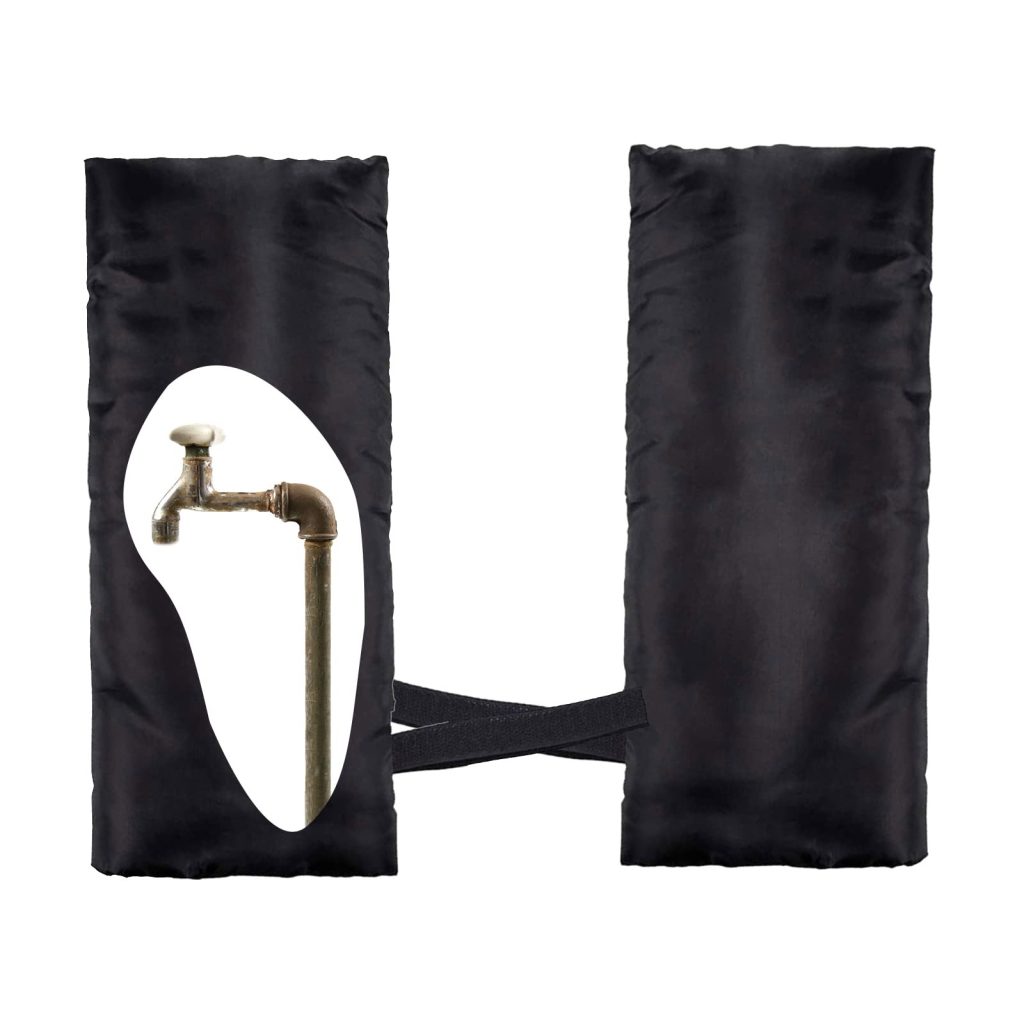
- Durability: Commercial covers are made to last. They withstand cold weather and prevent freezing.
- Efficiency: Their design ensures faucets are completely covered. This minimizes the risk of freezing.
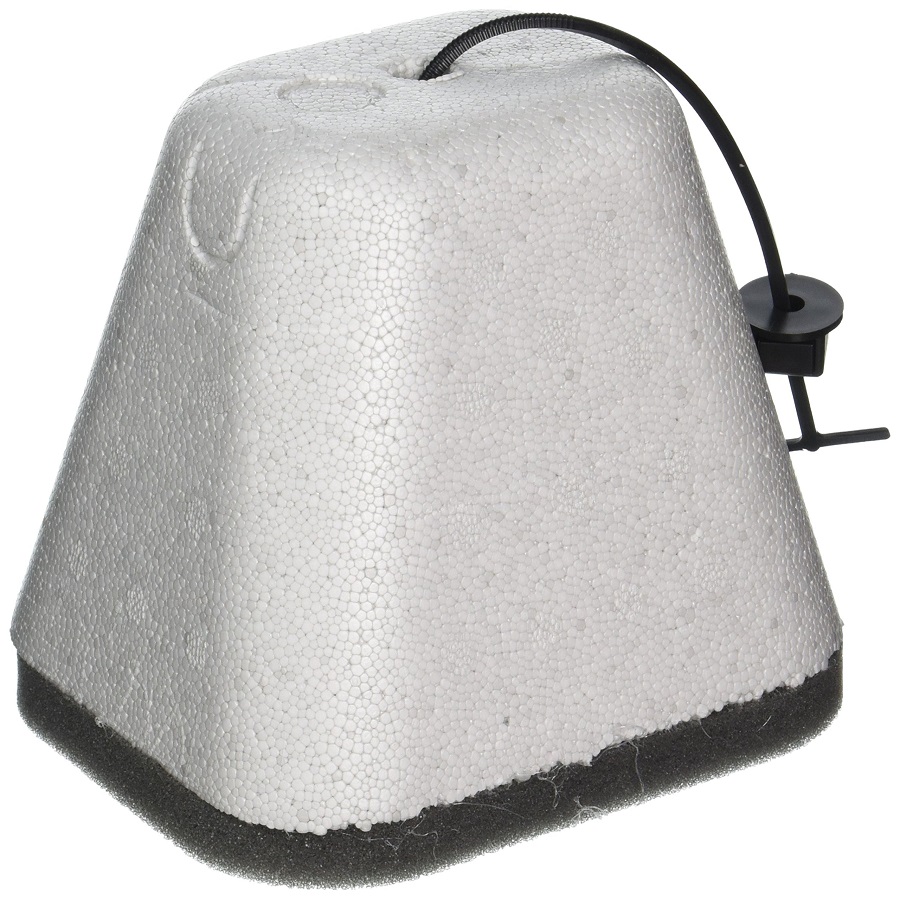
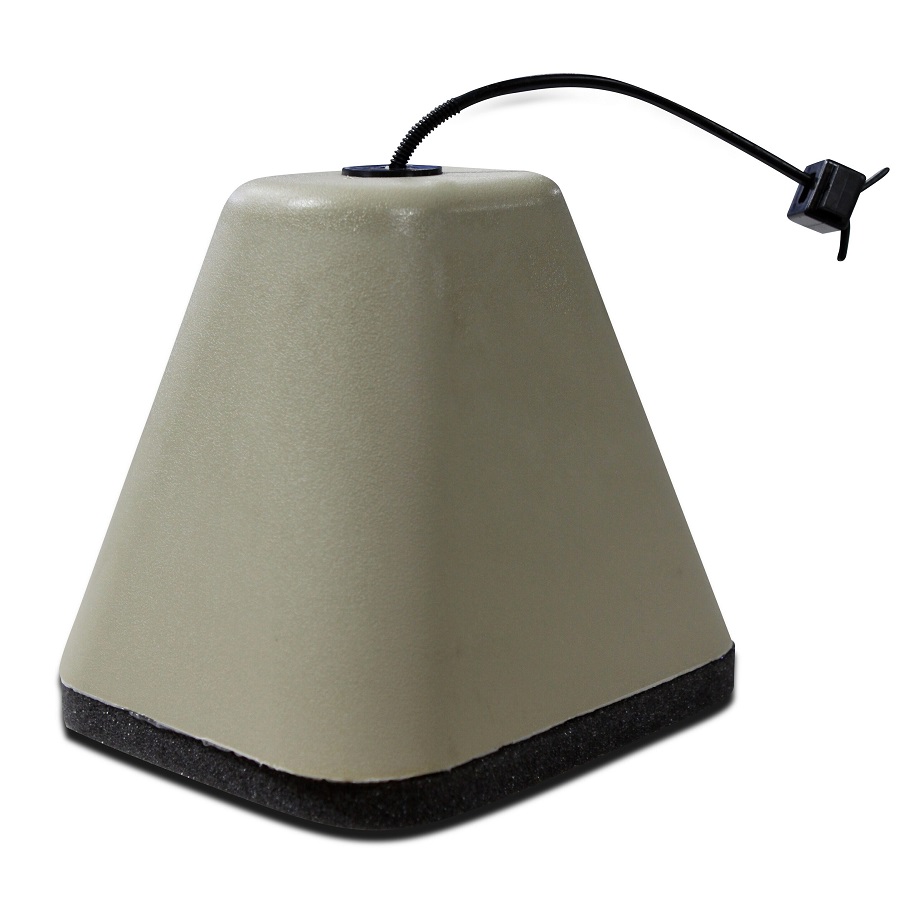
- Cost-Effective: Investing in faucet covers can prevent expensive damage. They are cheaper than plumbing repairs.
Store-bought faucet covers are a convenient option. They offer reliable protection during winter. Choose a size that fits your faucet for the best results. Being prepared with the right cover can save you from the trouble.
Step-by-Step Guide to Winterizing Outdoor Faucets
How to cover faucets in winter? Winterizing outdoor faucets is key to preventing freeze damage. Here’s a simple step-by-step guide to help you secure your exterior faucets against the winter chill:
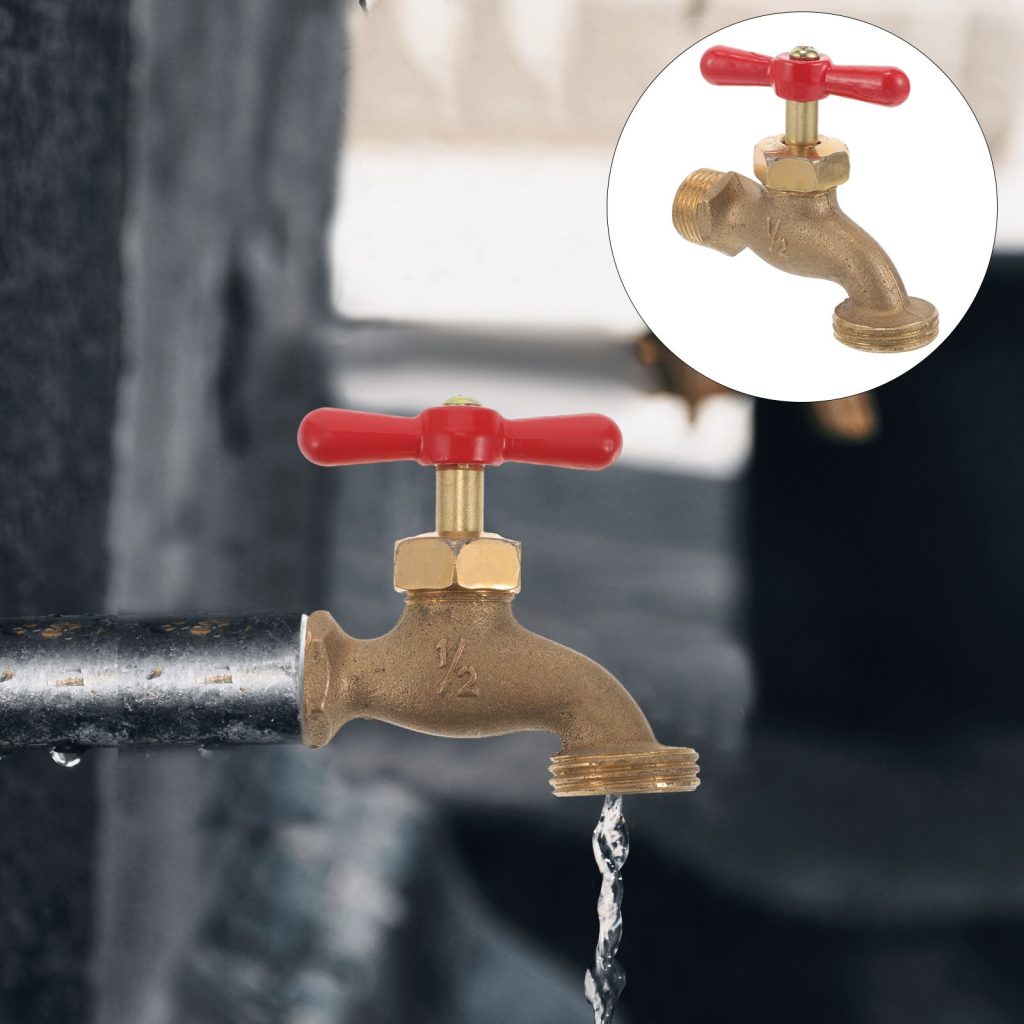
- Locate the Shut-off Valve: Find the indoor valve that controls water flow to your outdoor faucet. This is your first line of defense.
- Turn Off Water Supply: Rotate the shut-off valve to the “off” position. This stops water from reaching the outside.
- Drain the Faucet: Open the outside faucet to let any remaining water drain out. This step is crucial to prevent freezing inside the pipes.
- Detach Hoses: Remove any connected hoses. Water trapped in hoses can freeze, expand, and cause damage.
- Insulate the Faucet: If you don’t have a commercial cover, use an old towel or shirt. Wrap the faucet securely with your chosen fabric.
- Add a Waterproof Layer: Cover the fabric wrap with a plastic bag. This keeps moisture out and insulation dry.
- Secure with Tape or Ties: Use duct tape, packing tape, or ties to fix the bag in place tightly. Ensure no part of the faucet is exposed.
- Double-check Protection: Weave around your work to see that the faucet is fully insulated. It’s worth spending time on this to avoid future hassles.
By following these steps, you can protect your outdoor faucets from freezing temperatures. Regular checks during the winter will make sure the covers stay intact. This guide helps keep your home safe from unwanted and expensive water damage.
Alternatives to Faucet Covers: Dripping vs. Shut-off
When it comes to protecting your faucets in winter, two common approaches besides covering are letting faucets drip or shutting off water supply. Each method has its own advantages, depending on your situation.
Letting Faucets Drip
Allowing your outdoor faucets to drip can prevent freezing. Moving water is less likely to freeze than stagnant water. Here’s why dripping faucets can be beneficial:
- Prevents Ice Formation: A steady drip keeps water moving, reducing the risk of ice.
- Relieves Pressure: Dripping water relieves pressure in the pipes, lowering burst chances.
However, dripping faucets can increase your water bill. It’s also less sustainable and not ideal if water conservation is a priority.
Shutting Off Water Supply
Turning off the water supply to outdoor faucets is another effective measure. Here’s how it helps:
- Stops Water Flow: It completely stops water from reaching the pipes that lead outside.
- Drains Pipes: Allows you to drain remaining water preventing freeze damage.
To shut off the water supply, locate the indoor valve for your outdoor faucet. Turn it off and open the outdoor faucet to drain water. This is the most thorough method, especially in very cold regions.
In conclusion, covering your faucets, letting them drip, or shutting off water are all valid ways to prevent freezing. Choose the best method for your home and climate. Stay prepared, and keep your plumbing safe this winter.
Tips for Preventing Frozen Pipes and Managing Winter Plumbing
How to cover faucets in winter? Preventing frozen pipes starts with proactive measures. Here are effective tips for managing your winter plumbing needs:
- Insulate Pipes: Wrap pipes in insulating materials like foam or fiberglass.
- Seal Leaks: Check for air leaks around your pipes and seal them. Cold drafts can freeze pipes quickly.
- Keep Heat On: Maintain a consistent indoor temperature, even if you’re away, to prevent freezing.
- Let Faucets Drip: When it’s extremely cold, let warm water drip overnight to keep water moving.
- Open Cabinet Doors: This allows warmer air to circulate around plumbing, especially under sinks.
- Apply Heating Tape: Use heating tape on particularly vulnerable pipes as an additional precaution.
- Disconnect Hoses: Remove hoses from outdoor faucets to prevent ice build-up and bursting.
These tips can safeguard your plumbing against freezing and save you from costly repairs. Regularly check your winterization setup to ensure everything is functioning well during the cold season.