Can You Paint Faucets? – DIY Guide

Materials Needed for the Job

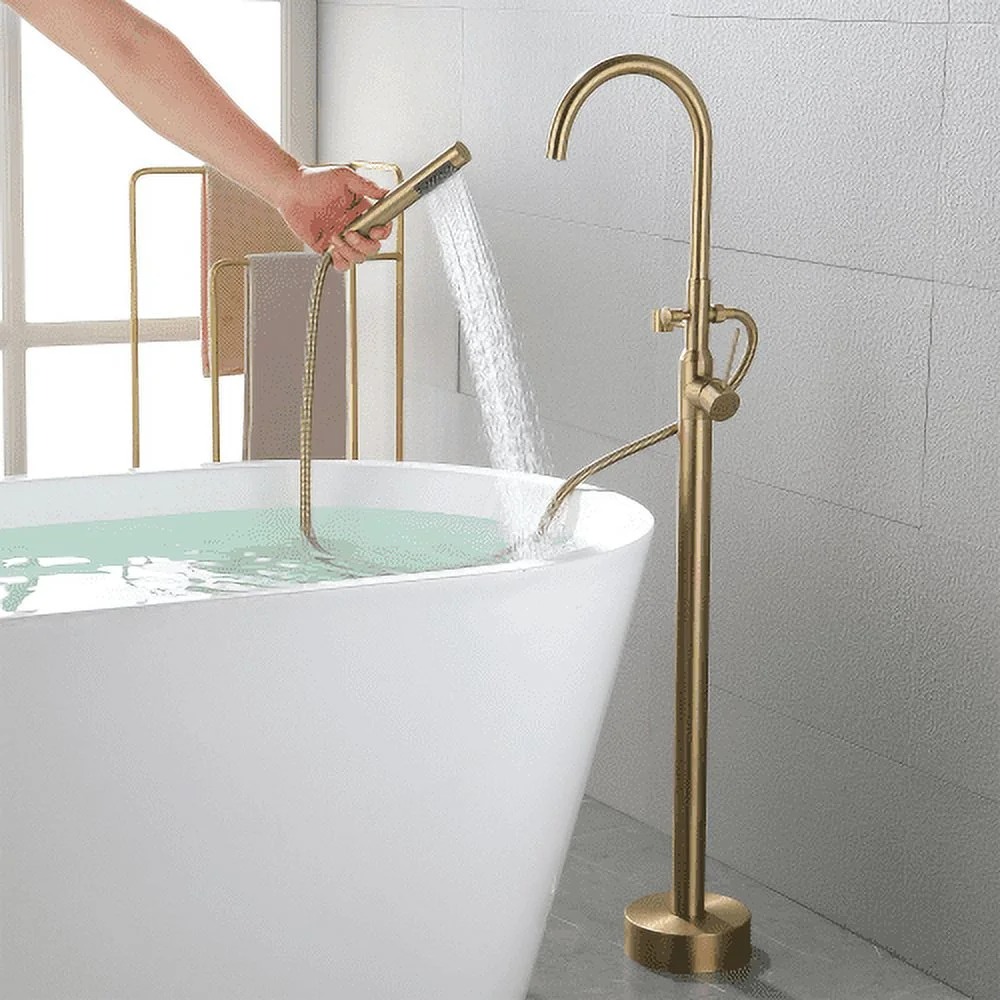
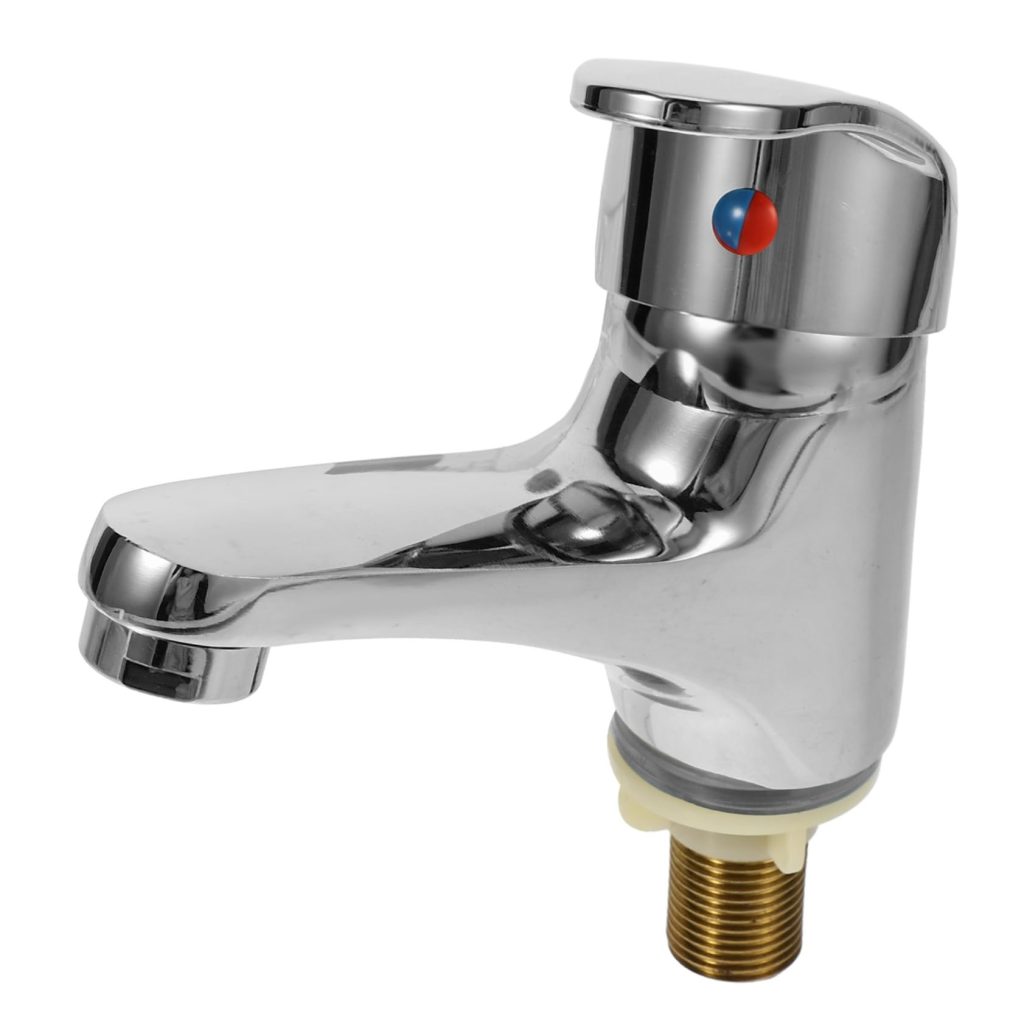
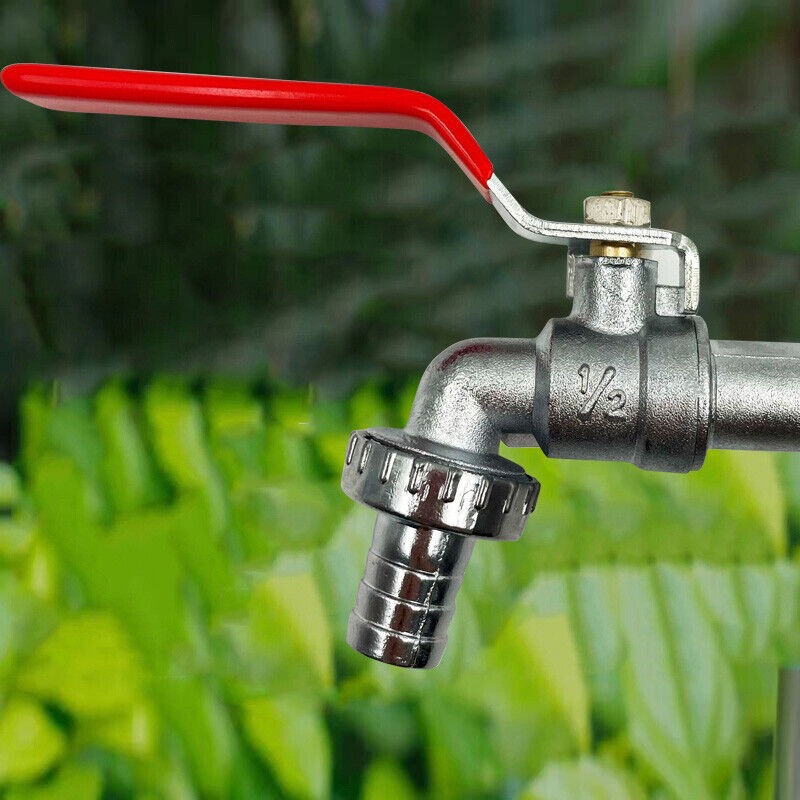
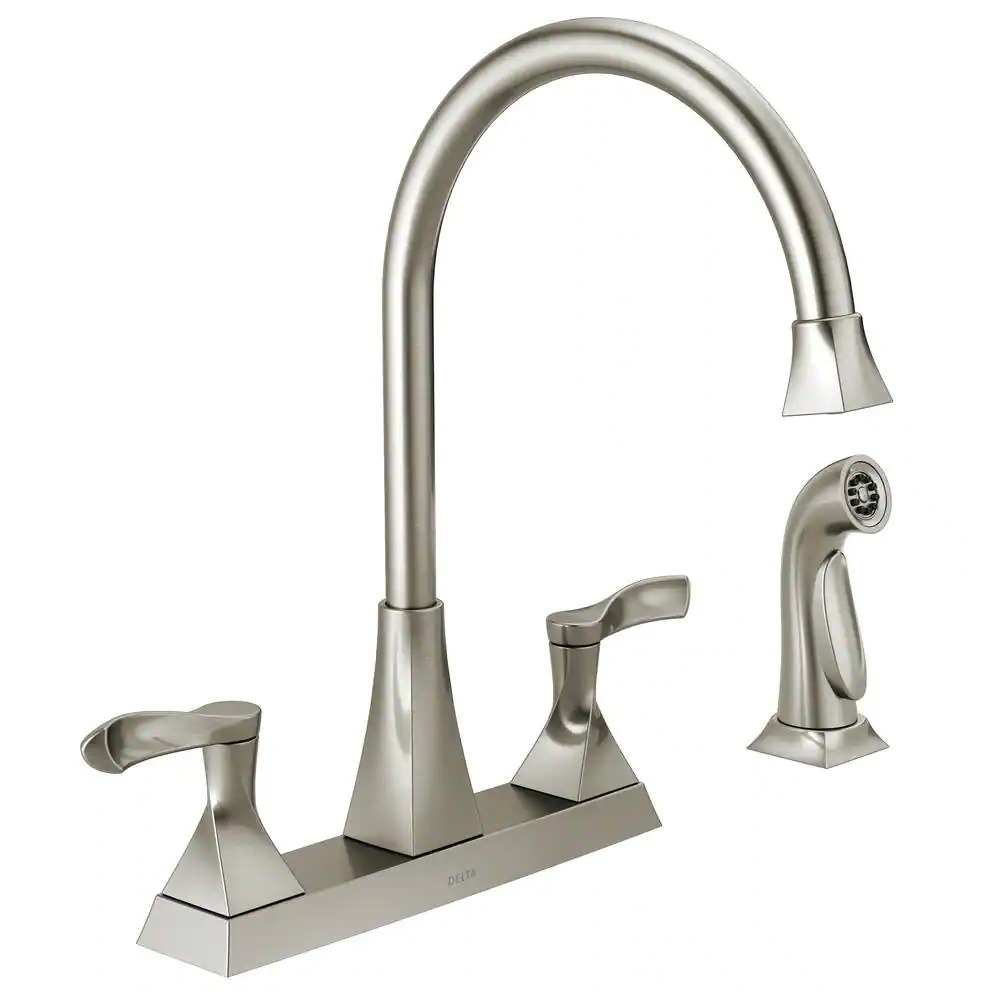
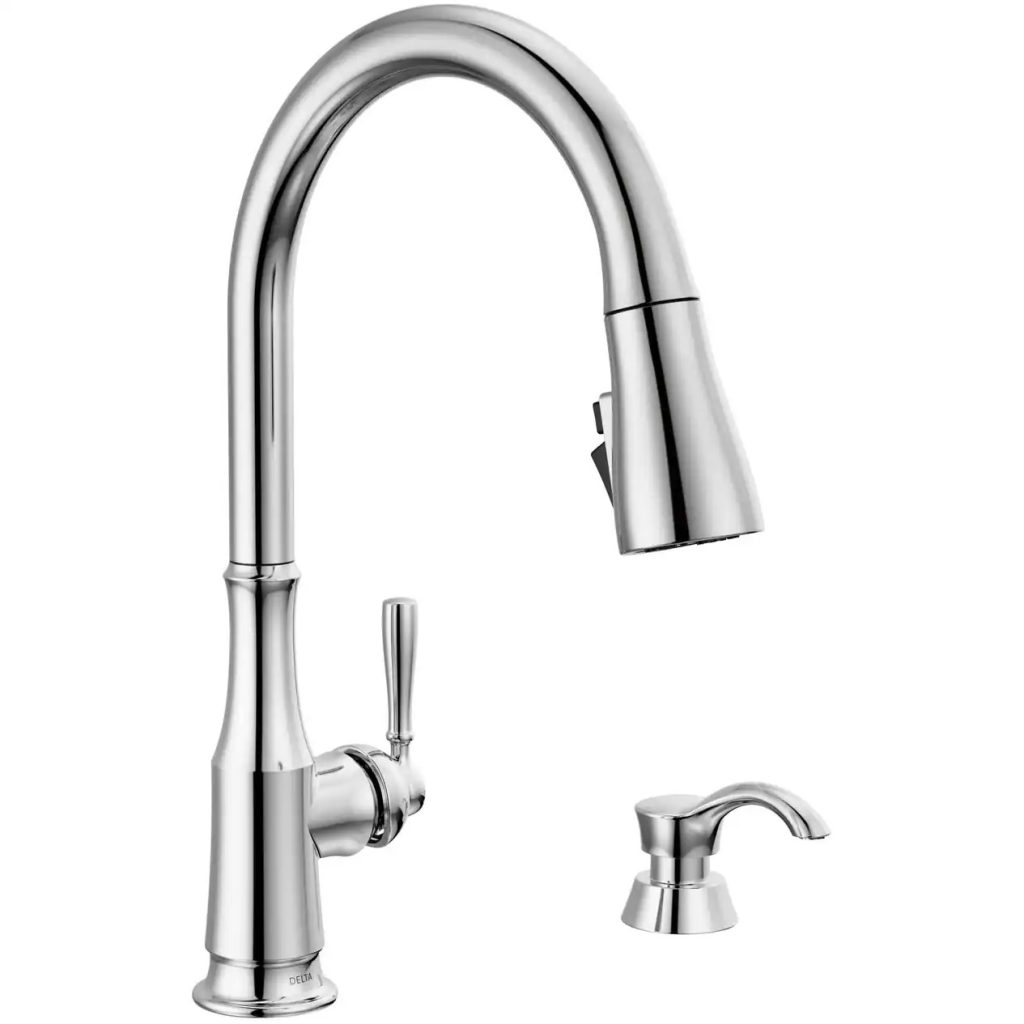
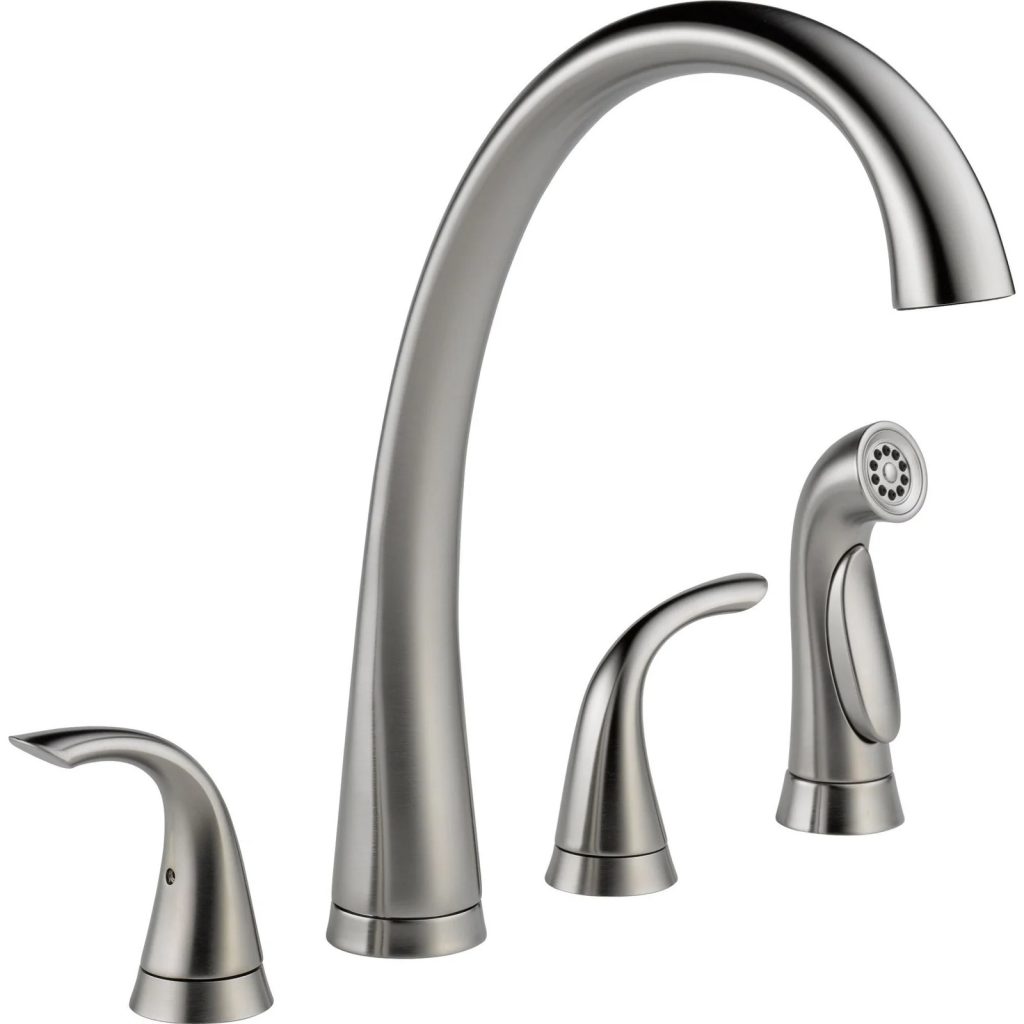
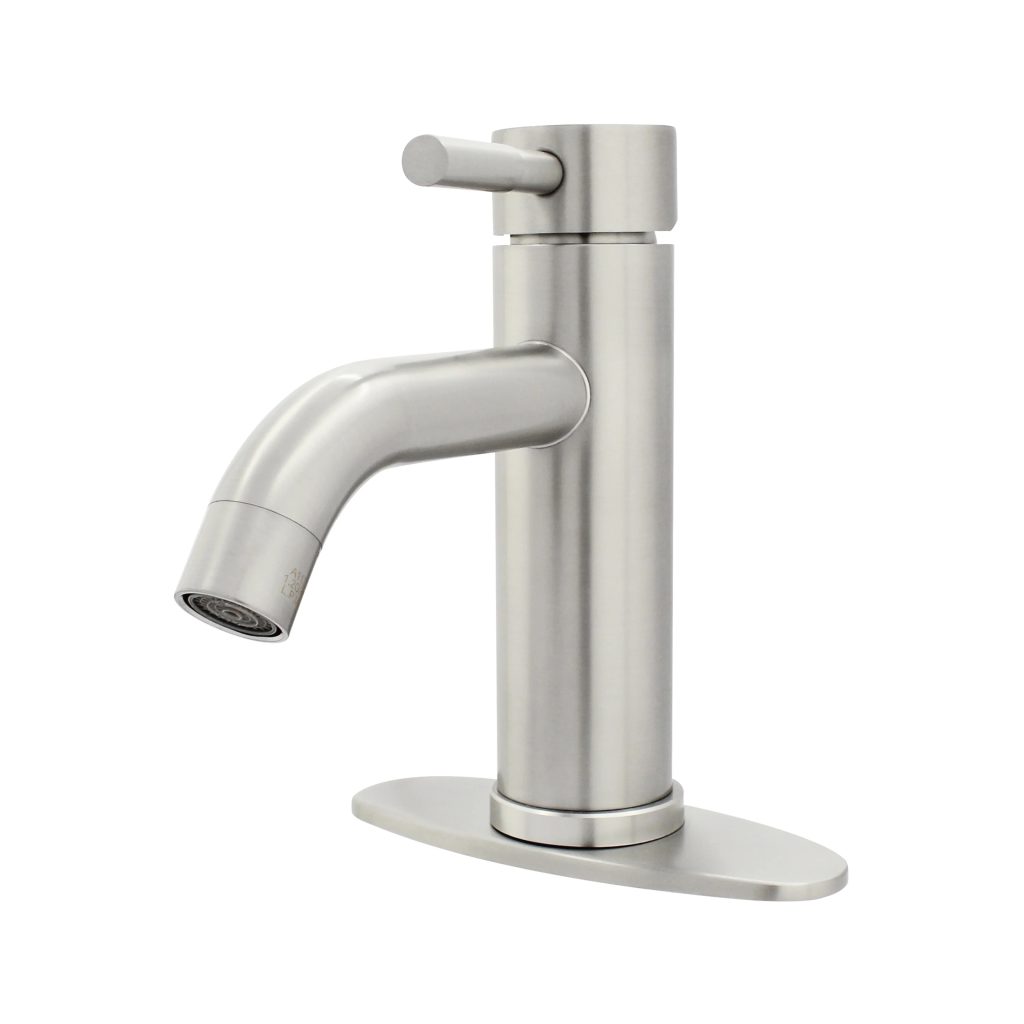
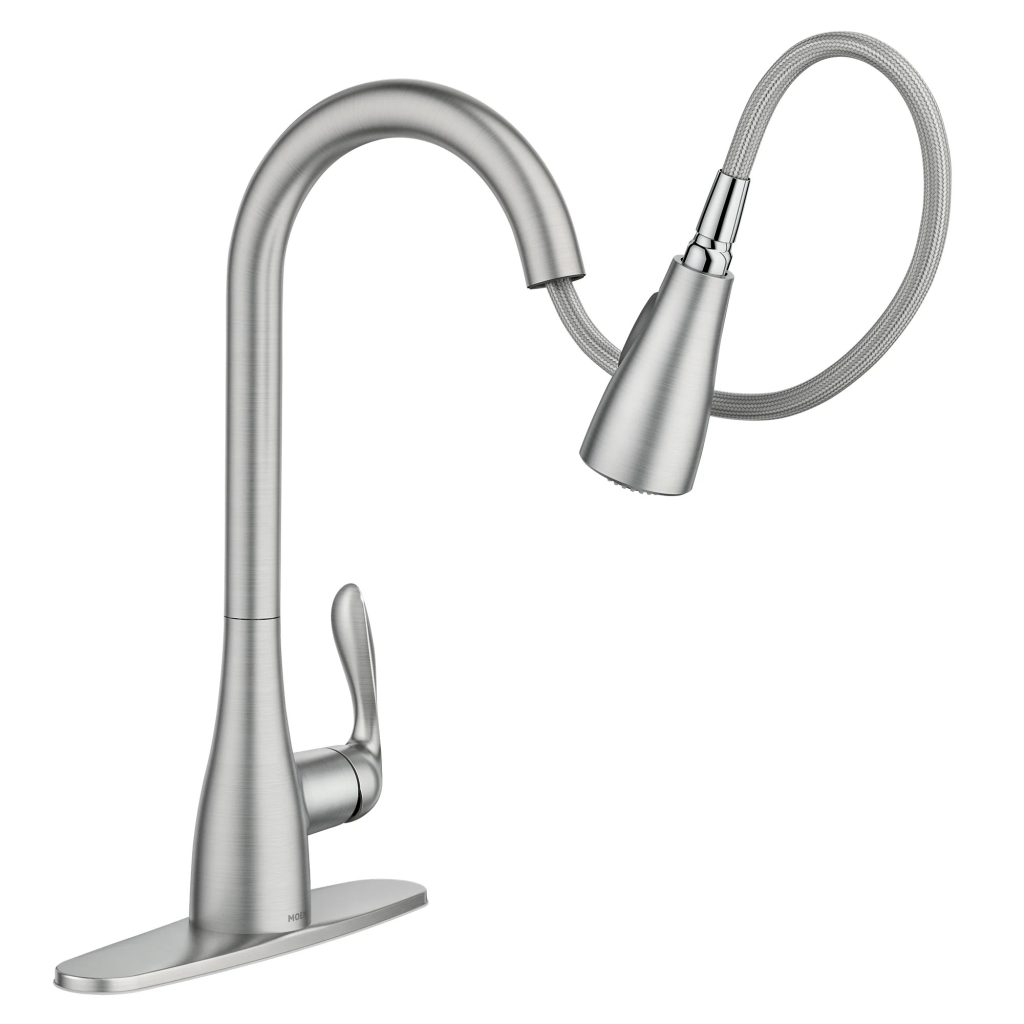
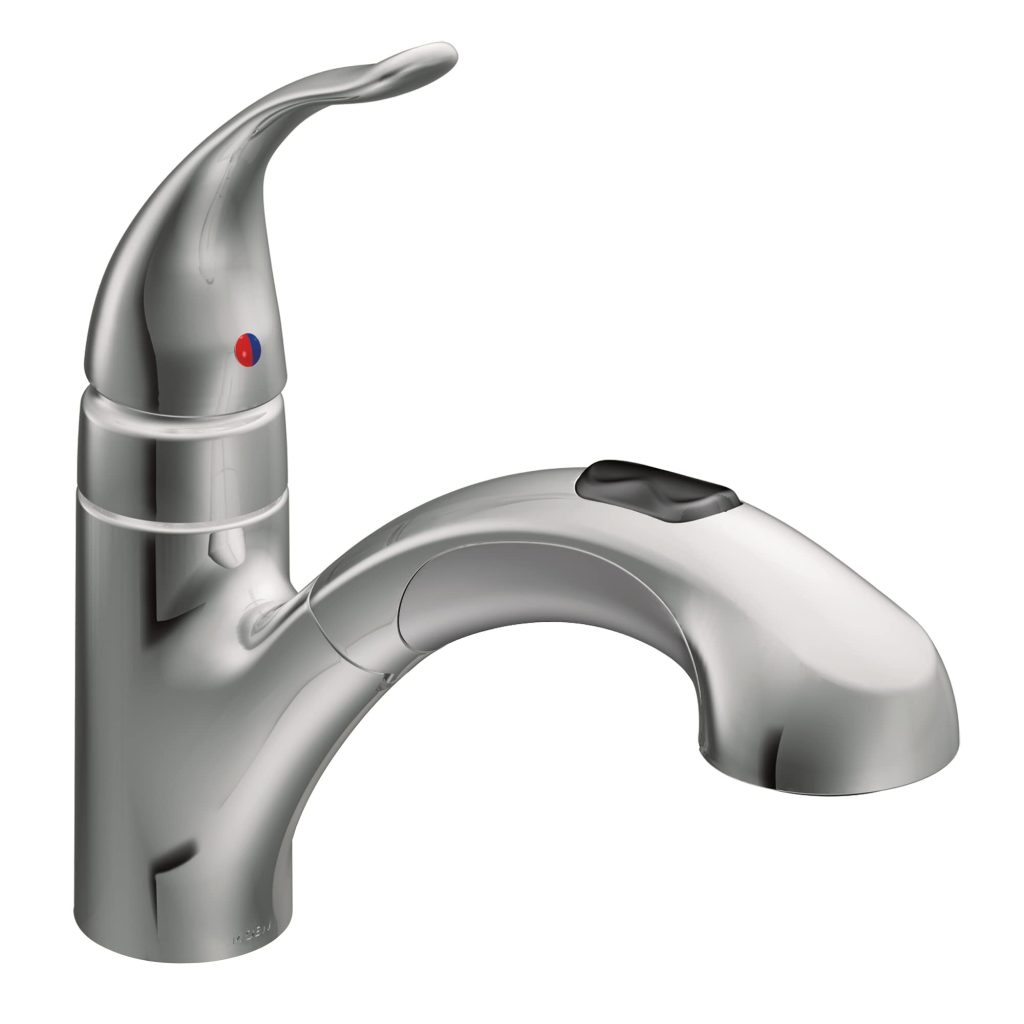
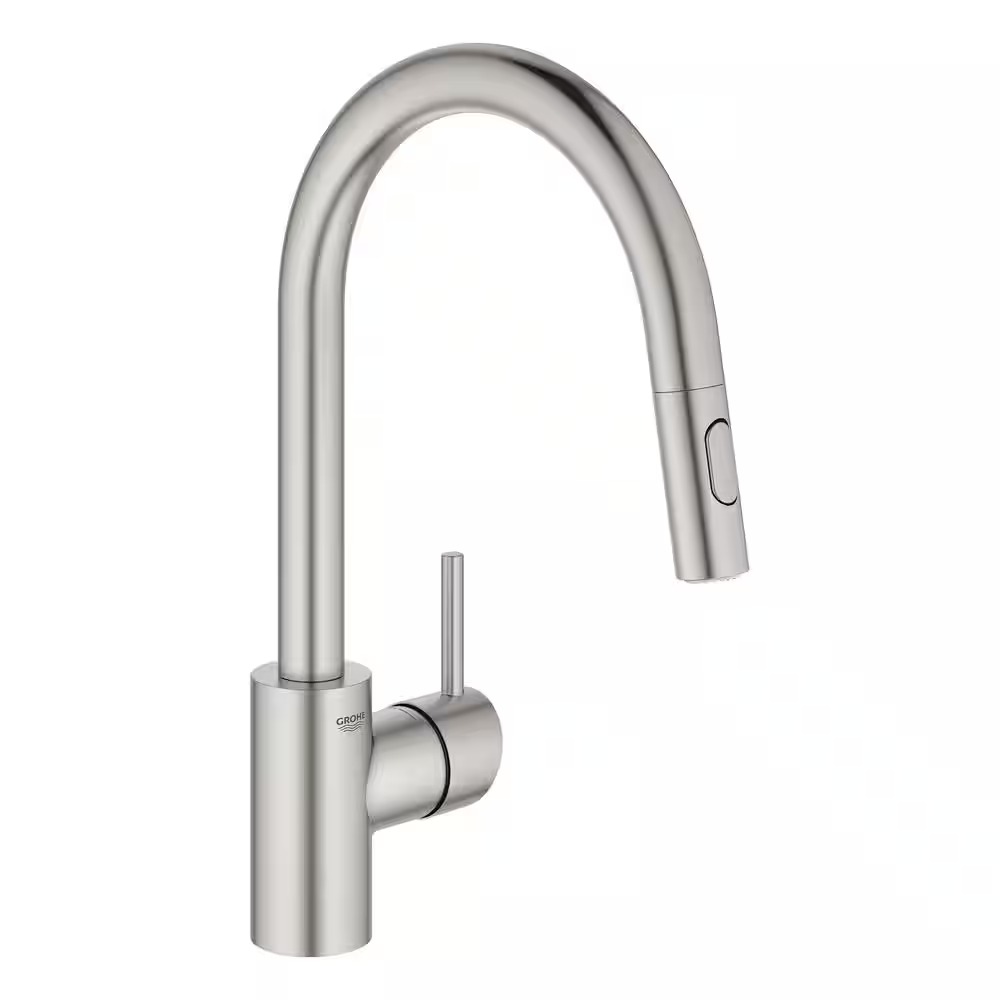
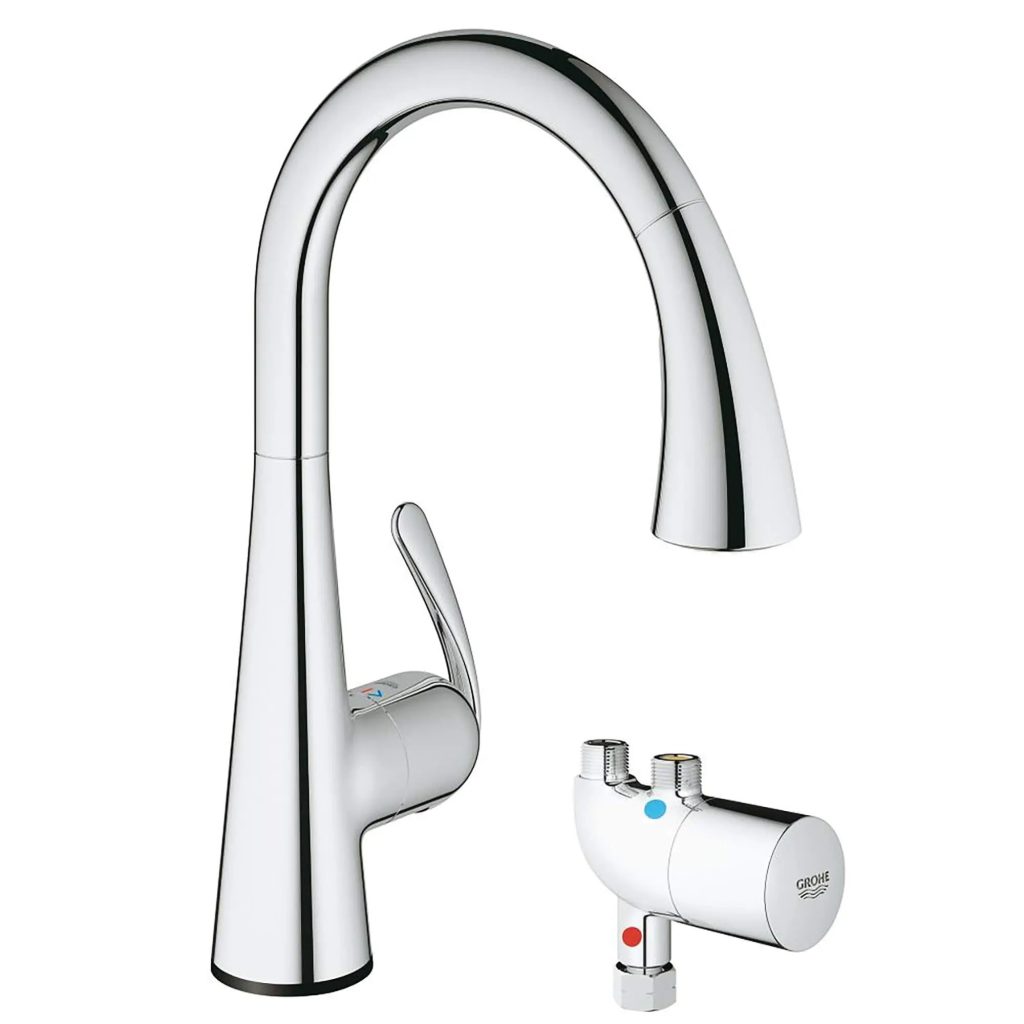
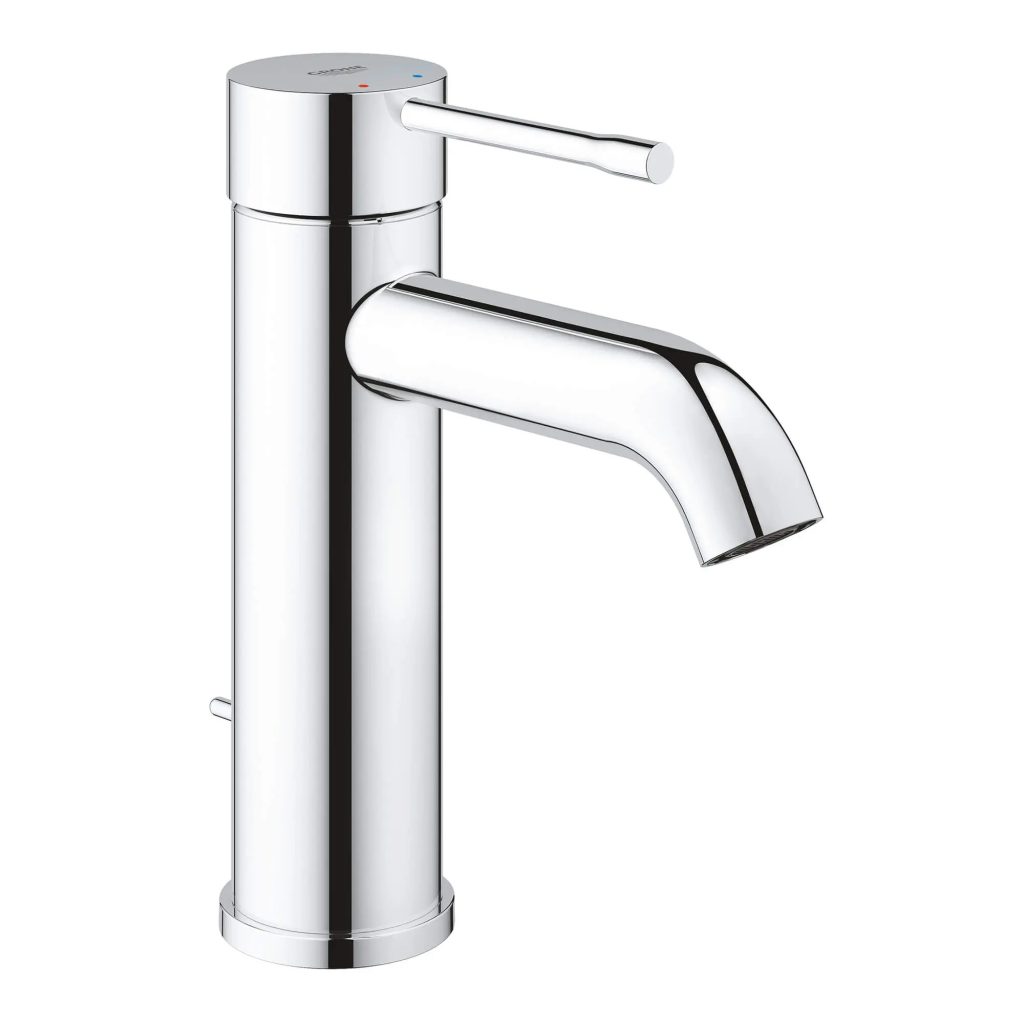
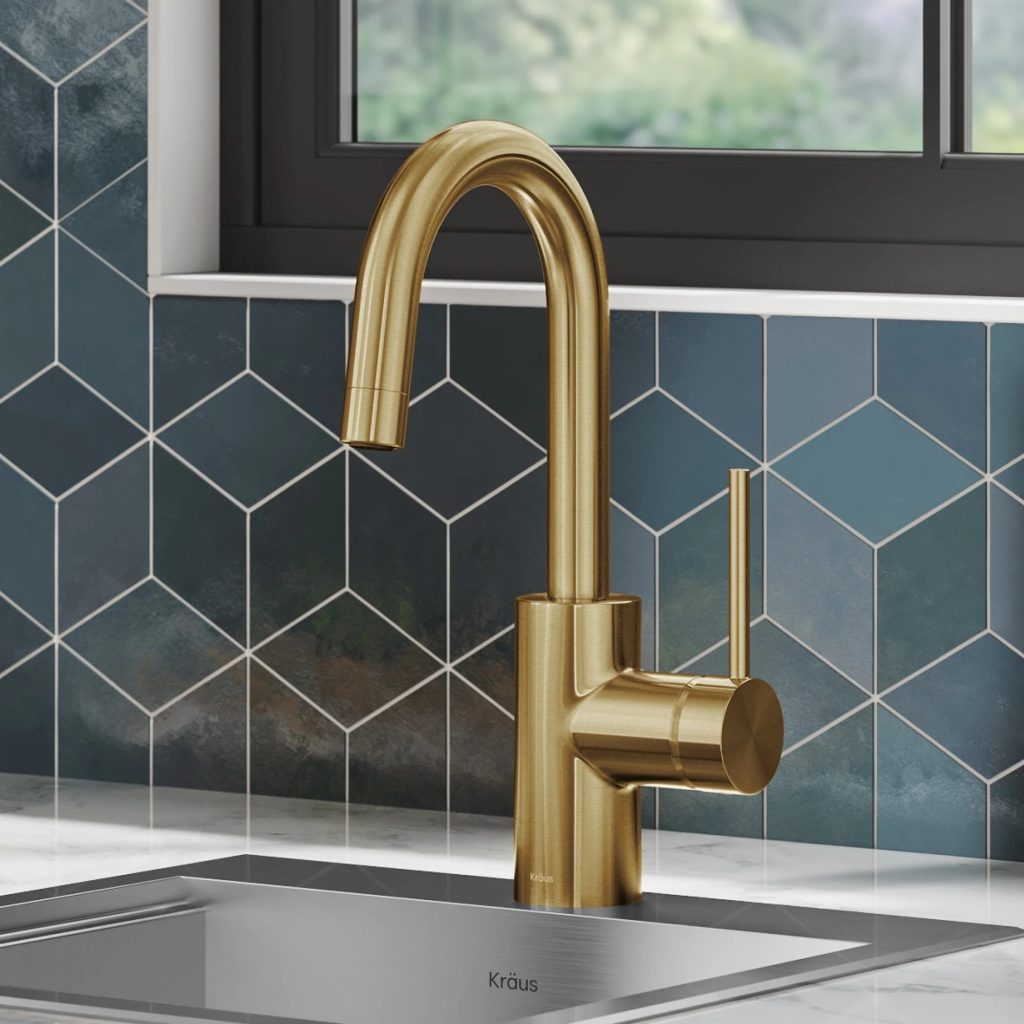
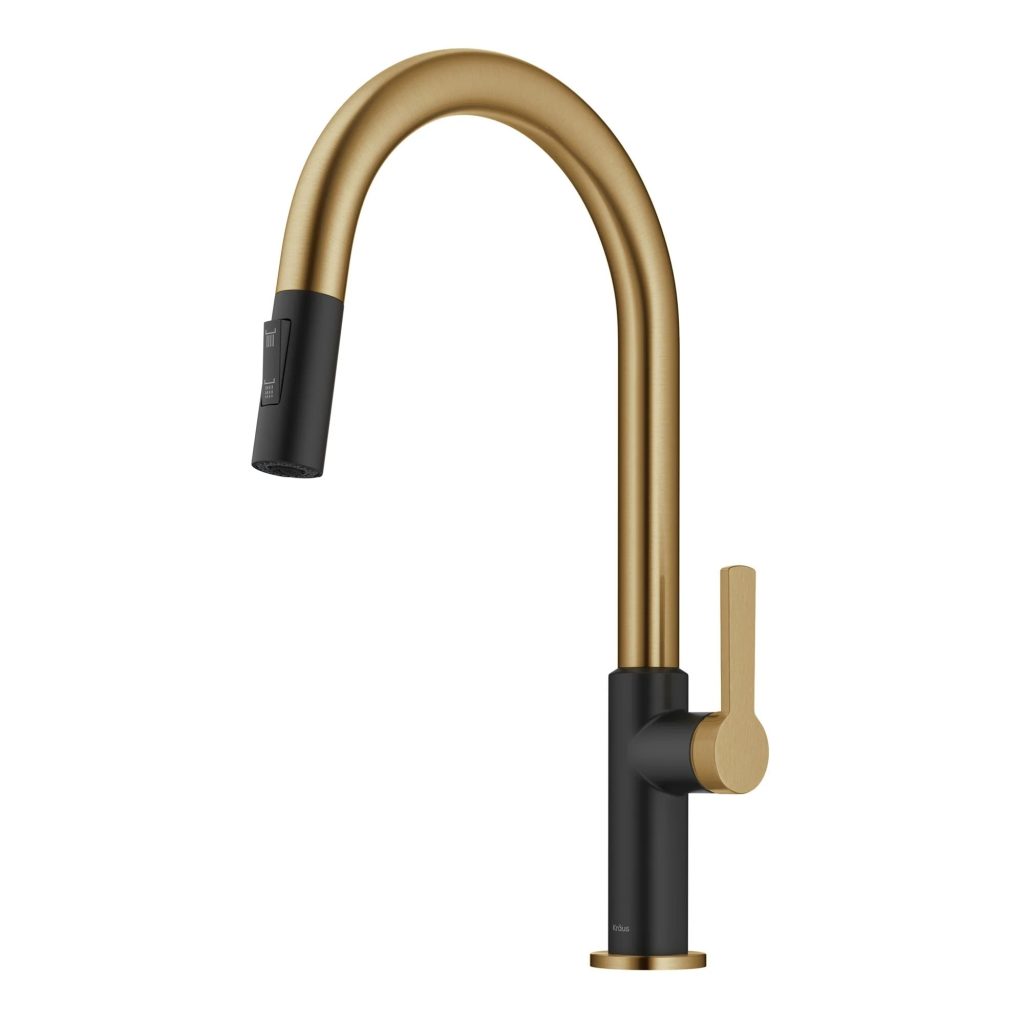
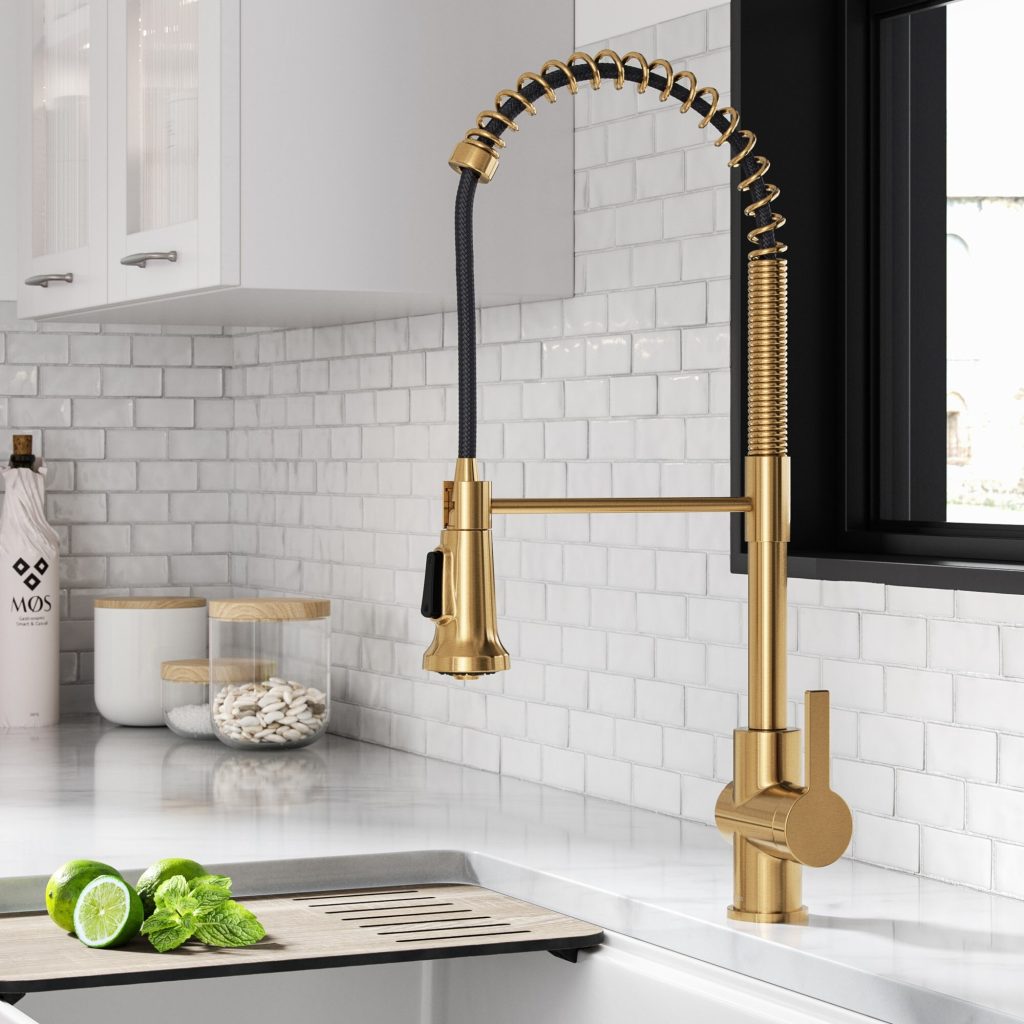
Can you paint faucets? When embarking on a faucet repainting project, it’s crucial to gather all necessary materials beforehand to ensure a smooth process. Here is a list of essential tools and sprays required for the job:

paint faucets

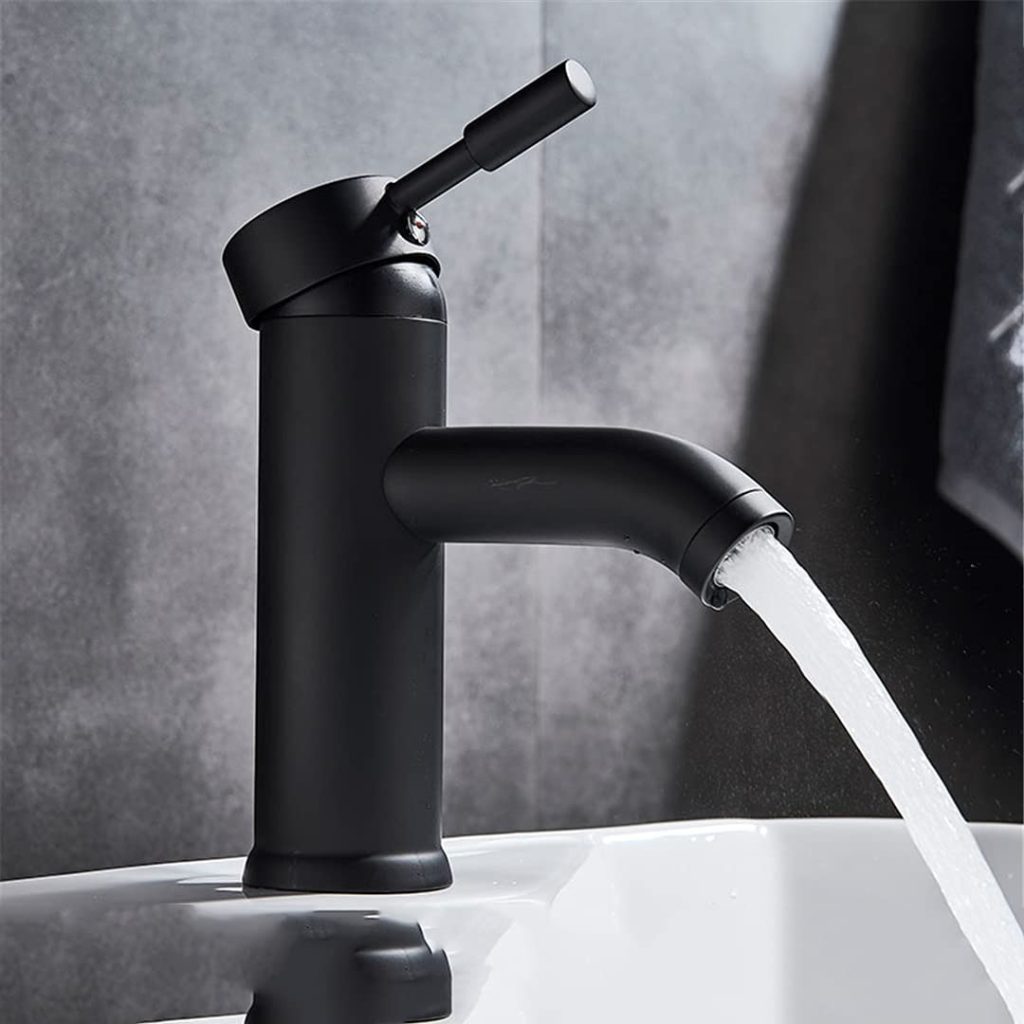
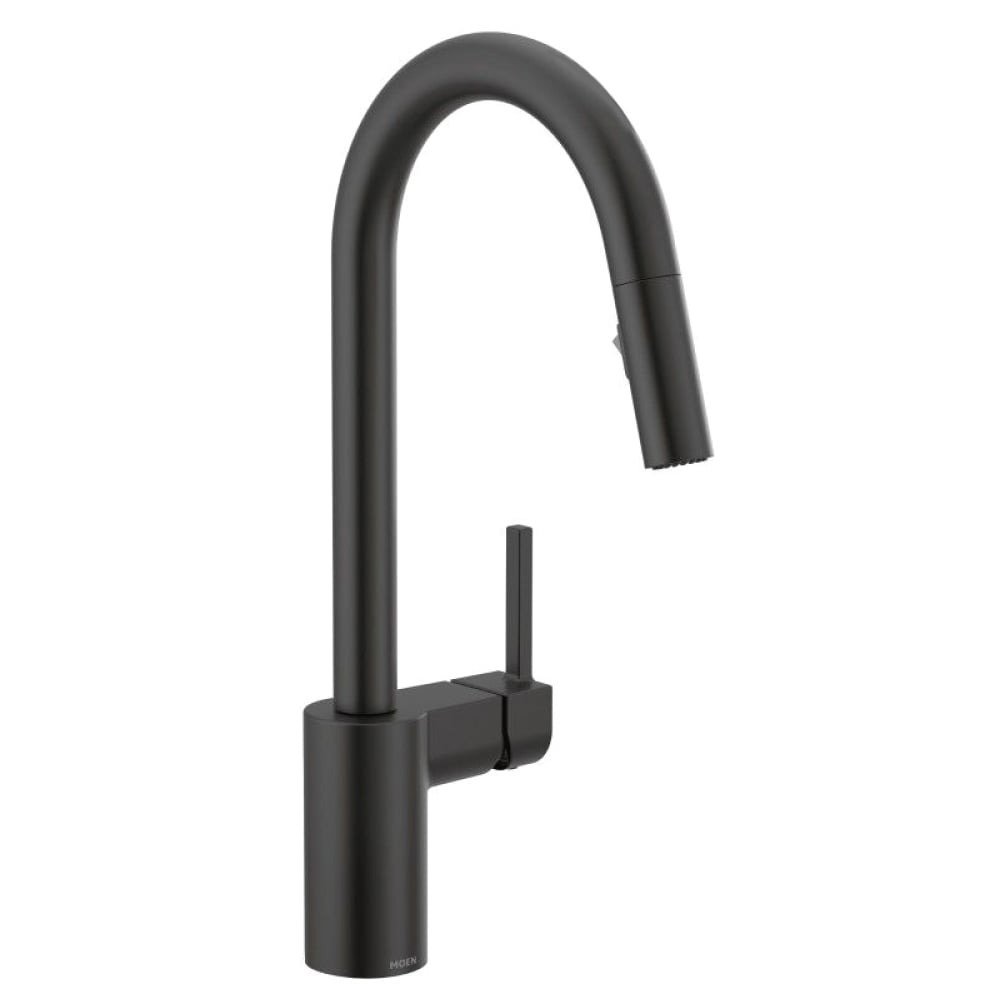
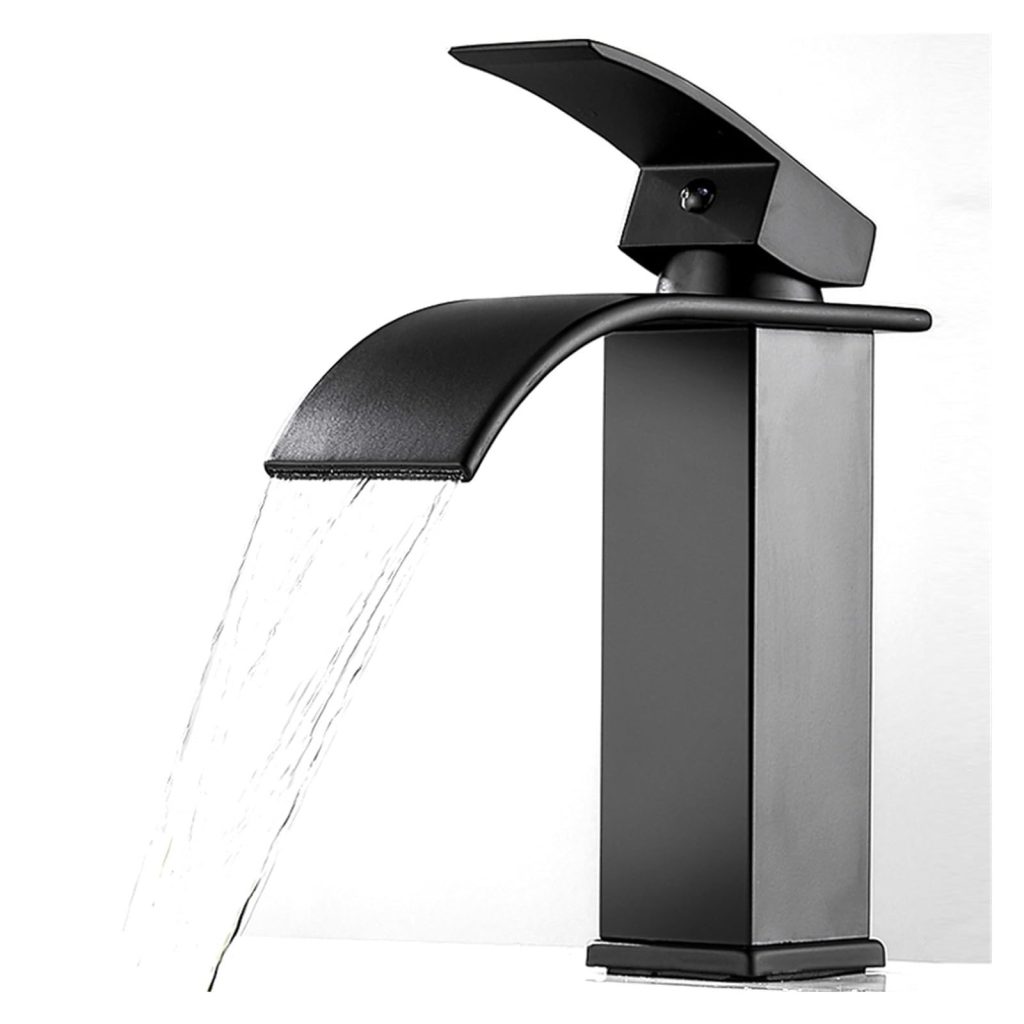
  • Matte Black Spray Paint: This will be your main paint for achieving a sleek, modern finish on your faucets.
  • Primer Spray: Essential for preparing the surface and enhancing the paint’s adherence, thus providing a lasting finish.
  • Fine Grit Sandpaper: Needed to sand the faucets lightly before painting, helping the paint stick better.
  • Painters Tape: Use this to protect the areas around your painting surface to avoid overspray.
  • Plastic Sheeting: Helps protect other surfaces and areas from getting painted by mistake.
  • Drop Cloths: These are necessary for covering the floor and counters to protect them from paint drips.

Gather these tools to make the task at hand simpler and more effective, paving the way for a successful repainting job.

Safety and protective equipment

Can you paint faucets? While dealing with paint and minor renovations, it’s important to also prioritize your safety. The appropriate safety and protective equipment not only ensures your well-being but also enhances the efficiency of your work by allowing you to focus on the task without discomfort. Here are the key items you should have:

  • Safety Goggles: To protect your eyes from harmful vapors and paint splashes.
  • Gloves: These will guard your hands against chemicals and paint, especially during the sanding process.
  • Face Mask: Essential for preventing the inhalation of fumes and dust, especially if you are working in a lesser-ventilated area.
  • Long-sleeved Clothing and Protective Overalls: Protect your skin from paint stains and any chemical interaction.

Ensuring you have these safety items on hand will not only keep you safe but also make the painting process more comfortable and professional.

Preparation Steps

Can you paint faucets? The right preparation can make your bathroom faucet painting project go smoothly. Here’s how to get started.

Setting up your workspace effectively

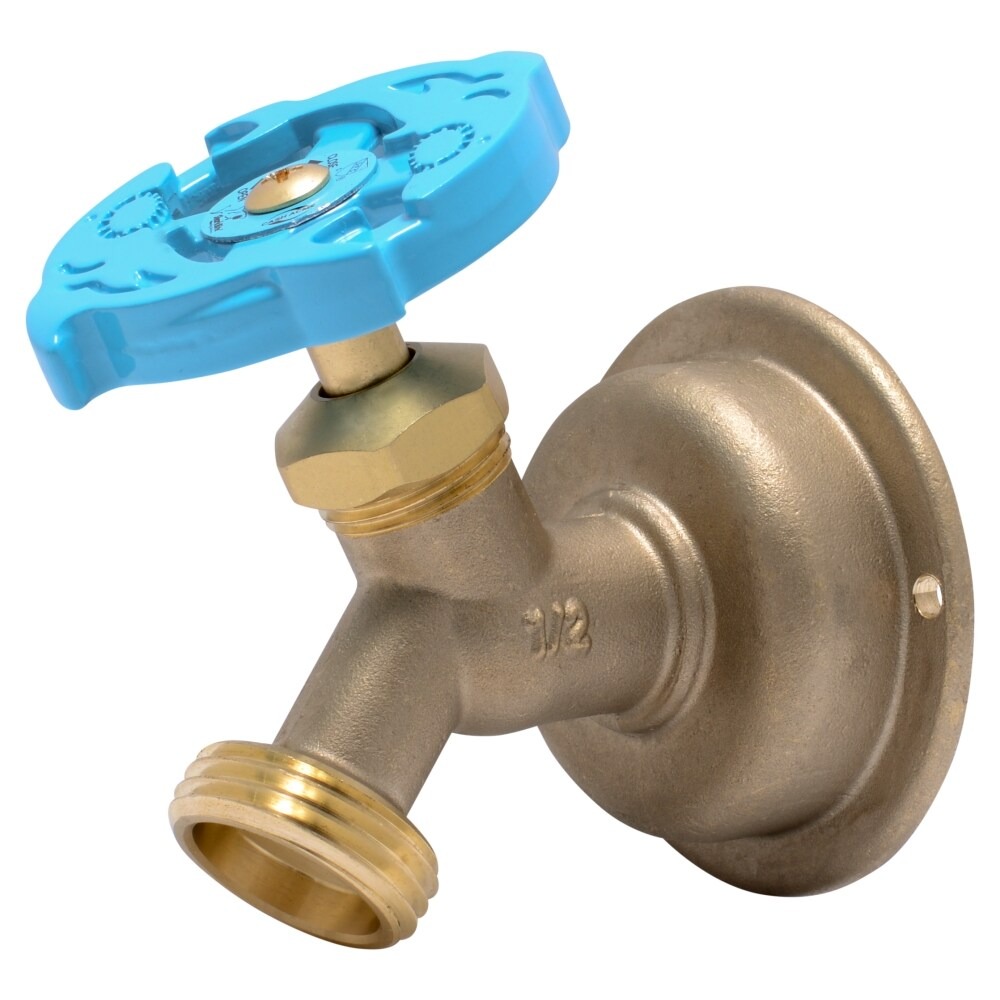
To begin, cover your work area to protect it from overspray. Use plastic sheeting to drape around the faucet and sink. Secure the sheeting with painter’s tape. Lay a drop cloth on the floor and countertop to catch drips. Remember to block the faucet’s water outlet with masking tape to keep paint out.

paint faucets

Cleaning and sanding the fixtures

A clean surface is key for paint to adhere. Use a damp cloth to clean the faucet, removing any grease or dirt. Then, lightly sand the fixture with fine-grit sandpaper. This helps to create a surface that the paint can grip onto. After sanding, wipe away any dust or debris with a cloth and dry the area well before moving on to the painting process.

Painting Process

Applying primer properly

Before you start painting, applying a good primer is essential. Begin by shaking the primer can well. Hold it about 6-8 inches away from the faucet and spray in gentle, even strokes. Make sure you cover the entire surface but keep the layer light to avoid drips. Allow the primer to dry completely, typically this takes about 2-3 hours, depending on the humidity and temperature of your work space.

Techniques for the first coat of paint

Once the primer has dried, it’s time for the first layer of matte black spray paint. Shake the can well before use. Similar to the primer, maintain a distance of 6-8 inches and apply the spray paint using light, controlled bursts. For the best results, make sweeping motions to ensure even coverage without heavy build-up. Allow this coat to dry for at least a few hours. Remember, thin, light coats are crucial to avoid drips and achieve a smooth, professional finish.

How to apply the second coat effectively

Can you paint faucets? After the first coat is completely dry, proceed with the second coat of paint. Use the same spraying techniques mentioned earlier. This second layer is vital for full coverage and richness of color. Continue to add light coats until you achieve the desired opacity. Each coat should dry thoroughly before the next is applied. Patience during this step ensures the paint layers bond well and result in a durable, sleek finish.

Finishing Touches

Removing tape and cleanup

Once your faucet’s new paint job is dry, it’s time for cleanup. Start by carefully peeling off the painter’s tape. Do this slowly to avoid removing any fresh paint. Next, remove the plastic sheeting and drop cloths. Check for any overspray and clean it up with a damp cloth. If paint seeped under the tape, a razor blade can scrape it off. This precision will ensure a neat finish. Finally, dispose of the used materials properly.

Final inspection and touch-ups

Inspect your newly painted faucet from different angles. Look for any light spots or missed edges. If you find imperfections, use a small brush for touch-ups. Apply thin layers to blend with the rest of the surface. Wait for the touch-ups to dry completely. A final wipe with a soft cloth adds shine and removes any leftover dust. With patience and careful inspection, your faucet will look brand new.

Additional Tips and Tricks

Avoiding common painting mistakes

When repainting bathroom faucets, small errors can have a big impact on your results. Here are key mistakes to avoid:

  • Skipping Surface Prep: Always clean and sand the faucet before starting. This helps the paint adhere better.
  • Applying Heavy Coats: Use thin, light sprays instead of heavy ones to avoid drips and uneven textures.
  • Ignoring Manufacturer’s Instructions: Each paint has specific directions for optimal use. Follow them to ensure best outcomes.
  • Rushing the Drying Time: Allow sufficient drying time between coats to prevent smudges and imperfections.

Taking care to avoid these common errors will significantly improve the quality of your repainting project.

paint faucets

Enhancing durability with optional sealants

To extend the life of your newly painted faucets, consider using a sealant. This extra step can protect against water damage and wear, maintaining the fresh, matte appearance. Here’s how to do it:

  • Choose the Right Sealant: Opt for a clear, water-resistant sealer suited for use on painted metals.
  • Apply Accordingly: After the final paint coat has dried, apply the sealant. Follow the manufacturer’s instructions for the best application method.
  • Let it Dry Completely: Ensure the sealant has dried fully before using the faucet.

Using a sealant is not mandatory, but it’s a wise choice for faucets subjected to frequent use. This protective layer adds durability and preserves the aesthetic appeal of your DIY project.

Expanding Your DIY Horizons

After successfully repainting your bathroom faucets, you may feel inspired to tackle more home improvement projects. Repainting can freshen up a space, add personality, and even increase your home’s value. The key is to start with smaller, manageable tasks and gradually move to larger ones.

Ideas for further home DIY projects involving repaint

  • Kitchen Cabinet Makeover: Transform your kitchen by repainting the cabinets. Choose a color that complements your decor.
  • Upcycling Old Furniture: Give old chairs or tables a new lease on life with a fresh coat of paint.
  • Revitalizing Room Walls: Change the mood of any room by repainting the walls. Pick trendy colors for a modern touch.
  • Door and Window Trims: Small details matter. Repaint your door and window trims for an instant visual uplift.
  • Heating Radiators Refresh: If you have traditional radiators, a special heat-resistant paint can make them look new.
  • Accent Pieces: Create accent pieces, like a painted mirror frame or bookshelf, to add character.

Remember, before starting any repaint project, gather all the necessary materials, take the time for proper surface preparation, and always use the right type of paint for the surface. With these new ideas and the same careful approach as your faucet repaint, you’re ready to expand your DIY repainting horizons and beautify your home one stroke at a time.

paint faucets

Posted in bathroom | Tagged , , | Leave a comment

How to Cover Faucets Outside? – Quick DIY Guide to Winter

Introduction to Outdoor Faucet Covers

How to cover faucets outside? As winter approaches, your outdoor faucets demand protection. Without a cover, they’re at risk of freezing and causing costly damage. In freezing temperatures, water in the pipes can expand and crack the faucet and pipes, leading to significant trouble. Faucet covers offer a simple solution. They insulate the faucet, keeping the cold at bay and preventing frozen pipes. This not only saves you money but also saves you from the frustration of water damage repairs. Here, we’ll introduce you to the must-knows of outdoor faucet covers, how they work and why every homeowner should consider them. Let’s get our faucets winter-ready together!

cover faucets outside

Why You Need to Protect Your Outdoor Faucets

How to cover faucets outside? Protecting your outdoor faucets is crucial, especially during the winter months. When temperatures plummet, the water inside the faucets can freeze. This freezing causes the water to expand, putting immense pressure on the pipes. If unmanaged, this pressure can lead to cracks or bursts, resulting in significant water damage and expensive repairs.

Here are some compelling reasons to prioritize faucet covers:

  • Prevent Pipe Bursts: A burst pipe due to freezing is not just an inconvenience; it’s an expensive repair waiting to happen. With proper insulation using faucet covers, you can significantly reduce this risk.
  • Save on Repairs: Prevention is always better than cure. Protecting your faucets can save you from the potential costs of plumbing repairs, which can escalate during winter due to increased demand and emergency call-out rates.
  • Maintain Water Flow: Keeping your faucets insulated ensures that the water inside does not freeze, maintaining a steady, reliable flow when you need it.
  • Long-term Efficiency: Covering your faucets isn’t just about immediate benefits. It also helps in maintaining the overall health and efficiency of your home’s plumbing system. By preventing wear and tear, you extend the lifespan of your outdoor plumbing.

By taking proactive steps to cover your faucets, you are investing in the longevity and efficiency of your home’s plumbing system, avoiding unnecessary disruptions and expenses caused by the winter cold. Remember, a little preparation can go a long way in preventing major headaches later.

Essential Materials for Making DIY Faucet Covers

How to cover faucets outside? When winter’s chill arrives, it’s time for an ounce of prevention. Crafting your own outdoor faucet covers? It’s simpler than you think. Here’s what you’ll need:

  • First up, insulation. Think foam or fiberglass. Both work, but foam’s easier to handle.
  • A waterproof cover is next. A plastic bag, tarp, or waterproof fabric will do.
  • Don’t forget a fastener. Use strong duct tape, a bungee cord, or zip ties.
  • Get a pair of scissors. You’ll need them to cut the insulation properly.
  • A marker is handy. It helps trace the faucet shape on your insulation.

These materials are easily found and don’t cost much. With them, you’re ready to protect your outdoor faucets effectively.

cover faucets outside

Step-by-Step Instructions for Crafting a Faucet Cover

How to cover faucets outside? Let’s dive into creating your own faucet cover. It’s a practical, straightforward process, and I’ll walk you through it. With these steps, you’ll shield your outdoor faucets against winter’s fury.

Choose Your Insulation Material

Start with insulation. Foam or fiberglass works just fine. Foam is easier to shape and wrap.

Cut Insulation to Size

Measure your faucet’s length and width. Use scissors to cut insulation to these dimensions.

Wrap the Faucet

Wrap the cut insulation around the faucet. Cover all sides thoroughly to trap warmth.

Secure with Waterproof Cover

Next, wrap a waterproof cover, like a plastic bag, over the insulation. This protects against moisture.

Tips for Installing and Securing Your Faucet Cover

Installing your faucet cover correctly is key. Follow these simple steps for a secure fit.

Measure and Cut to Fit

Always measure your faucet before cutting insulation. It should cover the faucet well.

Wrap and Cover

After cutting, wrap the insulation firmly around your faucet. Then, cover with a waterproof layer.

Secure the Cover

Use strong duct tape or straps to keep the cover in place. Check for a snug fit.

Maintenance Tips for Faucet Cover Longevity

Proper upkeep ensures your faucet covers last longer, saving you time and money. Here’s a checklist for maintenance:

  • Inspect Regularly: Look over the cover for any rips or wear. Fix small issues before they become big problems.
  • Clean Gently: Remove debris and dirt with care. Use a soft cloth and warm water to avoid damage.
  • Handle With Care: When putting on or taking off the cover, be gentle. Rough handling can cause tears.
  • Store Correctly: In warm seasons, keep your cover in a dry, cool place. This prevents mold and keeps it ready for next winter.
  • Keep Extras Handy: Having a spare cover is wise. If one breaks, you can quickly replace it.

By following these tips, your outdoor faucet cover will be in top shape for many winters to come. Regular maintenance stops you from buying new covers often. A little effort goes a long way in protecting your home from freezing damage.

Alternatives to Covers for Protecting Your Faucets

Sometimes you might not have a faucet cover handy. You can still protect your outdoor faucets from freezing temperatures. Here are a few alternative methods to keep them safe during the cold months:

  • Let Faucets Drip: Allowing a slight drip can keep water moving. This prevents freezing.
  • Apply Heat Tape: Wrapping faucets with heat tape can provide warmth. This keeps pipes from freezing.
  • Use Pipe Insulation: Foam pipe insulation can cover faucets and pipes. This adds an extra layer of protection.
  • Disconnect Hoses: Remove any attached hoses. This prevents water from backing up into the faucet.
  • Seal Gaps: Check for gaps in walls or foundations near faucets. Seal them to reduce cold air flow.

These methods can provide short-term solutions. But, using an outdoor faucet cover is the best long-term protection.

cover faucets outside

Signs That It’s Time to Replace Your Faucet Cover

Recognizing when to replace your faucet cover is key to effective winter protection. Here are several signs to look out for:

  • Visible Wear and Tear: If your faucet cover has holes, tears, or heavy wear spots, it’s time for a new one.
  • Ineffective Insulation: Touch the faucet cover. If it feels cold or there are ice formations, the insulation isn’t working properly.
  • Loose Fit: A cover that doesn’t snugly fit can allow cold air to seep in. If adjustments don’t help, replace it.
  • Water Damage: Signs of moisture or ice inside the cover indicate it’s not watertight. A new cover is necessary.
  • Old Age: Materials degrade over time. If your cover is over three years old, consider getting a new one.

By keeping an eye on these indicators, you ensure your faucets stay protected during freezing temperatures. When noticing any of these signs, replace the cover promptly to maintain effective protection.

The Importance of Faucet Covers in Extreme Weather

When extreme weather hits, faucet covers are your best defense. In harsh winter conditions, unprotected outdoor faucets pose a big risk. They can lead to freezing water in the pipes. This expansion can cause pipes to burst, leading to expensive repairs.

Here’s why faucet covers are essential in cold weather:

  • Prevent Pipe Freezing: Covers insulate faucets, keeping cold out and heat in. This stops water inside from freezing and expanding.
  • Cost-Efficient Protection: Faucet covers are an affordable solution. They prevent major repair costs associated with frozen or burst pipes.
  • Easy to Use: Most covers are simple to install and remove. This makes them convenient for sudden weather changes.
  • Versatile in Use: They fit various faucet types. Whether it’s mild frost or severe snow, faucet covers work effectively.

Investing in quality faucet covers is key to avoiding severe winter damage. Protecting your faucets before extreme weather ensures peace of mind and saves money. Make sure to check and replace any worn-out covers as needed.

cover faucets outside

Conclusion: Ensuring Effective Faucet Protection

How to cover faucets outside? As we wrap up our guide on safeguarding outdoor faucets, remember the essentials. Good faucet covers prevent freezing. They save on costly repairs from burst pipes. For those in cold climates, this isn’t just advice—it’s a necessity.

Posted in Kitchen | Tagged , , | Leave a comment

Fixing Common Delta Kitchen Faucets Repair

Identifying Your Delta Kitchen Faucet Model

Before you start any delta kitchen faucets repair, it’s vital to know exactly which model you’re dealing with. Delta has numerous kitchen faucet models, and each may have specific parts and mechanisms. Identifying your model helps you find the correct replacement parts and guides for repair.

delta kitchen faucets repair

To identify your Delta faucet model:

  • Check Underneath the Sink: Look for any tags or inscriptions under the sink that might indicate the model number.
  • Inspect the Faucet for Symbols or Logos: Sometimes, the model or series number is located on the faucet itself.
  • Refer to the Original Packaging or Manual: If you’ve kept the original packaging or manual, you can easily find the model number there.
  • Visit the Delta Faucet Website: Delta’s website provides an identification tool which can help you through images and descriptions.
  • Contact Delta Support: If all else fails, the Delta support team can help identify your model with a description or a photo.

Knowing your specific model makes troubleshooting simpler and ensures that you purchase the right parts for your delta kitchen faucets repair. Keep your model information handy for quick reference throughout the repair process.

Common Delta Faucet Problems and Solutions

When it comes to delta kitchen faucets repair, a few common issues tend to arise. Understanding these problems and their quick fixes can save you time and hassle.

Leaky Faucet Handle

A leaky faucet handle is a frequent complaint. This often results from worn-out O-rings or seals. Here’s how you can address it:

  • Turn off the water supply.
  • Remove the handle by unscrewing it.
  • Replace the old O-rings with new ones.
  • Reassemble the handle and turn the water back on.

Check for leaks once complete. If it continues to drip, the issue might lie deeper within the faucet’s internal parts.

Low Water Pressure

Low water pressure can be frustrating. It’s typically due to a clogged aerator or debris in the lines. To fix this issue:

  • Unscrew and clean the aerator.
  • Flush out any debris from the line.
  • Reattach the aerator carefully.

If cleaning the aerator doesn’t solve the problem, inspect the lines for kinks or obstructions.

delta kitchen faucets repair

Sprayer Hose Malfunction

If the sprayer hose isn’t working right, the problem could be a kink in the hose or a clogged nozzle. Here’s what you can do:

  • Ensure the hose isn’t twisted or kinked.
  • Clean the nozzle with a mixture of vinegar and water.
  • Check the diverter valve for blockages.

A malfunctioning sprayer hose can often be fixed without needing to replace the entire unit. But, if these tips don’t work, consider a new hose.

Step-by-Step Guide to Replacing Delta Faucet Parts

When your Delta kitchen faucet needs a part replacement, follow this simple guide. With it, you can perform a confident delta kitchen faucets repair. Ensure you have the model information as identified earlier for a targeted fix. Here are the steps for a typical replacement process:

  • Shut Off the Water Supply: Prevent water flow before anything else. Use the valves under the sink to turn off the water.
  • Disassemble the Faucet: Depending on the model, remove handles or caps. Use a screwdriver or Allen wrench as needed.
  • Remove Faulty Parts: Identify and take out the part that’s causing trouble. For leaky handles, it could be O-rings; for a faulty hose, it could be the sprayer head.
  • Replace with New Parts: Fit the new parts into place. Make sure they match your specific faucet model.
  • Reassemble the Faucet: Put all components back together. Tighten screws and make sure handles are in place.

If at any stage you find difficulty or the repair does not fix the issue, you may need professional help. Moreover, for steps that involve complex inner parts, refer to the faucet’s manual or seek online tutorials specific to your Delta faucet model.

Cleaning and Maintenance Tips for Delta Faucets

Regular care extends the life of your Delta kitchen faucets. Follow these steps to keep your faucet in top shape:

  • Daily Wiping: Use a soft, damp cloth to wipe down the faucet daily. This prevents mineral build-up.
  • Weekly Cleaning: Mix mild soap with water for a gentle cleanse. Rinse and dry with a soft towel.
  • Monthly Descale: Tackle hard water spots with a 50/50 solution of white vinegar and water. Apply with a cloth and rinse thoroughly.
  • Aerator Check: Unscrew the aerator monthly to clear debris. Soak it in vinegar if it’s clogged.
  • Hose Inspection: Pull out the sprayer hose. Stretch it to check for kinks and clean it as needed.
  • Seal Refresh: Rubber seals dry out over time. Keep them supple by applying silicone grease annually.

By following these maintenance tips, you can prevent common issues needing delta kitchen faucets repair. Consistency is key to maintaining smooth operation and preventing wear and tear.

When to Call a Professional for Delta Faucet Repairs

While DIY delta kitchen faucets repair can be rewarding, some situations require a professional plumber. Recognize when to get expert help to avoid more damage. Call a professional if you see these signs:

  • Persistent Leaks: If leaks continue after replacing seals and O-rings, you may need a plumber.
  • Complex Issues: When issues are beyond basic repairs, like deep internal problems, seek professional aid.
  • Installation Errors: If you suspect incorrect installation of a new faucet, a professional should address it.
  • Lack of Tools or Expertise: Without the right tools or know-how, you could risk damaging your faucet.
  • Warranty Concerns: Attempting repairs by yourself could void your warranty. Check with Delta first.

Calling the right professional can save money, time, and prevent further problems. Make the call if you are uncertain about any step of repair or if the problem persists after your attempts to fix it.

delta kitchen faucets repair

Essential Tools for DIY Delta Faucet Repairs

When you take on delta kitchen faucets repair, having the right tools is crucial. Essential tools make the repair smoother and help prevent damages. Below is a list of tools you’ll likely need:

  • Adjustable Wrench: Adjusts to different sizes, perfect for tightening or loosening nuts.
  • Allen Wrench Set: Needed for removing handles or set screws in faucet levers.
  • Screwdrivers: Both flat-head and Phillips-head screwdrivers are useful for disassembly.
  • Plumber’s Tape: Helps to secure threaded joints and prevent leaks.
  • Channel Locks: Provides grip and leverage for turning pipes or fittings.
  • Basin Wrench: A specialized tool for working on faucets in tight spaces.
  • O-Ring Pick: Useful for removing old O-rings without scratching surfaces.
  • Silicone Grease: Keeps rubber components like O-rings supple.

Troubleshooting Advanced Issues: Valve Seat and O-Ring Fixes

When you dive into delta kitchen faucets repair, you may encounter more complex issues. These may relate to the valve seat or O-rings that are critical for a leak-free faucet. Let’s explore how to address these advanced problems.

Valve Seat Deterioration

The valve seat connects the faucet and the spout. Wear and tear here can cause leaks. To fix this:

  • Turn off the water supply.
  • Remove the faucet handle and stem.
  • Use a valve seat wrench to take out the worn seat.
  • Replace it with a new, exact-match seat.
  • Reassemble the faucet parts and test for leaks.

If you’re not comfortable with this repair, consider calling a professional plumber.

Worn or Damaged O-Rings

O-Rings seal various parts of the faucet and prevent leaks. Over time, they may break or wear out. Here’s what you can do:

  • Shut off the water beneath the sink.
  • Disassemble the relevant parts of the faucet.
  • Remove the old O-rings with an O-ring pick.
  • Apply silicone grease to new O-rings.
  • Place the new O-rings where the old ones were.
  • Put the faucet back together and turn on the water.

Dealing with complicated issues might be challenging. If problems persist after your repairs, or if the task seems too complex, reach out to a plumbing professional. It’s essential to handle these components with care to maintain your faucet’s function and avoid further issues.

delta kitchen faucets repair

Posted in Kitchen | Tagged , , | Leave a comment

What to Use to Cover Outside Faucets?

What to use to cover outside faucets? As the temperatures drop and winter approaches, it’s important to take steps to protect your outside faucets from freezing. Frozen faucets can lead to burst pipes and costly repairs. Luckily, there are several simple and effective methods for covering and insulating your outside faucets to prevent them from freezing.

cover outside faucets

Insulating with Faucet Covers

What to use to cover outside faucets? One of the easiest and most effective ways to protect your outside faucets from freezing is to use a faucet cover. These covers are designed to fit over your outdoor faucets and provide insulation to prevent freezing. They are typically made of foam or insulated material and can be easily installed and removed as needed. Faucet covers are inexpensive and can be found at most hardware or home improvement stores.

Installing Frost-Free Faucets

Another option for protecting your outside faucets is to install frost-free faucets. These faucets are designed with a longer stem that extends into the heated interior of your home, preventing freezing. While this option may require a bit more effort and expense upfront, it can provide long-term protection and peace of mind.

Wrapping with Insulation Tape

What to use to cover outside faucets? If you prefer a DIY approach, you can also protect your outside faucets from freezing by wrapping them with insulation tape. This tape is specifically designed for outdoor use and can provide an extra layer of protection against the cold. Simply wrap the tape around the faucet and any exposed pipes, ensuring that they are well covered and insulated.

Using Styrofoam Cups

In a pinch, you can also use styrofoam cups to protect your outside faucets. Simply cut a hole in the bottom of a styrofoam cup and place it over the faucet, ensuring that it covers the entire faucet and extends down to the ground. This makeshift method can provide some insulation and protection from freezing temperatures.

Draining and Shutting Off Water Supply

In addition to insulating your outside faucets, it’s important to drain and shut off the water supply to them before the cold weather sets in. This can help prevent any remaining water in the pipes from freezing and causing damage. Simply locate the shutoff valve for your outside faucets and turn off the water supply. Then, open the faucets to allow any remaining water to drain out.

cover outside faucets

Outside faucets repair method

Outdoor faucets are essential for various tasks such as watering the garden, washing the car, or cleaning outdoor spaces. However, like any other plumbing fixture, outdoor faucets may develop issues and require repairs.

Identifying the Problem

The first step in repairing an outdoor faucet is to identify the problem. Common issues with outdoor faucets include leaks, low water pressure, and difficulty in turning the handle. To identify the problem, observe the faucet closely. Check for any leaks around the spout or handle, and determine if the water pressure is low.

Repairing Leaks

If the faucet is leaking, the first thing to do is to turn off the water supply to the faucet. This is usually done by locating the shut-off valve for the outdoor faucet and turning it off. Once the water supply is turned off, inspect the faucet for any visible cracks or damage to the spout or handle. If there are visible cracks, the affected parts may need to be replaced. If there are no visible cracks, the problem may be with the washer or O-ring inside the faucet. Unscrew the handle to access the internal components of the faucet and inspect the washer and O-ring. If they are worn out or damaged, replace them with new ones. Reassemble the faucet and turn the water supply back on to check if the leak has been fixed.

Fixing Low Water Pressure

Low water pressure from an outdoor faucet can be caused by various factors such as a clogged aerator, a partially closed shut-off valve, or mineral deposits in the pipes. To fix low water pressure, start by removing the aerator from the spout of the faucet. Clean the aerator by soaking it in vinegar to remove any mineral deposits and then rinse it thoroughly. The low water pressure persists, check the shut-off valve to ensure it is fully open. If the shut-off valve is fully open and the water pressure is still low, you may need to inspect the pipe for any blockages or mineral deposits. If you find any, try flushing the pipe with water or using a plumbing snake to clear the blockage.

Replacing the Faucet

In some cases, outdoor faucets may be too old or damaged beyond repair. When this happens, it may be necessary to replace the faucet entirely. To replace an outdoor faucet, start by turning off the water supply to the faucet. Next, unscrew the mounting nuts or bolts that secure the faucet to the exterior wall. Once the faucet is removed, install the new faucet by following the manufacturer’s instructions. Make sure to use plumber’s tape on the threads to prevent leaks. Once the new faucet is installed, turn the water supply back on and check for any leaks or issues.

Advantages of outside faucets

Outside faucets, also known as outdoor spigots or hose bibs, are a key feature of many homes and properties. These faucets provide a convenient and accessible source of water for various outdoor tasks, such as watering the garden, washing the car, or filling up a pool.

cover outside faucets

Convenience and Accessibility

One of the primary benefits of outside faucets is the convenience and accessibility they provide for outdoor water usage. Instead of having to carry buckets or hoses from inside the house, homeowners can easily access water from a faucet located outside. This makes tasks such as watering plants, cleaning outdoor surfaces, and filling up containers much easier and more efficient.

Furthermore, the location of outside faucets near outdoor spaces such as gardens, patios, and driveways means that water is readily available whenever it is needed. This eliminates the need to run back and forth between indoor sinks and outdoor locations, saving time and effort for the homeowner.

Versatility

Another advantage of outside faucets is their versatility. These faucets can accommodate a variety of attachments, such as hoses, sprinklers, and pressure washers, allowing for a wide range of outdoor water activities. Whether it’s watering the lawn, washing the car, or cleaning the deck, outside faucets provide the flexibility to adapt to different outdoor water needs.

Additionally, outside faucets can be equipped with features such as shut-off valves, backflow preventers, and frost-free designs, making them suitable for use in a variety of climates and conditions. This versatility ensures that outside faucets can meet the diverse water requirements of any outdoor space.

Water Conservation

Outside faucets also contribute to water conservation efforts. By providing a dedicated source of water for outdoor use, these faucets help reduce the need to use indoor water outlets for outdoor tasks. This prevents unnecessary water waste and ensures that water is used more efficiently, especially for activities that require a significant amount of water, such as gardening or car washing.

In addition, the use of attachments such as drip irrigation systems or soaker hoses with outside faucets can further enhance water conservation efforts by delivering water directly to plants’ roots and minimizing evaporation. This not only saves water but also promotes healthy and efficient plant growth.

cover outside faucets

Conclusion

Protecting your outside faucets from freezing is an important part of winter home maintenance. By using faucet covers, insulating tape, or even makeshift solutions like styrofoam cups, you can prevent costly damage and repairs. Additionally, draining and shutting off the water supply to your outside faucets can provide an extra layer of protection. By taking these simple steps, you can ensure that your outside faucets remain safe and functional throughout the winter months.

Posted in Kitchen | Tagged , , | Leave a comment

Where Is Moen Faucets Made? – The Origins of Moen Faucets

The History of Moen Faucets

Where is moen faucets made? Moen’s story began in 1937 with a burst of inspiration. Al Moen, the company’s founder, burned his hands with hot water from an old-fashioned two-handle faucet. This mishap led to a revelation: the need for a single-handle faucet that could control both temperature and water flow.

moen faucets made

Moen’s Manufacturing Process Over the Years

Over the years, Moen’s manufacturing has evolved dramatically. From its humble beginnings, the company has grown and improved its processes in many ways.

Early Manufacturing Techniques

Initially, Moen focused on a design that could merge hot and cold water flows. This concept underpinned the early manufacturing process. The first factory operations were manual. Skilled workers assembled faucets by hand. Quality and precision were crucial to ensure safety and durability.

Expansion and Automation

As demand for Moen faucets grew, so did the need for efficiency. In the 1950s, the first plant was a signal of growth. Here, Moen began to adopt more advanced manufacturing techniques. Machines and conveyor belts started to appear. These changes allowed for higher production volumes.

Integration of Modern Technology

Today, Moen’s manufacturing process is a blend of innovation and tradition. State-of-the-art robotics and computer-aided design play a huge role. These tools enable Moen to maintain high standards while meeting larger demands. The integration of modern technology has streamlined production, cutting costs and reducing errors.

Consistency and Quality Control

Through all changes, quality control remains a constant in Moen’s process. Rigorous testing ensures every product meets high standards. The Moen manufacturing process has always placed the customer first. It does so by delivering reliable products that function seamlessly.

Geographical Footprint of Moen Faucets Production

The global production of Moen faucets has spread far beyond its initial roots. As the brand grew, Moen looked beyond its first plant to increase its manufacturing reach. This expansion allowed them to tap into different markets and access new resources.

North America – The Starting Point

Moen’s journey in faucet production began in the United States. The first plant laid the groundwork for manufacturing excellence. Over time, the company expanded into other parts of North America, cementing its presence in the region.

Moving Beyond – International Expansion

Recognizing the need to diversify, Moen branched out internationally. They set up facilities in various countries, each chosen for strategic advantages. This move helped Moen maintain its reputation for quality and meet global demand efficiently.

Current Manufacturing Hubs

The phrase ‘where is moen faucets made’ now has a complex answer. Moen faucets are crafted in a network of locations, each integral to the company’s mission. By spreading its manufacturing footprint, Moen has been able to uphold quality while being close to its customers.

moen faucets made

Key Locations in Moen’s Manufacturing Network

The network where Moen faucets are made spans several key locations. These sites are critical to fulfilling the brand’s global vision and maintaining its reputation for high-quality products.

United States – The Birthplace of Innovation

Moen’s first manufacturing site remains vital to its operations. It’s a symbol of the company’s long-standing commitment to excellence and innovation. Over time, Moen has ensured that its U.S. facilities stay at the forefront of faucet manufacturing technology.

Global Facilities – Expansion for Worldwide Reach

Strategically placed international plants enable Moen to meet diverse customer needs. These facilities follow the same strict quality standards set by the original U.S. location. They also allow Moen to deliver its products more efficiently across the globe.

The Impact of Globalization on Moen Faucets Manufacturing

Globalization has left a significant mark on Moen’s manufacturing story. The spread of Moen’s production facilities around the world echoes a trend seen across industries: striving for global reach while maintaining local strengths. Here’s how globalization has influenced where Moen faucets are made:

New Markets and Consumer Demand

Global markets have opened up, and with them, new consumer demands have arisen. Moen has responded by scaling up production and broadening the variety of faucets it offers. As consumer preferences vary across regions, Moen taps into these insights, tailoring designs and features to suit different tastes and needs.

Strategic Supply Chain Management

With globalization, managing a supply chain has become a complex puzzle. Moen has risen to the challenge, ensuring that materials and parts are sourced efficiently and sustainably. This management cuts costs and reduces the time it takes to bring new faucets to market.

Access to Global Talent

By extending its reach, Moen taps into a wider pool of talent. Access to global experts in technology, design, and manufacturing bolsters Moen’s innovative capacity. The company benefits from diverse ideas and perspectives, which are essential for staying ahead in a competitive industry.

The Role of Technology in Modern Faucet Production

The production of Moen faucets today is distinctly different from its early manual days. Technology plays a central role in ensuring every faucet meets Moen’s high standards of quality. Let’s delve into how technology enhances faucet production.

Advanced Design Software

Computer-Aided Design (CAD) software has revolutionized Moen’s design process. This technology allows for precise measurements and detailed modeling. It enables quick modifications and virtual testing of faucets before they are physically produced.

Automation and Robotics

Moen’s manufacturing facilities now employ sophisticated robots and automated systems. These machines handle tasks with high precision, from cutting materials to assembling parts. Automation boosts productivity and ensures consistency in every faucet produced.

Quality Control Technologies

Innovative scanning and testing technologies form Moen’s quality control frameworks. High-tech equipment checks for any defects and verifies that faucets perform correctly. This monitoring guarantees that customers receive a product that functions flawlessly.

Supply Chain Optimization

Technology also plays a critical role in streamlining Moen’s supply chain. Tracking systems and predictive analytics help manage inventory and logistics. This optimization keeps production running smoothly and reduces the time to market.

moen faucets made

Sustainability and Environmental Considerations

Moen’s manufacturing is not just about faucet creation. It views sustainability as a core value. The company’s efforts to reduce environmental impact are central to ‘where is moen faucets made’. Let’s explore Moen’s commitment to eco-friendly practices.

Minimizing Waste

Moen focuses on minimizing waste in its production process. The company recycles materials whenever possible. It also designs products for longevity, to lessen the demand for resources.

Energy-Efficient Production

Energy efficiency is a priority for Moen. The manufacturing plants invest in low-energy machinery. They use renewable energy sources, contributing to a smaller carbon footprint.

Water Conservation Efforts

Water conservation is at Moen’s heart. The faucets are designed to reduce water use without sacrificing performance. This design serves the user and the planet, proving Moen’s dedication to sustainability.

Transparent Supply Chain

Through these considerations, Moen tackles important issues. The company understands that its manufacturing footprint affects more than just faucet quality. It impacts the earth. As such, ‘where is moen faucets made’ now includes a dedication to environmental responsibility. Moen’s actions show a clear commitment to a better future, in every drop and every detail.

The Future of Faucet Manufacturing and Moen’s Place in the Industry

The future of faucet manufacturing is shaped by trends like smart home integration, water conservation, and shifting consumer demands. In this evolving landscape, Moen’s place in the industry is paramount. Here’s how Moen is positioning itself for future advancements and consumer needs:

Embracing Smart Technology

Innovation is at the forefront of Moen’s strategy. They’re leveraging smart technology to create faucets that offer convenience and efficiency. Hands-free operation and water usage monitoring are features that reflect Moen’s forward-thinking approach.

Focusing on Sustainability

Moen continues to strengthen its commitment to the planet. Future faucets are expected to be even more efficient in water use. They will also employ sustainable materials to minimize the environmental footprint.

Adapting to Consumer Preferences

Understanding market trends is key. Moen stays in tune with consumer preferences to meet expectations for both design and functionality. Tailored solutions for different markets ensure that Moen faucets remain a popular choice.

moen faucets made

Posted in bathroom | Tagged , , | Leave a comment

Where are Grohe Faucets Made?- Practical Kitchen Accessories

A Brief History of Grohe

Where are grohe faucets made? Grohe’s roots trace back to 1936 in Germany. Founded by Friedrich Grohe, the company initially focused on bathroom solutions. Over the years, Grohe’s reputation for quality and innovation grew. In the mid-20th century, the company expanded, setting new standards in faucet design. Grohe became known for crafting faucets that combined functionality with aesthetic appeal. Their designs often featured new technologies, such as water-saving features. As the company evolved, it maintained a commitment to German engineering excellence.

grohe faucets

Grohe’s Manufacturing Footprint

Grohe’s production network spans globally, embracing a strategy that allows the brand to serve its international market effectively. When we ask “where are Grohe faucets made?”, the answer points to several countries. The main manufacturing facilities reside in Germany, where Grohe’s journey began. Here, the brand maintains its heritage of rigorous German engineering.

However, Grohe’s reach goes beyond Germany. The company has set up state-of-the-art plants in other European countries as well as in Asia. Notably, Portugal and Thailand host significant Grohe production sites. By decentralizing production, Grohe ensures that it can meet both the demand and expectations of its global clientele. Each facility, no matter where it is located, adheres to the same high standards of quality and craftsmanship that Grohe is known for.

This worldwide manufacturing footprint does not compromise on quality. Grohe employs a stringent quality control process, ensuring every faucet that reaches the customer upholds the company’s legacy of excellence. The global production also reflects Grohe’s adaptability to the changing dynamics of globalization while staying true to its core values of quality and innovation.

Quality and Craftsmanship of Grohe Faucets

Grohe faucets stand out for their quality and craftsmanship. The company’s dedication to excellence is apparent in every product. Each faucet undergoes rigorous testing. This ensures it meets Grohe’s high standards.

Grohe combines advanced technology with skilled workmanship. The result is faucets that are both beautiful and functional. The company uses top-quality materials. These materials make the faucets durable and resistant to wear and tear.

Attention to detail is a hallmark of Grohe faucets. Designers carefully consider each aspect. From the way water flows to how the handle feels in your hand. Every feature is crafted to provide an exceptional user experience.

Grohe’s innovation does not end with design. They also pioneer new methods in manufacturing. This keeps the faucets at the forefront of the industry. Technologies like Grohe’s StarLight chrome finish add to the faucets’ longevity. It creates a surface that resists scratches and tarnishing.

When you choose a Grohe faucet, you are choosing a product that embodies precision. It symbolizes the brand’s commitment to quality that has been held since 1936. These faucets are not just simple fixtures. They are a testament to Grohe’s legacy of enduring quality and craftsmanship.

grohe faucets

The Shift in Production: Globalization and Grohe

With the rise of globalization, Grohe has adapted its production strategy. The company has shifted some operations beyond its German roots. This move helps Grohe stay close to its international customers. Expanding production worldwide allows for faster delivery times. It also reduces shipping costs and environmental impact.

Grohe now has advanced factories in countries like Portugal and Thailand. This global spread does not affect the brand’s quality. Every facility follows strict German engineering principles. Grohe’s global presence shows its commitment to meeting diverse market needs. It ensures Grohe faucets are made with the same attention to detail, no matter the location.

The shift has also allowed Grohe to tap into local expertise. This has resulted in innovative production techniques. Working with local talent keeps the brand at the cutting edge of faucet manufacturing. Grohe’s global facilities share best practices. This helps to improve processes across all locations. Thanks to globalization, Grohe faucets are the product of international collaboration. Yet, they all reflect the company’s heritage of quality and craftsmanship.

Grohe understands that change is necessary for growth. Its strategic expansion aligns with the dynamics of a connected world. The brand maintains its standards by overseeing production with a keen eye. Grohe ensures that wherever their faucets are made, they exemplify the brand’s dedication to excellence.

Grohe’s Commitment to Sustainability in Manufacturing

Grohe’s ethos extends beyond quality and design to include a strong commitment to sustainability. In its manufacturing process, the company champions eco-friendly practices. They focus on reducing the environmental impact of their operations. Grohe takes measures to ensure responsible use of resources. This includes water and energy-saving technologies in their factories.

The brand actively works to lower its carbon footprint. They invest in energy-efficient machinery and renewable energy sources. Grohe factories also have waste reduction programs. These programs recycle materials whenever possible. By doing this, they make sure that production is as green as it can be.

Sustainability goes into every Grohe faucet. These faucets come with features like reduced water flow. This helps users conserve water in their homes. Grohe also develops products with long life spans. This reduces the need for frequent replacements and lessens waste. The company’s commitment is clear. Their goal is to marry economic success with environmental and social responsibility.

grohe faucets

The Future of Faucet Production at Grohe

As we look ahead, Grohe’s future in faucet production shines bright. The company’s dedication to innovation and quality is set to continue driving its strategy. With the world constantly changing, Grohe plans to adapt and lead. Here are key points on what the future holds for Grohe’s faucet production:

  • Embracing Technological Advancements: Grohe aims to incorporate cutting-edge technology into their manufacturing processes. This means smarter factories and even more reliable faucets.
  • Expanding Global Reach: While Grohe faucets are made in several countries, the brand looks to expand further. They wish to bring their design and engineering closer to more customers worldwide.
  • Focus on Customization: Consumers want unique experiences. Grohe is responding by offering more personalized faucet options. Expect to see a broader range of designs and features tailored to individual tastes.
  • Sustainability Initiatives: Grohe’s commitment to the environment will get stronger. They plan to launch newer, greener technologies, keeping sustainability at the core of production.
  • Investment in R&D: Research and development will remain a priority. Grohe continuously explores new materials and methods to enhance the faucet experience.
  • Maintaining High-Quality Standards: No matter how much they grow, Grohe will hold on to their rigorous quality control. Each faucet will still reflect German engineering at its finest.

With these initiatives, Grohe is crafting not just faucets, but a legacy of progress and responsibility. They ensure that wherever Grohe faucets are made, they represent the brand’s ethos and adapt to future demands. The continuous pursuit of excellence is Grohe’s promise for tomorrow.

How to Identify Authentic Grohe Faucets

When buying Grohe faucets, it’s essential to ensure their authenticity. Here are some tips to help you identify genuine Grohe products:

  • Check the Packaging: Authentic Grohe faucets come in well-designed packages. Look for the Grohe logo and brand markings which signify originality.
  • Verify the Product Code: Each Grohe faucet has a unique product code. You can confirm this code on Grohe’s official website to ensure you have an original piece.
  • Inspect the Finish: Grohe faucets have a high-quality finish like their StarLight chrome. It should feel smooth and appear flawless, without any blemishes.
  • Look for the Grohe Mark: Authentic faucets bear the Grohe mark. It’s usually engraved on the faucet, indicating it’s a legitimate product.
  • Check for a Warranty: Grohe provides a warranty on their faucets. If the seller can’t provide warranty information, it might be a counterfeit.
  • Buy from Reputable Dealers: Purchase Grohe faucets from authorized dealers or trusted stores. This minimizes the risk of buying fake products.
  • Ask for Documentation: An original Grohe faucet comes with proper documentation. This includes an instruction manual and guarantee information.

By following these steps, you can ensure you are purchasing an authentic Grohe faucet. This gives you access to Grohe’s quality, craftsmanship, and warranty. Remember, if the price seems too good to be true, it probably isn’t a genuine Grohe product.

grohe faucets

Posted in Kitchen | Tagged , , | Leave a comment

Kohler Bathroom Sink Faucets Single Hole Innovations

Introduction to Kohler Single-Hole Bathroom Faucets

Kohler is a well-known brand in the bathroom fixture industry. Their commitment to quality and innovation shines through in kohler bathroom sink faucets single hole. These faucets are known for their sleek design and simple installation process, making them a favorite among homeowners. Kohler’s single-hole faucets require only one drilling point, which gives a cleaner and more modern look to the bathroom sink.

kohler bathroom sink faucets single hole

Design and Aesthetics of Kohler Faucets

Kohler’s approach to the design of their bathroom sink faucets single hole focuses on combining functionality with visual appeal. The faucets are crafted to be the centerpiece of any bathroom, thanks to their striking profiles and sleek lines. Here are aspects contributing to their unique design and aesthetics:

  • Minimalist Style: Kohler faucets display a minimalist style that suits modern bathrooms. Their single-hole design contributes to a tidy and uncluttered look.
  • Ergonomic Handles: The handles are not only designed for precise control over water flow but also for comfort and ease of use. They complement the spout in both design and functionality.
  • Versatile Designs: Whether your taste leans towards the traditional or the more contemporary, Kohler has designs that will fit seamlessly with your bathroom’s theme.
  • Refined Finishes: Kohler’s range of finishes—from polished chrome to brushed nickel—adds to the elegance of the faucet while also serving a practical purpose by resisting water spots and fingerprints.

The aesthetic appeal of Kohler bathroom sink faucets single hole is undeniable. By focusing on a balance of form and function, these faucets can elevate any bathroom design effortlessly. With Kohler, style does not come at the expense of performance, ensuring that homeowners can enjoy both aspects equally.

Installation and Compatibility Features

Kohler bathroom sink faucets single hole are designed for easy installation. This simplicity is one of their key strengths. Homeowners and professionals can install these efficiently due to the single drilling requirement. Here are the features that make Kohler faucets both easy to install and compatible with various bathroom settings:

  • Single-Hole Configuration: The single-hole design means less drilling on your countertop. It also simplifies the installation process. A neat finish is much easier to achieve with fewer holes.
  • Compatibility: Kohler faucets fit a wide range of sinks. They work well with most single-hole bathroom sinks. This makes them a versatile choice for different bathroom styles.
  • Flexible Connectors: Many models come with flexible supply lines. This adds convenience to the installation process.
  • Installation Tools: Some models include tools specifically for faucet installation. Kohler thinks of everything to make your setup quick and stress-free.

These features highlight Kohler’s commitment to user convenience. They make the Kohler bathroom sink faucets single hole a practical choice for bathroom upgrades or renovations. Moreover, compatibility with various styles means that these faucets can integrate seamlessly into any bathroom design, maintaining both function and aesthetic appeal.

kohler bathroom sink faucets single hole

Water Efficiency and Environmental Impact

Kohler takes pride in its focus on water efficiency and the environmental impact of its products. The company’s single-hole bathroom faucets are designed with sustainability in mind.

  • Aerators and Flow Restrictors: These faucets are equipped with aerators and flow restrictors to minimize water usage without sacrificing performance.
  • Eco-Friendly: By reducing water flow, Kohler bathroom sink faucets single hole contribute to water conservation, which is crucial for the environment.
  • WaterSense Labeled: Many Kohler faucets are WaterSense labeled, ensuring they meet strict criteria for water efficiency set by the Environmental Protection Agency (EPA).
  • Lower Utility Bills: The efficient use of water also leads to lower utility bills, providing financial savings to homeowners over time.

Choosing a Kohler single-hole bathroom faucet not only elevates your bathroom’s design but also supports ecological sustainability and resource conservation. These water-saving features align with the growing demand for environmentally responsible products in the home.

Technological Advancements in Kohler Faucets

Kohler is consistently at the forefront of bathroom technology. Their single-hole faucets are no exception. Here’s a look at the cutting-edge features that set Kohler apart in the market:

  • Touchless Technology: Some Kohler models now include touchless technology. Just wave your hand to start the flow of water. This feature adds convenience and helps maintain hygiene.
  • Temperature Memory: Faucets with temperature memory allow you to turn the water on at your preferred temperature setting. This saves time and avoids the need for constant adjustments.
  • Magnetic Docking: Innovation extends to the spray head on some Kohler faucets. Magnetic docking secures the spray head back into place after use. This ensures the faucet maintains its original, sleek look.
  • Digital Interfaces: Select models offer digital interfaces for precise control. Adjust water flow and temperature with an intuitive touch screen.

These features reflect Kohler’s dedication to incorporating modern technology. They are designed to offer ease of use and heightened efficiency. With these advancements, Kohler bathroom sink faucets single hole are more than just a fixture. They become a smart part of your daily routine.

Maintenance and Durability

When selecting a bathroom faucet, longevity and low maintenance are crucial considerations. Kohler bathroom sink faucets single hole excel in both areas due to robust build quality and thoughtful design. Here are factors contributing to their maintenance and durability:

  • Quality Materials: Kohler uses premium materials that withstand the rigors of daily use. This ensures that faucets remain operational and visually appealing over time.
  • Corrosion and Tarnish Resistance: The finishes on Kohler faucets are designed to resist corrosion and tarnishing. This helps maintain the faucet’s appearance without frequent cleaning.
  • Ceramic Disc Valves: These faucets feature ceramic disc valves that are known for their longevity. They reduce the risk of drips and leaks and contribute to a longer lifespan.
  • Easy-to-Clean Surfaces: The surface design of Kohler single-hole faucets simplifies cleaning. A simple wipe down with a damp cloth is often enough to keep the fixture looking new.

These features highlight why Kohler is a smart choice for homeowners focusing on durability without sacrificing style. Kohler bathroom sink faucets single hole offer the assurance of a lasting, low-maintenance addition to any bathroom setting.

kohler bathroom sink faucets single hole

Kohler’s Range of Finishes and Styles

Kohler offers a variety of finishes and styles for their single-hole bathroom faucets. The right finish can complement your bathroom decor and reflect your personal style. Here are some options to consider:

  • Polished Chrome: This classic, reflective finish suits many bathroom styles and remains a popular choice.
  • Brushed Nickel: For a softer, matte look, brushed nickel is both elegant and resists smudges.
  • Oil-Rubbed Bronze: A darker, rich finish that adds a touch of vintage charm to your space.
  • Matte Black: Sleek and modern, matte black is for those who want a bold, contemporary feel.
  • Vibrant Rose Gold: For a luxurious and unique touch, rose gold offers a warm, inviting tone.

Kohler’s range of finishes and styles ensures that there is a faucet to match the personality of every bathroom. The durability of the finishes preserves the beauty of the faucets over time. When choosing a Kohler bathroom sink faucet single hole, consider the overall theme of your bathroom to find the perfect match.

How to Choose the Right Kohler Single-Hole Faucet for Your Bathroom

Selecting the ideal Kohler bathroom sink faucets single hole requires careful consideration of several factors. To ensure you make the right choice that combines functionality with style, here are straightforward tips:

  • Consider the Sink Size: The faucet should align well with your sink dimensions. Avoid overly large faucets for small sinks to maintain proportion.
  • Match with the Bathroom Style: Choose a faucet that complements your bathroom’s decor. Kohler offers various styles, from traditional to contemporary.
  • Think About Finish: The faucet’s finish can greatly affect the bathroom’s look. Decide whether you want a finish that stands out or blends in.
  • Evaluate the Features: Look at the innovative features Kohler offers, like touchless operation or water efficiency. Decide which features matter most to you.

Remember to gauge the ergonomic design of the faucet for ease of use and ensure any technological enhancements align with your lifestyle. By considering these factors, you’ll find a Kohler single-hole bathroom faucet that fits perfectly within your bathroom space and enhances your daily routine.

kohler bathroom sink faucets single hole

Posted in bathroom | Tagged , , | Leave a comment

When to cover outside faucets? – A Guide for Homeowners

The Importance of Protecting Outdoor Faucets

When to cover outside faucets? Protecting outdoor faucets is crucial for homeowners. Harsh weather can damage these vital fixtures. Cold temperatures often cause water in faucets and pipes to freeze. This can lead to cracks and bursts. A burst faucet can result in costly repairs and water wastage. Moreover, unprotected outdoor faucets may affect water quality. Debris and contaminants can enter an exposed faucet. This can risk the health of your household water supply.

cover outside faucets

Signs That It’s Time to Cover Your Outdoor Faucets

Not sure when to cover outside faucets? Look for these clear signs. Frost advisories are an obvious signal. When local weather reports forecast freezing temperatures, act fast. Cover your faucets to prevent freeze damage.

Temperature Thresholds to Watch For

Generally, when temperatures are set to dip below 32 degrees Fahrenheit, it’s time to take action. This is the freezing point of water. Anything below this temperature can cause water inside your faucets to freeze.

Visual Cues from Your Faucet

Sometimes your faucet gives visible cues. If you see frost on the faucet or pipe, it’s definitely time to cover. Dew or condensation on the faucet can also freeze and cause issues.

Seasonal Changes to Consider

With the change of seasons, pay special attention. When leaves start falling and days grow shorter, prepare your covers. Don’t wait for winter; early cold snaps can occur in fall.

Different Types of Faucet Covers and Their Advantages

Outdoor faucet covers come in various styles, each with unique benefits. Here are the main types to consider:

Foam Covers

Foam covers are popular for their ease of use and low cost. They work by trapping air around the faucet. This air acts as insulation, preventing freezing. You just slip them over the faucet and tighten. They’re great for quick, seasonal protection.

Hard Faucet Covers

These covers are more durable. They often have a hard outer shell. Inside, they may have foam or other insulation. These are best for areas with severe weather conditions. They resist impacts and provide excellent freeze protection.

Thermal Faucet Covers

Thermal covers use heat tape or pads to stop freezing. They are best for extreme cold. These covers provide active warmth to the faucet, preventing ice formation.

Decorative Faucet Covers

These function and protect while looking good. They can blend with your home’s exterior design. These covers often have a combination of foam padding and a stylish outer layer.

Lockable Faucet Covers

Some options come with a lock feature. This is for added security against tampering or unauthorized use. They’re good for vacation homes or if you’re away for long periods.

Each type offers unique advantages. Foam covers are for affordability. Hard covers give you rugged protection. Thermal types offer active defense against cold. Decorative options add an aesthetic touch. Lockable covers add security. When choosing when to cover outside faucets, think about your home’s needs. Consider your local climate and your personal preferences.

cover outside faucets

Step-by-Step Guide to Installing Faucet Covers

Installing outdoor faucet covers is a simple task that can prevent costly damage. Follow these step-by-step instructions to ensure your faucets stay protected:

  • Choose the Right Cover: Before you begin, select the right type of cover. Match the cover to your climate and faucet type.
  • Clean the Faucet: Clear any debris from the faucet. This ensures a snug fit and better insulation.
  • Position the Cover: Place the cover over the faucet, making sure it covers it completely. For foam covers, position the cover so it encases the faucet snugly.
  • Secure the Cover: If the cover has a fastening mechanism, tighten it to hold the cover in place. For foam covers, this might involve pulling a cord or strap.
  • Double-Check the Seal: Make sure there are no gaps where cold air can enter. The cover should fit tightly against the house.
  • Inspect Regularly: Check the cover periodically, especially after severe weather, to ensure it remains secure and effective.

With this guide, you’ll know when to cover outside faucets and how to do it right. Proper installation of a faucet cover keeps your outdoor faucets safe all winter long. Avoid the urge to cut corners; well-installed faucet covers can save time and money in the long term.

When to Remove Faucet Covers: Timing and Considerations

Once winter passes and temperatures rise, it’s safe to remove faucet covers. Yet, knowing the right time is crucial. Remove covers too soon, and you risk freeze damage. Wait too long, and you might miss the start of the gardening season. Here are key factors to guide you on when to uncover your outdoor faucets.

Watch the Weather

Keep an eye on the forecast. Look for a consistent upward trend in temperatures before you remove covers. Ideally, wait until the weather stays above freezing, 32 degrees Fahrenheit, for at least a week.

Consider the Season

Mid-spring is usually a good time to remove faucet covers. However, your region’s climate dictates the exact timing. If you live in a colder area, you might need to wait longer. In warmer regions, you can do it earlier.

Inspect for Damage

Before removing, inspect your faucet for any winter damage. Look for cracks or leaks. If you find any, repair these issues before using the faucet again.

DIY Faucet Protection: Tips and Tricks

Protecting your outdoor faucets doesn’t need to cost much. Here are DIY tips for keeping them safe without breaking the bank. Grab some materials, and you’re ready to go.

Use Household Items

You can use items around your house for protection. Wrap your faucet in towels or rags. Then, secure them with duct tape or rubber bands. This provides a quick insulating layer.

Plastic Bags for Waterproofing

After wrapping your faucet in insulation, cover it with a plastic bag. This will keep it dry. Tie it securely to protect from rain and snow.

Apply Pipe Insulation

Foam pipe insulation is affordable. Cut it to size and place it around your pipes. Secure it with tape. It’s a simple step that offers good freeze protection.

By using these tips when deciding when to cover outside faucets, you create a protective barrier. It’s cost-effective and easy. Regularly check your faucets, especially before and during winter months. Quick action can prevent freezing and save on repair costs.

Maintaining Your Outdoor Faucets for Longevity

Taking care of your outdoor faucets can extend their life. Regular maintenance helps avoid costly repairs. Here are easy steps to maintain your faucets for longevity:

Inspect Regularly

Make it a habit to check your faucets often. Look for leaks, cracks or unusual wear. Fixing issues early can prevent bigger problems later.

Clean Your Faucets

Dirt and debris can cause damage over time. Clean your faucets regularly with mild soap and water. Rinse them well to prevent buildup.

Use Faucet Covers

Even during warmer months, covers can protect against dust and insects. When in doubt, cover your outside faucits to keep them safe.

By following these maintenance tips, you can avoid unnecessary repairs. Your outdoor faucets will last longer. Remember to check them, clean them, winterize, replace worn parts, and use covers. When to cover outside faucets? Do it before damage occurs. With care, your faucets will be ready anytime you need them.

cover outside faucets

Preparing for Extreme Weather: Extra Measures for Faucet Protection

Extreme weather demands extra measures to keep outdoor faucets safe. Here’s what you can do:

Upgrade to Heavy-Duty Covers

In areas prone to severe storms or deep freezes, standard covers might not suffice. Choose heavy-duty faucet covers designed to withstand extreme conditions.

Add Insulating Materials

To boost protection, wrap your faucets with extra insulating materials. Use layers of foam insulation or fiberglass. Secure them with waterproof tape to keep moisture out.

Consider Heat Sources

For intense cold, a heat source can be key. Heat tape or heat cables wrapped around pipes can prevent freezing. Always follow the manufacturer’s instructions for safety.

cover outside faucets

Posted in Kitchen | Tagged , , | Leave a comment

zinc vs Brass Faucets – Selecting the Superior Faucet Material

Introduction to Faucet Material Choices

Choosing the zinc vs brass faucets material is key to both function and style in your bathroom or kitchen. Brass and zinc are common materials, each with its own pros and cons. Brass is durable, corrosion-resistant, and has a high-end look. Zinc, on the other hand, is more budget-friendly, but doesn’t last as long. Consider also the finish, as it affects the faucet’s look and resistance to wear. Make sure to evaluate not only the exterior but also the construction quality and manufacturing process. This will help ensure you select a faucet that performs well over time.

zinc vs brass faucets

Brass Faucets: Advantages and Aesthetics

Brass faucets bring durability and style to bathrooms. Their solid construction resists corrosion. This assures a lasting shine and maintains function over time. Brass also offers versatility in design. It complements both modern and classic bathroom aesthetics.

Long-Lasting Durability

Brass faucets are known for their sturdiness. They withstand daily use with ease. This makes them a smart investment for homeowners. With proper care, they can last up to 50 years.

Anti-Microbial Properties

Another advantage of brass is its natural anti-microbial quality. This helps to keep the water supply clean. Less bacteria means a healthier home environment.

Variety of Finishes

Brass faucets come in various finishes. Choose from polished chrome, brushed nickel, or antique brass. Each finish brings a unique look. It can match any bathroom’s theme or personality.

Aesthetically Pleasing

Solid brass faucets add elegance to any space. They offer both a sleek and classic feel. Whether you’re upgrading or starting fresh, brass faucets make a statement.

Understanding Zinc Faucets: Budget-Friendly Options

Zinc faucets are often chosen for their cost-effectiveness. They provide short-term affordability for those on a budget. Although less durable than brass, they offer immediate savings. Here’s what you need to know about zinc faucets:

Economical Choice

Zinc is a lighter, budget-friendly option. It is ideal when cost is a priority over longevity.

Shorter Life Expectancy

Compared to brass, zinc faucets have a reduced lifespan. They may show signs of wear sooner.

Lighter Construction

Zinc faucets are light in weight, making them easy to handle during installation.

zinc vs brass faucets

Aesthetics Over Time

Zinc’s appearance can deteriorate faster. It might not resist corrosion as well as brass, leading to earlier replacement.

Compatible with Many Finishes

Zinc faucets can be found with various finishes. Chrome and nickel plating are common choices.

In conclusion, zinc faucets stand out as cost-effective solutions. Homeowners with budget constraints can turn to zinc. However, it’s crucial to consider their shorter lifespan and potential for corrosion.

Evaluating Durability and Lifespan of Faucet Materials

When debating zinc vs brass faucets, durability is key. Brass wins with its longer lifespan and robustness. It stands up to daily use and resists corrosion. We see brass fixtures lasting decades with the right care. Zinc, while initially more cost-effective, tends to wear out faster. It is prone to corrosion, affecting its lifespan negatively.

Brass Faucets: The Long-Term Choice

Brass has a proven track record for enduring use. It resists wear from water exposure well. Expect a brass faucet to handle high traffic with less risk of leaks. This material also copes with hard water conditions better. Invest in brass for fixtures that last and offer steady performance over time.

Zinc Faucets: Short-Term Savings

Zinc faucets offer immediate budget relief at the expense of longevity. They are lighter and easier on upfront costs. However, they may need replacing sooner than brass counterparts. Zinc is less resistant to water damage and can deteriorate swiftly. Choose zinc when initial savings trump durability concerns.

To sum up, brass faucets deliver in terms of durability and lifespan. They may cost more upfront, but the long-term benefits justify the investment. Zinc faucets are practical for short-term scenarios but might not hold up as well. Remember, a faucet’s lifespan impacts overall value and maintenance.

Analyzing Finish and Style: Chrome, Nickel, and Beyond

Choosing a faucet involves more than just material. The finish and style play important roles too. They affect durability and the look of your bathroom. Here are key points about different finishes:

Chrome Finish

Chrome is popular and versatile. It withstands scratches and is easy to clean. This makes it practical for high-use areas. It adds a shiny, modern touch to bathrooms.

Nickel Finish

Nickel offers a rich, warm look. It comes in polished or brushed styles. It resists water spots and fingerprints better than chrome. Nickel adds elegance to any bathroom design.

Beyond Chrome and Nickel

There are more finishes like bronze, brass, and matte black. Each brings a different feel to bathroom spaces. Bronze gives a classic look, while matt black can be sleek and modern.

Remember, finishes are not just about color. They protect the faucet. Consider how well they hold up against corrosion and wear. Also, think about how they match your bathroom’s overall style. In summary, look for a finish that combines function and fashion for the best experience.

zinc vs brass faucets

The Role of Construction and Manufacturing in Faucet Quality

When selecting the material for your faucets, consider how they are made. The method of manufacturing influences quality and longevity. Here, we delve into key aspects of how faucets are built. This helps you choose a product that offers durability and reliability.

Materials Used

High-quality faucets often use brass or stainless steel. These materials resist corrosion and handle frequent use well. Faucets made of zinc are budget-friendly. Yet, they may not last as long as those made of more robust materials.

Construction Methods

Faucets are formed through processes like casting or forging. These production methods impact the faucet’s strength and leak-resistance. Forged brass faucets, for example, tend to be stronger and more leak-resistant.

Finishing Touches

The finish is not just for looks; it also protects the faucet. Finishes like chrome or nickel add a protective layer that resists scratches and corrosion. This extends the life of the faucet.

Considering these factors will guide you in choosing a faucet that blends quality construction with high functionality. Each component, from material to finish, plays a vital role in the faucet’s overall performance and endurance.

Factors to Consider for Long-Term Performance

When picking faucets, you must weigh long-term performance. Here are vital factors to ponder:

Material Quality Is Fundamental

Go for high-grade materials like brass for lasting durability. They withstand frequent use and corrosion.

Check the Valve Type

Opt for ceramic or solid brass valves. These resist leaks and provide enduring operation.

Assess the Finish

Finishes like chrome offer durability and ease of cleaning. They also add a modern flair.

Easy Maintenance Matters

Choose faucets that are simple to maintain. This can extend their lifespan and appearance.

Factor In Design Consistency

Ensure handle and spout designs are coherent. This ensures lasting functionality and style.

Think About Water Efficiency

Select faucets that save water. This can lower bills and aid the environment.

Prioritize Manufacturer Reputation

Purchase from reputable brands. They often provide better quality and warranties.

zinc vs brass faucets

Conclusion: Making the Informed Choice for Faucets

When choosing faucets, consider material, finish, and quality. Brass faucets offer durability and elegance. They resist corrosion and have a long lifespan. Zinc faucets are budget-friendly but less durable. They may need more frequent replacements.

Select finishes like chrome or nickel for both beauty and protection. They stand up to wear and simplify cleaning tasks. Remember, quality construction ensures faucet longevity and reliability. This leads to fewer leaks and less need for repairs.

Prioritize faucets that fit your style and meet long-term performance needs. Go for brands with strong reputations for stand-out warranties and customer service. Also, think about water efficiency. Faucets that save on water use benefit both the environment and your wallet.

Posted in Kitchen | Tagged , , | Leave a comment

Should You Drip Outside Faucets? – The Right Way

Introduction to Outside Faucet Winterization

Should you drip outside faucets? As the cold season approaches, outside faucet winterization becomes crucial for homeowners. This process helps to prevent costly damages associated with freezing temperatures. Understanding how to properly winterize outdoor faucets is key to maintaining your home’s plumbing integrity during the winter months.

drip outside faucets

When to Begin Dripping Your Outside Faucets

Knowing the right time to start dripping your outside faucets is crucial for preventing freeze damage. As the temperature drops, pay close attention to the forecast. The key point to start the drip is when temperatures approach freezing, typically 32 degrees Fahrenheit or 0 degrees Celsius. According to plumbing experts, the ideal time to drip faucets is before the thermometer hits 20 degrees Fahrenheit or -6.6 degrees Celsius. At these temperatures, the risk of pipes freezing increases significantly.

Faucets that are on the perimeter of your home are at the highest risk. These include faucets on exterior walls or in unheated areas like basements or garages. It is especially important for these faucets to be dripping when the temperature plunges. Jake Romano of John the Plumber suggests turning on the taps just enough to keep a consistent drip. This helps prevent water from freezing and expanding in the pipes, which could lead to bursts.

In regions with milder winters

You might not need to drip faucets as frequently. However, for peace of mind during an unexpected cold snap, it’s wise to be prepared. Remember, it’s not just about having the faucet dripping; make sure both hot and cold water lines are running a slight, steady drip. This step is often overlooked but essential, as neglected cold or hot water pipes are still vulnerable.

Identifying Vulnerable Faucets in Cold Weather

In cold weather, certain faucets are more prone to freezing. These typically include faucets that:

  • Are located on exterior walls or areas with little insulation.
  • Connect to pipes in unheated spaces like basements, attics, or crawl spaces.
  • Serve as outdoor hose bibbs or are in unsheltered outdoor areas.

To find these at-risk faucets, look for taps that feel colder to touch or that have shown signs of freezing in the past. Faucets with metal pipes are especially vulnerable due to metal’s high thermal conductivity. If you’re unsure, touch the pipe; if it feels very cold, consider this faucet high priority for dripping.

Remember, even faucets in garages or under porches can freeze if the temperature drops enough. These areas might not receive the same amount of heat as your home’s interior, putting them at risk. It’s crucial to assess your home every winter and identify any areas that have changed that might expose faucets to the cold.

drip outside faucets

After identifying which faucets need attention, you can take steps to prevent freezing. For example, let a slow drip run, use faucet covers for added insulation, and keep cabinet doors open indoors to allow warm air to circulate around the plumbing.

Step-by-Step Guide to Drip Outside Faucets

When winter looms, knowing how to drip outside faucets can save you from costly repairs. This step-by-step guide will walk through the process, ensuring that your faucet dripping is effective.

  • Check the Forecast: Start monitoring the weather as temperatures begin to drop. The critical time for faucet dripping is just before the freezing point, typically at 32°F (0°C).
  • Identify Vulnerable Faucets: Faucets on exterior walls or in uninsulated spaces are most at risk. Make these your priority when it comes to dripping.
  • Turn on the Faucet: Slightly open the tap to start a slow drip. This prevents standing water that can freeze and cause pipes to burst.
  • Adjust for Temperature: If the weather report predicts temperatures to fall below 20°F (-6.6°C), ensure you have a consistent drip flowing.
  • Hot and Cold Water: It’s essential to have both hot and cold water lines dripping. For separate valves, slightly turn on both. For single valves, find a midpoint to allow both lines to drip.
  • Keep an Eye on the Weather: Continue to drip your faucets until the forecast consistently stays above freezing during the day and night.

Remember, a small amount of precaution can prevent significant damage. By following these steps, you are better prepared to protect your home’s plumbing during the cold season. Keep in mind that you should drip outside faucets as part of a comprehensive winterization strategy.

Insulation Tactics for Outdoor Plumbing

Keeping your outdoor plumbing from freezing is critical in the winter months. Here’s how you can protect your pipes with proper insulation:

  • Inspect Outside Faucets: Check faucets for any signs of wear or susceptibility to cold. If they’re located on an exterior wall or in an uninsulated space, they’re at risk.
  • Use Foam Covers: Foam faucet covers work well to shield your taps from freezing temperatures. They’re affordable and easy to install.
  • Apply Pipe Wrap: Wrapping exposed pipes with insulation foam helps maintain the water temperature inside.
  • Consider Pipe Heating Cables: For extreme cold, electric heating cables can keep your pipes warm. Just wrap them around the pipes and plug them in.
  • Seal Gaps and Cracks: Use caulking or spray foam to fill any holes or gaps where cold air could enter and reach the pipes.
  • Install Frost-Proof Faucets: If possible, upgrade to frost-proof outdoor faucets. They’re built to withstand the cold better than regular faucets.

By implementing these measures, you can greatly reduce the risk of freezing and bursting pipes, saving costly repairs. Always remember to keep monitoring the weather and take additional steps if a severe freeze is forecasted.

Shutting Off Water to Prevent Freezing

Shutting off the main water supply is a key step in preventing frozen pipes. This action is especially vital if you plan on being away during a cold spell. To properly shut off the water, follow these simple steps:

  • Locate the main water valve, usually found in basements or near the water meter.
  • Turn the valve clockwise to close it and stop water flow to the house.
  • Open all faucets to drain remaining water from the pipes.
  • Leave the faucets open until you turn the water back on.

drip outside faucets

Recommended Temperature Settings to Avoid Frozen Pipes

To prevent your pipes from freezing, maintaining a warm and consistent temperature inside your house is essential. Here are some recommended temperature settings that can offer protection against frozen pipes during the cold season:

  • Set Indoor Temperature: Keep your indoor temperature at a minimum of 55 degrees Fahrenheit, even when you’re away. This level of warmth is generally sufficient to reduce the risk of freezing in your household pipes.
  • Nighttime Settings: Don’t drop the heat at night; keeping a steady temperature helps prevent pipes from cooling down and potentially freezing.
  • Temperature for Vacant Homes: If you’re leaving your home for an extended period during winter, still keep the thermostat set to at least 55 degrees Fahrenheit. This can prevent extensive damage from freezing pipes.
  • Areas With Little Insulation: For parts of your home that are poorly insulated, such as basements or attics, consider a slightly higher setting to account for the loss of heat in these spaces.

Troubleshooting Common Faucet Dripping Mistakes

Even with the best intentions, mistakes can happen when trying to prevent outside faucets from freezing. It’s important to recognize common pitfalls to ensure your dripping efforts are effective. Here are some common mistakes to avoid:

Not Dripping Both Hot and Cold Water Lines

One of the most common mistakes is not dripping both hot and cold water lines. Ensure you turn both handles just enough to maintain a steady drip, or, if you have a single-handle faucet, position it so both hot and cold water drip.

Dripping Too Much or Too Little

Finding the right balance is key. A stream that’s too strong is wasteful, but a drip too slow may not prevent freezing. Aim for about one to two drips per second, which generally keeps the water moving without excess usage.

Ignoring Outdoor Pipe Insulation

Dripping faucets isn’t sufficient alone. Without proper insulation, your pipes may still freeze. Remember to cover pipes with foam insulation or use a heating cable for additional protection.

Outdoor Faucets

Posted in bathroom | Tagged , , | Leave a comment