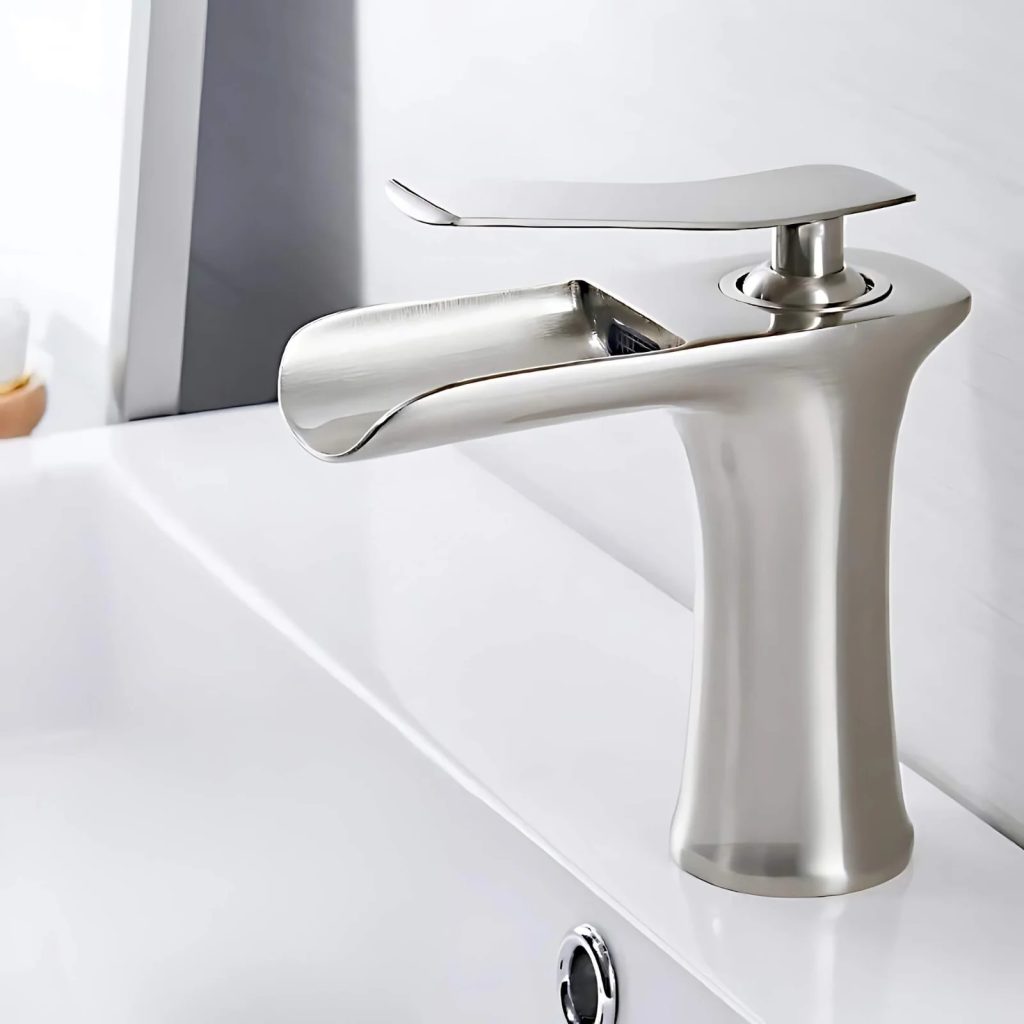
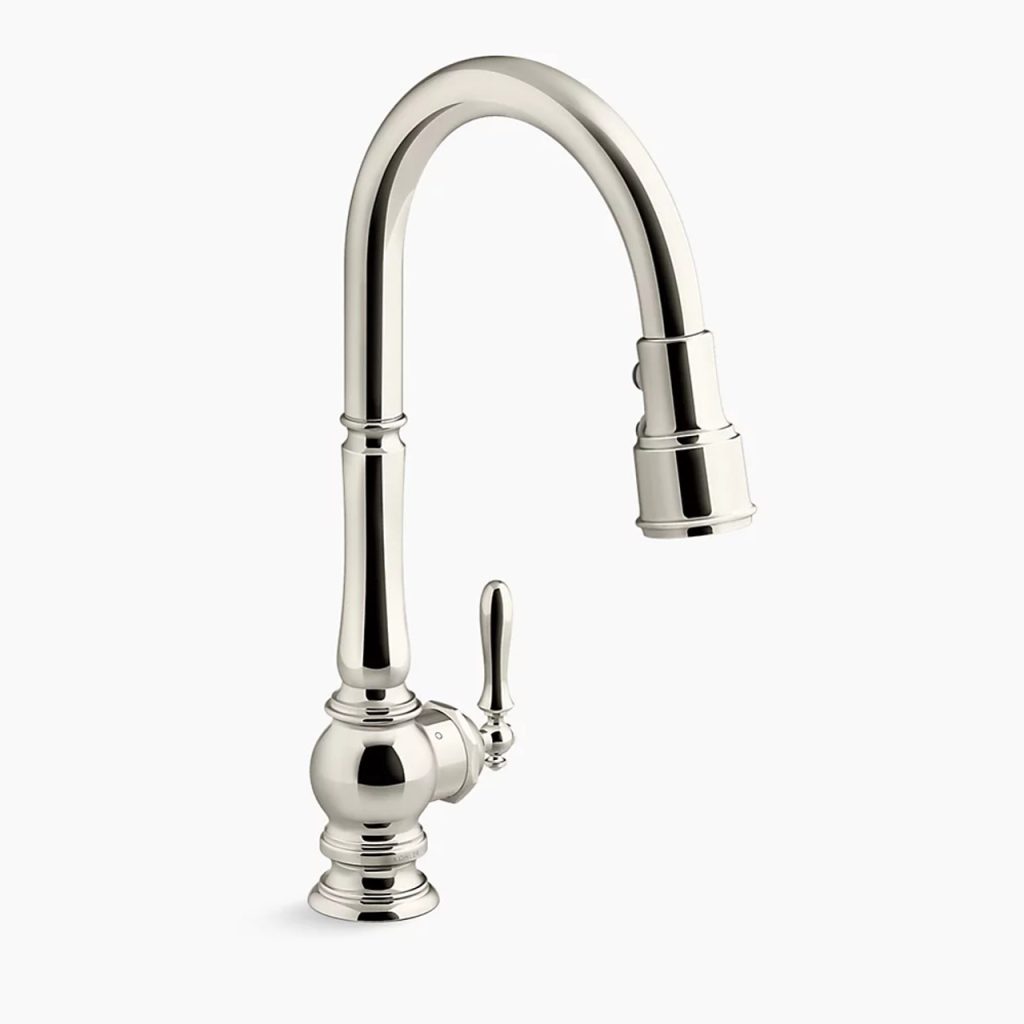
Introduction to Faucet Mechanics
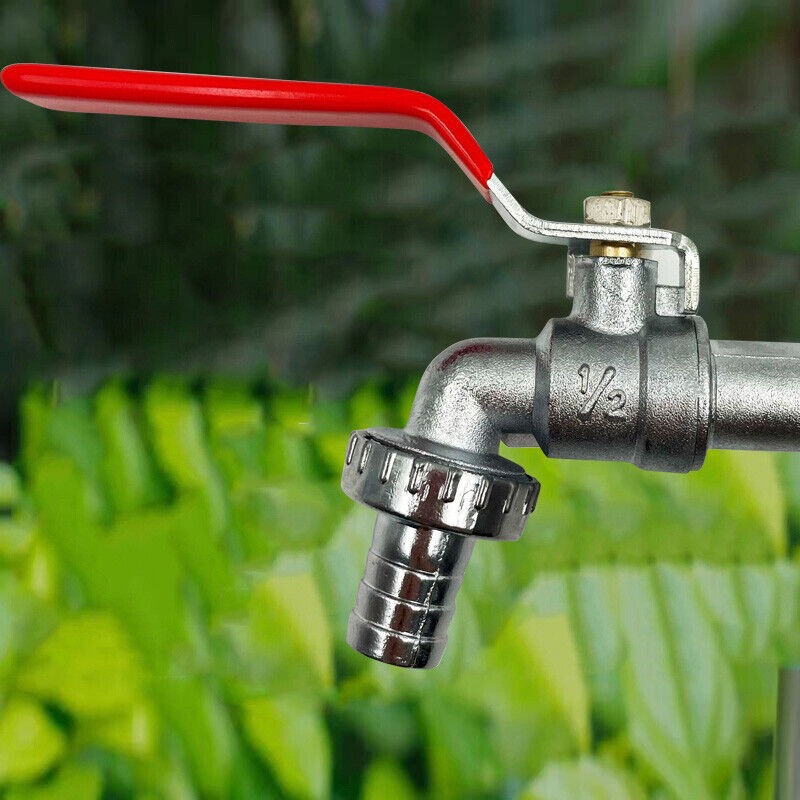
Do all faucets have cartridges? Understanding faucet mechanics is essential for any homeowner. Faucets are vital in our daily lives. They control the flow of water in sinks and baths. Inside every faucet, there are components that manage this process. One of these components could be a cartridge. Not all faucets have cartridges, though. Some use different mechanisms like ball valves or rubber washers.
The Role of Cartridges in Faucets
Cartridges play a crucial role in your faucet’s operation. They are, in essence, the command center for managing water flow and temperature. When you adjust the faucet’s handle, it’s actually the cartridge inside that executes your command. This action directs the mix and volume of hot and cold water that streams out.
Here are several key functions of cartridges in faucets:
- Regulate Water Flow: Cartridges keep the water flow steady and consistent. They ensure a reliable stream whenever you use the faucet.
- Control Temperature: By adjusting the mix of hot and cold water, cartridges provide the right temperature according to your preference.
- Reduce Wear and Tear: Quality cartridges can decrease the deterioration of faucet parts. This extends the faucet’s longevity and serene operation.
- Provide Precision: Advanced cartridges allow for precise control over the faucet settings. This makes it easier to achieve the desired water temperature and flow.
Faucets with cartridges tend to have a more modern design. They often offer smooth operation with less effort. The design of the cartridge system is made for easy maintenance and durable performance. Remember, not all faucets have cartridges. But those that do, usually promise an enhanced user experience with higher precision and fewer leaks.
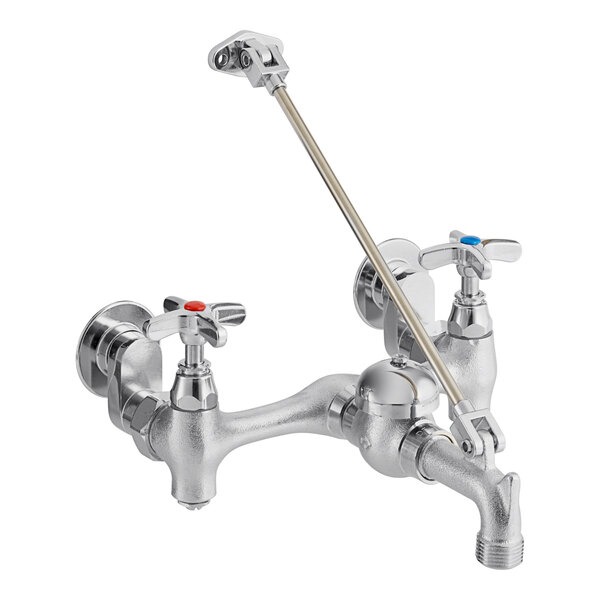
Identifying Cartridge-Based Faucets
Recognizing whether you have a cartridge-based faucet is key to proper maintenance. Here’s how to tell:
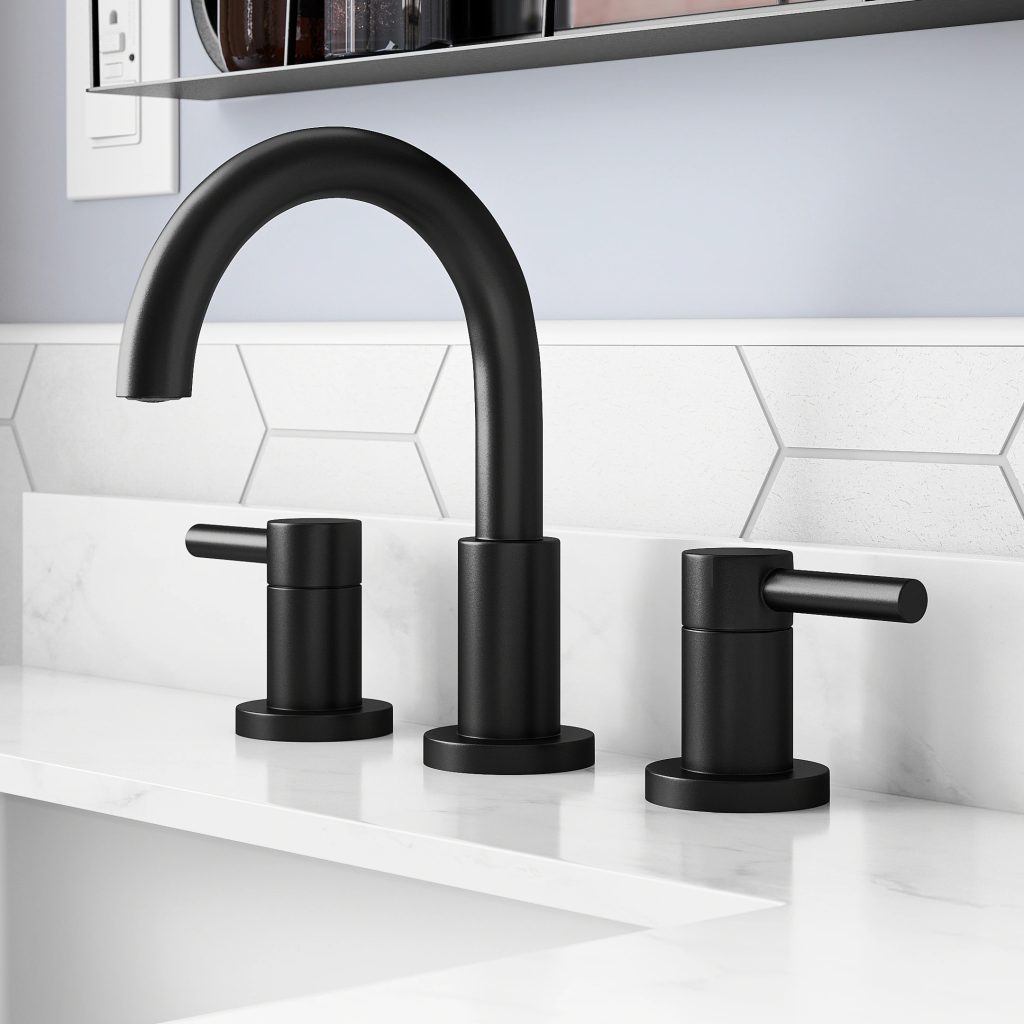
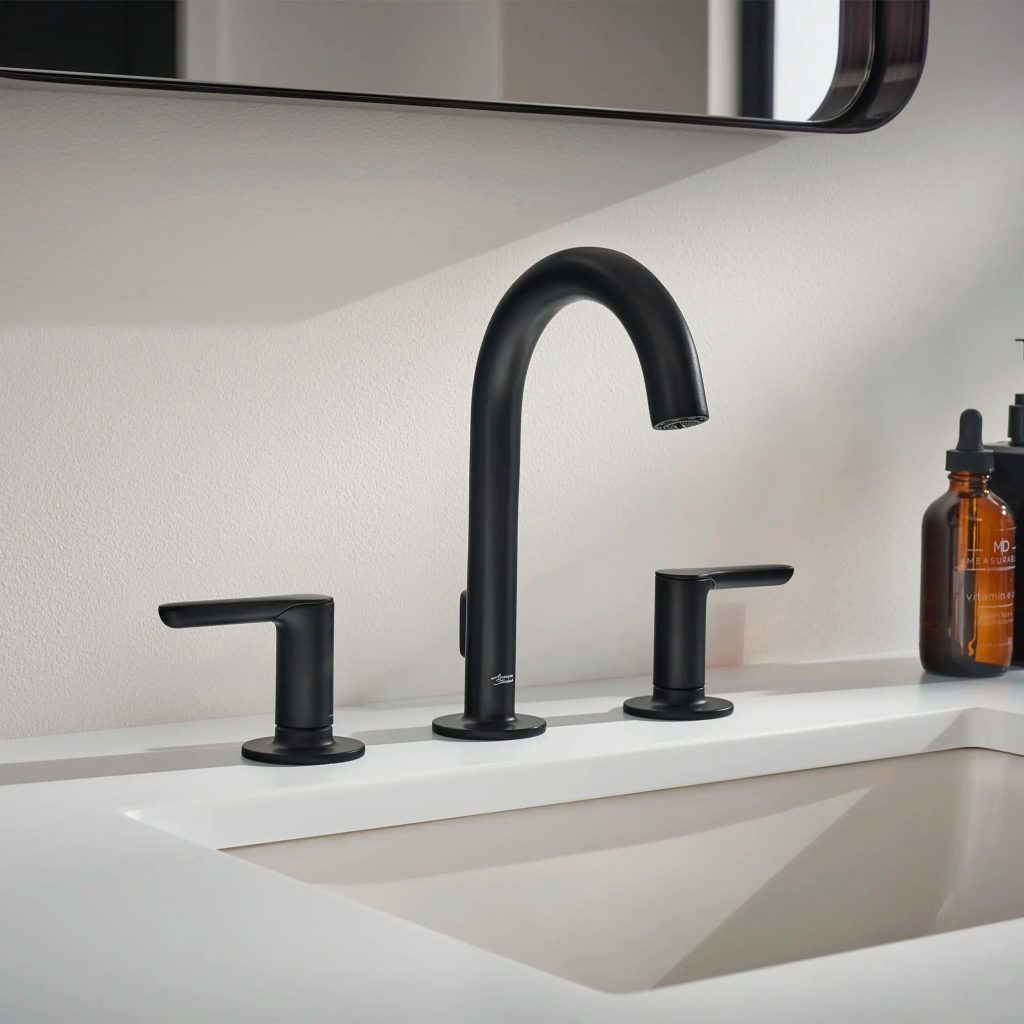
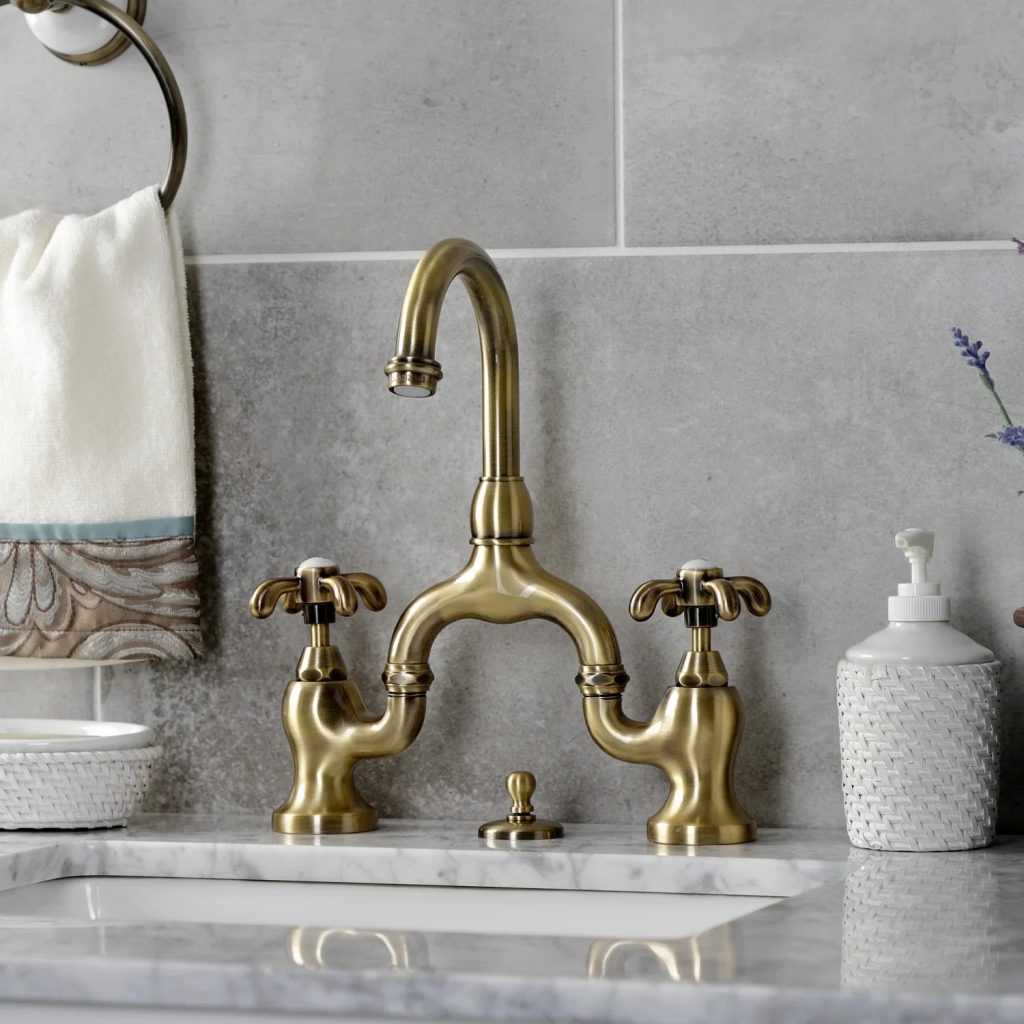
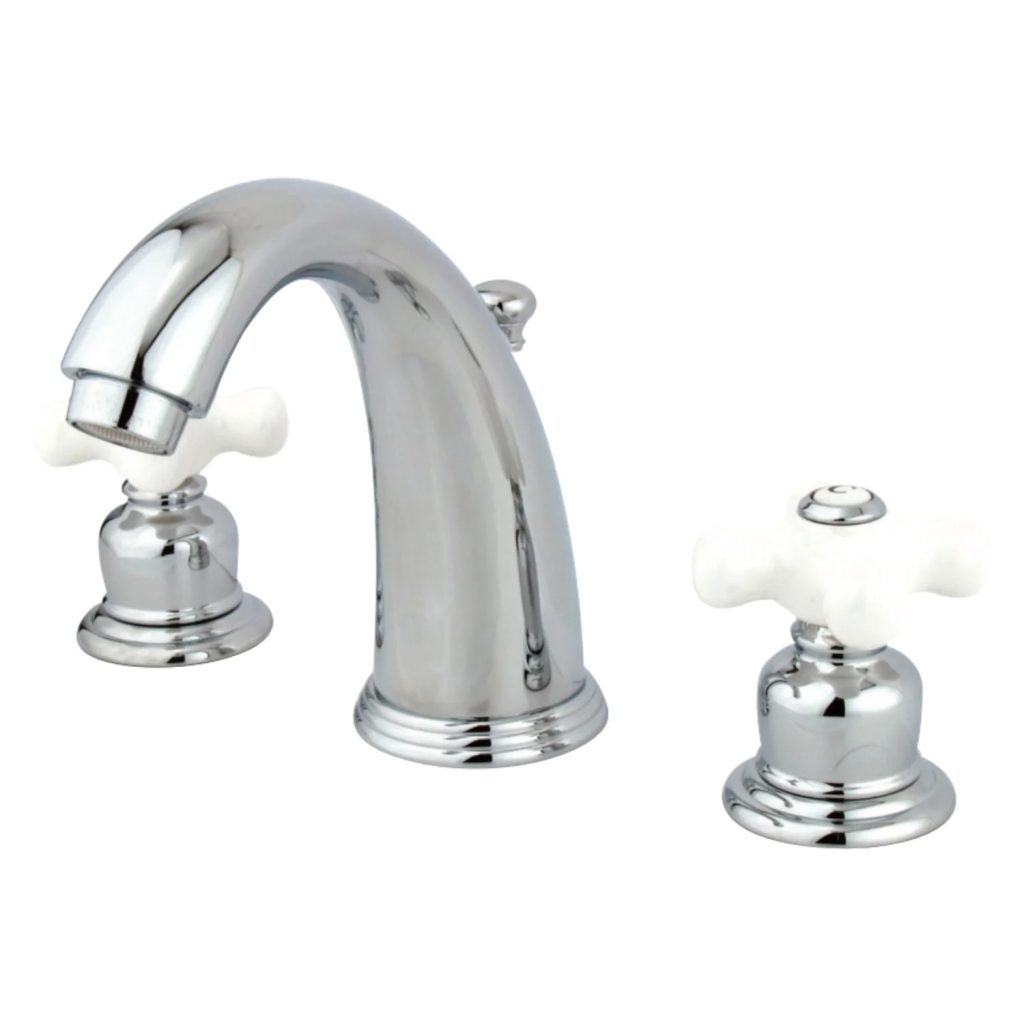
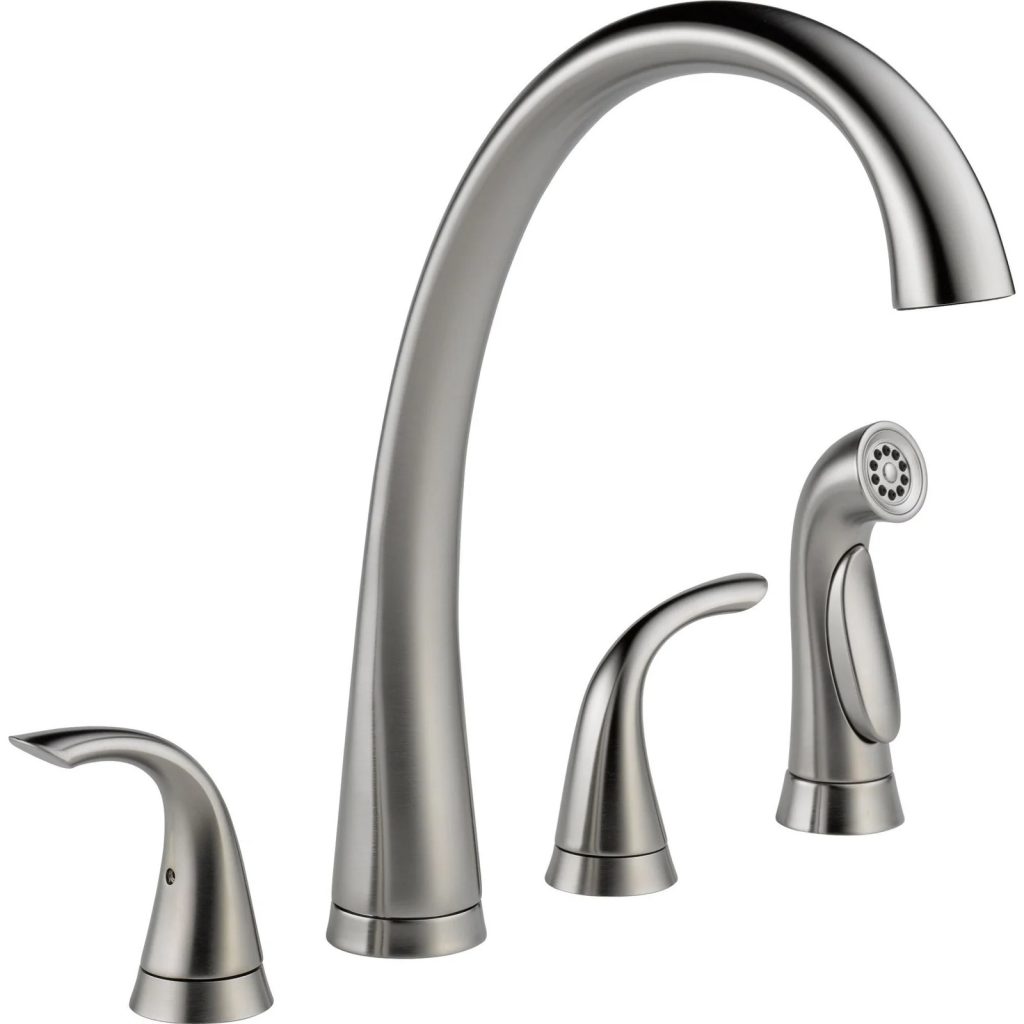
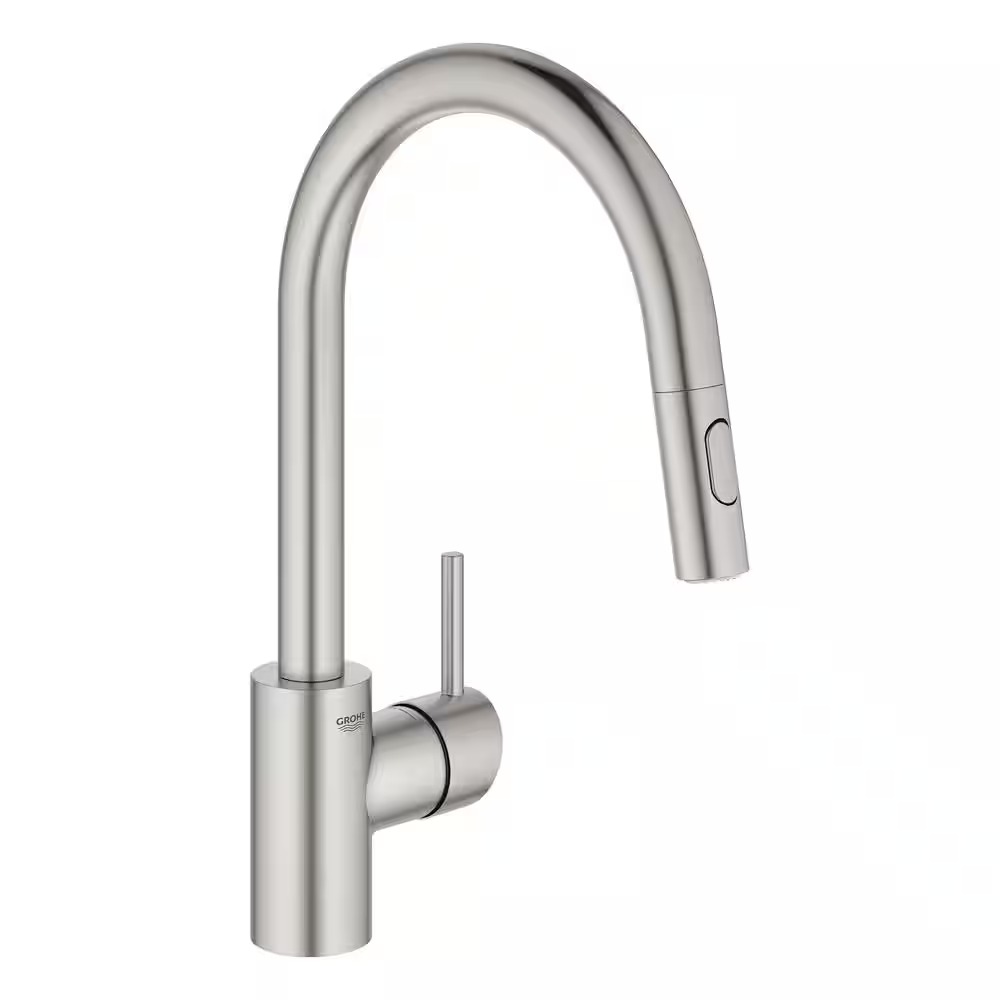
- Check the Handle Count: Single-handle faucets often mean there’s a cartridge inside. If you have dual handles, it might be a different system.
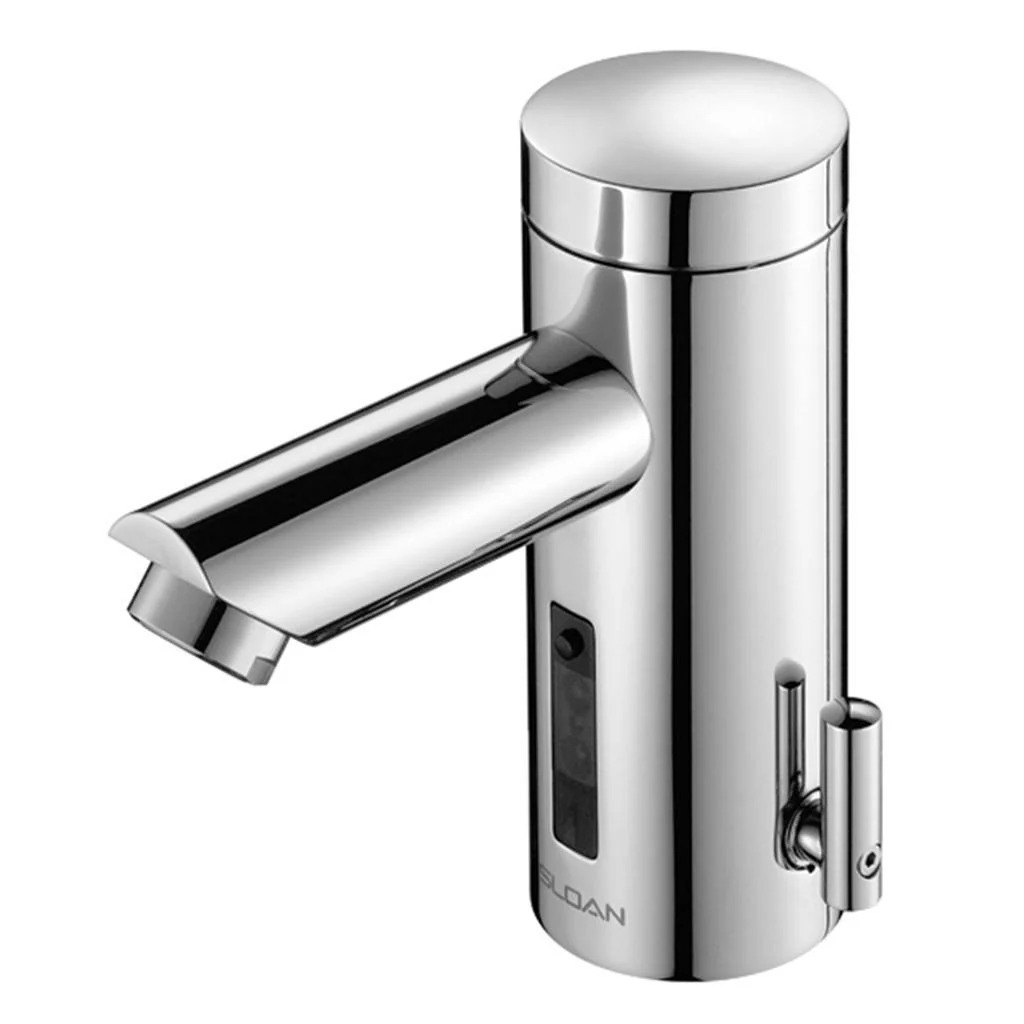
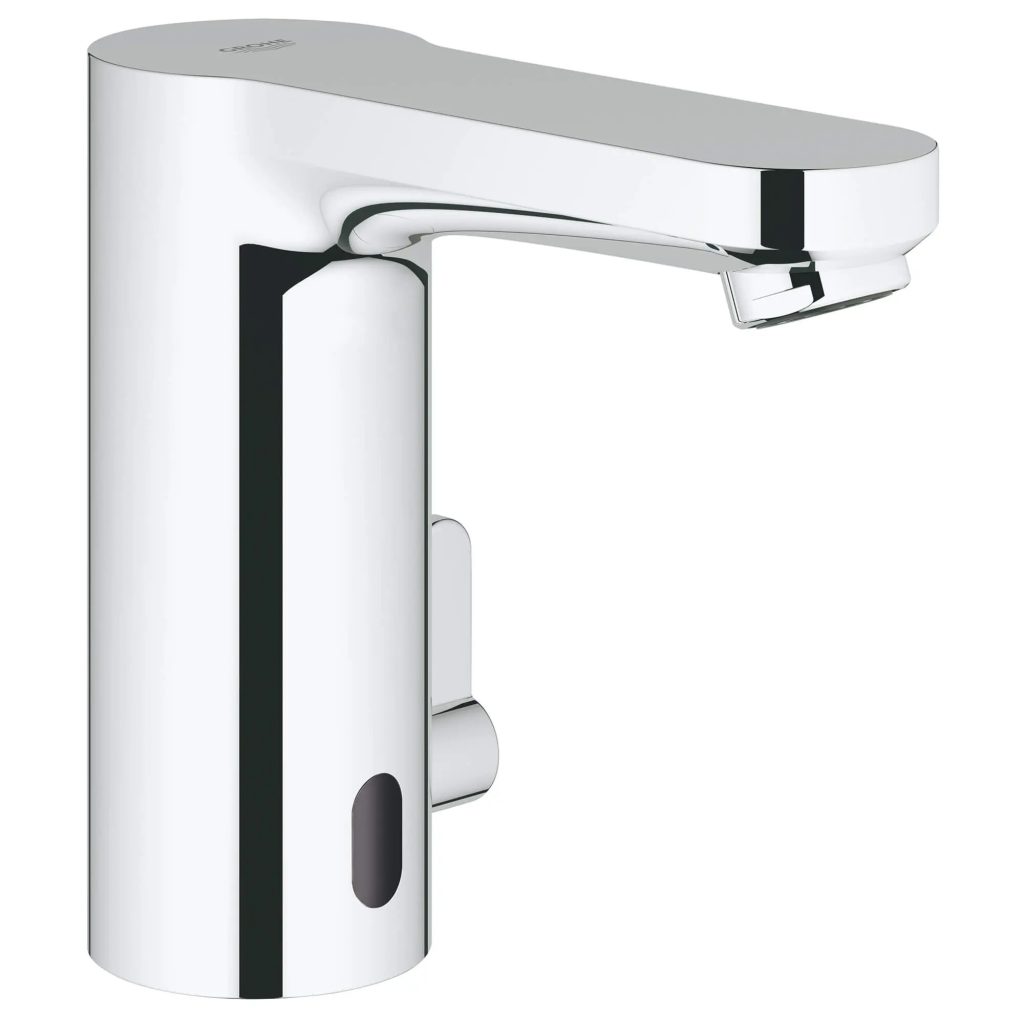
- Look for a Brand Name: Some brands are known for using cartridges in their designs. Research your faucet’s brand to see if this applies.
- Inspect for Leakage: Cartridges can wear out. A leaky faucet might indicate it’s time to check the cartridge.
- Observe the Operation: If the handle rotates smoothly in a circular or up-and-down motion, it likely has a cartridge system.
Thorough examination of your faucet’s design and operation will reveal if it operates using a cartridge. Once identified, you can proceed with the right maintenance strategy.
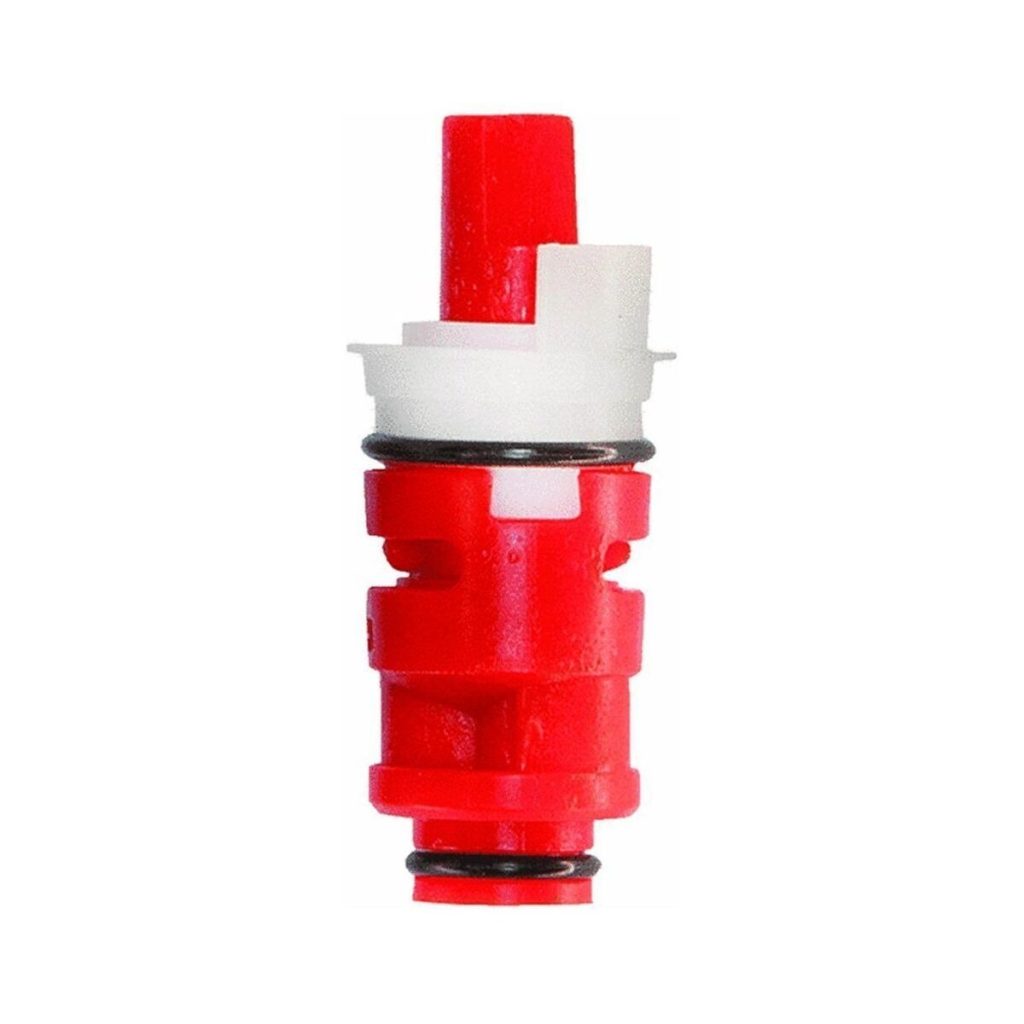
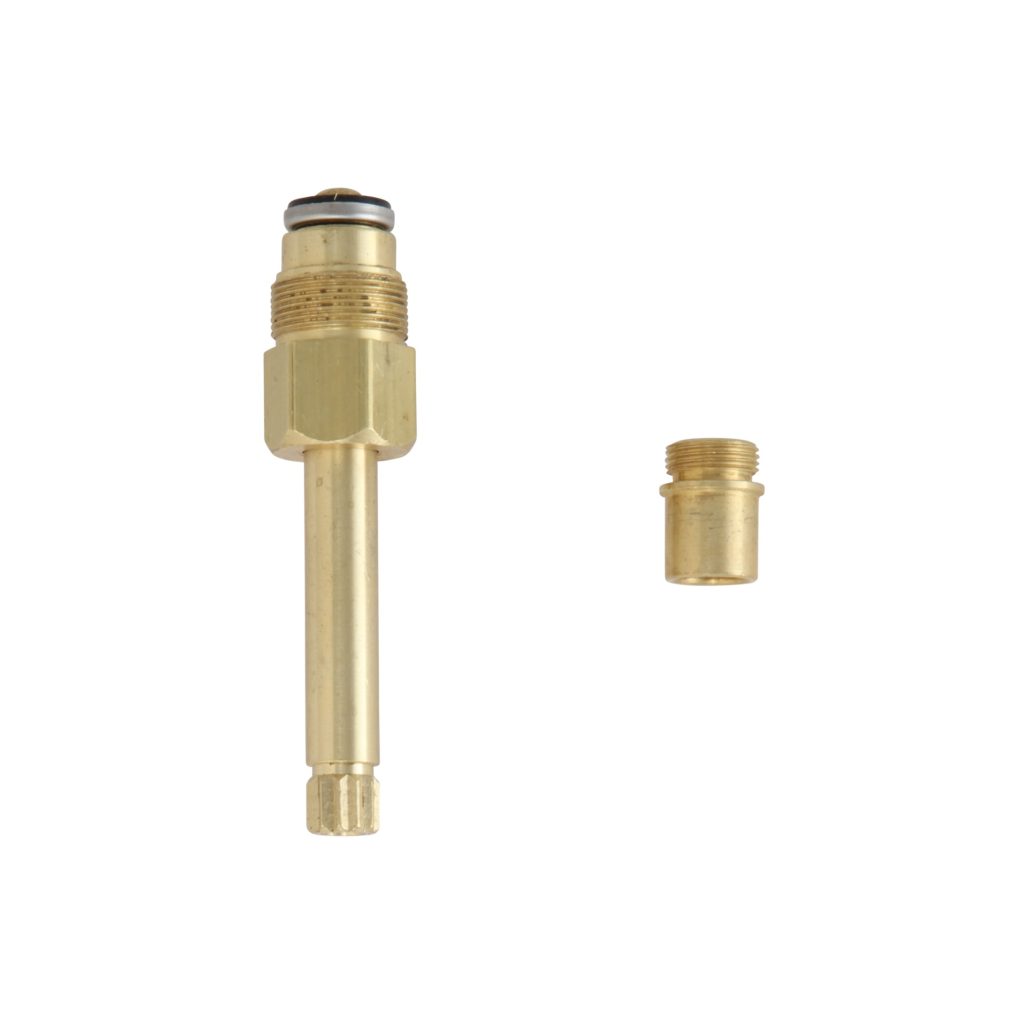
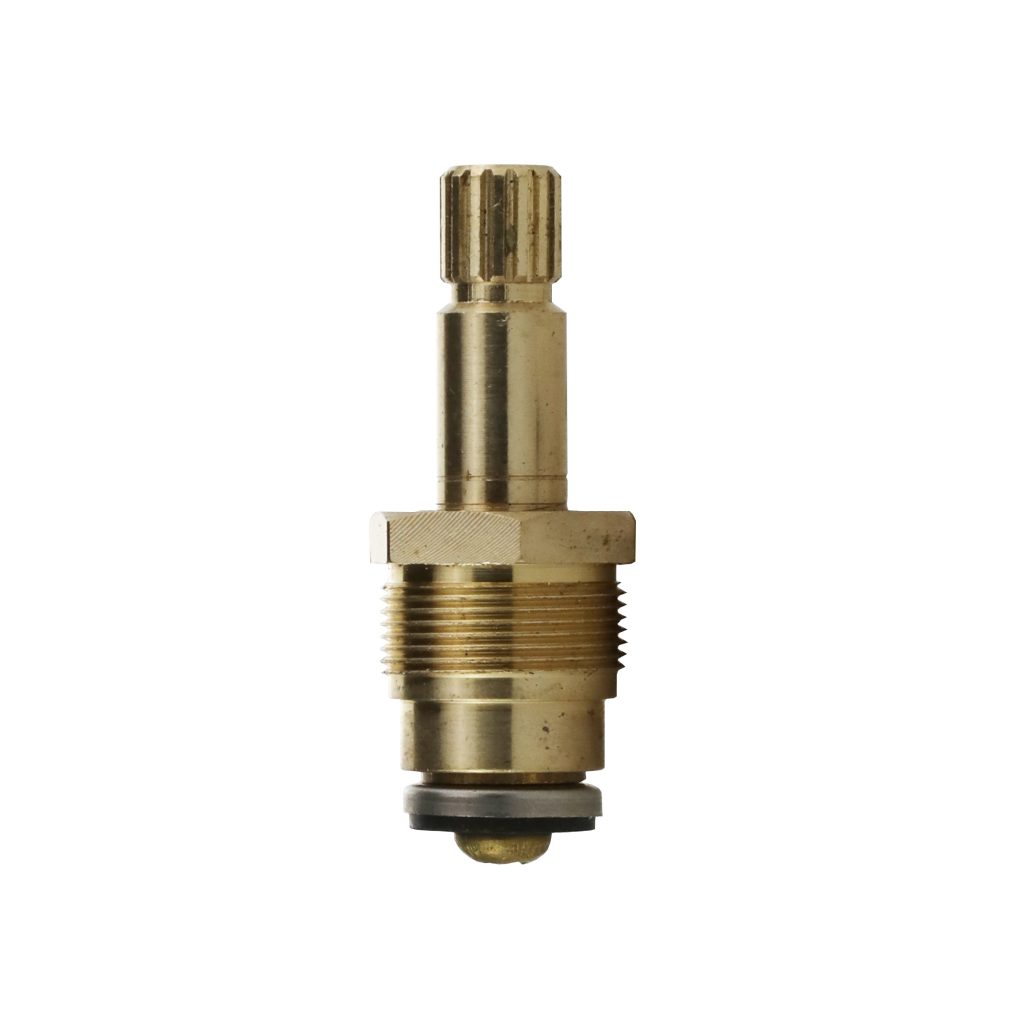
Types of Faucet Cartridges
Understanding the different types of faucet cartridges is essential for proper faucet maintenance. Here are the most common types you may encounter:
- Compression Cartridges: These feature a screw-down mechanism. They compress a rubber washer to control water flow and seal off drips.
- Ceramic Disk Cartridges: Known for durability, these use two ceramic disks to regulate water flow and temperature. They are reliable and leak-resistant.
- Ball Cartridges: Typically found in single-handle faucets, these use a rotating ball with slots. They align with hot and cold water inlets for temperature control.
- Cartridge Disk Cartridges: A mix of both world, these use a disk-based system within a cartridge design for a precise control over water flow and temperature.
Each type serves a unique function in the faucet’s overall operation. They are tailored for different faucet styles and user preferences. When a cartridge fails, identifying its type is the first step in finding the right replacement.
Benefits of Using Cartridges in Faucets
Faucets with cartridges bring many user advantages. These benefits impact not just the day-to-day use but also in the long-term functionality and maintenance of your faucets. Here’s a closer look at why using cartridges in faucets can be so beneficial:
- Ease of Use: Cartridges offer smooth operation. This makes adjusting water flow and temperature easier.
- Durability: They often last longer than other mechanisms. This means fewer replacements and lower costs over time.
- Consistent Performance: Cartridges provide a reliable and steady water flow. This ensures a satisfactory experience whenever you turn the tap on.
- Improved Efficiency: With precise control, cartridges help in conserving water. This can lead to lower utility bills.
- Simple Maintenance: Replacing a cartridge is usually straightforward. This simplicity saves time and effort in repairs.
- Leak Prevention: Quality cartridges reduce the risk of drips and leaks. This helps in conserving water and avoiding potential water damage.
- Versatility: They fit a wide range of faucet designs. This versatility makes it easy to find a match when you need a replacement.
In conclusion, using cartridges can offer a mix of convenience, performance, and cost-effectiveness. They are central to ensuring that your faucet works smoothly and lasts for a long time. Remember, while not all faucets have cartridges, many modern and efficient models do. If you’re in the market for a new faucet, considering one with a cartridge could be to your benefit.
When to Replace Your Faucet Cartridge
Knowing when to replace your faucet cartridge is crucial for faucet maintenance. You might wonder how to tell when it’s time. Here are several signs you should look out for:
- Inconsistent Water Flow: If your water stream isn’t even, the cartridge may be failing.
- Strange Noises: Squeaks or grinding sounds during operation can signal that the cartridge is worn out.
- Difficult Operation: When it’s hard to turn the handle or adjust the temperature, the cartridge might need replacement.
- Leaks: Persistent dripping from the faucet is a common indicator that the cartridge is compromised.
- Poor Temperature Control: Difficulty in getting the right temperature can be due to cartridge issues.
Regular check-ups can help you catch these signs early. When you spot them, it’s best to plan for a replacement. Doing so can prevent bigger problems like water damage or excessive water bills due to leaks. Keep in mind that cartridges last different lengths of time depending on their quality and usage frequency. A good rule of thumb is to consider a replacement every 5 to 10 years. However, if you experience any of the issues above, replace it sooner.
How to Replace a Faucet Cartridge
Replacing a faucet cartridge can be a simple, DIY task. Here’s a step-by-step guide to help you through the process:
- Turn Off Water Supply: First, shut off the water to prevent a flood. Look under the sink to find the valves.
- Remove Faucet Handle: Use a screwdriver to take off the handle. You may need an Allen wrench for some models.
- Take Out the Cartridge: Depending on your faucet, this may require pliers or a specialized tool.
- Clean the Inside: Wipe down the faucet interior. Check for debris that might damage the new cartridge.
- Insert New Cartridge: Place the new cartridge into the faucet. Ensure it fits snugly and aligns correctly.
Be sure to have your faucet’s model in mind when buying a new cartridge. This ensures you get the correct replacement. If you struggle, don’t hesitate to call a plumber. Sometimes, faucets can be tricky, and it’s okay to seek help.
Common Faucet Cartridge Brands and Models
When it comes to faucet cartridges, brand matters for compatibility and performance. Let’s look at some prevalent brands and their models:
- Moen: Known for durable cartridges. Moen offers versions like the 1200 and 1225 for single-handle faucets.
- Delta: This brand provides a range of cartridges, including the RP19804 for their Monitor series.
- Kohler: They have hi-tech cartridges like the GP77005-RP for hot water and GP77006-RP for cold.
- Pfister: Offers cartridges like the 910-031 model for precise temperature control.
- American Standard: Famed for reliability, you can find cartridges such as the M952100-0070A model.
These brands offer cartridges designed for a range of faucet types and preferences. Always check your faucet’s model to find the right cartridge. Use the brand’s customer service for advice if you’re unsure. A correct match guarantees a smooth and durable faucet operation.