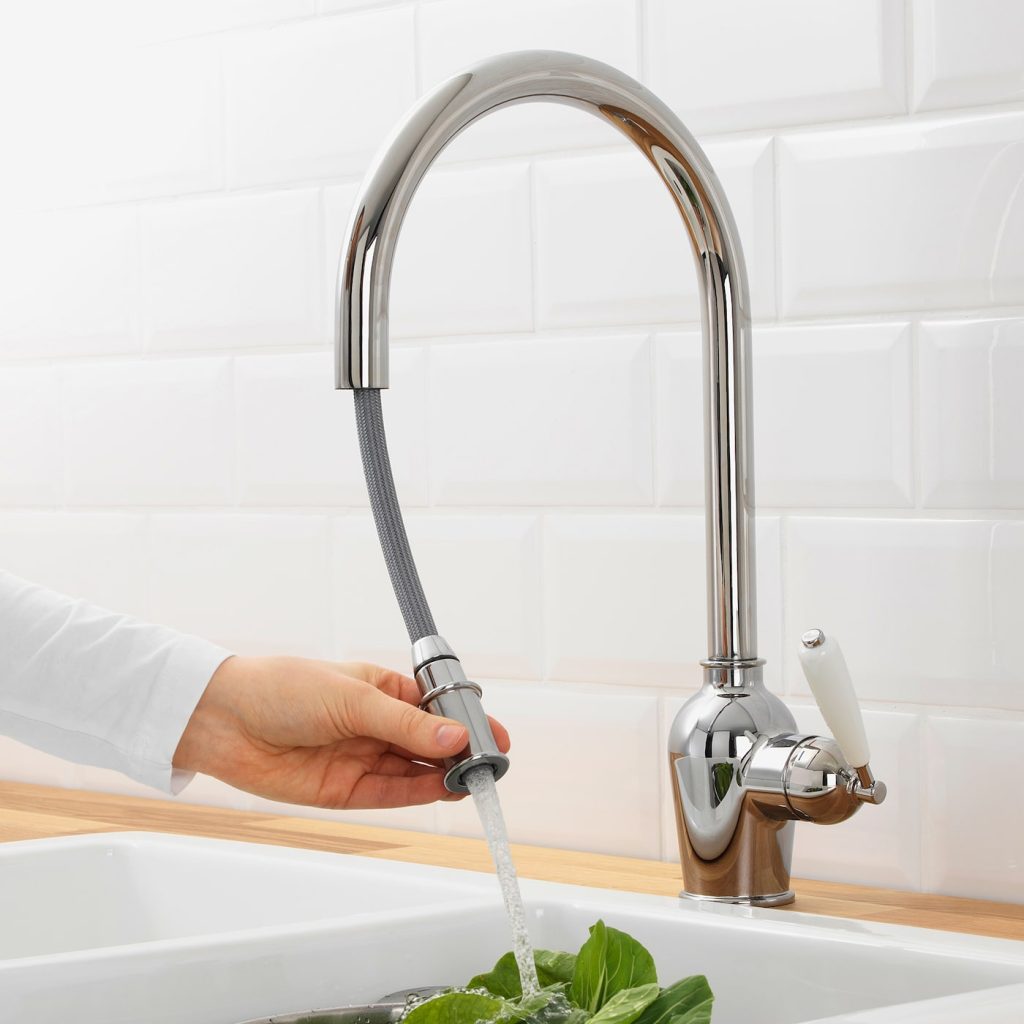
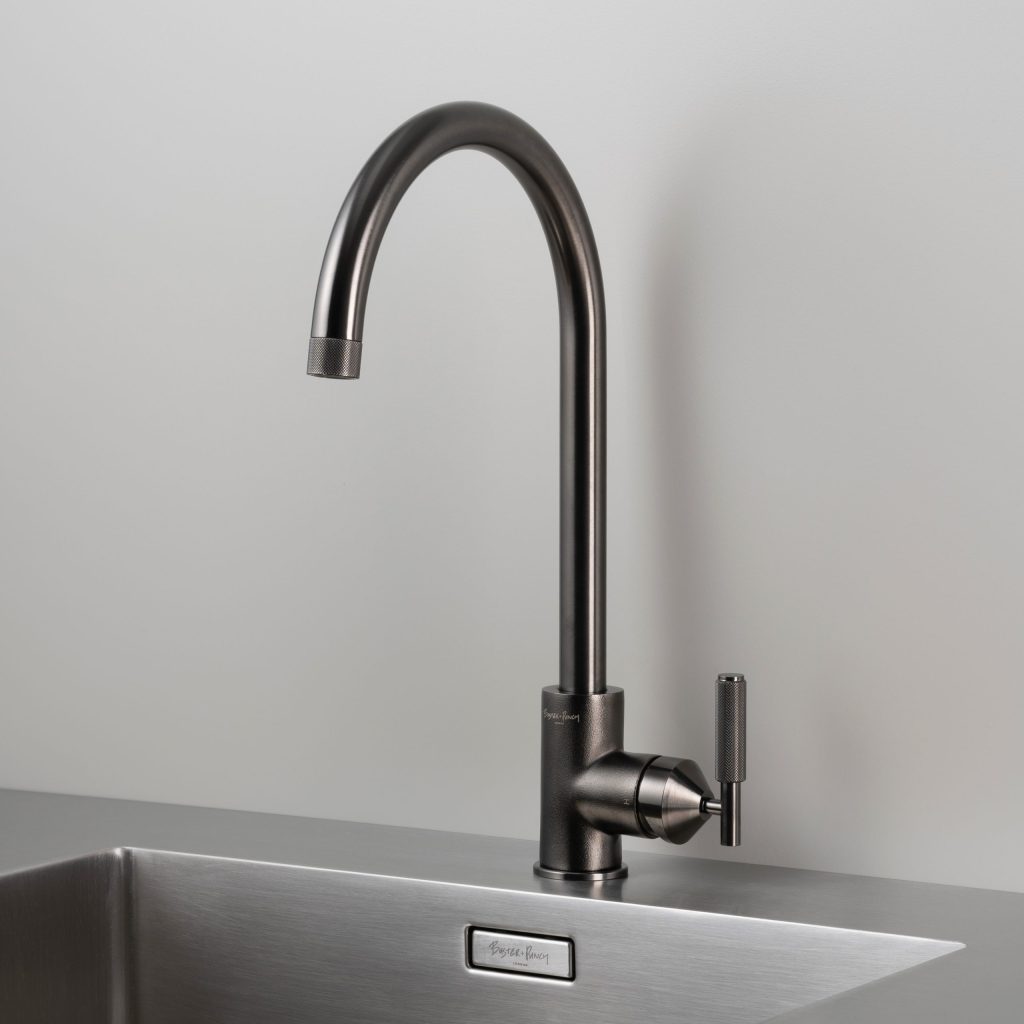
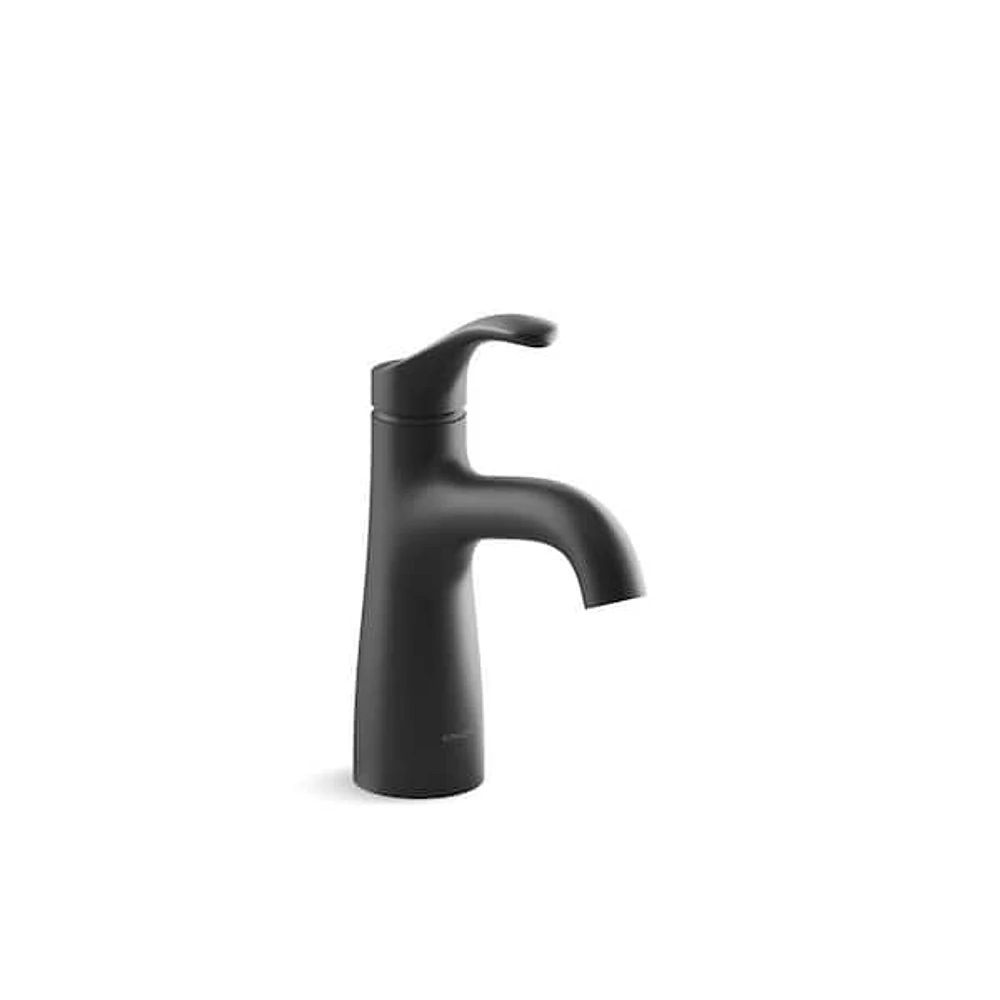
How to protect faucets from freezing?

How to protect faucets from freezing? Freezing temperatures can be detrimental to your plumbing system, particularly outdoor faucets. When water in the pipes freezes, it can expand and cause the pipes to burst, leading to water damage and costly repairs. To prevent this potential problem, it is crucial to take measures to protect your faucets from freezing. In this comprehensive guide, we will explore various methods to safeguard outdoor faucets from freezing temperatures. By implementing these preventive measures, you can ensure the longevity and functionality of your faucets during cold winter months.

protect faucets from freezing

Faucet Insulation:

Insulating your faucets is an effective way to protect them from freezing temperatures. Consider the following insulation methods:

  • Faucet Covers: Use faucet covers, which are foam or cloth sleeves designed to fit over the faucet. These covers provide a protective barrier and insulation against freezing temperatures. Make sure the cover completely encloses the faucet and is securely fastened.
  • Insulating Tape or Heat Cables: Apply foam pipe insulation tape or heat cables to the exposed pipes leading to the kitchen faucets. This provides an additional layer of insulation and helps prevent freezing.
  • Towel or Blanket Wrapping: In the absence of faucet covers, wrap the faucet and the exposed pipes with towels, blankets, or rags. Secure them with zip ties or duct tape to provide insulation and protect against freezing.

Shut-off and Drain Water:

Shutting off and draining the water from outdoor faucets is a critical step in preventing freezing. Here’s what you can do:

  • Shut-off Valve: Locate the shut-off valve for the outdoor faucet, typically located near the interior water supply line. Close the valve to prevent water from flowing to the faucet.
  • Drain the Pipes: After shutting off the valve, open the outdoor faucet to drain any remaining water from the pipes. This removes water from the vulnerable area and reduces the chances of freezing.

Heat Source:

Using a heat source near outdoor faucets can provide enough warmth to prevent freezing. Consider the following options:

  • Portable Heater: Place a portable heater near the faucet or in the vicinity to provide a source of warmth. Follow the manufacturer’s instructions for safe use and avoid leaving unattended.
  • Heat Lamp or Heat Tape: Install a heat lamp or heat tape near the faucet to generate heat and prevent freezing. Ensure electrical connections are safe and carefully follow the manufacturer’s guidelines.

Frost-Proof Faucets:

Consider installing frost-proof outdoor faucets to eliminate the need for winterizing. Frost-proof faucets have a long stem that extends into the warmer interior of your home, preventing freezing. A plumber can install these faucets dripping, ensuring proper connection and functionality.

protect faucets from freezing

Regular Maintenance:

Maintaining your outdoor faucets is essential to prevent freezing and other issues. Follow these maintenance tips:

  • Disconnect Hoses: Disconnect and store garden hoses before winter. Leaving them attached to the faucet can cause water to freeze in both the hose and faucet.
  • Inspect Faucets: Regularly inspect faucets for any signs of wear, damage, or leaks. Address any issues promptly, or consult a professional plumber for repairs if needed.
  • Proper Drainage: Ensure that the area around the faucet is well-drained. Clear any debris or obstructions to prevent water from pooling and freezing.
  • Winterize Outdoor Plumbing: In regions with harsh winters, consider hiring a professional plumber to winterize your entire plumbing system. This involves draining and insulating exposed pipes and faucets to protect against freezing.

How to thaw faucets from freezing

When temperatures drop, your faucets may freeze, preventing water flow and potentially causing damage to your plumbing system. It is important to thaw frozen faucets promptly to restore functionality and prevent further complications.

Identify Frozen Faucets:

Before proceeding with thawing, determine which shower faucets are frozen. Here are some signs that indicate a frozen faucet:

  • No water flow: If the faucet does not produce any water or only a trickle, it is likely frozen.
  • Visible frost or ice: Inspect the exterior of the faucet for any signs of frost or ice accumulation.
  • Strange sounds: If you hear unusual sounds, such as gurgling or grinding, when attempting to turn on the faucet, it could indicate frozen pipes.

protect faucets from freezing

Safety Precautions:

Before attempting to thaw frozen faucets, it is essential to follow these safety precautions:

  • Turn off water supply: Locate the shut-off valve connected to the frozen faucet and turn it off. This prevents water flow and potential flooding during the thawing process.
  • Use protective gear: Wear insulated gloves, safety goggles, and appropriate clothing to protect yourself from potential splashes and cold temperatures.
  • Avoid open flames: Never use open flames or excessive heat sources, such as blowtorches or propane heaters, to thaw frozen faucets, as this can cause damage or lead to fire hazards.

Thawing Techniques:

To safely thaw frozen faucets, consider the following effective methods:

  • Gentle heat application: Use a hairdryer on the lowest heat setting to warm the area around the frozen faucet. Begin by focusing the heat on the faucet itself, gradually moving outward to the pipes. Maintain a safe distance from the faucet to avoid overheating.
  • Warm towels or hot water bottles: Soak a towel in warm water and wrap it around the frozen faucet, or place a hot water bottle against it. This gentle heat can help thaw the ice within the faucet.
  • Heat lamps or space heaters: If safe and appropriate, position a heat lamp or space heater near the frozen faucet. Ensure proper ventilation and follow the manufacturer’s guidelines for safe usage.
  • Heat tape or electric heater cables: If the frozen faucet is inaccessible or severely frozen, consider using heat tape or electric heater cables designed for pipe thawing. Wrap the tape or cables around the frozen section, following the manufacturer’s instructions carefully.

protect faucets from freezing

Conclusion:

Protecting your faucets from freezing is crucial to prevent costly plumbing issues. By implementing these preventive measures – including faucet insulation, shutting off and draining the water, utilizing heat sources, considering frost-proof faucets, and practicing regular maintenance – you can safeguard your faucets from freezing temperatures. Remember to follow manufacturer’s instructions, prioritize safety, and consult a professional plumber when necessary. By taking proactive steps to protect your faucets, you ensure the longevity and functionality of your plumbing system, even during the harshest winter conditions.

Posted in bathroom | Tagged | Leave a comment

Are black kitchen faucets in style?

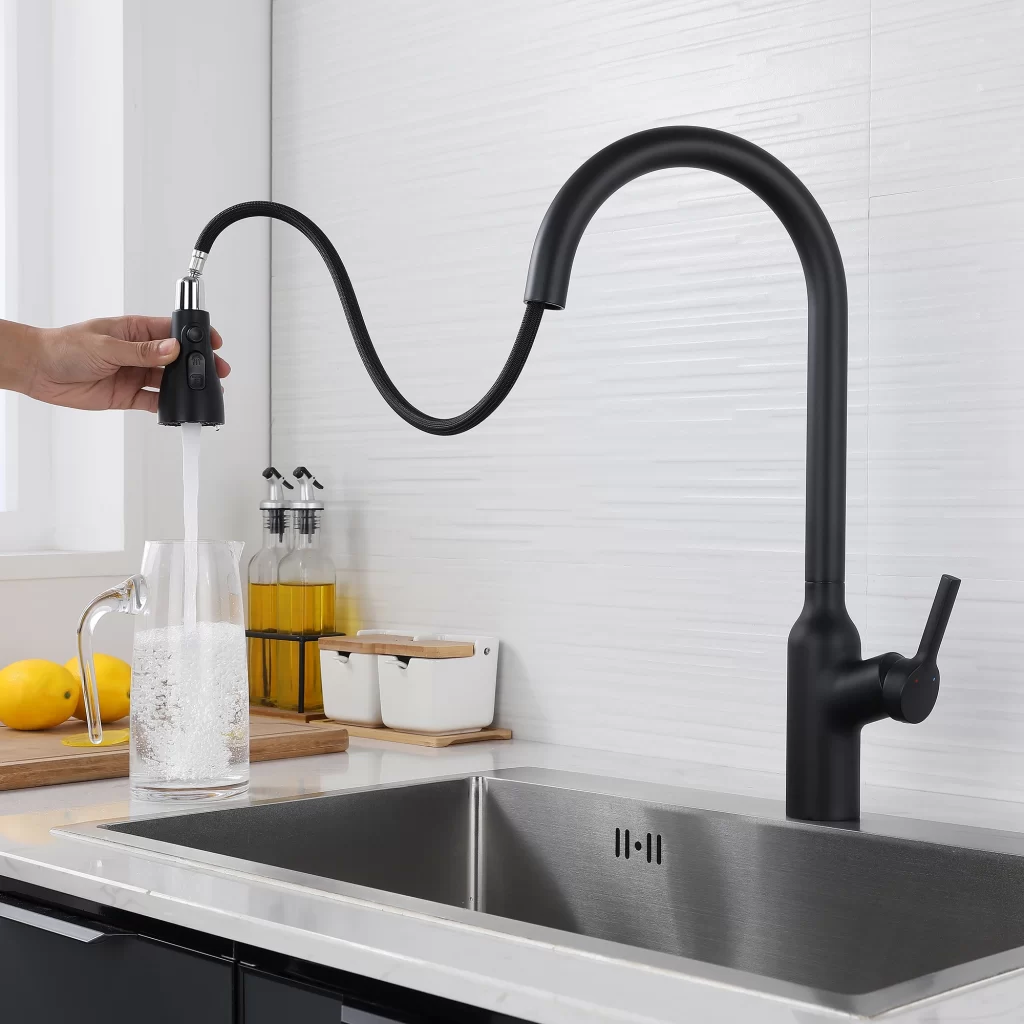
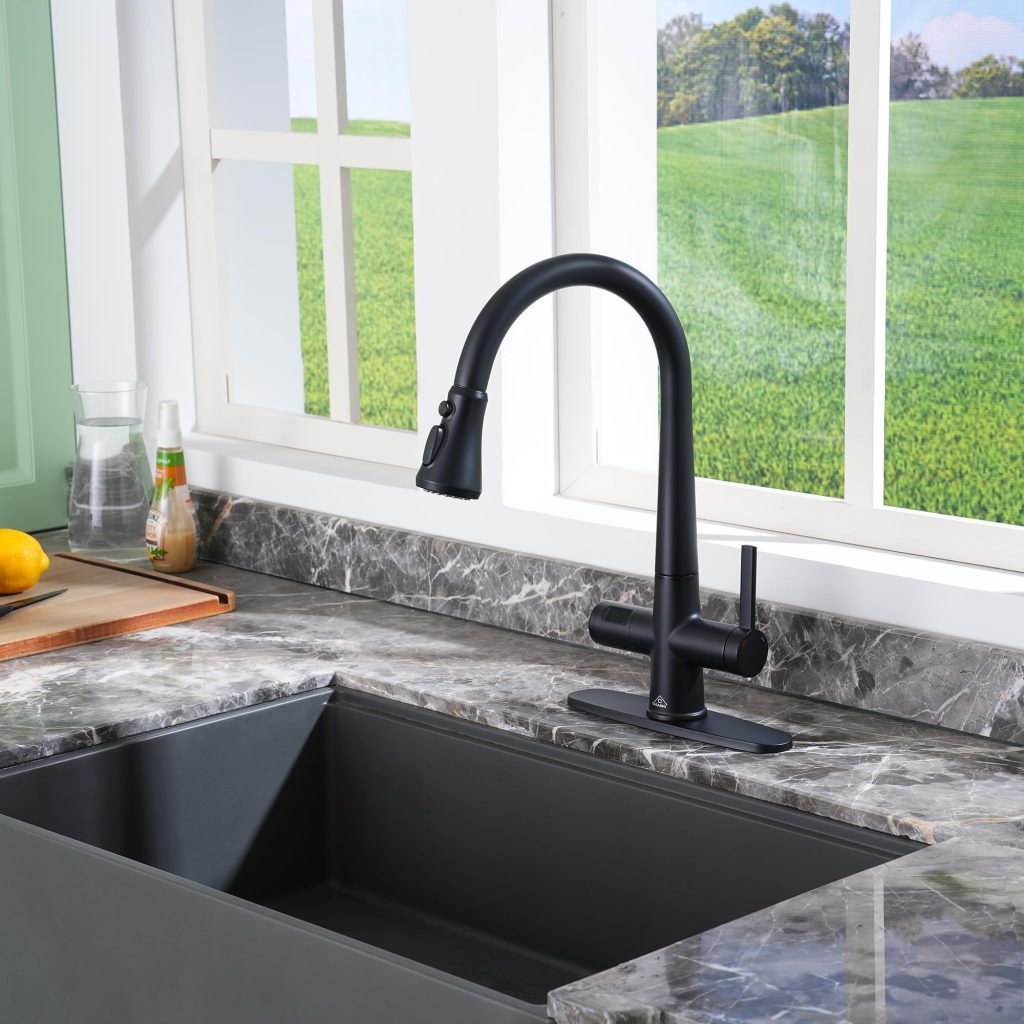
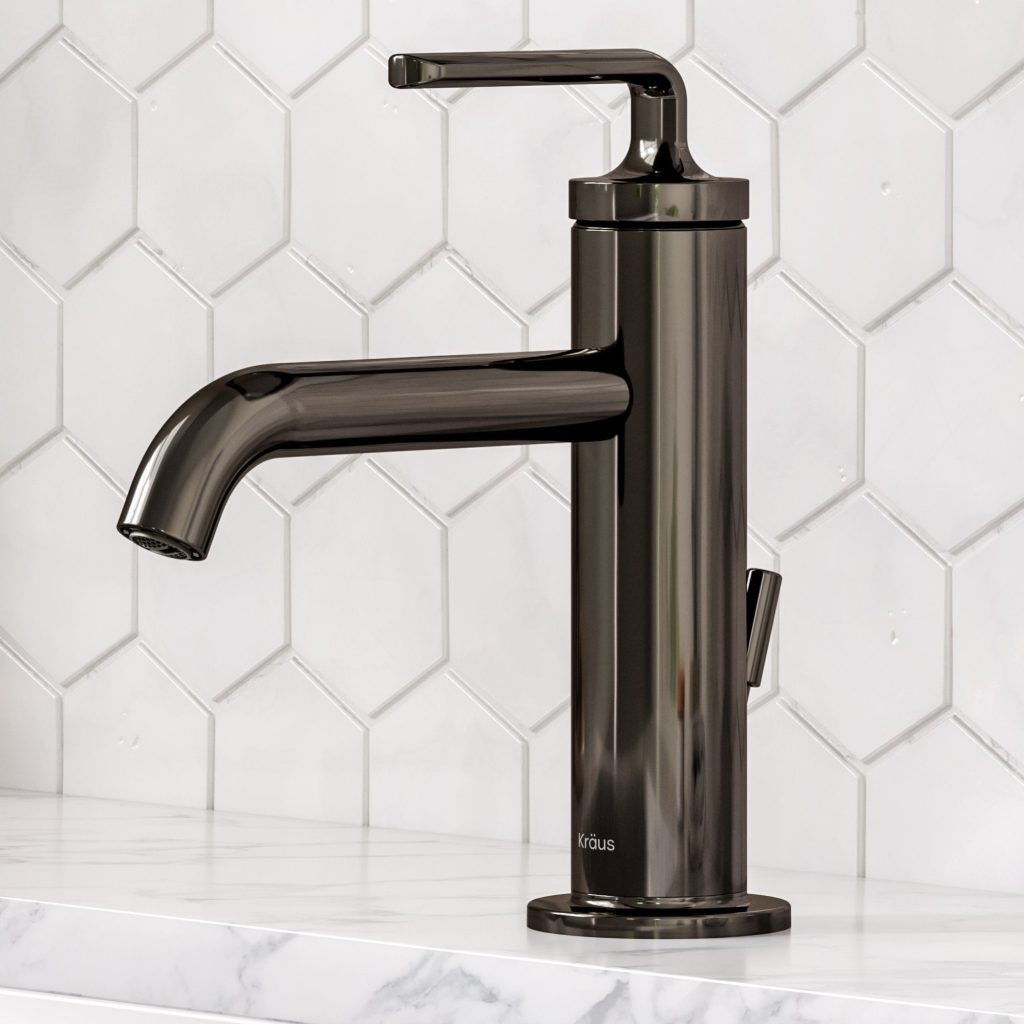
Are black kitchen faucets in style? Black kitchen faucets have emerged as a popular trend in interior design, adding a touch of sleek sophistication to modern kitchen spaces. Their unique and stylish aesthetic has made them a sought-after choice for homeowners and designers looking to elevate the look of their kitchens. In this comprehensive guide, we will explore the stylish appeal of black kitchen faucets, discussing their versatility, design considerations, and the impact they can have on the overall kitchen aesthetic. By understanding their undeniable charm and compatibility with different kitchen styles, you can confidently incorporate a black kitchen faucet into your own home. Let’s delve into the world of black kitchen faucets and discover why they are in vogue.

black kitchen faucets

Versatile Design:

Black kitchen faucets are celebrated for their versatility and ability to complement various kitchen styles. Consider the following points:

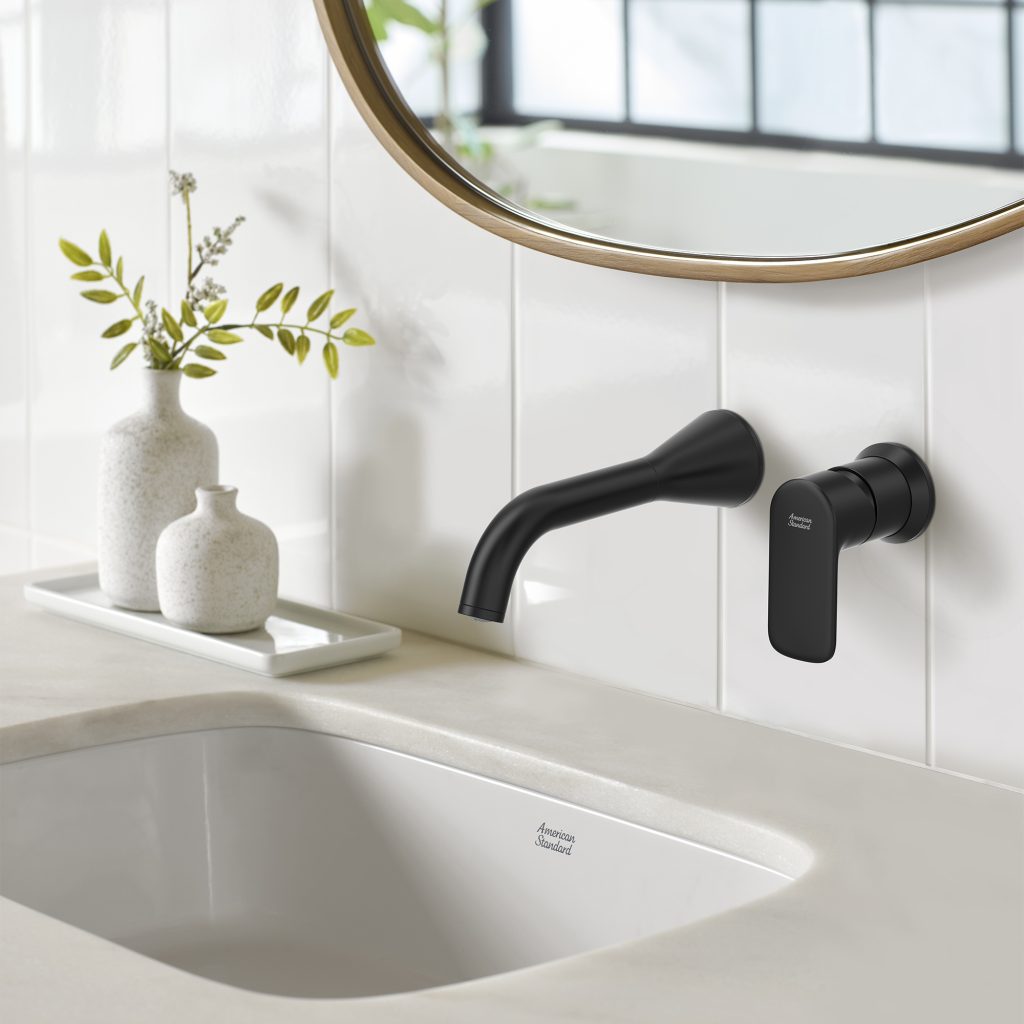
  • Neutral Elegance: Black is a neutral color that effortlessly adds a touch of elegance and sophistication to any kitchen design. It can seamlessly integrate with other colors, materials, and finishes, making it a versatile choice for different kitchen styles.
  • Coordinated Contrast: Black faucets create a striking contrast when paired with lighter colored kitchen elements, such as white or light-colored countertops, backsplashes, or cabinetry. This bold contrast can add visual interest and modern appeal to the kitchen space.
  • Emphasis on Minimalism: Black faucets naturally lend themselves to minimalistic aesthetics, aligning with contemporary and modern kitchen styles. Their sleek and clean lines contribute to a streamlined and clutter-free look.

Design Considerations:

When considering a black kitchen faucet, it is important to evaluate its impact on the overall kitchen design. Some key considerations include:

  • Material and Finish: Black kitchen faucets are available in a range of materials, including stainless steel, brass, and matte or glossy finishes. Consider the material and finish that will best complement your kitchen’s color palette and design elements.
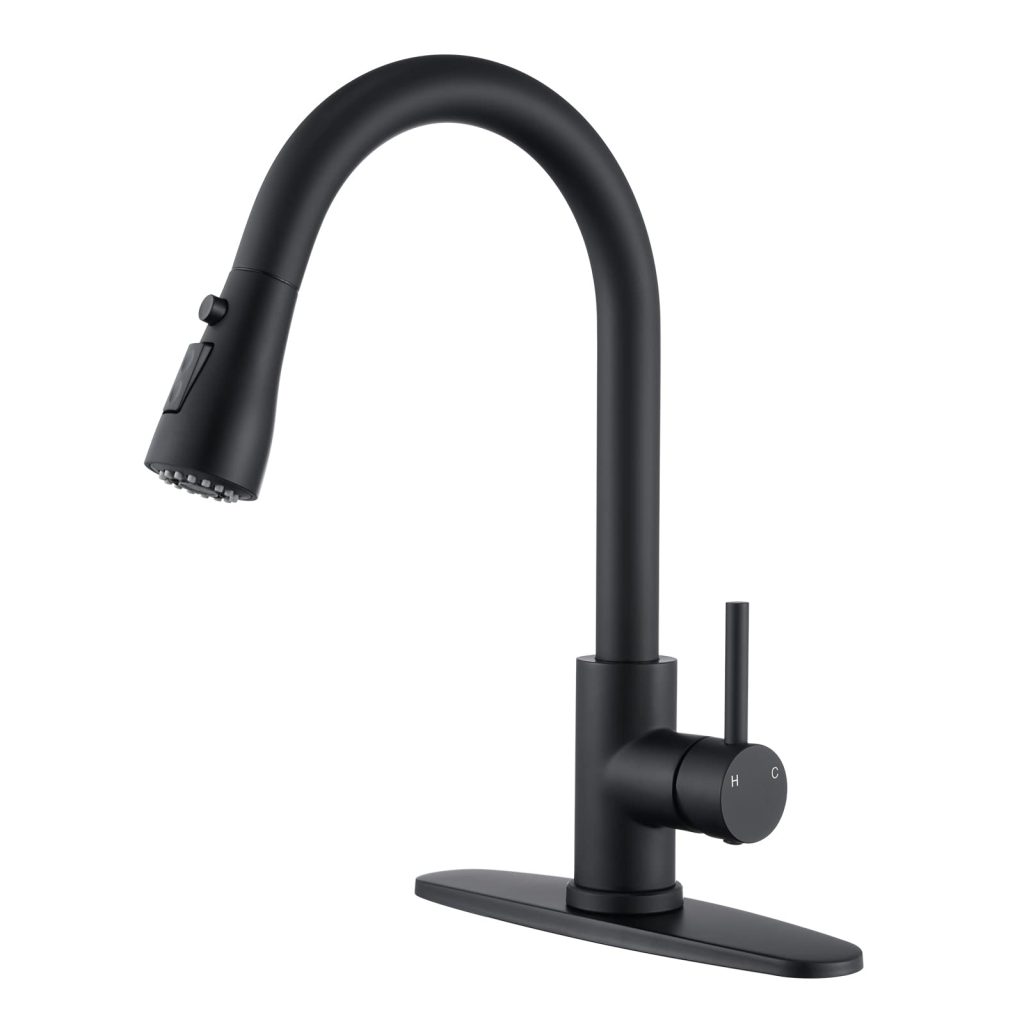
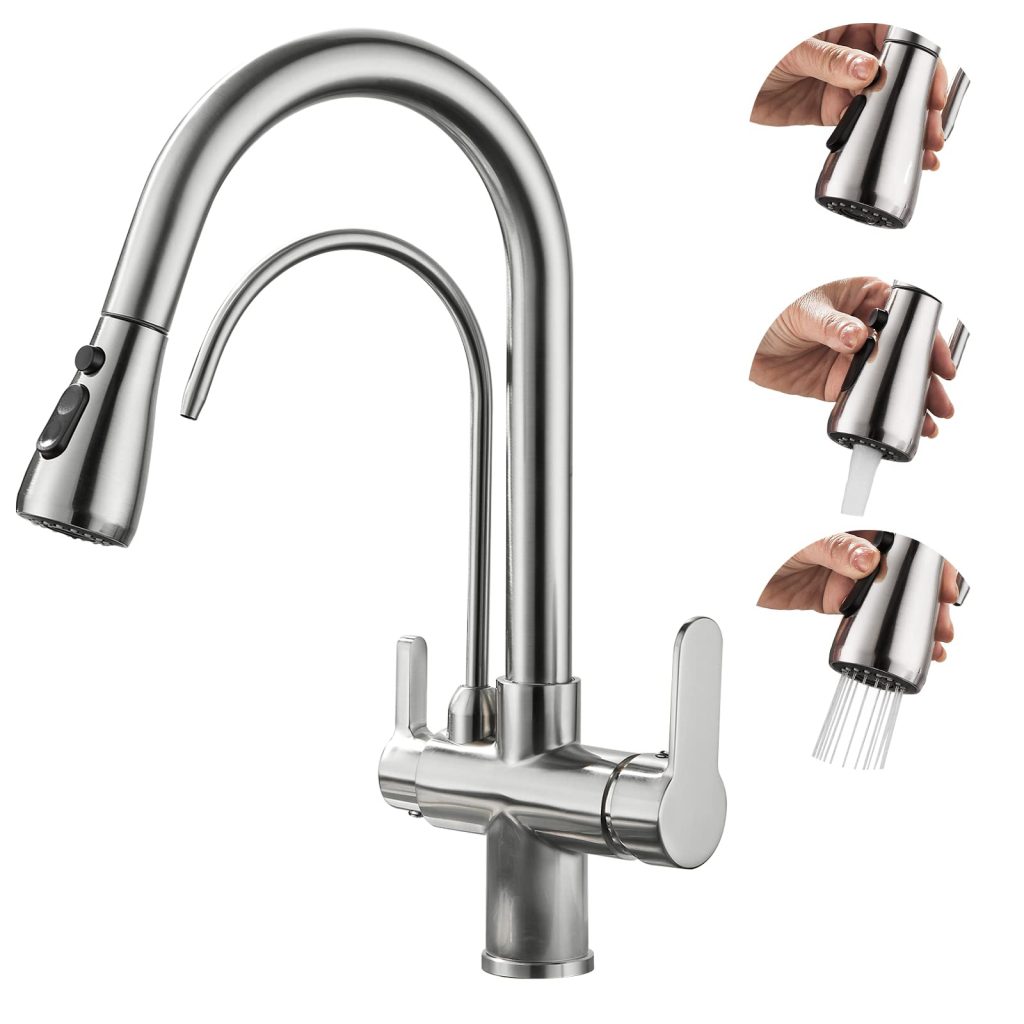
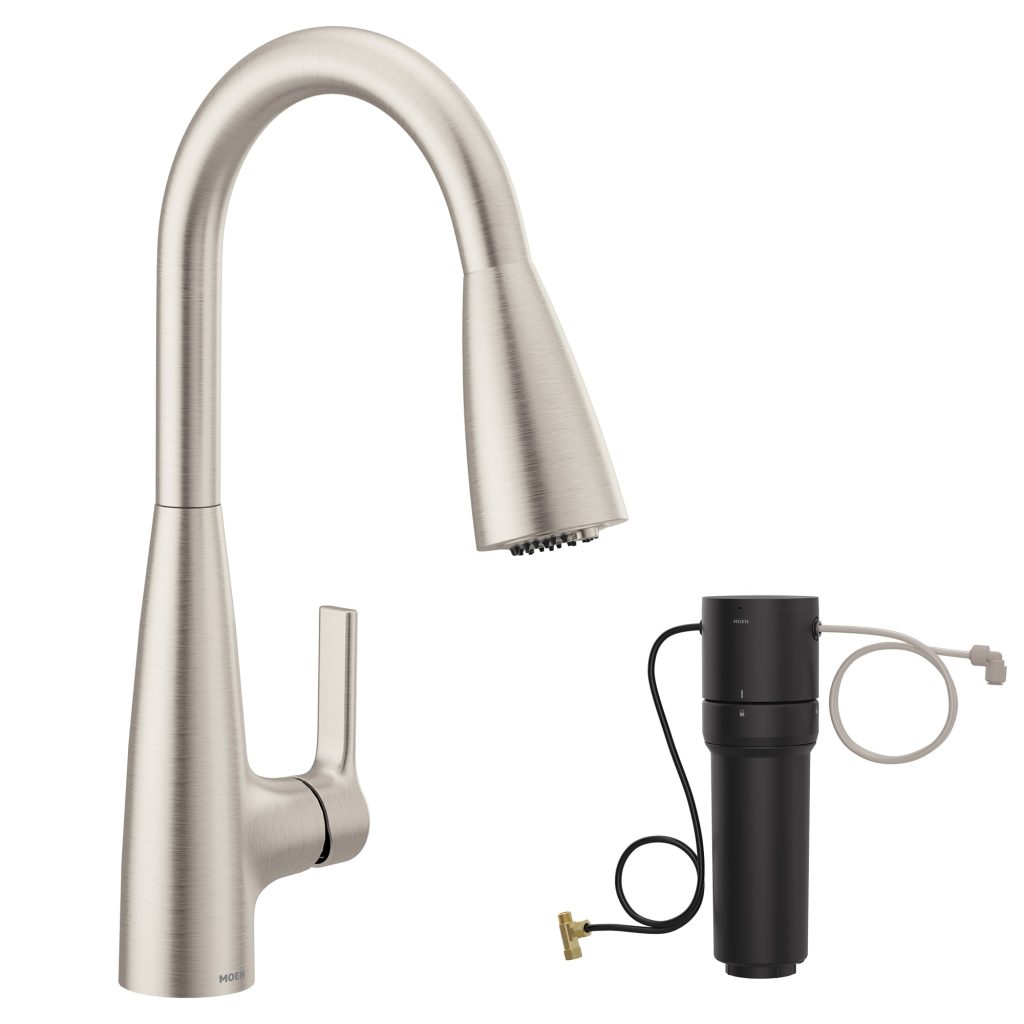
  • Style and Configurations: Black faucets come in various styles and configurations, such as single-handle, double-handle, pull-down, or pull-out sprayers. Choose a style that suits your functional needs and aligns with your preferred design aesthetic.
  • Practicality: While black kitchen faucets are undoubtedly stylish, it is important to consider their practicality and durability. Look for faucets that are made of high-quality materials and feature reliable technologies to ensure long-lasting performance.

black kitchen faucets

Cleaning and Maintenance:

Maintaining the stylish appearance of a black kitchen faucet requires proper cleaning and maintenance. Consider the following tips:

  • Regular Cleaning: Clean the faucet regularly with a soft cloth or sponge and mild soap or a non-abrasive cleaner. Avoid using harsh chemicals or abrasive materials that can damage the finish.
  • Wiping Off Smudges and Fingerprints: Black finishes may show smudges and fingerprints more prominently than lighter finishes. Wipe the faucet regularly with a soft, lint-free cloth to keep it looking clean and smudge-free.
  • Avoiding Scratches: Use caution when cleaning around the faucet’s finish and handle. Avoid abrasive scrub brushes or cleaners that can scratch the surface, compromising its stylish appeal.

Trend and Timelessness:

Black kitchen faucets are not just a passing trend; they have proven their timelessness in interior design. Consider the following reasons for their enduring popularity:

  • Classic Elegance: Black is a classic and timeless color that can withstand changing design trends. It exudes a sense of sophistication and can remain stylish and relevant for years to come.
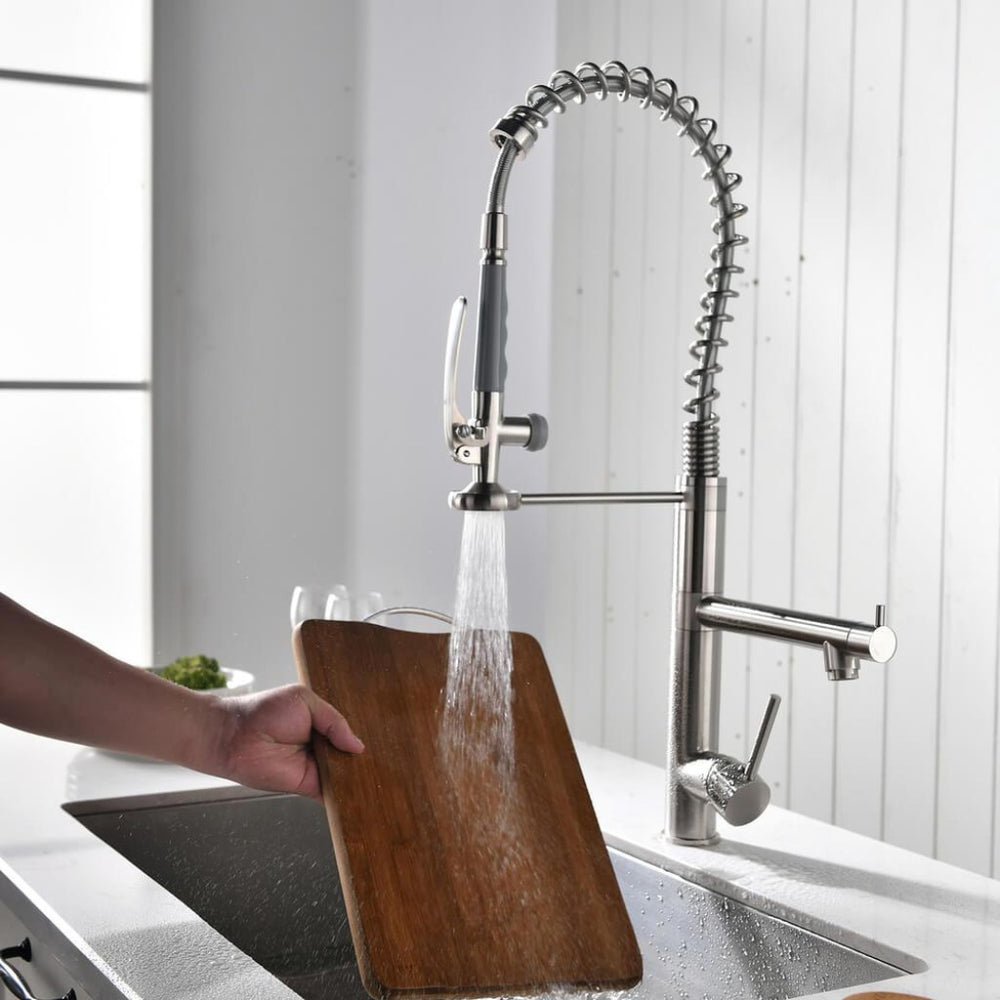
  • Adaptability: Black faucets dripping can seamlessly adapt to evolving design preferences by incorporating different styles, finishes, and materials while maintaining their elegant and contemporary aesthetic.
  • Long-lasting Investment: Investing in a high-quality black kitchen faucet ensures its durability and longevity. By choosing a well-crafted faucet, you can enjoy its stylish appeal for many years without worrying about it becoming outdated.

black kitchen faucets

What are the styles of black kitchen faucets in style

Black kitchen faucets have become a popular choice for homeowners and designers alike, adding a touch of elegance and modernity to kitchen spaces. The stylish appeal of black kitchen faucets lies in their versatility, compatibility with various design styles, and ability to create a striking contrast or cohesive look.

Single-Handle Faucets:

Single-handle black kitchen faucets are a popular choice among homeowners due to their sleek and minimalist design. They offer convenient one-handed operation, allowing for easy control of water temperature and flow. Key features of single-handle black kitchen faucets include:

  • Modern Design: Single-handle black kitchen faucets often feature clean lines and a streamlined silhouette, perfect for contemporary and minimalist kitchen styles.
  • Versatility: These faucets are available in various heights and spout reach options, accommodating different sink configurations and personal preferences.
  • Pull-Down or Pull-Out Sprayers: Many single-handle black faucets come with pull-down or pull-out sprayers, allowing for easy rinsing of dishes and sink cleaning tasks.

Bridge Faucets:

Bridge-style black kitchen faucets blend a classic design with a modern touch, making them suitable for both traditional and transitional kitchen aesthetics. Key features of bridge black kitchen faucets include:

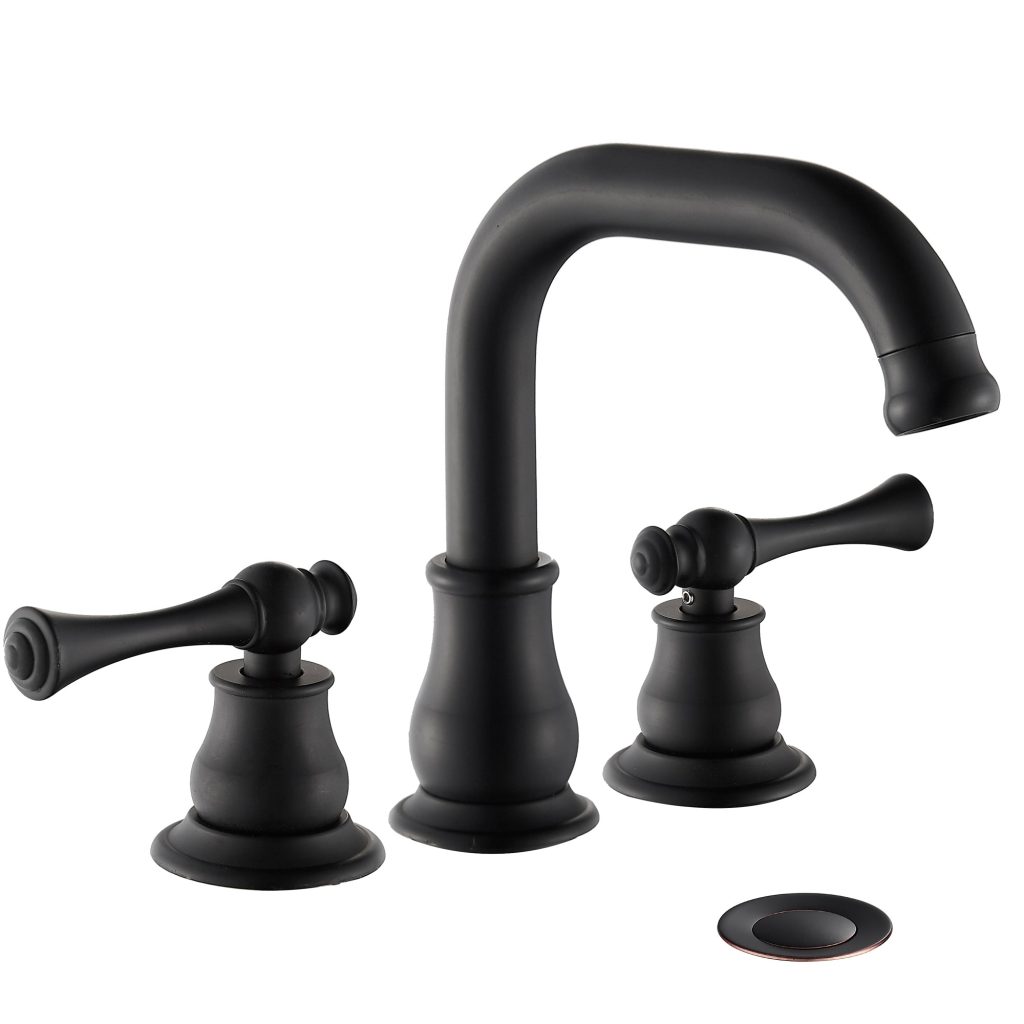
  • Bridge Construction: These faucets consist of a bridge connecting the hot and cold water handles to the spout. This design provides a vintage-inspired look that adds charm to the kitchen.
  • Two-Handle Operation: Bridge steel faucets typically have two separate handles for hot and cold water, making temperature adjustment precise and straightforward.
  • High-Arc Spouts: Bridge faucets often feature high-arc spouts that provide ample clearance for large pots and pans, allowing for easy filling and cleaning.

black kitchen faucets

Industrial-Style Faucets:

Industrial-style black kitchen faucets are sought after for their robust and rugged look, perfect for contemporary and industrial kitchen designs. Key features of industrial-style black faucets include:

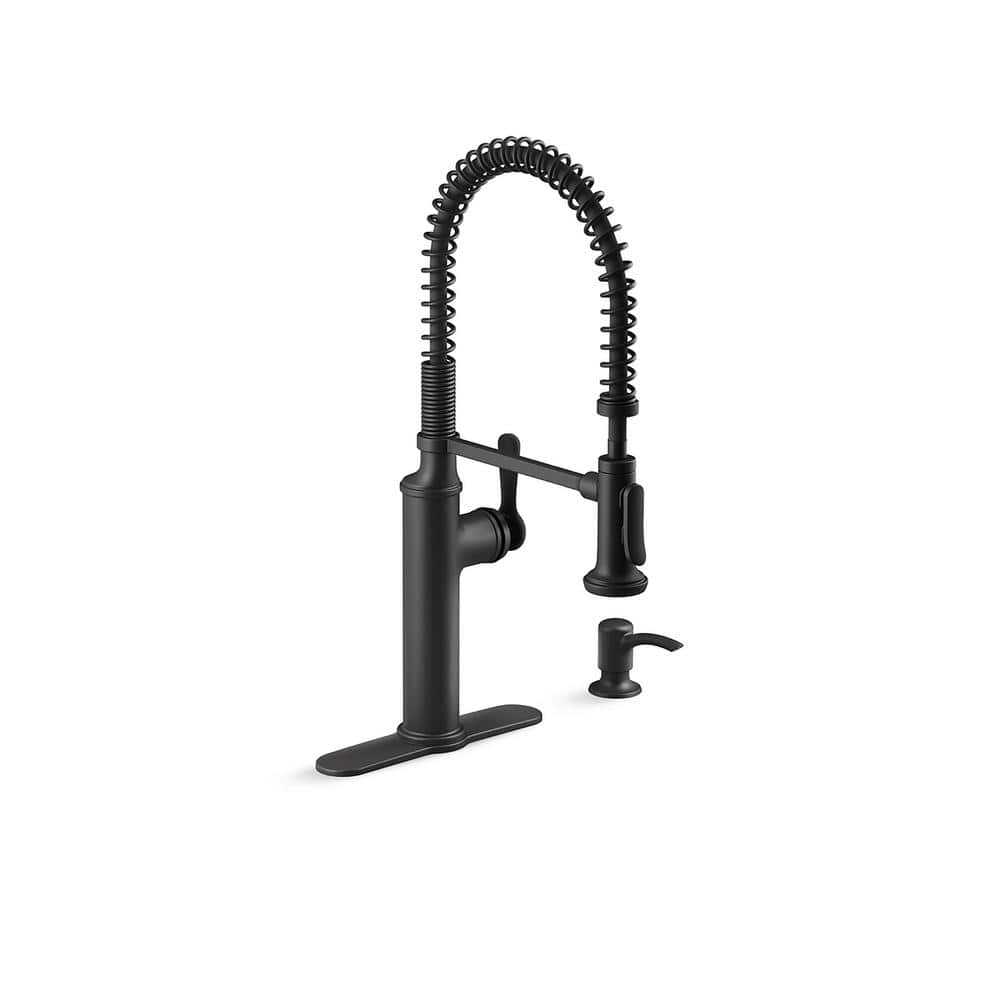
  • Industrial Design Elements: These faucets often feature exposed pipes, metal accents, and a matte black finish, evoking an industrial aesthetic.
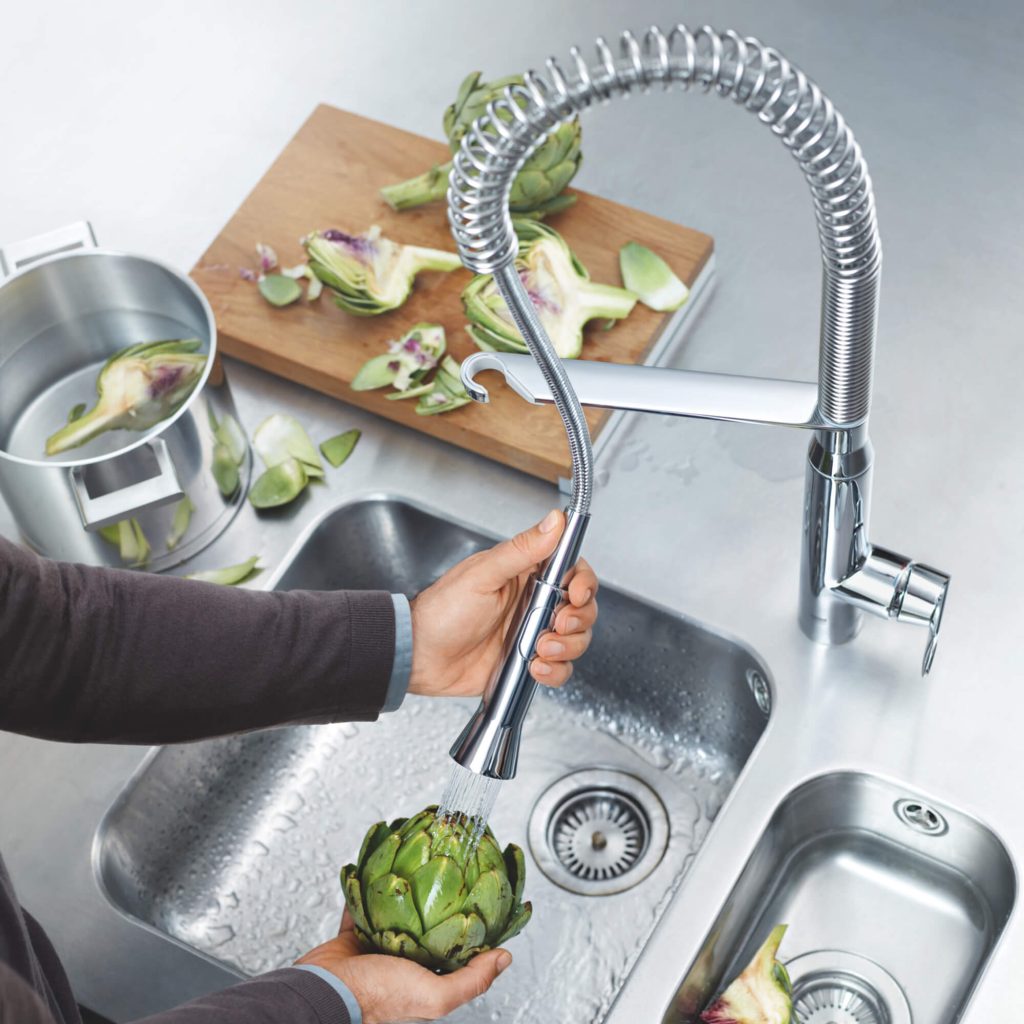
  • Pull-Down Sprayers: Industrial-style faucets frequently incorporate a pull-down sprayer with a coiled hose, allowing for maximum flexibility and versatility in the kitchen sink area.
  • Commercial-Inspired Functionality: Many industrial-style faucets offer functionality similar to those found in professional kitchens, including high water flow rates and durable construction.

Conclusion:

Black kitchen faucets have gained tremendous popularity for their stylish appeal and versatility. They effortlessly elevate the design aesthetic of a kitchen, providing a touch of sophistication and modernity. Whether paired with contrasting elements for a bold look or integrated into a minimalistic design for a streamlined appearance, black faucets offer endless possibilities for creating a stylish and eye-catching kitchen space. By considering material and finish, design considerations, cleaning and maintenance, and their enduring appeal, you can confidently embrace the trend of black kitchen faucets and enhance the beauty of your kitchen for years to come.
Posted in Kitchen | Tagged | Leave a comment

Do pull-down faucets break easily?

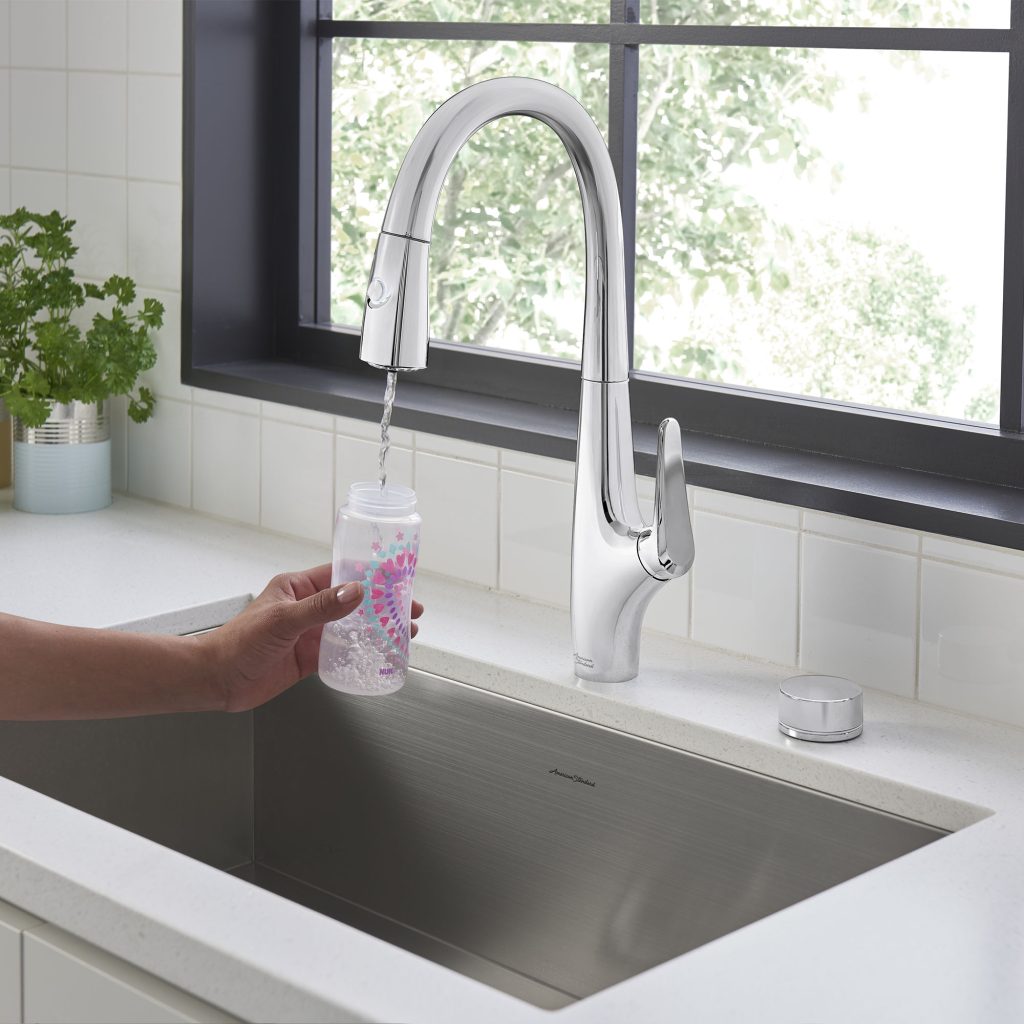
Do pull-down faucets break easily? Pull-down faucets have become increasingly popular in modern kitchens due to their convenience and functionality. However, concerns about their durability and susceptibility to breakage may arise when considering this type of faucet. In this comprehensive guide, we will explore the durability of pull-down faucets, discussing their design, construction, common issues, and maintenance tips. By understanding the factors that contribute to their durability, you can make an informed decision when selecting a pull-down faucet for your kitchen. Let’s dive into the world of pull-down faucets and explore whether they are easily breakable.

pull-down faucets

Design and Construction:

Pull-down faucets are designed with functionality and ease of use in mind. They feature a spray head that can be pulled down from the faucet spout, allowing for flexible movement and increased reach. This unique design requires careful construction to ensure durability. Key aspects to consider include:

  • Material Quality: Most outdoor faucets are constructed with high-quality materials such as brass, stainless steel, or durable polymer materials. These materials are known for their strength and resistance to corrosion and wear.
  • Internal Components: The internal components of pull-down faucets, including the cartridge, hose, and sprayer head, are crucial to their functionality and durability. Look for faucets that feature ceramic disc cartridges and robust hoses to ensure long-lasting performance.
  • Seal and Leak Prevention: A well-designed pull-down faucet should incorporate effective seals and gaskets to prevent leaks and ensure smooth operation. Look for faucets with quality rubber or silicone seals that provide a watertight connection.

Common Issues and Breakage Factors:

While pull-down faucets are generally durable, certain issues can arise during their lifespan. Understanding these common issues and factors that can contribute to breakage is essential. Some factors include:

  • Hard Water: Mineral deposits found in hard water can build up and cause issues with the functionality of the pull-down faucet. Regular cleaning and maintenance can help prevent the accumulation of scale, which can lead to clogs or reduced water flow.
  • Weak Hose Connections: Flimsy or poorly connected hoses can lead to leaks, wear, and breakage. Ensure that the hose connections are secure and tight to prevent potential issues.
  • Rough Handling: Excessive force or improper use, such as yanking or tugging on the spray head, can strain internal components and weaken the overall structure of the faucet. Gentle and controlled handling is recommended to avoid unnecessary strain.

pull-down faucets

Maintenance and Care Tips:

Proper maintenance and care can significantly enhance the durability and longevity of pull-down faucets. Consider the following tips:

  • Regular Cleaning: Clean the spray head and aerator regularly to prevent mineral buildup and maintain optimum water flow. Use a mixture of mild soap and water or vinegar to remove any scale or debris.
  • Avoid Excessive Force: Operate the pull-down faucet gently, avoiding rough handling or excessive force when retracting or extending the spray head. This will help prevent strain and potential damage to internal components.
  • Prompt Repairs: Address any issues, such as leaks or reduced water flow, as soon as they arise. Timely repairs can prevent further damage and extend the lifespan of your pull-down faucet.
  • Professional Assistance: If you are unsure about troubleshooting or repairing your color faucets, seek professional assistance. Certified plumbers can provide expertise and ensure that all repairs are done correctly.

Advantages of pull-down faucets

Pull-down faucets have gained popularity in modern kitchens due to their convenience, versatility, and sleek design. These faucets feature a retractable spray head that offers flexibility and increased functionality.

pull-down faucets

Versatile Functionality:

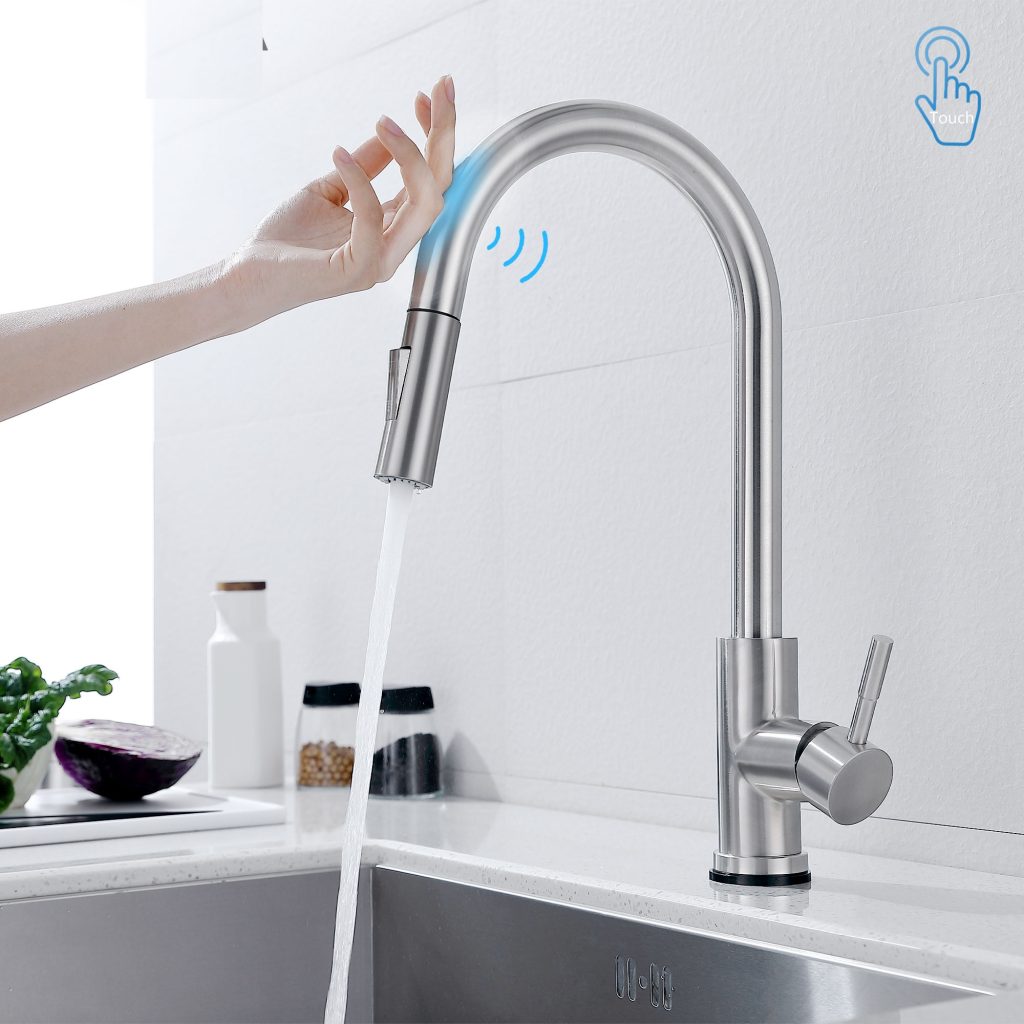
One of the key advantages of pull-down faucets is their versatile functionality. The retractable spray head makes it easy to maneuver and direct water exactly where you need it. With the option to switch between a steady stream and a powerful spray, pull-down faucets offer flexibility for a wide range of kitchen tasks. Whether you need to fill a pot, rinse fruits and vegetables, or clean the sink, the pull-down feature allows for precise and efficient water control.

Increased Sink Accessibility:

Pull-down faucets provide increased accessibility, allowing you to reach all corners and edges of the sink easily. The long hose gives you the freedom to move the spray head around the sink and even beyond. This accessibility is particularly useful when cleaning large pots or pans that won’t fit under a traditional faucet or when rinsing out the sink after preparation or dishwashing. The pull-down feature eliminates the need to lean over or struggle with limited sink space.

Easy Cleaning and Maintenance:

Pull-down faucets simplify the cleaning and maintenance of your sink area. With the flexibility of the retractable spray head, it becomes effortless to rinse and clean the entire sink, including hard-to-reach corners. The spray head easily detaches and can be cleaned separately, preventing the buildup of mineral deposits or food particles. Additionally, pull-down faucets are often designed with a smooth and sleek surface, making them easy to wipe down and keep looking clean and fresh.

pull-down faucets

Streamlined Design:

Pull-down faucets add a sleek and modern aesthetic to any kitchen space. Their streamlined design contributes to a polished and stylish appearance, complementing various kitchen styles and décor. The retractable spray head seamlessly integrates with the overall faucet design, hiding when not in use and avoiding the cluttered look caused by separate sprayers or side-mounted handles. Pull-down faucets offer a minimalist and seamless appearance that enhances the overall visual appeal of the kitchen.

Efficient Water Usage:

Many kitchen faucets come equipped with features that promote efficient water usage. These may include pause buttons or water-saving options that allow you to temporarily stop the flow of water when it’s not needed, saving water and reducing overall consumption. This is particularly beneficial when multitasking in the kitchen, as you can easily pause the flow to attend to another task without wasting water.

Ease of Installation:

Pull-down faucets are generally easy to install, even for those with basic DIY skills. Most models come with straightforward instructions and mounting hardware, making installation a simple and hassle-free process. This is advantageous if you prefer to handle the installation without the need for professional assistance.

Conclusion:

While no faucet is completely immune to issues, properly maintained pull-down faucets are generally durable and reliable in normal kitchen use. With proper consideration of design, construction, and maintenance, pull-down faucets can provide years of convenience and functionality without easily breaking. Pay attention to the materials used, internal components, and overall construction quality when selecting a pull-down faucet for your kitchen.

Posted in bathroom | Tagged | Leave a comment

Why are my faucets dripping?

Why are my faucets dripping? Dripping faucets can be an annoying and wasteful problem in any household. The constant dripping can disturb your sleep, add to your water bill, and even cause damage to your plumbing fixtures. Understanding the causes of dripping faucets is the first step in addressing the issue effectively. In this comprehensive guide, we will explore the common reasons why faucets drip and provide practical solutions to help you resolve the problem. By gaining insight into the causes and solutions, you can eliminate the annoying drips and conserve water in your home. Let’s delve into the world of dripping faucets and find the answers you need.

faucets dripping

Worn Out or Malfunctioning Washers:

One of the primary causes of a dripping faucet is a worn-out or malfunctioning washer. The washer is a small rubber or silicone seal located inside the faucet handle. Over time, the washer becomes worn, deteriorated, or misaligned, leading to water leakage. Replacing the washer is usually a simple and inexpensive fix for this issue.

Loose or Deteriorated O-Rings:

O-rings are another essential component of faucets that can cause dripping if they become loose or deteriorated. O-rings are rubber seals located around the faucet’s stem. When they wear out or loosen, water can seep through, resulting in a dripping faucet. Replacing the O-rings can usually solve the problem and restore the faucet’s functionality.

Corroded Valve Seat:

The valve seat is a connection point between the outdoor faucets and the spout. If the valve seat becomes corroded or worn, it can cause water to leak around the spout, resulting in a dripping faucet. Correcting this issue usually involves cleaning the valve seat or replacing it if the corrosion is severe.

Malfunctioning Cartridge or Ceramic Discs:

Faucets that have a cartridge or ceramic disc mechanism can experience dripping when the cartridge or discs become worn or damaged. These parts control the flow of water through the faucet and can develop cracks or tears over time. Replacing the cartridge or discs is often necessary to stop the dripping and restore proper functionality.

faucets dripping

High Water Pressure:

Excessive water pressure can also cause faucets to drip. When the water pressure is too high, it can strain the internal components of the faucet, leading to leaks and dripping. Installing a pressure-regulating valve can help regulate the water pressure and prevent faucet drips caused by high pressure.

Improper Installation or Faulty Plumbing:

In some cases, dripping faucets may be the result of improper installation or faulty plumbing. If the faucet was not installed correctly, or if there are underlying plumbing issues such as loose connections or damaged pipes, it can cause leaks and dripping. In such cases, consulting a professional plumber is recommended to diagnose and resolve the underlying plumbing issues.

Mineral Deposits and Sediment Build-up:

Mineral deposits and sediment can accumulate over time, particularly in areas with hard water. These deposits can clog faucet components, affecting their proper functioning and leading to dripping. Regular cleaning and maintenance can help remove mineral deposits and sediment build-up, keeping the faucet in good condition and preventing dripping.

Solutions for faucets dripping

Dealing with a dripping faucet can be both frustrating and wasteful. The constant drip not only interrupts your peace but also wastes a significant amount of water over time. Fortunately, there are several effective solutions to solve this common household problem.

faucets dripping

Replace Worn-Out Washers:

If you have a compression faucet, the most common cause of dripping is a worn-out washer. Follow these steps to replace the washer:

  1. Turn Off the Water: Shut off the water supply to the black faucets by turning off the water valves under the sink.
  2. Disassemble the Faucet: Use a screwdriver or wrench to remove the faucet handle. Once the handle is off, use pliers to unscrew the packing nut that holds the faucet’s stem in place.
  3. Remove and Replace the Washer: Take out the old washer and replace it with a new one of the same size and type. Ensure it fits snugly into the faucet’s stem.

Fix Loose or Deteriorated O-Rings:

For faucets with cartridge or ball mechanisms, dripping may be caused by loose or deteriorated O-rings. Follow these steps to fix the issue:

  1. Turn Off the Water: Locate and turn off the water supply valves under the sink.
  2. Remove the Handle: Using a screwdriver or an Allen wrench, remove the handle of the faucet, exposing the cartridge or ball mechanism.
  3. Examine the O-Rings: Inspect the O-rings around the cartridge or ball. If they appear loose or deteriorated, remove them carefully.
  4. Replace the O-Rings: Take the old O-rings to a hardware store to find replacements of the same size and type. Lubricate the new O-rings with plumber’s grease and slide them onto the cartridge or ball.

faucets dripping

Clean or Replace the Valve Seat:

A corroded or worn-out valve seat can cause a bronze faucets to drip. Here’s how to clean or replace it:

  1. Turn Off the Water: Shut off the water supply under the sink.
  2. Disassemble the Faucet: Remove the faucet handle, packing nut, and stem. Inspect the valve seat at the bottom of the faucet’s body.
  3. Clean the Valve Seat: If the valve seat appears dirty or corroded, use a small brush or cloth to clean it. Ensure there are no rough spots or debris remaining.
  4. Replace the Valve Seat (if necessary): If the valve seat is severely damaged or pitted, you may need to replace it. Take note of the faucet’s make and model to find the correct replacement part. Follow the manufacturer’s instructions for installing the new valve seat.

Conclusion:

Dripping faucets are a common household nuisance that can lead to wasted water, higher bills, and even plumbing damage. By understanding the causes of dripping faucets, you can take the necessary steps to address the problem effectively. Whether it’s replacing worn-out components, regulating water pressure, or cleaning mineral deposits, there are various solutions available to stop the drip. If you’re unsure of the cause or unable to resolve the issue yourself, it’s wise to consult a professional plumber who can diagnose and fix the problem efficiently. Don’t let the annoyance and wastefulness of dripping faucets persist in your home—take action to conserve water, save money, and restore the functionality of your plumbing fixtures.

Posted in bathroom | Tagged | Leave a comment

Do black faucets show water spots?

Do black faucets show water spots? Black faucets have gained popularity in modern kitchen design due to their sleek and sophisticated appearance. However, concerns arise regarding whether black faucets are prone to showing water spots and stains, which can detract from their aesthetic appeal. In this comprehensive analysis, we will explore the factors that contribute to water spots on black faucets, examine strategies for preventing and removing them, and conclude with recommendations for maintaining the pristine look of your black faucet.

black faucets

Factors Contributing to Water Spots on Black Faucets

  1. Hard Water: Water containing high mineral content, often referred to as hard water, can leave behind mineral deposits on any faucet surface, including black ones. These deposits can appear as white or cloudy spots on the black finish.
  2. Soap Residue: Soap residue left on the outdoor faucets after washing dishes or hands can accumulate over time, leading to the formation of water spots when the residue dries on the surface.
  3. Improper Cleaning Techniques: Using abrasive cleansers or rough cleaning tools on black faucets can damage the finish, making it more susceptible to water spots and stains.
  4. Lack of Regular Maintenance: Neglecting to clean and maintain your black faucet regularly can contribute to the buildup of grime and minerals, increasing the chances of water spots.

Preventing and Removing Water Spots on Black Faucets

  1. Regular Cleaning: Establish a routine for cleaning your black faucet using mild dish soap or a gentle cleanser. Wipe the surface with a soft cloth or sponge, ensuring that you remove any soap residue or mineral deposits.
  2. Avoid Abrasive Cleansers and Tools: Harsh chemicals and abrasive cleaning tools, such as steel wool or scouring pads, can scratch the finish of your black faucet and make it more prone to water spots. Opt for non-abrasive cleaning products and soft cloths instead.
  3. Quick Drying: After each use, dry your black faucet thoroughly with a soft cloth to prevent water spots from forming. This is especially important if you live in an area with hard water.
  4. Vinegar Solution: When faced with stubborn water spots, create a mixture of equal parts white vinegar and water. Apply the solution to the spots using a soft cloth, let it sit for a few minutes, then gently scrub and rinse with water. Repeat if necessary.

black faucets

Maintaining the Pristine Look of Your Black Faucet

  1. Gentle Care: Handle your black faucet with care, avoiding rough treatment or harsh chemicals that could damage the finish. Use only non-abrasive cleaning products and soft cloths when cleaning.
  2. Regular Inspections: Periodically inspect your black faucet for any signs of wear, such as chipping or fading. Address any issues promptly to maintain its pristine appearance.
  3. Professional Assistance: If you are unsure about the best cleaning methods or encounter persistent water spots, consult the manufacturer’s guidelines or seek professional assistance to ensure the longevity of your black faucet.

How to match black faucets with furniture

Black faucets have emerged as a stylish choice in modern interior design, offering a sleek and sophisticated touch to kitchens and bathrooms. However, integrating these statement pieces into your overall decor requires careful consideration to ensure harmony within the space.

Understanding the Versatility of Black Faucets

Black faucets are celebrated for their ability to blend seamlessly with a wide range of design styles, from contemporary and industrial to rustic and traditional. Their neutral yet bold appearance makes them a versatile addition to any space. Here are some key points to consider when incorporating black faucets into your decor:

  1. Contrast and Balance: Black faucets provide a striking contrast against lighter-colored surfaces, such as white or light gray countertops and backsplashes. This contrast can highlight the faucet as a focal point, adding depth and interest to the room.
  2. Complementary Color Schemes: Black pairs well with a variety of colors, including neutrals, pastels, and bold hues. Understanding color theory can help you choose complementary shades that enhance the overall look of your space.
  3. Texture and Finish Coordination: The finish of your black faucets—whether matte, satin, or glossy—should complement other elements in the room, such as cabinet hardware, lighting fixtures, and appliances.

black faucets

Do black faucets show water spots?

  1. Modern and Contemporary:
    • Minimalist Cabinets and Countertops: Pair black faucets with sleek, minimalist cabinetry in high-gloss white or matte gray finishes. Quartz or granite countertops in neutral tones can enhance the modern aesthetic.
    • Streamlined Furniture: Choose furniture with clean lines and minimal ornamentation, such as Scandinavian-style chairs and tables. Incorporate metal and glass elements to emphasize the contemporary feel.
  2. Industrial:
    • Raw Materials: Embrace raw materials such as exposed brick, concrete, and reclaimed wood. Black faucets work well with these textures, adding an edgy, urban vibe.
    • Metal Accents: Select furniture with metal frames or accents, like bar stools with iron legs or shelving units with steel supports. The combination of black faucets and metal elements reinforces the industrial look.
  3. Rustic and Farmhouse:
    • Warm Wood Tones: Pair black faucets with warm, natural wood cabinetry and countertops. The dark faucets finish contrasts beautifully with the wood’s grain, creating a cozy and inviting atmosphere.
    • Vintage-Inspired Furniture: Opt for furniture with a vintage or distressed finish, such as farmhouse dining tables and antique-style chairs. Soft textiles, like linen or cotton, can add warmth and comfort to the space.
  4. Traditional and Classic:
    • Elegant Cabinetry: Choose classic cabinetry styles, such as shaker or inset cabinets, in rich wood tones or painted finishes. Black faucets add a touch of sophistication and timelessness.
    • Ornate Furniture: Incorporate traditional furniture pieces with intricate detailing, such as upholstered armchairs or carved wooden tables. Brass or gold accents can complement the black faucets and enhance the luxurious feel.

black faucets

Integrating Black Faucets with Various Materials and Finishes

  1. Wood:
    • Light Wood: Light wood tones, such as oak or maple, create a beautiful contrast with black faucets. This combination works well in both modern and rustic settings, adding warmth and texture.
    • Dark Wood: Dark wood finishes, like walnut or mahogany, paired with black faucets, create a rich and dramatic look. This pairing is ideal for traditional or industrial spaces.
  2. Stone and Concrete:
    • Marble: Marble countertops or backsplashes in white or gray tones offer a luxurious backdrop for color faucets. The veining in marble adds visual interest and elegance.
    • Concrete: Concrete surfaces, whether in countertops or flooring, provide an industrial edge that complements black faucets. The matte texture of concrete enhances the modern appeal.

Conclusion

Do black faucets show water spots? While black faucets can add a touch of elegance to a kitchen, they are not immune to water spots and stains. Hard water, soap residue, improper cleaning techniques, and lack of regular maintenance can all contribute to the formation of water spots on black faucets. However, by implementing preventative measures, adopting gentle cleaning practices, and promptly addressing any issues, you can maintain the pristine look of your black faucet. Remember to clean your black faucets regularly, avoid abrasive cleansers and tools, and dry it thoroughly after each use.

Posted in bathroom | Tagged | Leave a comment

Protecting outdoor faucets from freezing – What Are Effective Ways

Protecting outdoor faucets from freezing, especially for homeowners in regions where temperatures frequently drop below freezing. One of the most common issues during this time is the risk of outdoor faucets freezing. Frozen faucets can lead to burst pipes, which can cause significant water damage and costly repairs. Therefore, it’s crucial to take proactive measures to protect these outdoor fixtures. This detailed guide explores various strategies and solutions to prevent outdoor faucets from freezing, ensuring that your plumbing system remains intact and functional throughout the winter months.

Protecting outdoor faucets from freezing

Understanding the Risks

Before delving into the solutions, it’s essential to understand why outdoor faucets are particularly vulnerable to freezing. During cold weather, water inside the pipes connected to outdoor faucets can freeze, causing the water to expand. This expansion can exert pressure on the pipes, leading to cracks or bursts. Such incidents can result in water leakage, structural damage, and even mold growth if not addressed promptly.

Pre-Winter Preparation

  1. Inspect and Repair Leaks: Begin by inspecting your outdoor faucets and the connecting pipes for any leaks or damage. Even small leaks can contribute to freezing problems. Repair any issues before the onset of cold weather to ensure that your system is in good condition.
  2. Disconnect Garden Hoses: Always disconnect garden hoses from outdoor faucets before temperatures drop. Leaving hoses attached can trap water in the faucet and the pipe, increasing the risk of freezing.
  3. Drain the Faucets: After disconnecting hoses, open the outdoor faucets to drain any remaining water. This step ensures that there is no standing water in the pipes that could freeze and cause damage.
  4. Shut Off the Water Supply: Locate the shut-off valve for the outdoor faucets, typically found inside your home. Turn off the water supply to the outdoor faucets, then open the faucet outside to let any residual water drain out completely.

Insulation Solutions

  1. Pipe Insulation: Insulating the pipes leading to outdoor faucets is one of the most effective ways to prevent freezing. Use foam pipe insulation sleeves, which are easy to install and provide a layer of protection against cold temperatures. Ensure the insulation covers the entire length of the pipe, especially in unheated areas like basements or crawl spaces.
  2. Faucet Covers: Faucet covers, also known as faucet socks or caps, are an affordable and simple solution to protect outdoor faucets. These covers are made of insulating materials and are designed to fit snugly over the faucet. They provide an additional layer of protection against freezing temperatures. To install, secure the cover over the faucet and tighten any included straps or ties.
  3. Heat Tape: For areas with extremely cold winters, heat tape can offer added protection. Heat tape, or heating cable, is an electric product that wraps around pipes and provides consistent heat to prevent freezing. Follow the manufacturer’s instructions for installation and use a thermostat-controlled version for energy efficiency.

Protecting outdoor faucets from freezing

Long-Term Solutions and Additional Measures

  1. Indoor Shut-Off Valves: If your home does not have indoor shut-off valves for outdoor faucets, consider having them installed. These valves allow you to easily shut off the water supply to winterizing outdoor faucets from inside your home, preventing water from entering the pipes and freezing.
  2. Professional Winterization Services: Hiring a professional plumber to winterize your plumbing system can provide peace of mind. Plumbers can thoroughly inspect your pipes, apply necessary insulation, and ensure that all preventive measures are properly implemented.
  3. Regular Maintenance: Regular maintenance and inspection of your plumbing system can help identify potential issues before they become major problems. Schedule annual inspections with a professional plumber to ensure that your system is ready for winter.

Emergency Measures

Despite taking all preventive measures, there may still be instances where a freeze occurs. Here’s what to do in such situations:

  1. Thawing Frozen Faucets: If you suspect that an outdoor faucet has frozen, act quickly to thaw it. Use a hairdryer, heat lamp, or portable space heater to warm the faucet and the pipe gradually. Never use an open flame or blowtorch, as this can damage the pipes and pose a fire hazard.
  2. Locate the Freeze Point: If you cannot access the frozen faucet directly, try to locate the freeze point by feeling along the pipe for cold spots. Apply heat to the affected area until the water begins to flow again.
  3. Contact a Professional: If you are unable to thaw the frozen pipe or if the pipe has burst, contact a professional plumber immediately. They have the tools and expertise to safely address the issue and minimize damage.

Advantages of outdoor faucets

Outdoor faucets, also known as hose bibs or spigots, play a crucial role in residential and commercial properties, providing access to water for various outdoor tasks and activities.

Protecting outdoor faucets from freezing

Versatility and Convenience

One of the primary advantages of outdoor faucets is their versatility in facilitating a wide array of outdoor activities and tasks. Whether it’s watering the garden, washing the car, filling a pool, or connecting outdoor appliances, outdoor faucets provide a convenient water source in close proximity to where it’s needed. This versatility enhances the usability of outdoor spaces, allowing individuals to efficiently carry out various chores and leisure activities without the constraints of indoor plumbing.

Beyond practical applications, color faucets also contribute to the convenience of everyday life. Their accessibility makes it easy to connect hoses, sprinklers, and other attachments, eliminating the need to rely solely on indoor water sources for outdoor tasks. This convenience streamlines the completion of outdoor projects and fosters a seamless transition between indoor and outdoor activities.

Protecting outdoor faucets from freezing

Efficiency in Water Distribution

Outdoor faucets play a significant role in promoting efficient water distribution and conservation. By providing dedicated access points for outdoor water usage, they reduce the need to run hoses or carry water from indoor sources, minimizing water wastage and promoting eco-friendly practices. Additionally, outdoor faucets equipped with features such as flow control valves and hose timers enable users to regulate water usage, ensuring that the right amount of water is delivered for specific tasks without unnecessary excess.

Furthermore, outdoor faucets facilitate targeted watering for gardens, lawns, and plants, promoting efficient irrigation practices. The ability to attach specialized watering tools such as drip systems, soaker hoses, and spray nozzles allows for precise and directed watering, minimizing water runoff and evaporation while promoting healthy plant growth. This level of control and efficiency in water distribution is a key advantage of outdoor faucets, particularly in regions where water conservation is a priority.

Conclusion

Protecting outdoor faucets from freezing is a critical aspect of winter home maintenance. By taking proactive measures such as inspecting and repairing leaks, disconnecting hoses, draining faucets, and using insulation solutions, homeowners can significantly reduce the risk of frozen faucets and burst pipes. Long-term solutions like installing indoor shut-off valves and regular maintenance further enhance the resilience of your plumbing system. In cases where freezing does occur, knowing how to safely thaw frozen pipes can prevent extensive damage.

Posted in Kitchen | Tagged | Leave a comment

How to cover outdoor faucets for winter?

How to cover outdoor faucets for winter? As the winter season approaches, it’s crucial to protect your outdoor faucets from freezing temperatures to prevent costly plumbing damage. Outdoor faucets, also known as hose bibs or spigots, are vulnerable to freezing and bursting if not properly prepared. Covering outdoor faucets with insulation is an essential step in winterizing your home’s plumbing system. In this article, we will provide a comprehensive step-by-step guide on how to cover outdoor faucets for winter.

How to cover outdoor faucets for winter?

Gather the Necessary Materials:

Before you begin, gather all the materials you’ll need for covering your outdoor faucets. Here’s a list of commonly used items:

  • Insulated faucet covers (available at hardware or home improvement stores)
  • Insulating tape or foam pipe insulation
  • Plastic bags or trash bags
  • Zip ties or bungee cords (optional)
  • Scissors or utility knife
  • Marker or pen (for labeling)

Shut Off the Water Supply:

Before covering the outdoor faucets, it’s important to shut off the water supply to the exterior faucets. Follow these steps:

  • Locate the shut-off valve for the outdoor faucets, usually located in the basement, crawl space, or utility room.
  • Turn the handle of the shut-off valve clockwise until it is fully closed. This will prevent water from flowing into the outdoor faucets during the winter months.

Drain Water from the Faucets:

Draining any remaining water from the outdoor faucets is crucial to prevent freezing. Follow these steps:

  • Go outside and open the outdoor faucets to allow any remaining water to drain out completely.
  • Keep the faucets open until you no longer see any water dripping or flowing out. This ensures that there is no water left inside the pipes, reducing the risk of freezing and pipe bursts.

Install the Faucet Covers:

Now it’s time to cover the outdoor faucets to protect them from freezing temperatures. Follow these steps:

  • Take an insulated faucet cover and place it over the outdoor faucet, ensuring that it completely covers the faucet and extends over the pipe.
  • If the faucet cover has an adjustable strap or drawstring, secure it tightly around the base of the faucet cover to ensure a snug fit.
  • If the faucet cover does not have an adjustable strap, use zip ties or bungee cords to secure the cover to the faucet and hold it in place.

 Insulate the Pipes:

In addition to covering the faucets, insulating the exposed pipes is important to provide an extra layer of protection against freezing. Follow these steps:

  • Measure the length of the exposed pipe leading to the outdoor faucet.
  • Cut a piece of foam pipe insulation or insulating tape to the measured length.
  • Wrap the foam pipe insulation or insulating tape around the exposed pipe, ensuring that it covers the entirety of the exposed area.
  • Use insulating tape to secure the foam pipe insulation or wrap the insulating tape tightly around the pipe, ensuring a secure fit.

How to cover outdoor faucets for winter?

Additional Precautions:

Consider taking these additional precautions to further protect your outdoor faucets:

  • Covering the matte black faucets cover with a plastic bag or trash bag can provide an extra layer of protection against moisture and harsh weather conditions.
  • Secure the plastic bag or trash bag with zip ties or bungee cords to ensure it stays in place throughout the winter.
  • Consider using a marker or pen to label the shut-off valve location to make it easier to locate and reopen in the spring.

Regular Inspection and Maintenance:

Throughout the winter season, it’s important to regularly inspect the covered outdoor faucets for any signs of damage or leaks. Remove any accumulated snow, ice, or debris that may compromise the integrity of the coverings.

How to choose outdoor faucets

Outdoor faucets, also known as hose bibs or spigots, are essential components of your home’s plumbing system. Whether you’re looking to replace an existing faucet or install a new one, selecting the right outdoor faucet is crucial to ensure longevity, functionality, and compatibility with your outdoor needs.

Determine Your Needs:

Understanding your specific needs and usage requirements will help guide your selection process. Consider the following factors:

  • Purpose: Determine the primary purpose of your outdoor faucet. Will it be used for watering plants, washing vehicles, or general outdoor cleaning? This will help establish the appropriate flow rate, valve type, and other features you may require.
  • Climate: Consider the climate in your area. If you live in regions with freezing temperatures, selecting a frost-proof or freeze-resistant faucet is essential to prevent freezing and potential damage to pipes.
  • Durability: Assess the durability requirements based on your climate, water quality, and usage. Look for materials and finishes that can withstand harsh weather conditions, corrosion, and wear and tear.

How to cover outdoor faucets for winter?

Choose the Right Material:

Outdoor faucets are available in various materials, each with its own advantages. Here are common materials used:

  • Brass: Brass is a popular choice for outdoor faucets due to its durability, corrosion resistance, and ability to withstand extreme weather conditions. It’s an excellent option for longevity and low maintenance.
  • Stainless Steel: Stainless steel is resistant to corrosion and offers long-term durability. This material is ideal for outdoor faucets exposed to harsh weather conditions, direct sunlight, or coastal environments.
  • Zinc Alloy: Zinc alloy faucets are budget-friendly and corrosion-resistant, making them suitable for moderate climates. However, they may not have the same longevity as brass or stainless steel faucets.

Consider Valve Types:

Different valve types offer various benefits in terms of control, ease of use, and water conservation. Common valve types for bronze faucets include the following:

  • Compression Valve: These faucets have a traditional washer and stem mechanism. They are easy to repair and provide a tight seal when closed properly. However, they may require occasional maintenance due to wear and tear of washers.
  • Ball Valve: Ball valves use a rotating ball with a hole through it to control water flow. They offer smooth operation and can provide a watertight seal when closed. Ball valves are durable and reliable, requiring minimal maintenance.
  • Ceramic Disc Valve: Ceramic disc valves are more durable and long-lasting compared to other types. They use two ceramic discs that control water flow when aligned properly. They are resistant to leaks and drips and offer easy operation.

How to cover outdoor faucets for winter?

Conclusion:

Taking the necessary steps to cover outdoor faucets for winter is essential in preventing freezing and costly plumbing damage. By following this step-by-step guide, you can ensure that your outdoor faucets are adequately protected. Remember to gather the necessary materials, shut off the water supply, drain any remaining water, install faucet covers, and insulate the exposed pipes. With proper insulation and care, you can have peace of mind knowing that your outdoor faucets are protected during the colder months, minimizing the risk of frozen pipes and subsequent damage.

Posted in bathroom | Tagged | Leave a comment

Winterizing outdoor faucets – what are the repair methods

Winterizing outdoor faucets, it is essential to take preventive measures to protect your outdoor faucets from freezing temperatures. Outdoor faucets, also known as hose bibs or spigots, are particularly susceptible to freezing, which can result in burst pipes and costly repairs. Winterizing these faucets is a simple and effective way to safeguard your plumbing system and prevent potential damage. In this article, we will explain the importance of winterizing outdoor faucets and provide you with a comprehensive guide on how to protect them from freezing temperatures. Let’s delve into the world of plumbing maintenance and discover the methods for winterizing outdoor faucets.

Winterizing outdoor faucets

The Importance of Winterizing Outdoor Faucets:

Outdoor faucets are vulnerable to freezing during the winter months because they are continually exposed to low temperatures. If water freezes within the pipes, it expands and can cause the pipes to burst, leading to leaks and subsequent water damage. Winterizing outdoor faucets helps prevent this damage by ensuring that water is properly drained and no residual water remains in the pipes.

Methods for Winterizing Outdoor Faucets:

Follow these steps to effectively winterize your stainless steel faucets and protect your plumbing system:

  • Shut off the water supply: Locate the shut-off valve for the outdoor faucet and turn it off. Typically, the shut-off valve is located inside your home, near the point where the faucet pipe exits the exterior wall. It may be in the basement, crawl space, or utility room.
  • Drain any remaining water: Once the water supply is shut off, open the outdoor faucet to allow any residual water to drain out completely. Keep the faucet open throughout the winterization process.
  • Disconnect hoses and attachments: Remove any hoses or attachments connected to the outdoor faucet. Drain and store them in a protected area, such as a garage or basement, to prevent damage from freezing temperatures.
  • Insulate the faucet: Several options are available to insulate the outdoor faucet and protect it from freezing temperatures: a. Insulated faucet covers: Place an insulated faucet cover over the exterior of the faucet. These covers are designed to keep the faucet insulated and shielded from freezing temperatures. They are easily available at hardware stores or online. b. Heat tape: Attach heat tape or heating cables around the faucet and secure it in place. These heating elements provide warmth and prevent freezing.
  • Apply additional insulation: Consider adding extra insulation to the exposed plumbing pipes behind the faucet to provide further protection. Use foam pipe insulation sleeves to cover the pipe and create a barrier against the cold.

Winterizing outdoor faucets

Outdoor Faucets in Hard-to-Access Areas:

For outdoor faucets that are difficult to reach or located in areas that are not insulated, follow these additional steps:

  • Install a frost-free sillcock: A frost-free sillcock is a type of outdoor faucet that is designed to prevent freezing in colder climates. It is installed deeper within the wall and has a long stem that extends inside the house. If your outdoor faucet is prone to freezing, consider replacing it with a frost-free sillcock.
  • Insulate the wall: If the outdoor faucet is located in an exposed or poorly insulated wall, consider insulating the surrounding area using insulation board or foam. This additional insulation helps protect the pipe from freezing temperatures.

Regular Monitoring:

Throughout the winter season, periodically inspect the black faucets to ensure they remain protected and free from ice buildup. Check for any signs of leaks or damage. If you notice any issues, promptly address them to prevent further damage.

Professionals’ Assistance:

If you are unfamiliar with winterizing outdoor faucets or if your plumbing system requires additional attention, it is recommended to consult a professional plumber. They can assess your plumbing system, recommend the best winterization methods, and ensure proper insulation and protection against freezing.

Winterizing outdoor faucets

Advantages of outdoor faucets

Outdoor faucets, also known as hose bibs or spigots, are essential fixtures in many homes. Although they may seem simple, outdoor faucets offer several advantages that contribute to the functionality, convenience, and overall value of a property. These faucets provide access to water outdoors, enabling various activities such as gardening, car washing, and even outdoor entertainment.

Convenience and Accessibility:

Outdoor faucets provide easy access to water in areas where plumbing connections may not be available. Their location on the exterior of a building allows for quick and convenient access to water for various activities, such as watering plants, filling buckets, or washing off outdoor equipment. Having an outdoor faucet eliminates the need to carry heavy containers filled with water from inside the house.

Gardening and Landscaping:

One significant advantage of outdoor faucets is their role in gardening and landscaping activities. They make watering plants, lawn irrigation, and maintaining gardens more convenient. With an outdoor faucet, you can easily attach a garden hose or sprinkler system to efficiently water your plants, ensuring they receive the necessary hydration for healthy growth. Outdoor faucets also facilitate fertilizing and pest control practices in gardens.

Cleaning and Maintenance:

Outdoor faucets simplify cleaning and maintenance tasks around the exterior of your home. Whether you need to wash your car, clean outdoor furniture, or remove dirt and debris from driveways or sidewalks, an faucets universal provides a readily available water source. Connecting a hose or pressure washer to the faucet streamlines these cleaning tasks, saving time and effort.

Winterizing outdoor faucets

Outdoor Recreation and Entertainment:

Outdoor faucets are vital for recreational activities and outdoor entertainment. Whether you’re filling up a kiddie pool for your children, connecting a water feature or fountain, or setting up a misting system for a hot summer day, an outdoor faucet provides the necessary water supply to make these activities enjoyable.

Pet Care:

Outdoor faucets play a crucial role in pet care. They provide easy access to water for filling outdoor pet bowls, washing pets, or rinsing off after a muddy adventure. This convenient water source ensures that your pets have access to fresh water outdoors, promoting their well-being and comfort.

Conclusion:

Winterizing outdoor faucets is a crucial step in protecting your plumbing system from freeze-related issues and costly repairs. By shutting off the water supply, draining any remaining water, disconnecting hoses, and insulating the faucets, you can effectively safeguard them from freezing temperatures. Consider additional insulation for exposed pipes and hard-to-access areas. Regular monitoring and maintenance throughout the winter season are essential to keep the faucets protected and secure. When in doubt or if additional assistance is needed, consult a professional plumber for expert advice.

Posted in Kitchen | Tagged | Leave a comment

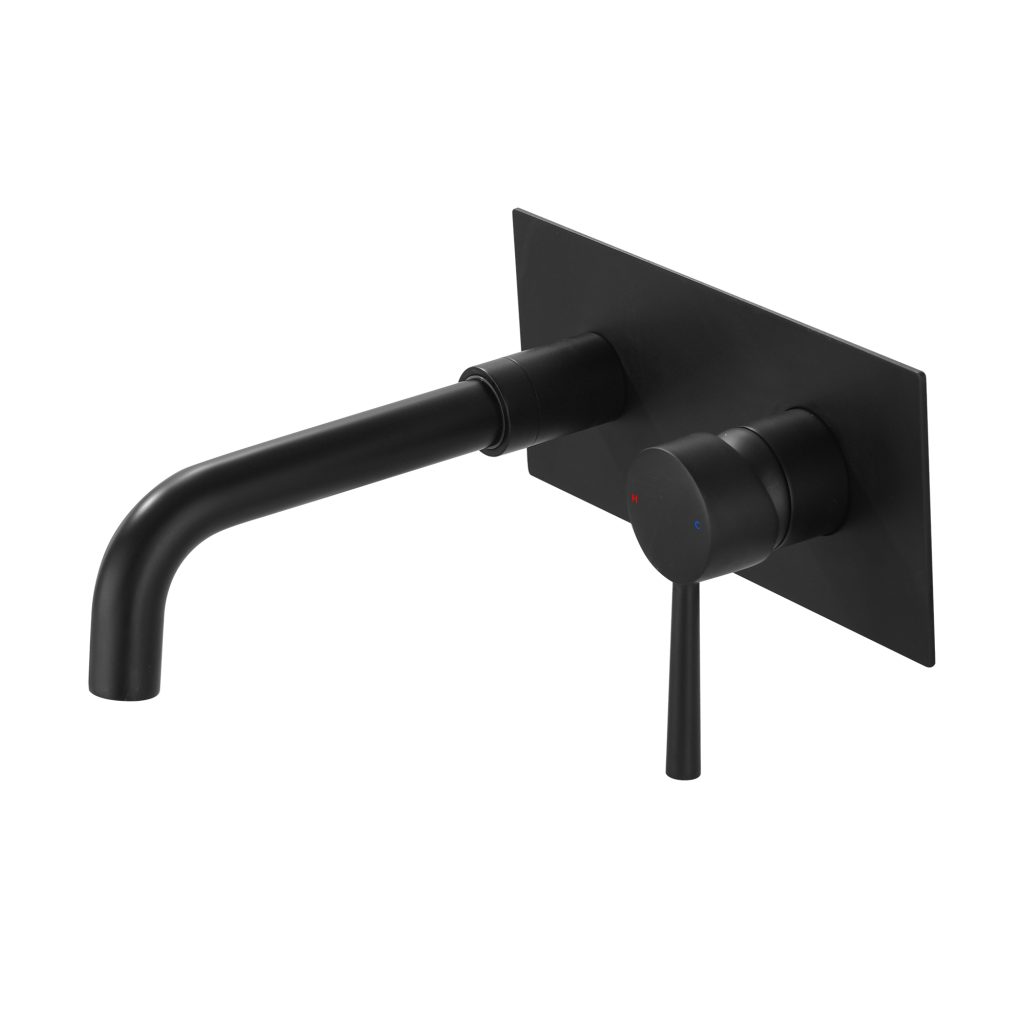
How to clean matte black faucets?

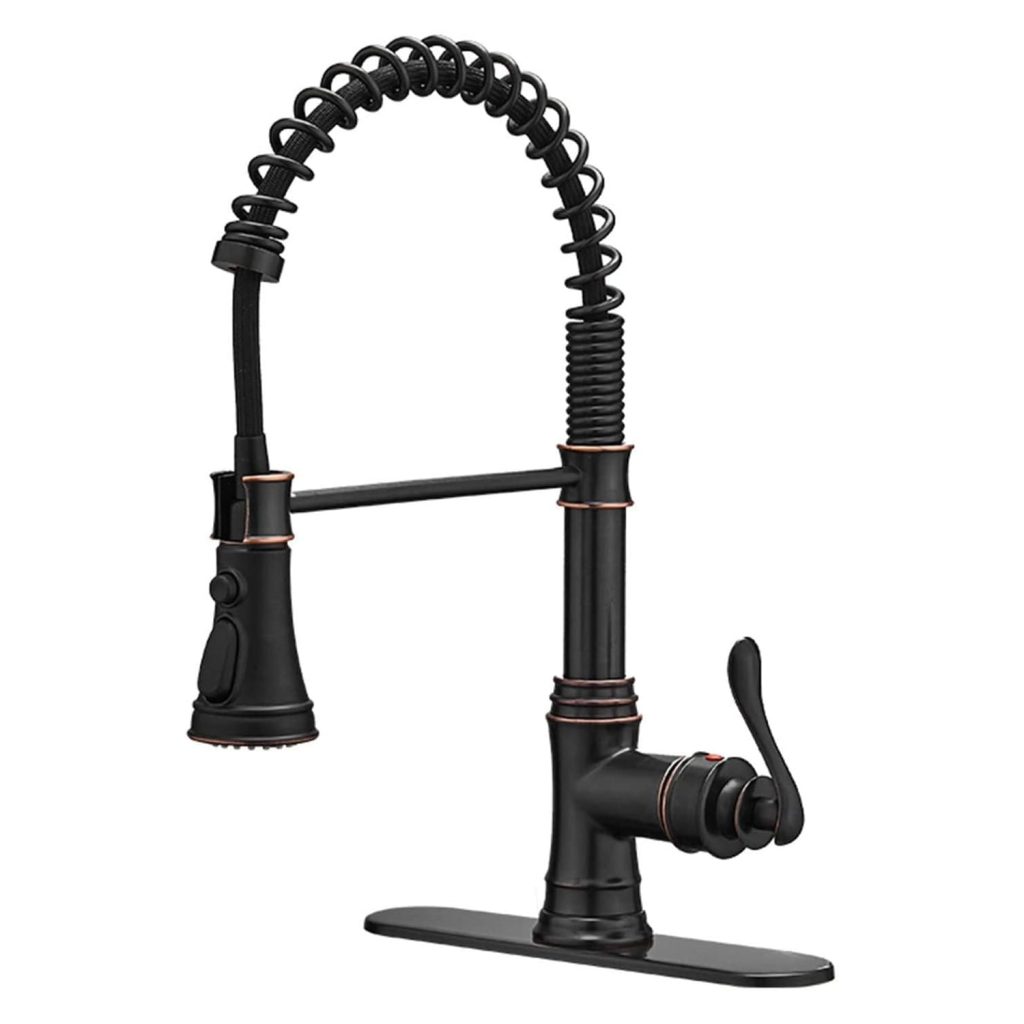
How to clean matte black faucets? Matte black faucets are a popular choice for many modern kitchens and bathrooms due to their sleek and sophisticated appearance. However, like any other finish, matte black faucets require regular cleaning and maintenance to keep them looking their best. Cleaning a matte black faucet involves specific considerations to avoid damaging the delicate finish. In this article, we will explore the step-by-step process of cleaning matte black faucets, including the tools and materials needed, general cleaning guidelines, addressing specific stains or marks, and essential maintenance tips.

How to clean matte black faucets?

Tools and Materials:

Before cleaning your matte black faucet, gather the following tools and materials:

  • Soft microfiber cloth or sponge
  • Mild liquid dish soap
  • Warm water
  • White vinegar
  • Baking soda
  • Toothbrush or soft-bristled brush
  • Soft towel or paper towels

Step-by-Step Guide:

General Cleaning:

Regular cleaning is essential to remove everyday dirt, grime, and water spots from your matte black faucet. Follow these steps:

  • Wet the cloth or sponge: Dampen a soft microfiber cloth or sponge with warm water.
  • Add mild dish soap: Apply a small amount of mild liquid dish soap to the damp cloth or sponge. Gently lather the soap on the stainless steel faucets.
  • Clean the faucet: Wipe the entire surface of the matte black faucet, focusing on areas that accumulate the most grime, such as the spout, handles, and base. Avoid abrasive or abrasive cleaners, as they can scratch the finish.
  • Rinse with warm water: Rinse the cloth or sponge with warm water and wipe off the soap residue from the faucet. Ensure all soap is completely removed.

How to clean matte black faucets?

Addressing Stains or Marks:

In some cases, matte black faucets may develop stains or marks that require special attention. Consider the following solutions:

  • Water Spots: To remove water spots, dip a soft cloth or sponge into a solution of equal parts white vinegar and warm water. Gently scrub the affected areas, then rinse with warm water and dry thoroughly.
  • Hard Water Stains: If hard water stains are present, make a paste by mixing baking soda with water. Apply the paste to a soft cloth or sponge and gently rub the affected areas. Rinse with warm water and dry thoroughly.
  • Grease or Oil Marks: To remove grease or oil marks, dampen a soft cloth or sponge with warm water and mild dish soap. Gently scrub the affected areas, rinse with warm water, and dry thoroughly.
  • Toothpaste: Mild stains or discoloration can be addressed using non-gel toothpaste. Apply a small amount to a toothbrush or soft-bristled brush and gently scrub the affected areas. Rinse with warm water and dry thoroughly.

Preventing Scratches and Damage:

To maintain the pristine appearance of your matte black faucet, it’s important to take preventive measures and practice proper maintenance:

  • Avoid Harsh Chemicals: Avoid using harsh chemicals, abrasive cleaners, or scrub brushes, as they can damage the matte finish.
  • Soft Cloth or Sponge: Always use a soft microfiber cloth or non-abrasive sponge to clean your matte black faucet. This will prevent scratches and preserve the finish.
  • Dry Thoroughly: After cleaning, thoroughly dry the faucet with a soft towel or paper towels to prevent water spots. Leaving water droplets on the faucet can lead to mineral buildup and potential staining.
  • Conscious Handling: When using or cleaning your matte shower faucets, handle it with care to avoid accidental bumps or scratches. Be mindful of rings or sharp objects that may come into contact with the surface.

How to clean matte black faucets?

How to decorate with matte black faucetds

Matte black faucets have become a popular choice in modern interior design for their sleek and sophisticated appeal. These fixtures add a touch of elegance to kitchens and bathrooms, creating a sense of luxury and style. To maximize the impact of your matte black faucets, it’s important to complement them with appropriate decor elements.

Consider the Color Scheme:

The color scheme you choose for your kitchen or bathroom can greatly influence the appearance of your matte black faucet. Consider the following options:

  • Monochromatic: Create a timeless and sophisticated look by pairing your matte black faucet with a monochromatic color scheme. Use shades of black, white, and gray to maintain a sleek and contemporary aesthetic.
  • Contrast with Light Tones: The deep richness of matte black faucets contrasts beautifully with light and neutral colors. Pair your faucet with soft shades of cream, beige, or light gray to create a striking focal point.
  • Bold and Vibrant: If you want to make a statement, pair your matte black faucet with bold and vibrant accent colors. Colors like deep red, royal blue, or emerald green can create a dramatic contrast that instantly catches the eye.

Choose Complementary Finishes:

The choice of finishes for other fixtures and hardware in the space can either harmonize or clash with your matte black faucet. Consider the following options:

  • Matte Black: To create a cohesive look, opt for matching matte black finishes for other fixtures and hardware in the room, such as cabinet handles, towel bars, and light fixtures. This creates a sophisticated and unified appearance.
  • Brushed Nickel or Stainless Steel: If you prefer a mixture of finishes, consider pairing your shower faucets universal with brushed nickel or stainless steel accents. The muted tones of these finishes create a subtle contrast that complements the matte black.
  • Brass or Copper: For a more luxurious and glamorous look, consider mixing your matte black faucet with brass or copper elements. The warm and rich tones of these finishes create a striking contrast against the matte black.

How to clean matte black faucets?

Incorporate Signature Materials:

Choosing the right materials for the surrounding decor can enhance the overall aesthetic and harmonize with your matte black faucet. Consider the following options:

  • Natural Stone: Incorporate natural stone elements, such as marble or granite countertops, to add an elegant and luxurious touch. The organic veining and textures of stone create a beautiful contrast against the matte black.
  • Wood Accents: Add warmth and texture to the space by introducing wooden elements. Consider wooden cabinetry, floating shelves, or a wooden backsplash to complement the matte black faucet.
  • Glass Features: Pair your matte black faucet with glass elements, such as pendant lights or a glass mosaic tile backsplash. The transparent nature of glass adds a touch of sophistication and reflects light, enhancing the overall ambiance.

Conclusion:

Proper cleaning and maintenance are essential to keep your matte black faucet looking beautiful and new. Regular cleaning with mild dish soap and warm water, along with preventive measures, will help maintain the matte finish without damaging it. Addressing specific stains or marks with vinegar, baking soda, or toothpaste can effectively remove stubborn residue. By following these guidelines and incorporating regular care into your routine, you can enjoy the sleek and sophisticated look of your matte black faucet for many years to come.
Posted in bathroom | Tagged | Leave a comment

How to clean stainless steel faucets?

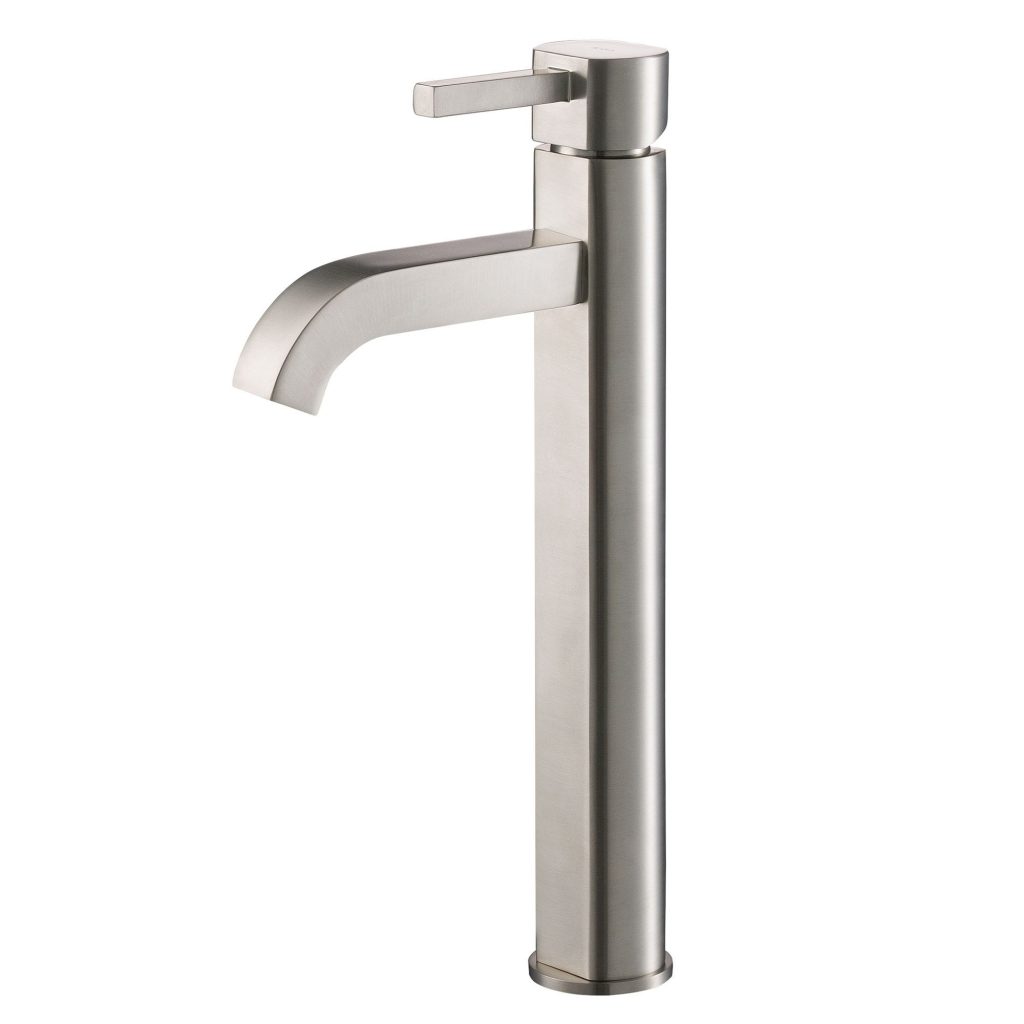
How to clean stainless steel faucets? Stainless steel faucets are a popular choice in kitchens and bathrooms due to their durability, sleek appearance, and resistance to stains and corrosion. However, like any other fixtures, stainless steel faucets require regular cleaning and maintenance to keep them looking their best. Over time, they can accumulate fingerprints, water spots, and grime, which may affect their shine and finish. In this article, we will explore the step-by-step process of cleaning stainless steel faucets, including simple cleaning solutions, gentle scrubbing techniques, and preventive measures.

How to clean stainless steel faucets?

Gather Cleaning Supplies:

Before getting started, collect the following supplies for cleaning your stainless steel faucets:

  • Warm water
  • Mild dish soap
  • Baking soda
  • White vinegar
  • Toothbrush or soft-bristled brush
  • Microfiber cloth or soft sponge
  • Paper towels or lint-free cloth

Prepare a Cleaning Solution:

To create a gentle cleaning solution for your stainless shower faucets, follow these steps:

  • Fill a bowl or container with warm water.
  • Add a few drops of mild dish soap to the warm water.
  • Stir the mixture to create a soapy solution.

Remove Loose Debris:

Begin by removing any loose debris or dirt from the faucet:

  • Rinse the faucet with warm water to remove loose particles.
  • Use a soft sponge or cloth to wipe away any visible dirt or grime.
  • Pay attention to areas around the base of the faucet and the handle, as these areas tend to collect more dirt.

How to clean stainless steel faucets?

Clean the Faucet Surface:

Proceed to clean the stainless steel faucet using the mild cleaning solution:

  • Dip a soft sponge or cloth into the soapy water mixture.
  • Gently scrub the entire surface of the faucet, including the spout, handles, and base.
  • For tougher stains, sprinkle baking soda onto a damp sponge or cloth and scrub the affected areas. Baking soda acts as a mild abrasive and helps remove stains without scratching the stainless steel finish.

Remove Water Spots:

To eliminate water spots and mineral deposits from your stainless steel faucet, follow these steps:

  • Soak a cloth in white vinegar or undiluted lemon juice.
  • Place the soaked cloth over the areas with water spots.
  • Let the cloth sit for a few minutes to allow the acidity of the vinegar or lemon juice to dissolve the spots.
  • Gently scrub the spots using a toothbrush or soft-bristled brush.
  • Rinse the faucet with warm water and wipe dry with a clean cloth.

Dry and Polish the Faucet:

To prevent water spots and maintain the shine of your stainless steel faucet, it’s important to dry and polish it:

  • Use a microfiber cloth or a soft sponge to thoroughly dry the faucet, including all the nooks and crevices.
  • Wipe in the direction of the stainless steel grain to avoid streaks.
  • For added shine, lightly polish the faucet with a lint-free cloth or a paper towel.

Preventive Maintenance:

To keep your stainless steel faucet in excellent condition, consider these preventive measures:

  • Wipe the faucet regularly with a clean, damp cloth to remove fingerprints, water spots, and soap residue.
  • Avoid using abrasive cleaners, harsh chemicals, or rough materials that can scratch or damage the stainless steel surface.
  • Use a water softener if you live in an area with hard water to minimize mineral build-up on the faucet.
  • Dry the faucet after each use, especially if you have hard water, to prevent water spots and mineral deposits from forming.

How to clean stainless steel faucets?

Advantages of stainless steel faucets

Stainless steel faucets have become a popular choice for homes and commercial settings due to their many advantages. As a material, stainless steel offers numerous benefits, including durability, resistance to corrosion and stains, ease of maintenance, and a sleek and modern appearance.

Durability:

One of the key advantages of stainless bronze faucets is their exceptional durability. Stainless steel is a robust material that can withstand daily wear and tear, making it ideal for high-traffic areas such as kitchens and bathrooms. It is highly resistant to scratches, dents, and impact, ensuring longevity and maintaining its appearance over time. Stainless steel faucets can handle heavy use without compromising their structural integrity, making them a reliable choice for long-term use.

Corrosion and Stain Resistance:

Stainless steel is known for its excellent resistance to corrosion and stains. This makes stainless steel faucets highly suitable for environments where moisture and water exposure are prevalent, such as kitchens and bathrooms. The chromium content within stainless steel forms a protective layer on the surface, preventing corrosion and rusting. Additionally, stainless steel is less prone to discoloration or staining from common substances like water spots, soap residues, and household chemicals. This resistance to corrosion and stains ensures that stainless steel faucets maintain their attractive appearance even with frequent use.

How to clean stainless steel faucets?

Easy Maintenance:

Stainless steel faucets are exceptionally easy to maintain, which is another significant advantage. Regular cleaning with mild soap and water is typically sufficient to keep the faucets looking clean and pristine. Stainless steel’s smooth and non-porous surface makes it resistant to bacterial growth and easy to wipe clean. Unlike other materials, stainless steel does not require specific cleaning agents or extensive maintenance routines. It is also resistant to heat and can withstand thermal shock, making it a convenient choice for busy households or commercial settings where quick and easy cleaning is essential.

Hygiene and Safety:

Stainless steel is a hygienic material that meets stringent safety standards. Its non-porous surface does not allow bacteria or germs to penetrate, making it an excellent choice for areas where cleanliness is crucial, such as kitchens and bathrooms. Stainless steel is also resistant to mold and mildew, further contributing to a clean and safe environment. Additionally, stainless kitchen faucets do not leach harmful chemicals or toxins into the water supply, ensuring the safety and purity of the water used in the home or workplace.

Aesthetic Appeal:

Stainless steel faucets offer a sleek and modern appearance that complements various kitchen and bathroom styles. They have a versatile design that works well with both contemporary and traditional aesthetics, making them a popular choice for interior designers and homeowners alike. Stainless steel’s clean lines and reflective surface add a touch of sophistication and elegance to any space. The availability of different finishes, such as brushed or polished, further allows customization to match existing décor and personal preferences.

Conclusion:

Regular cleaning and maintenance are essential for preserving the appearance and longevity of your stainless steel faucets. By following the step-by-step instructions and incorporating preventive measures, you can easily keep your faucets looking sparkling clean. Remember to use mild cleaning solutions, gentle scrubbing techniques, and non-abrasive materials to avoid scratching or damaging the stainless steel finish. With proper care and attention, your stainless steel faucets will continue to shine and enhance the overall aesthetic of your kitchen or bathroom.

Posted in bathroom | Tagged | Leave a comment