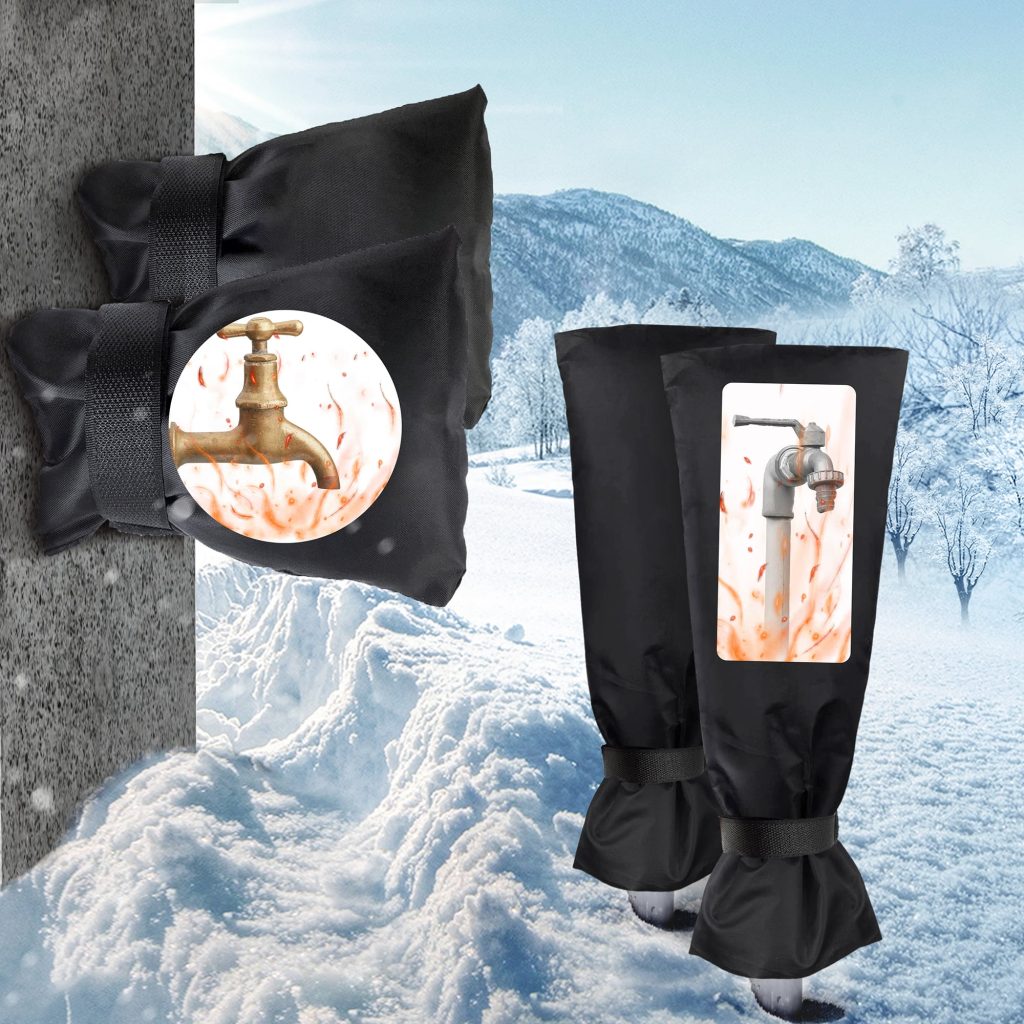
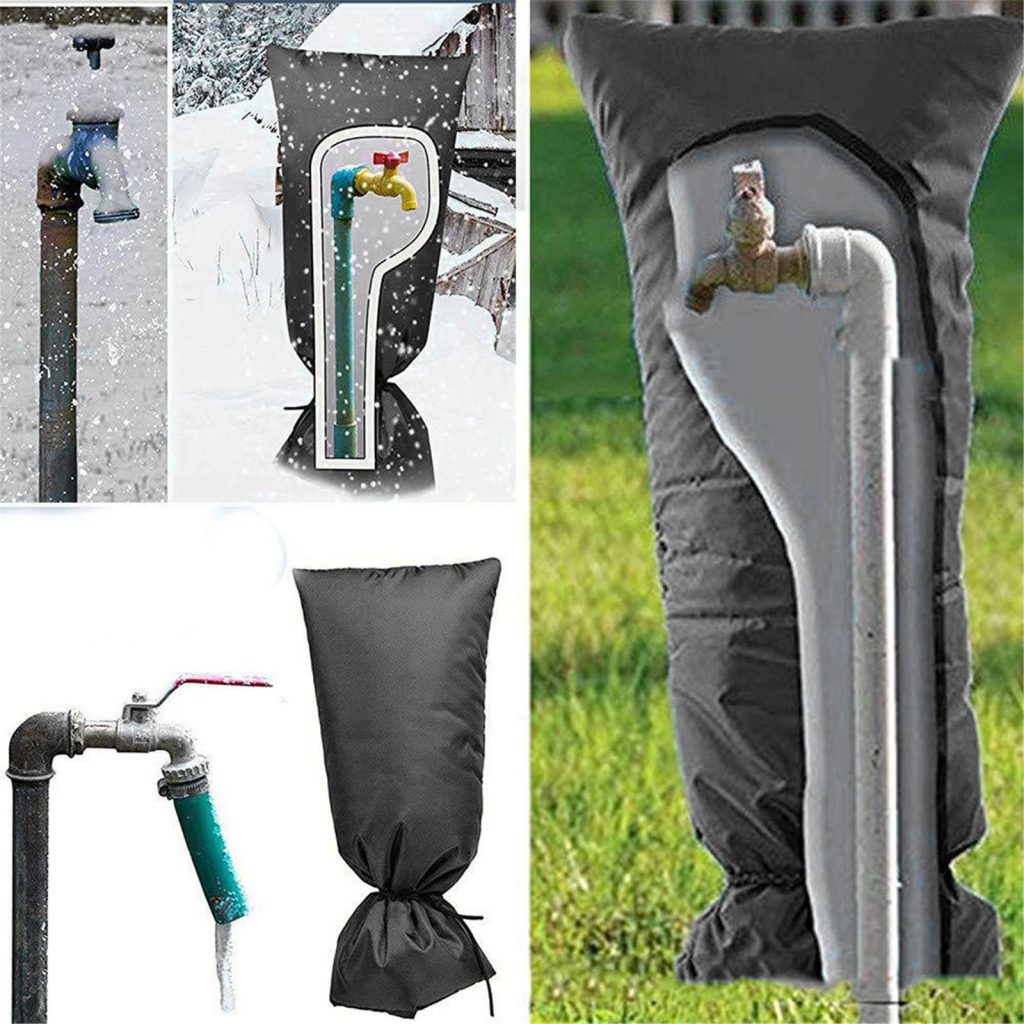
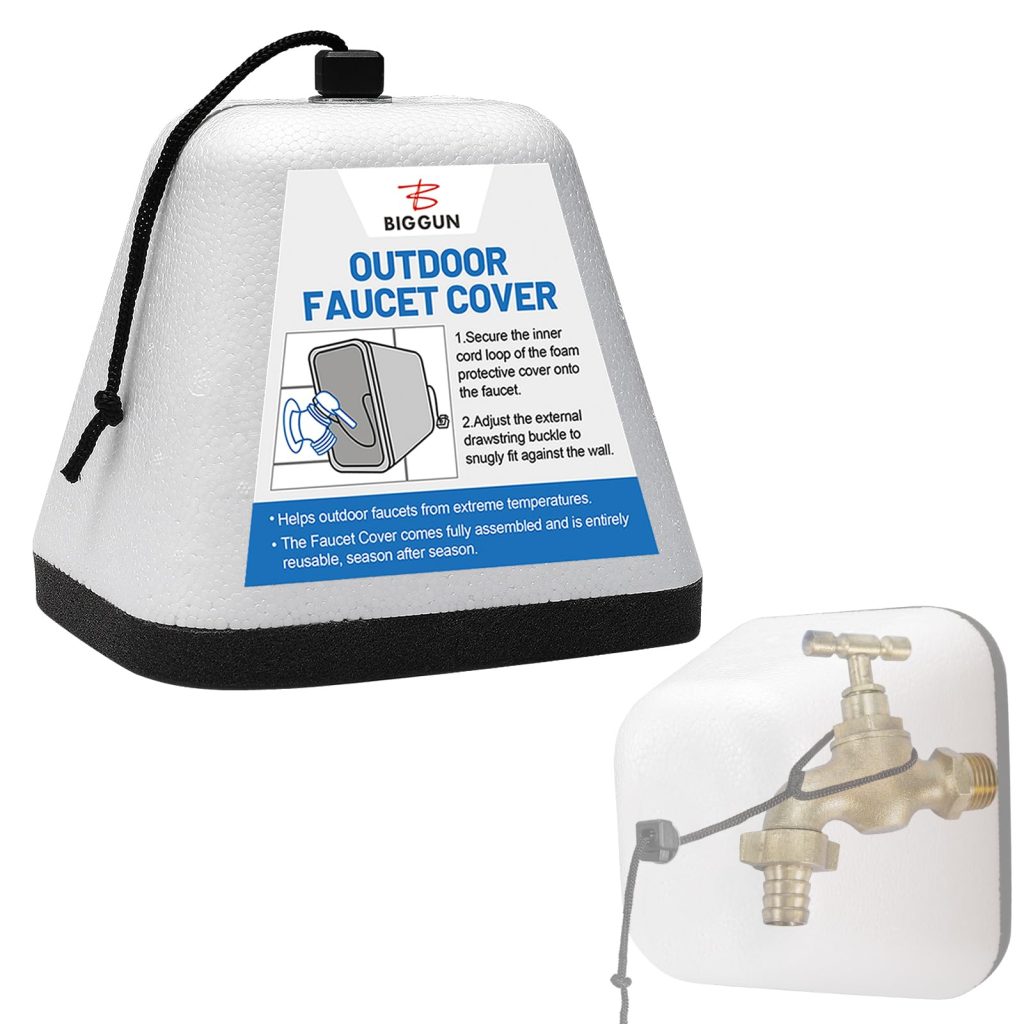
Install faucets are an essential component of any plumbing system, providing the means to control the flow and temperature of water in various household fixtures. Whether you are replacing an old faucet or installing a new one, it is important to choose the right installation method to ensure proper functioning and longevity. In this article, we will explore the different methods for install faucets, including the tools and materials needed for each approach.
Methods for Installing Faucets
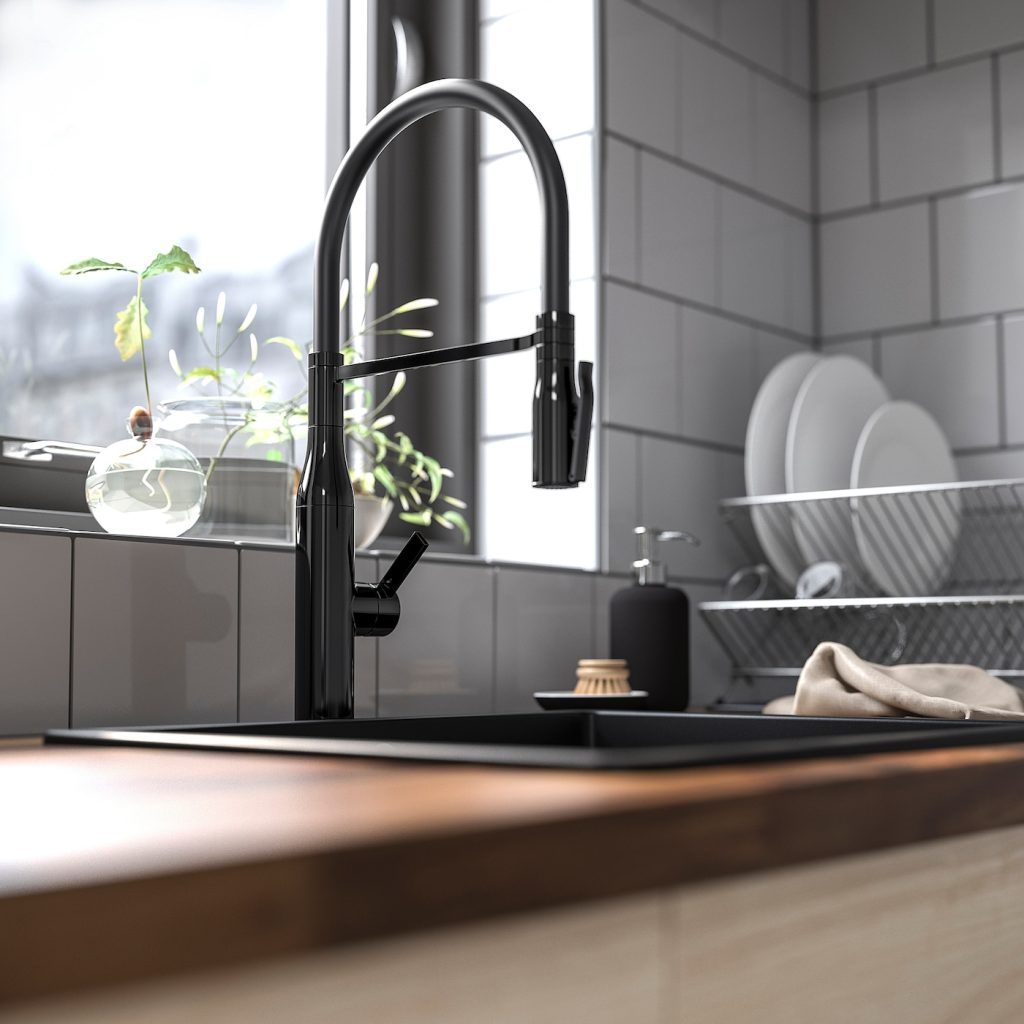
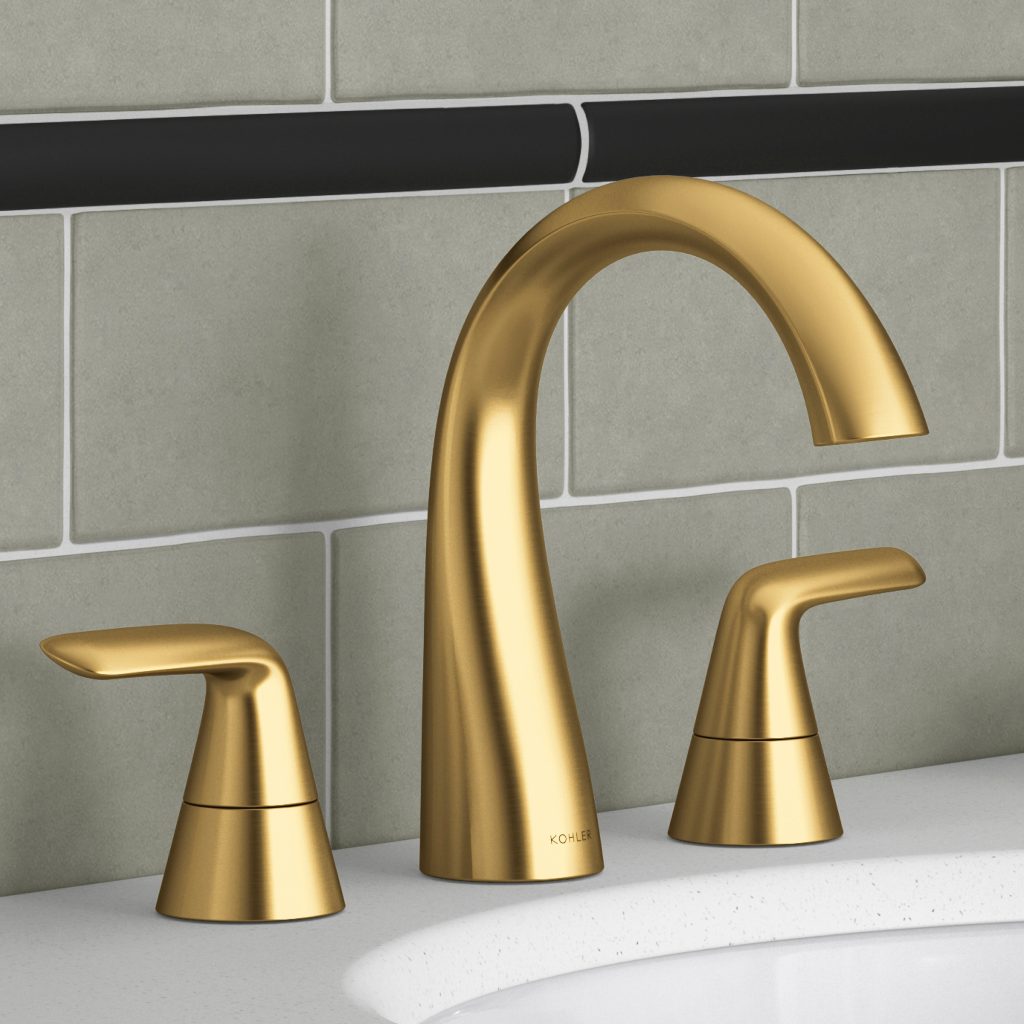
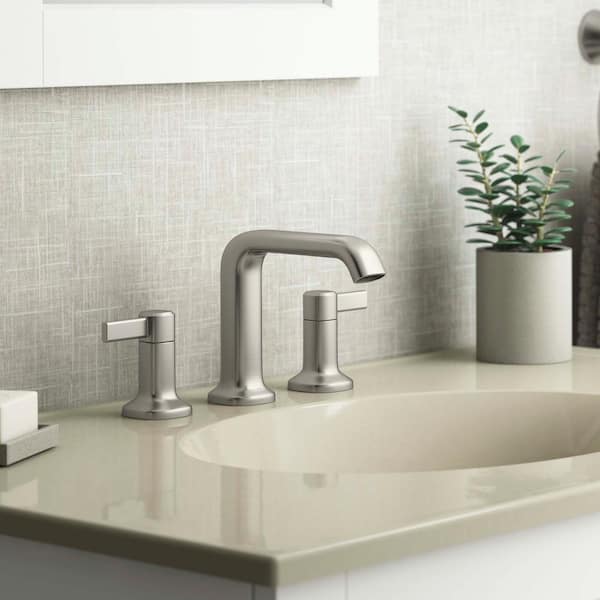
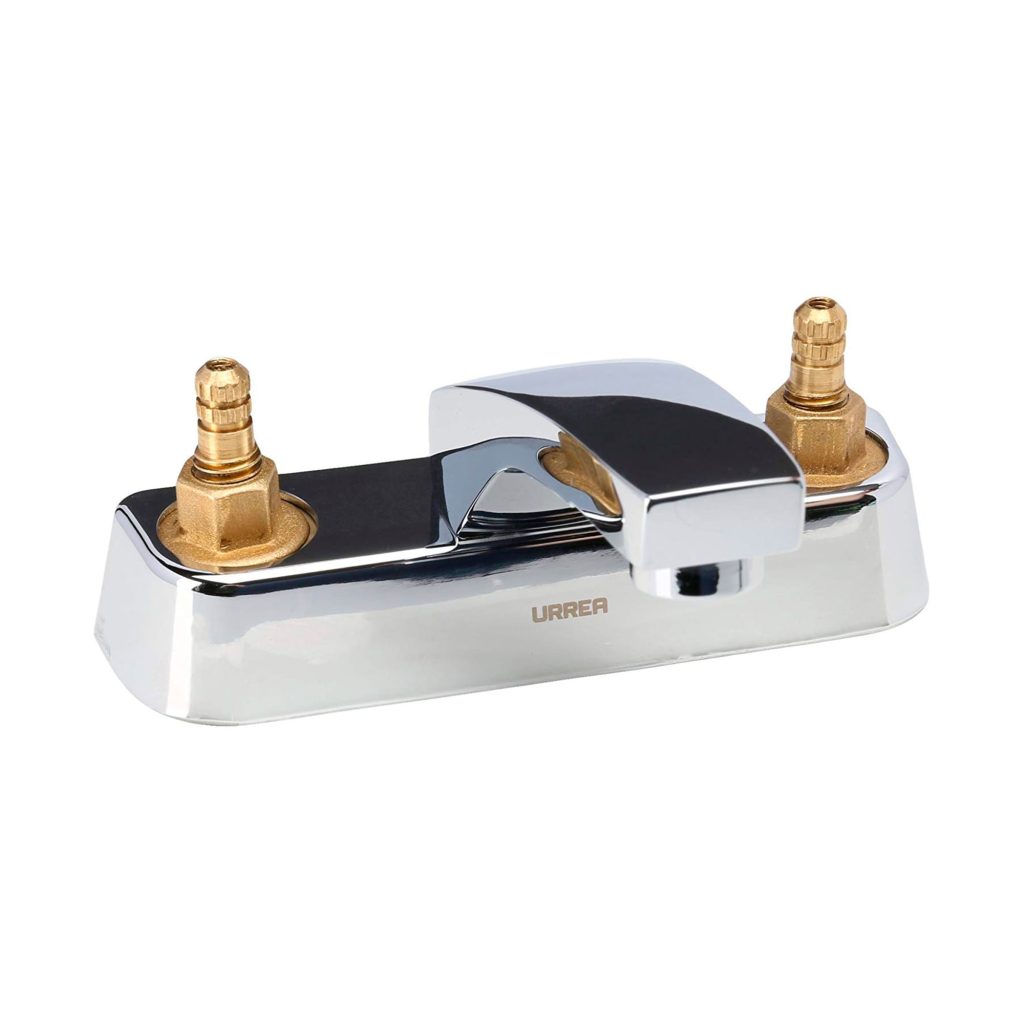
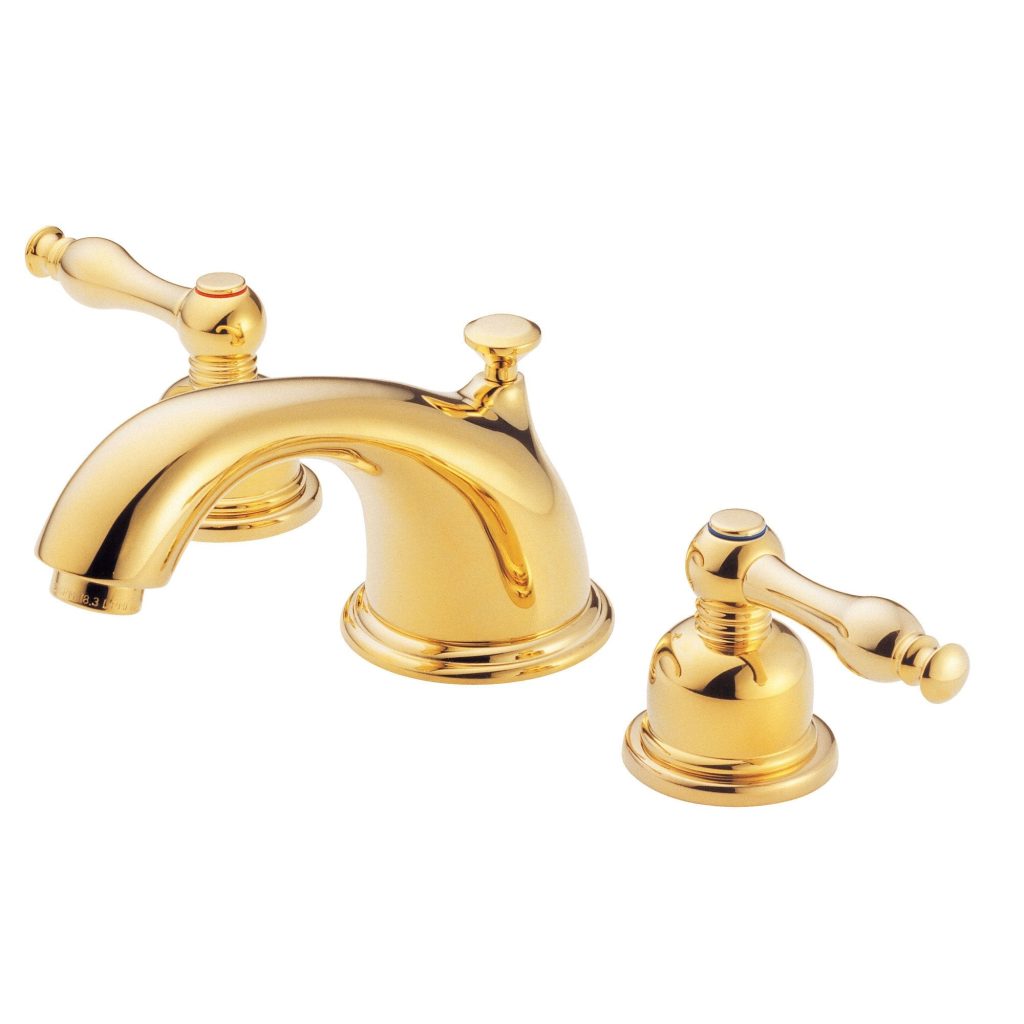
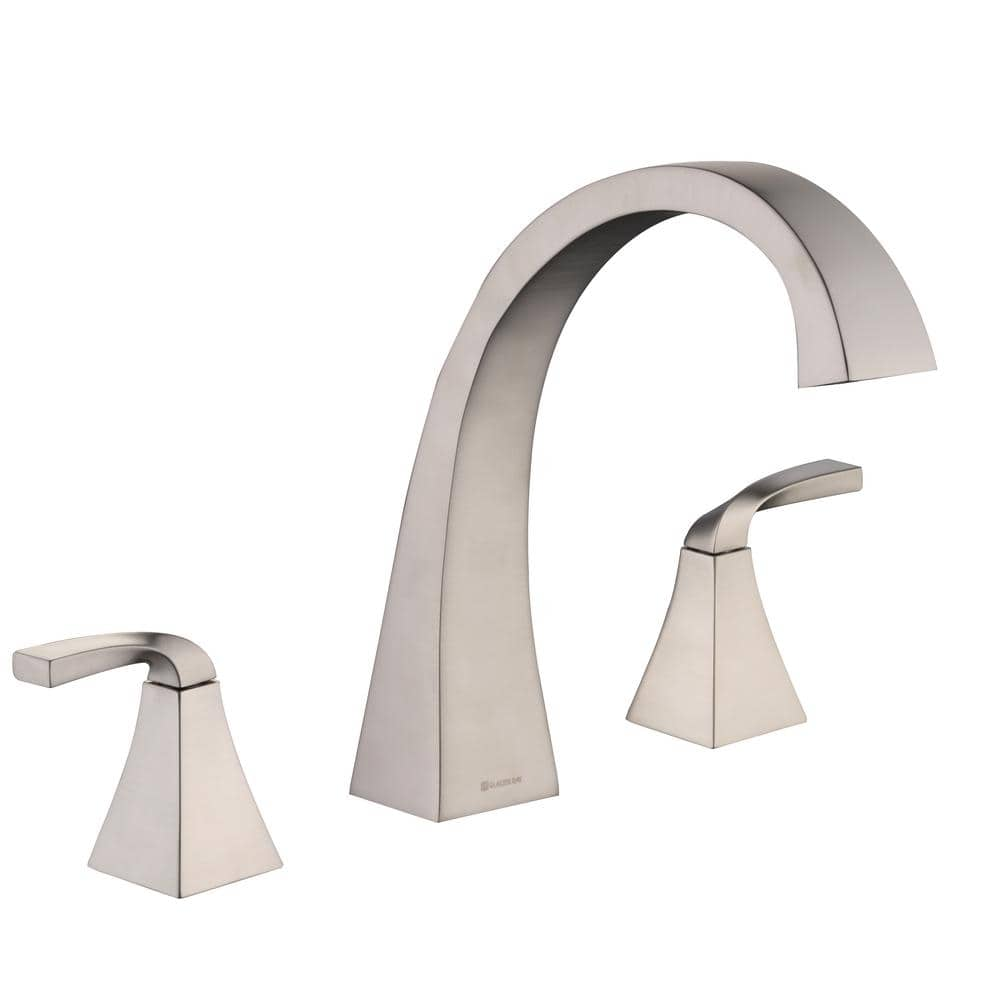
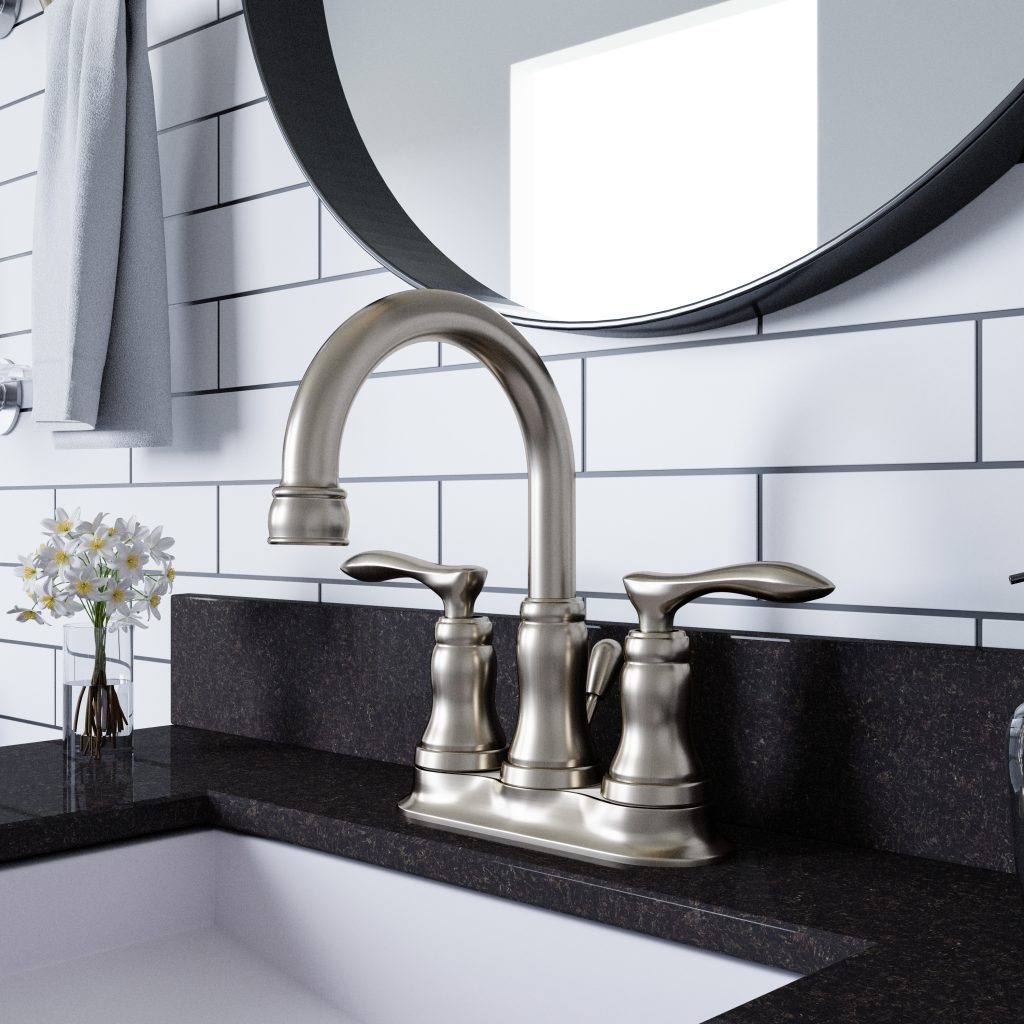
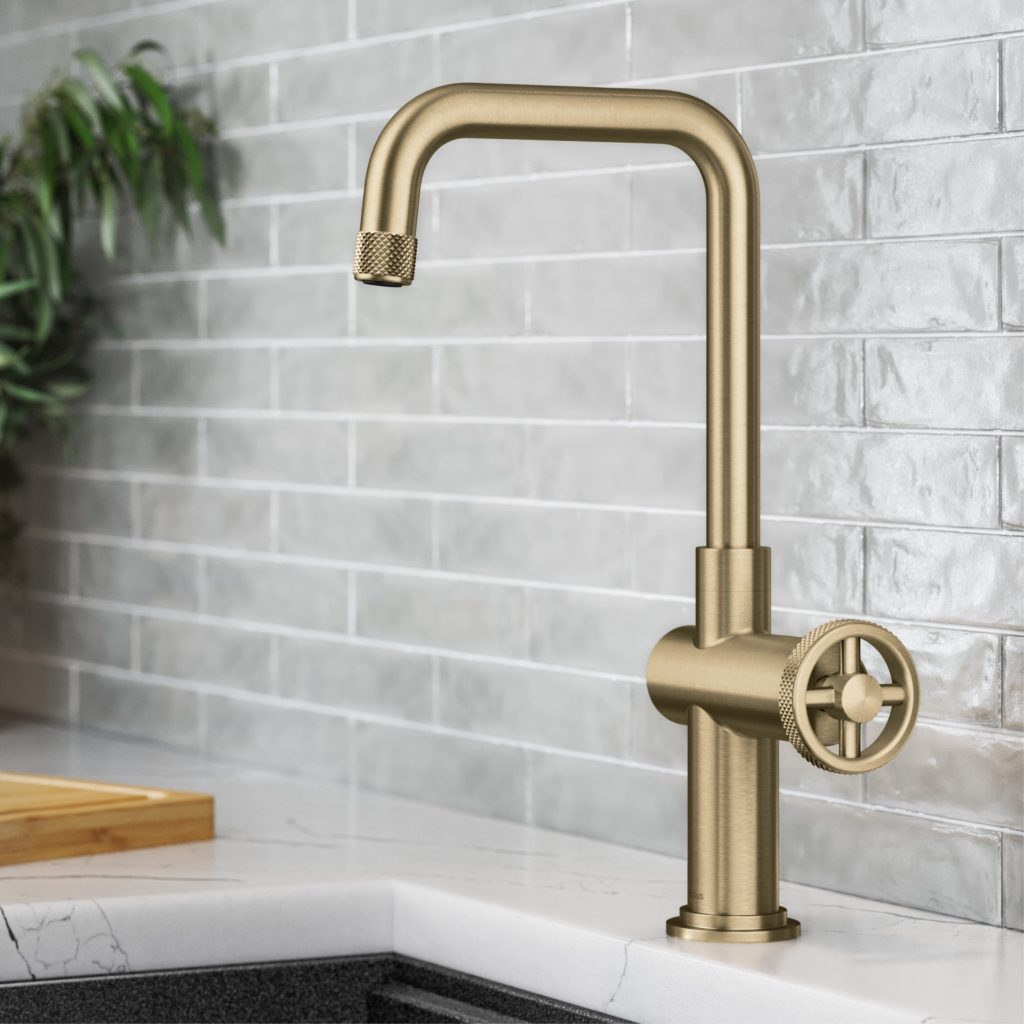
Deck-Mounted Faucets
Deck-mounted faucets are commonly used for sinks and bathtubs where the faucet is installed directly on the countertop or the rim of the fixture. The installation process involves securing the faucet to the surface using mounting hardware and connecting the water supply lines.
Tools and Materials:
- Adjustable wrench
- Plumber’s putty or silicone sealant
- Screwdriver
- Water supply lines
- Mounting hardware
Installation Steps:
- Position the faucet on the countertop or rim of the fixture.
- Apply plumber’s putty or silicone sealant to the base of the faucet to create a watertight seal.
- Secure the faucet in place using the mounting hardware provided.
- Connect the water supply lines to the faucet, ensuring a tight seal with the proper use of the wrench.
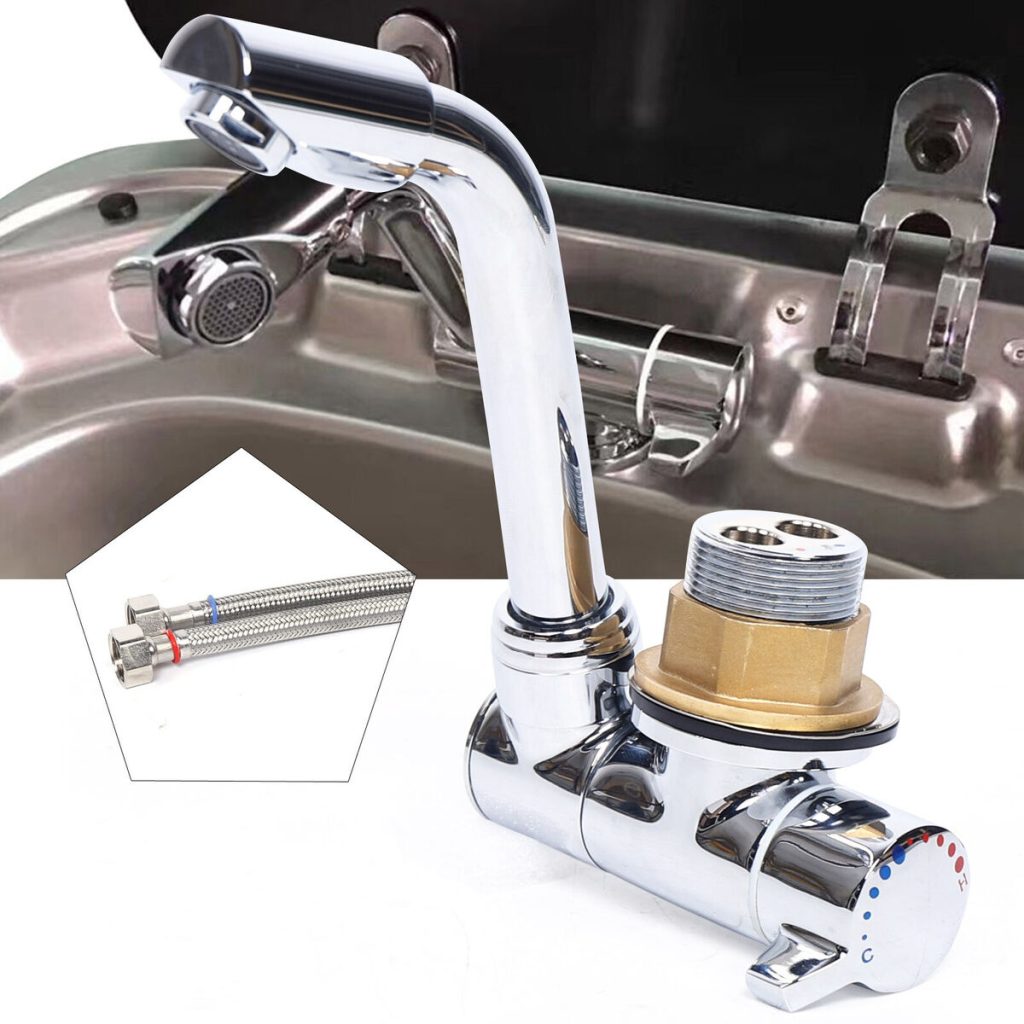
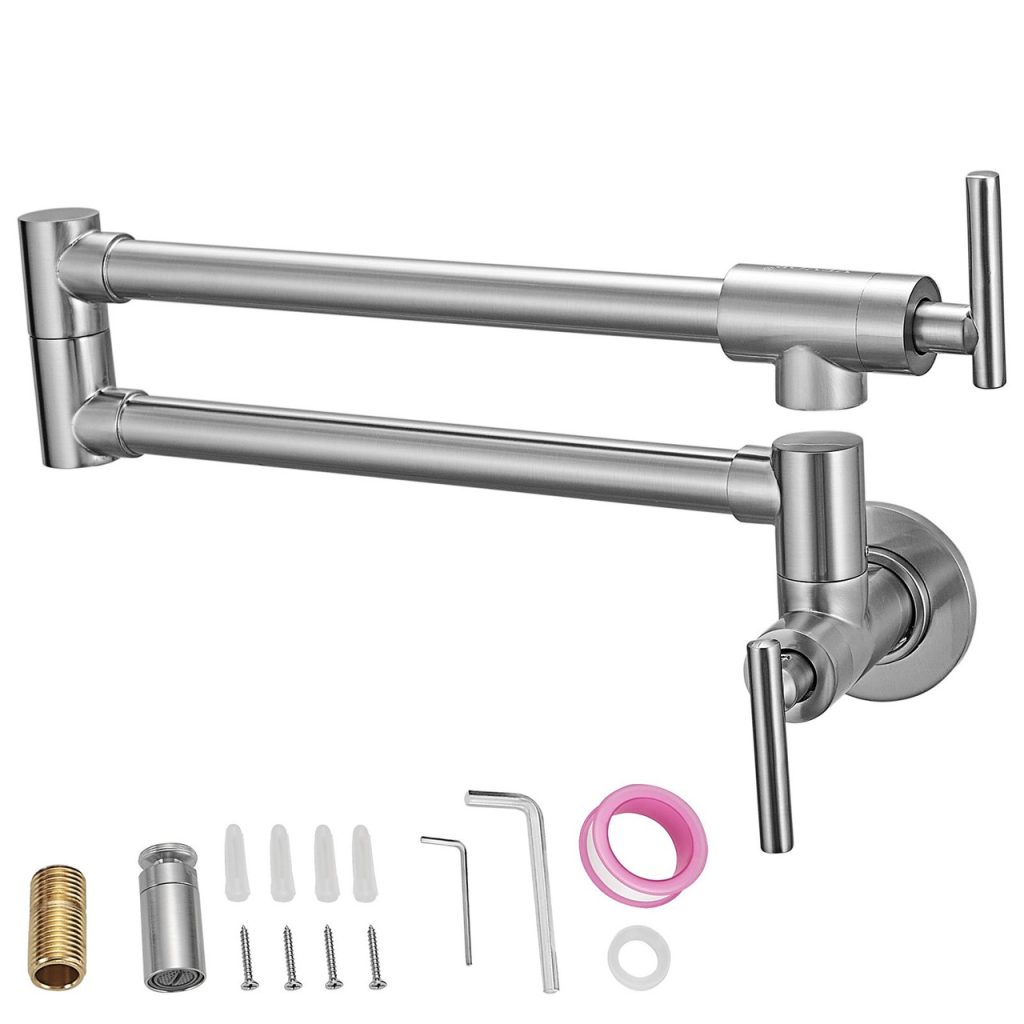
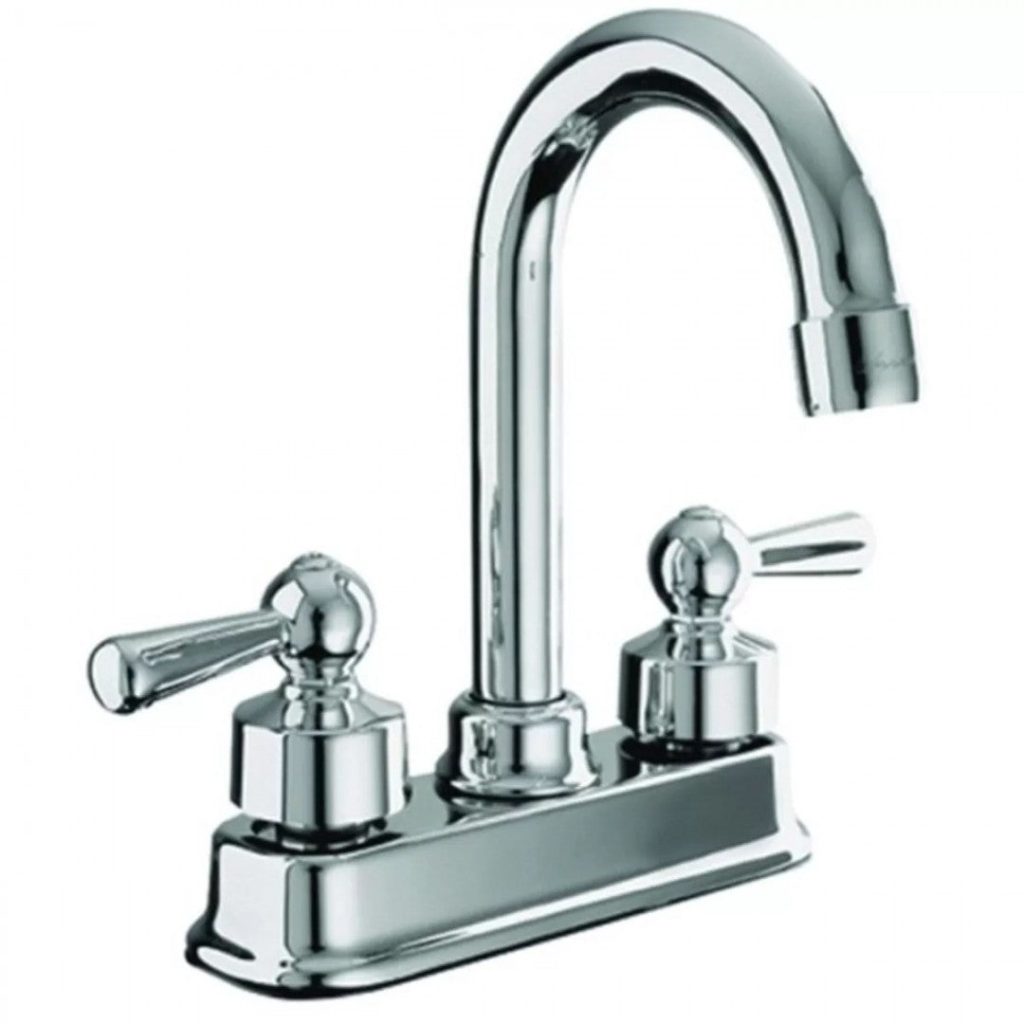
Wall-Mounted Faucets
Wall-mounted faucets are a popular choice for bathroom and kitchen sinks, as they create a sleek and modern look while also saving counter space. The installation process for wall-mounted faucets involves creating a water-tight seal between the faucet and the wall and connecting the water supply lines.
Tools and Materials:
- Drill
- Pipe wrench
- Plumber’s tape
- Wall-mounting hardware
- Water supply lines
Installation Steps:
- Measure and mark the locations for the faucet and water supply lines on the wall.
- Use a drill to create the necessary holes for the faucet and water supply lines.
- Apply plumber’s tape to the threads of the water supply lines to prevent leaks.
- Secure the faucet to the wall using the mounting hardware provided.
- Connect the water supply lines to the faucet and tighten them with a pipe wrench to ensure a secure connection.
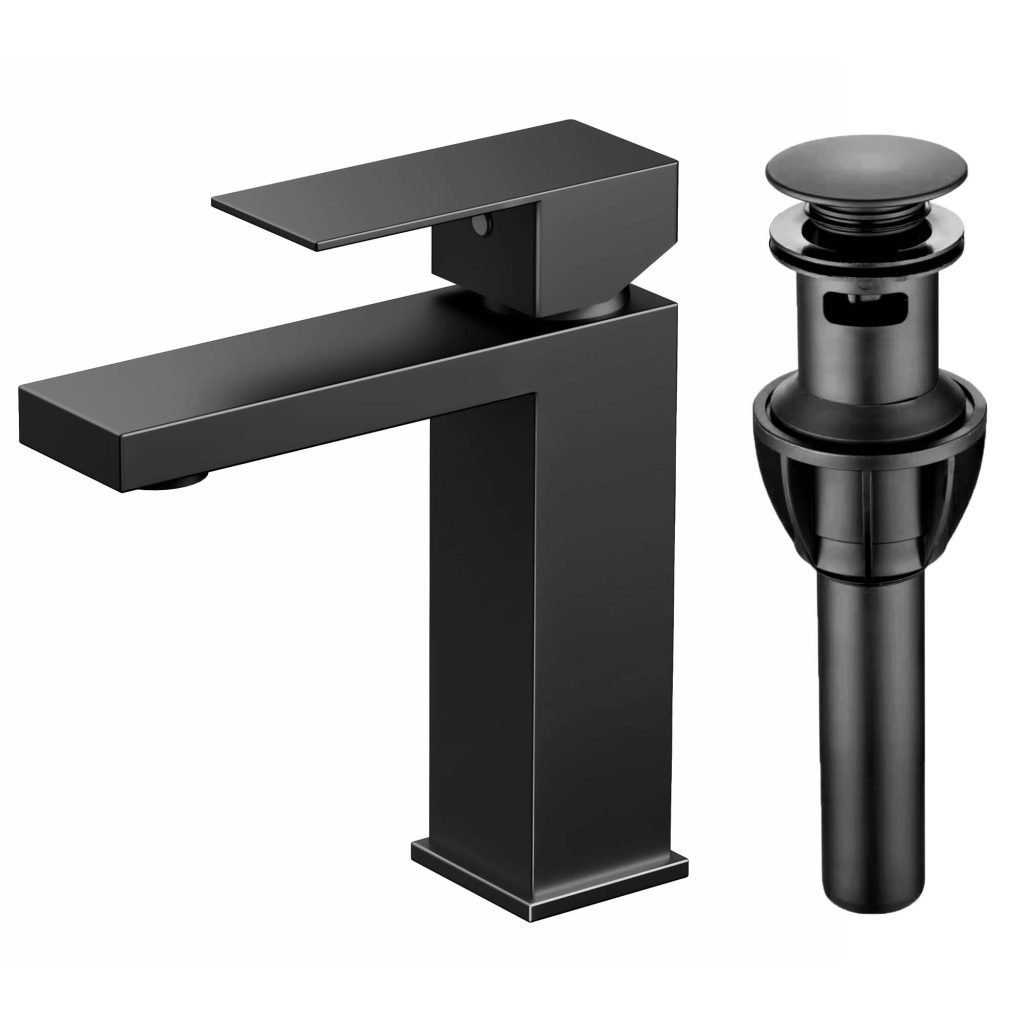
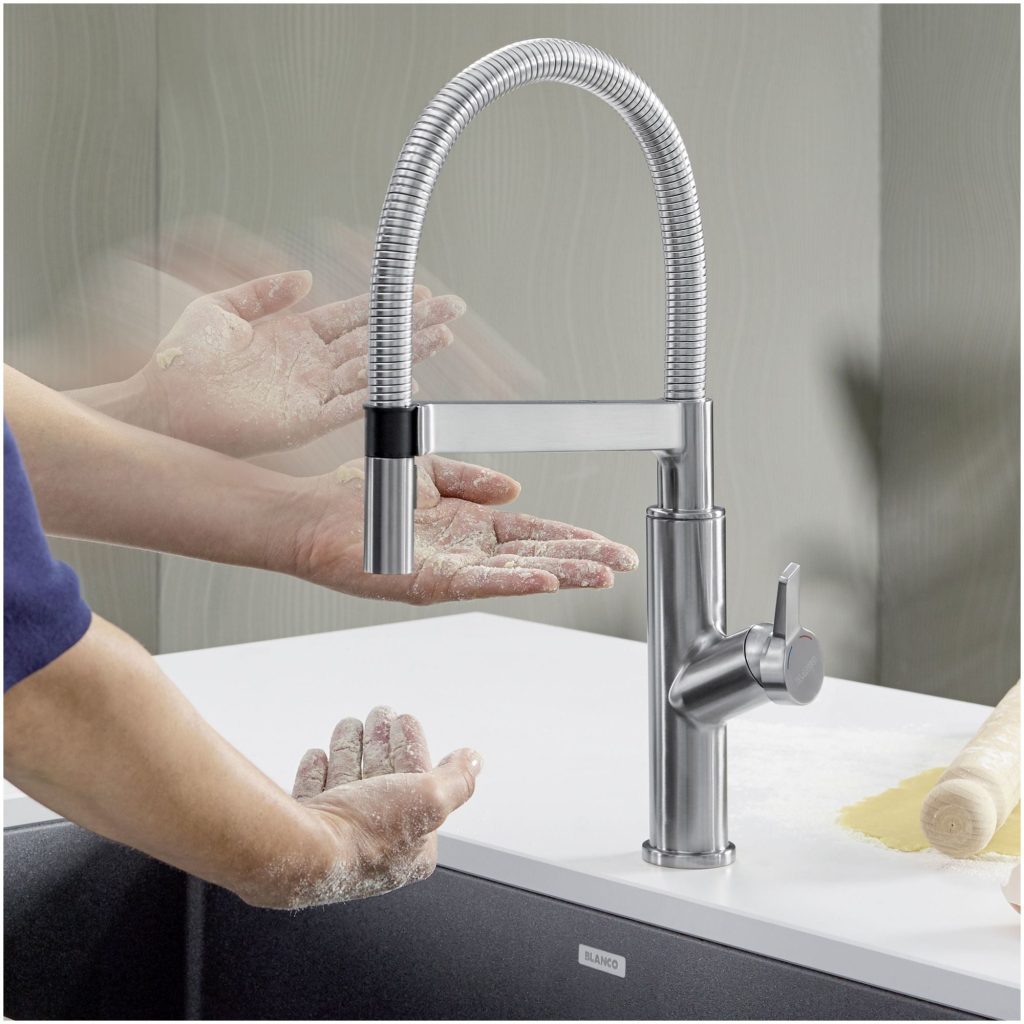
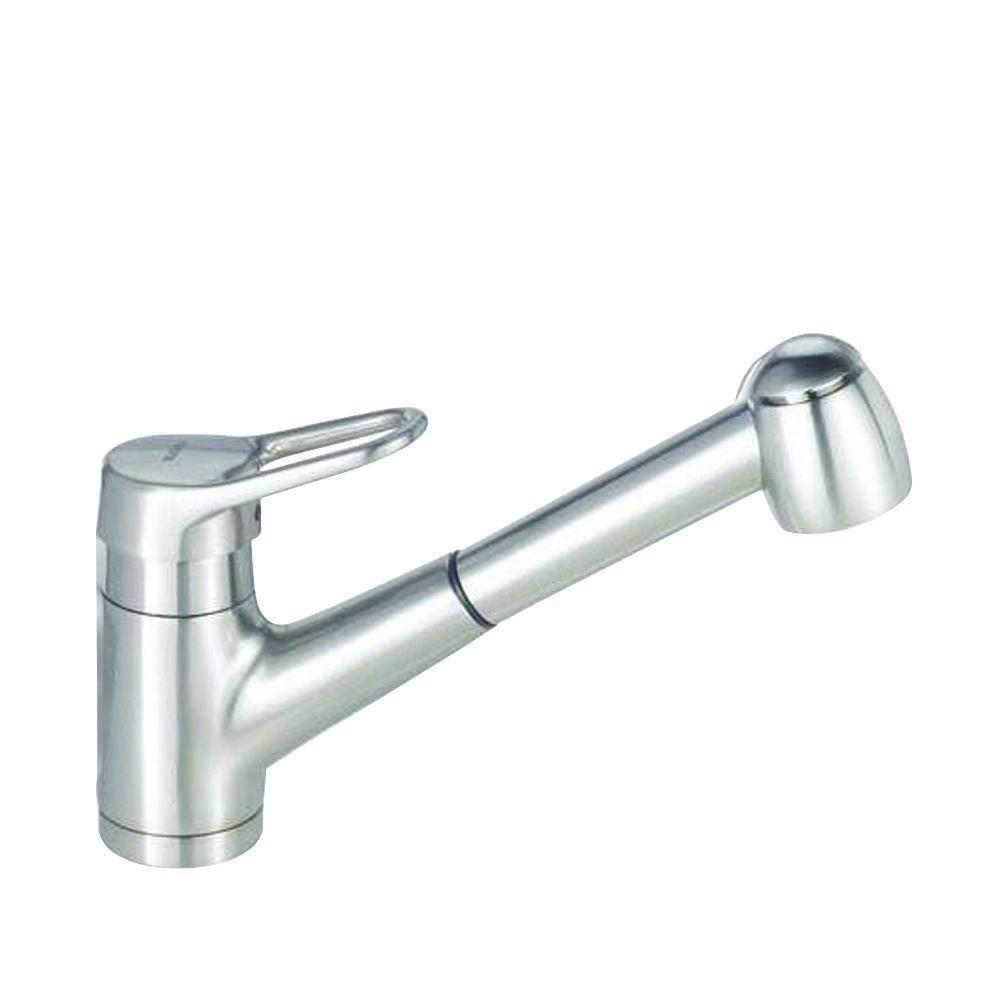
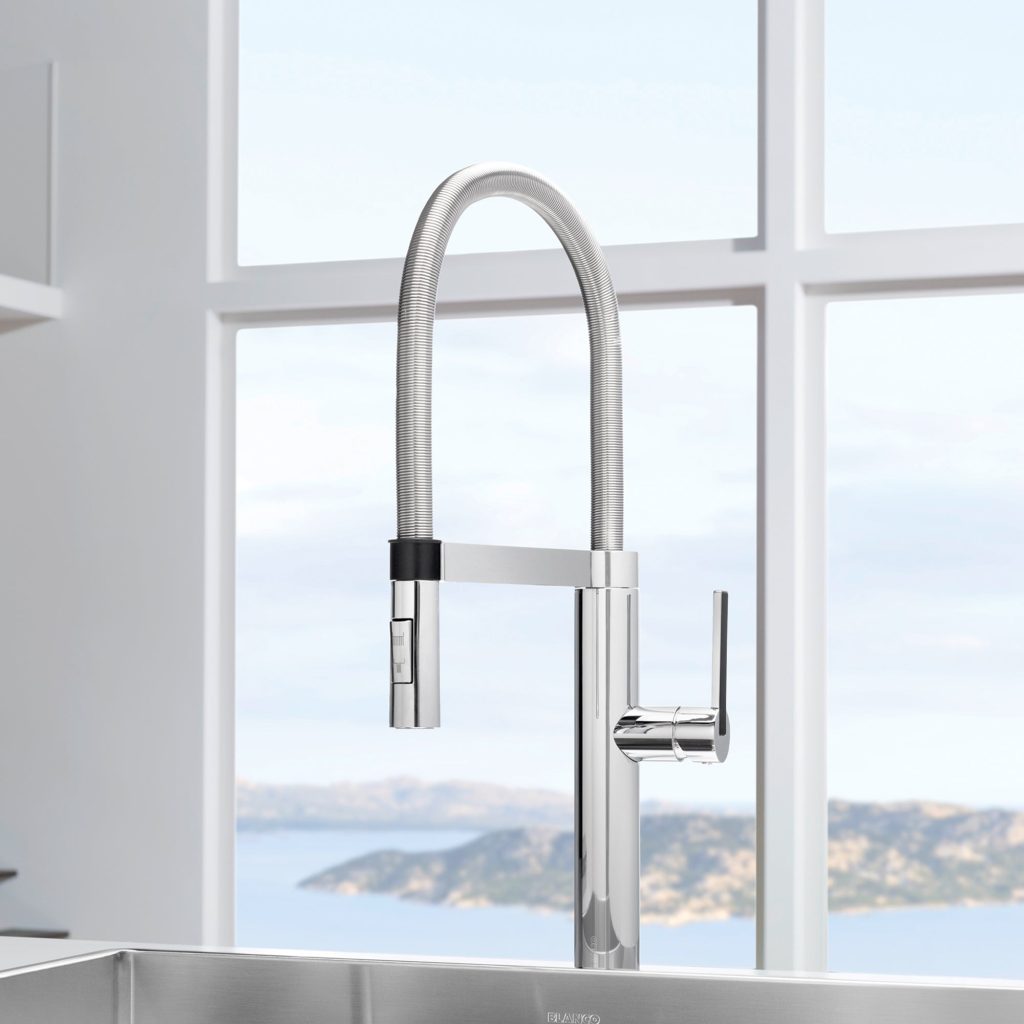
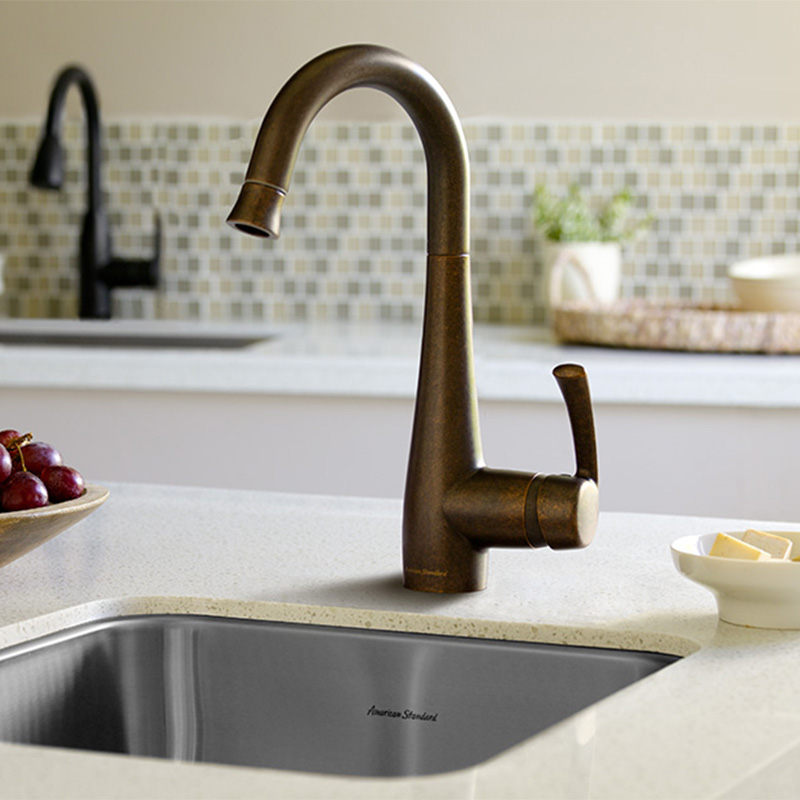
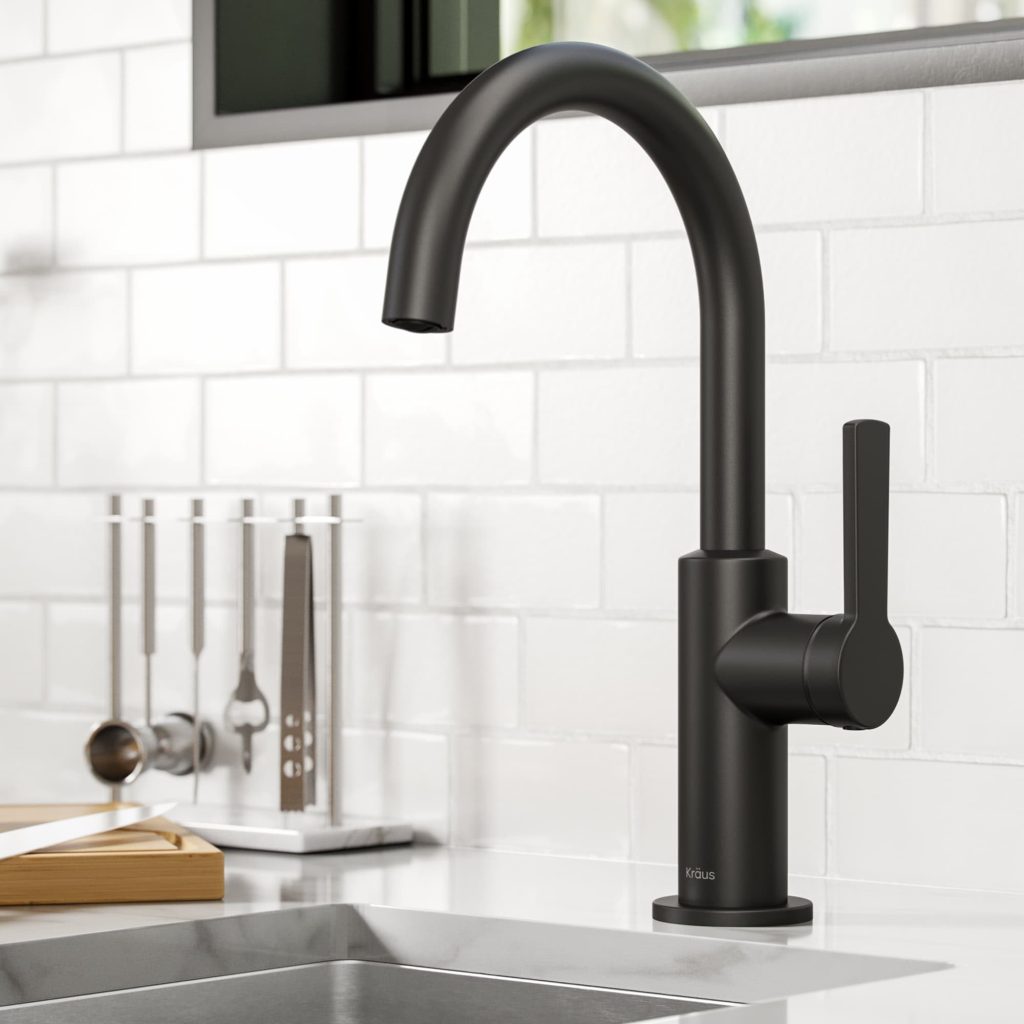
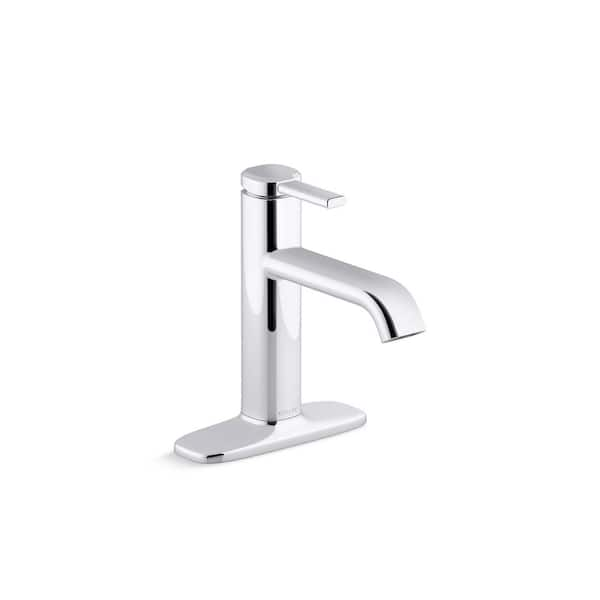
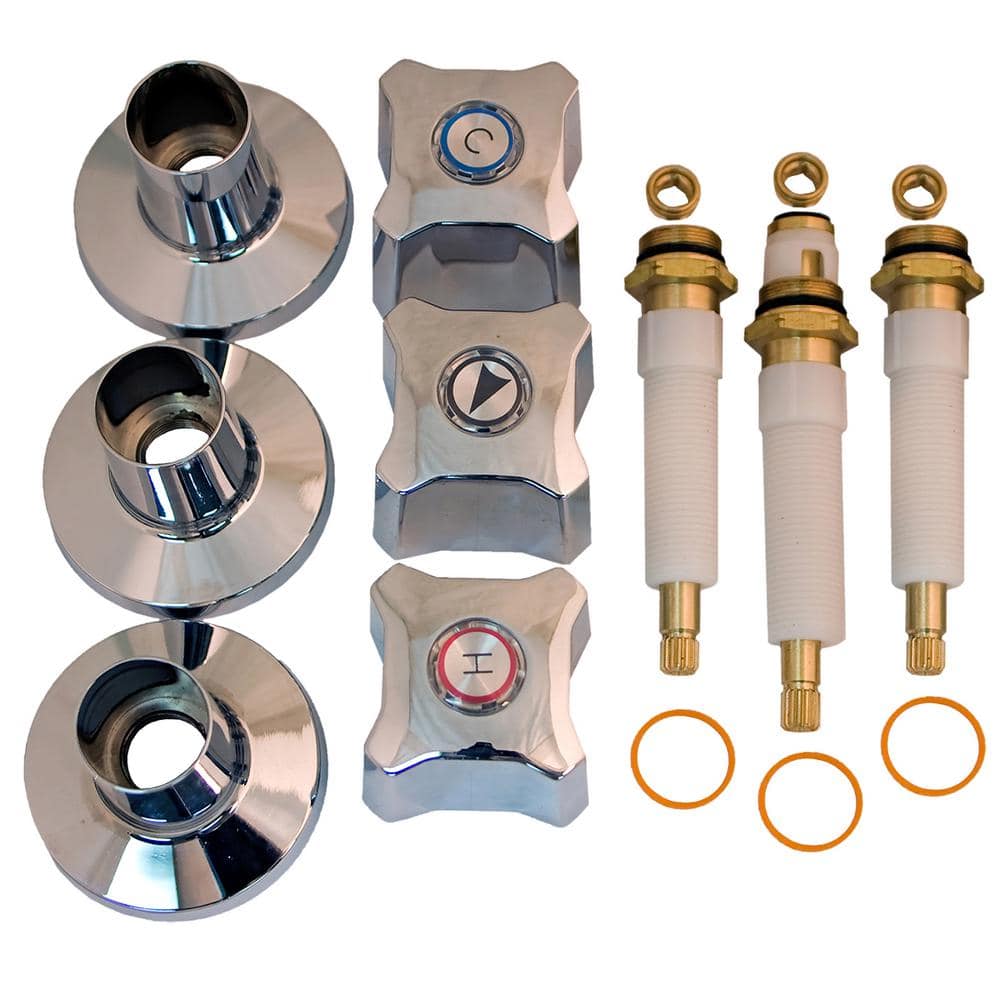
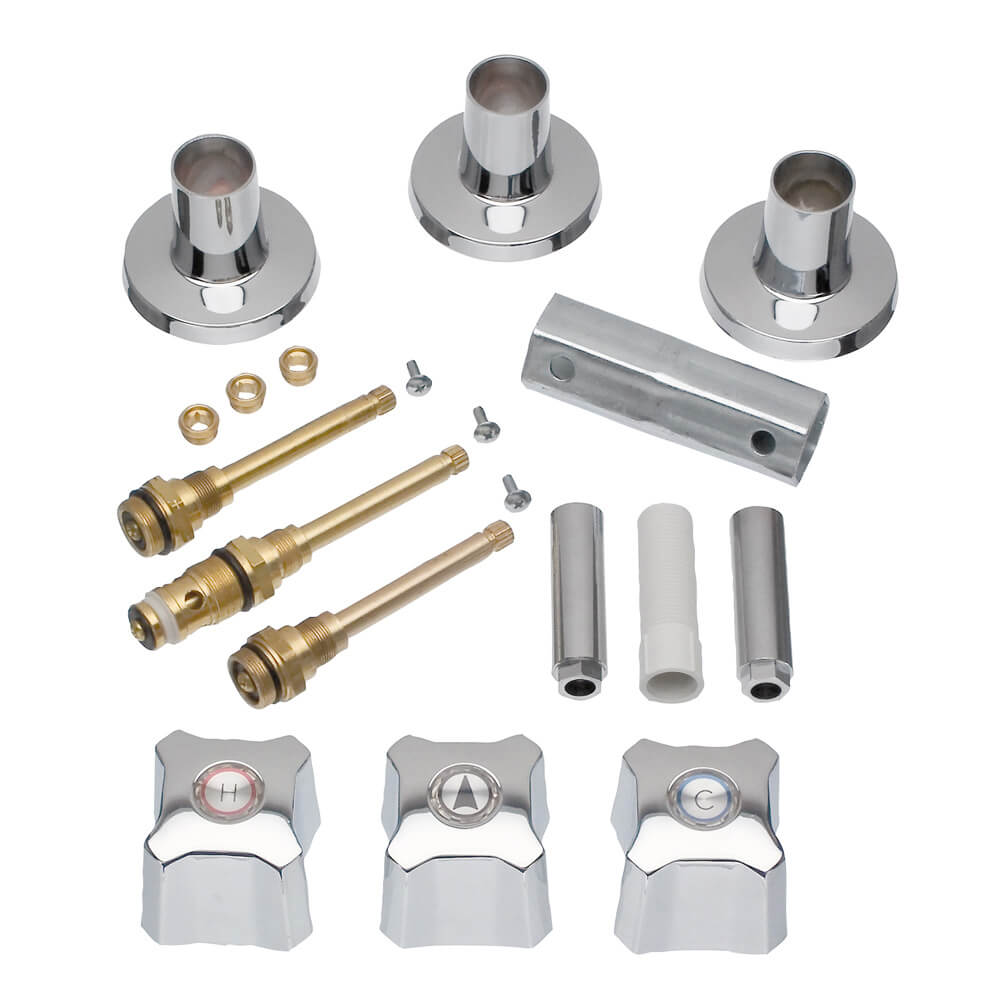
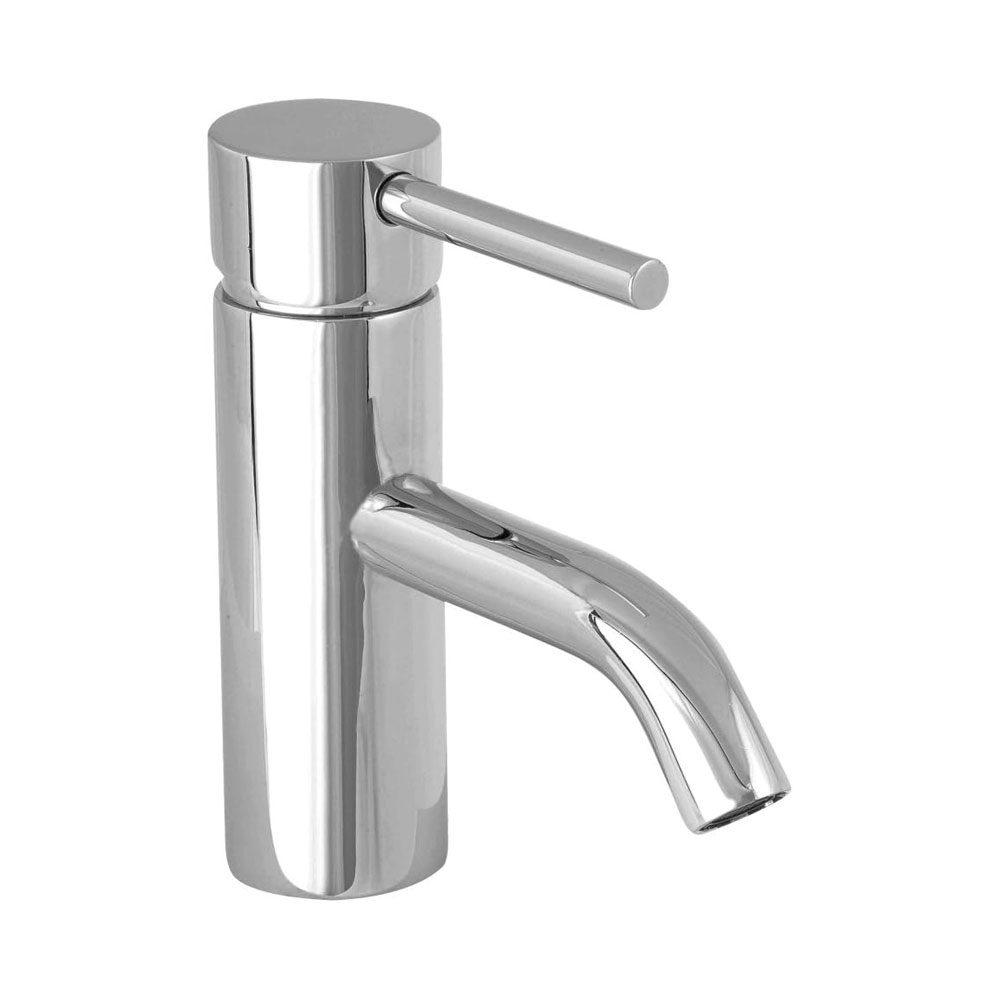
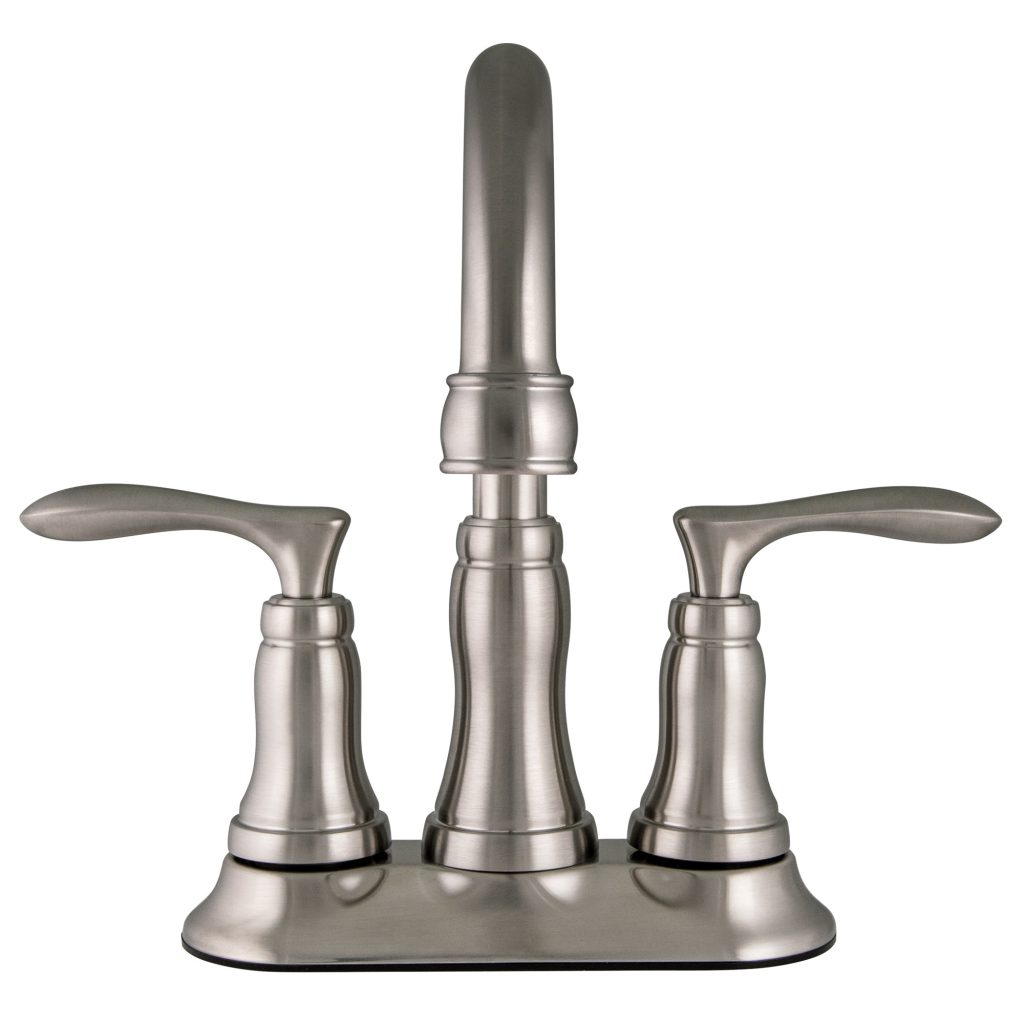
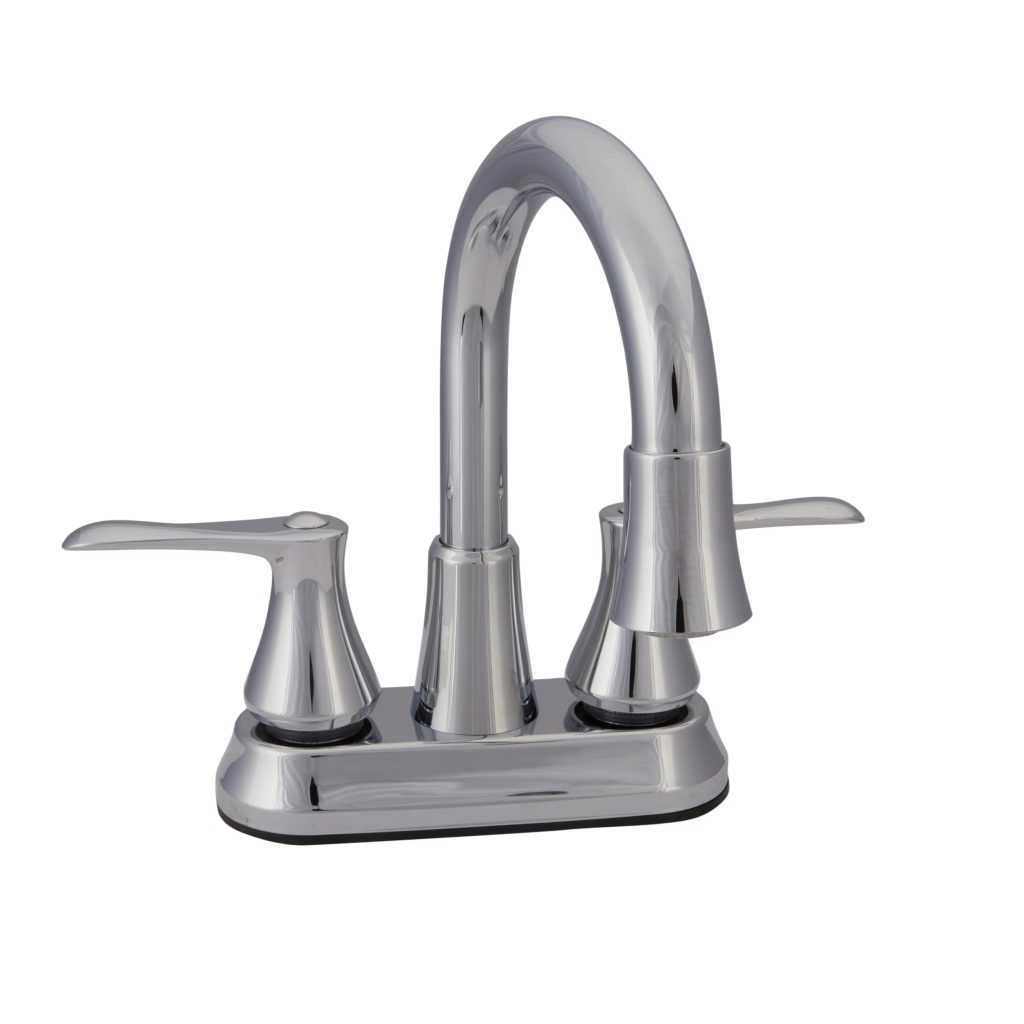
Single-Handle Faucets
Single-handle faucets are a popular choice for bathroom and kitchen sinks, as they offer easy control of water flow and temperature with a single lever. The installation process for single-handle faucets involves connecting the faucet to the sink or countertop and connecting the water supply lines.
Tools and Materials:
- Basin wrench
- Plumber’s putty or silicone sealant
- Adjustable wrench
- Water supply lines
Install faucets Steps:
- Position the faucet on the sink or countertop and align it with the pre-drilled holes.
- Apply plumber’s putty or silicone sealant to the base of the faucet to create a water-tight seal.
- Secure the faucet in place using the mounting hardware and a basin wrench.
- Connect the water supply lines to the faucet, ensuring a tight seal with the proper use of an adjustable wrench.
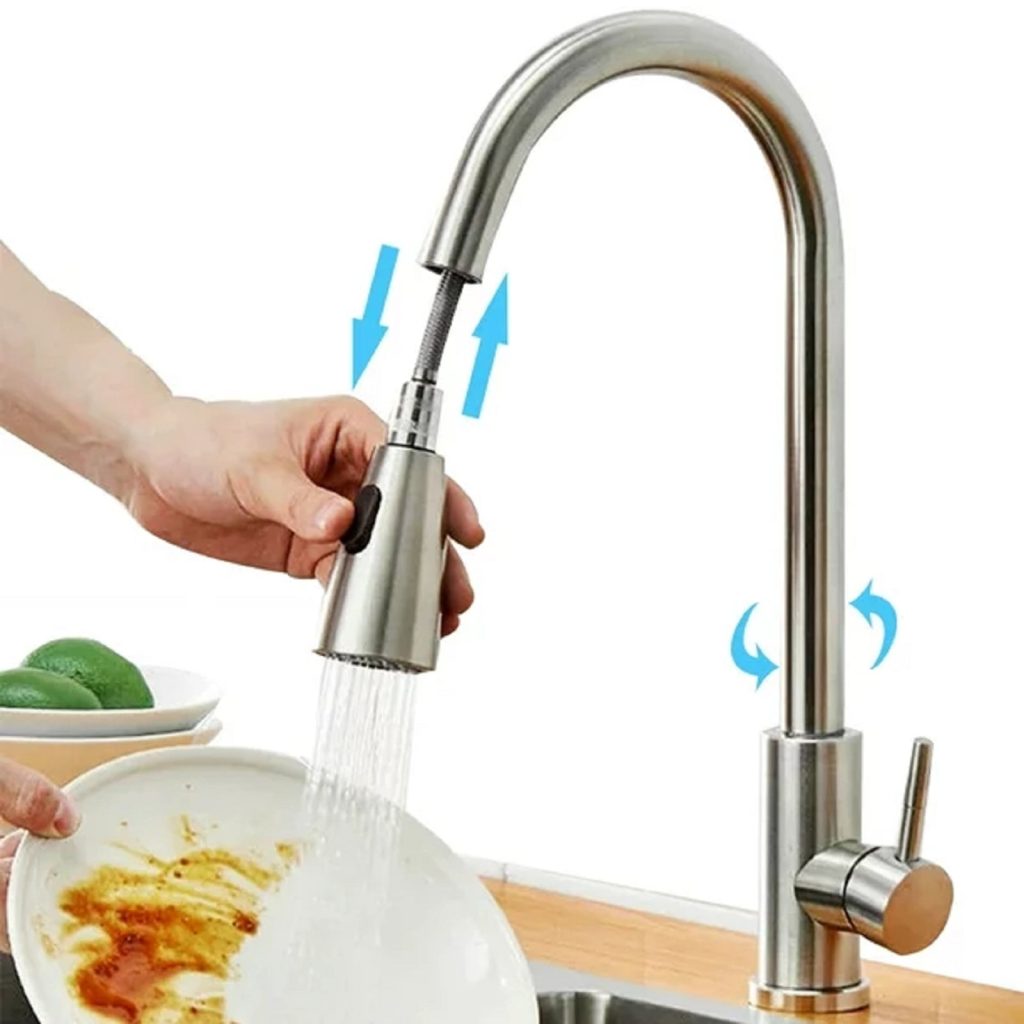
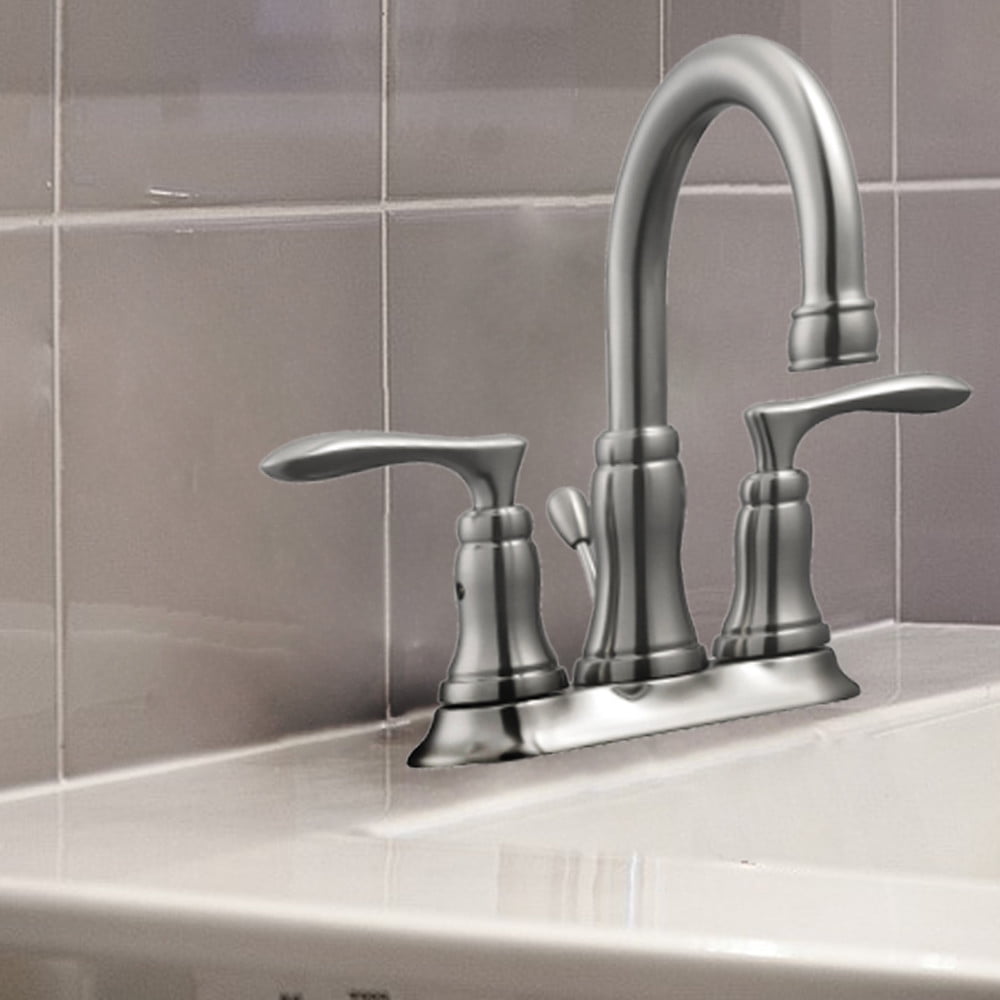
How to clean faucets
Faucets are an essential part of any household plumbing system, providing clean water for drinking, cooking, and cleaning. Over time, however, faucets can become dirty and tarnished, leading to reduced water flow and an unattractive appearance. Cleaning your faucets regularly is essential to maintain their functionality and aesthetic appeal.
Materials Needed
Before you begin cleaning your faucets, gather the following materials:
- White vinegar
- Baking soda
- Lemon juice
- Soft-bristled toothbrush
- Microfiber cloth
- Soft sponge
- All-purpose cleaner
- Old toothbrush
- Toothpaste (non-gel)
With these materials in hand, you’ll be ready to tackle the task of cleaning your faucets.
Cleaning Methods
Vinegar and Baking Soda
- Mix equal parts white vinegar and water in a spray bottle.
- Spray the solution onto the faucet and let it sit for a few minutes.
- Sprinkle baking soda over the faucet and scrub it gently with a soft sponge or toothbrush.
- Rinse the faucet with water and dry it with a microfiber cloth.
Lemon Juice
- Cut a lemon in half and sprinkle salt on one of the halves.
- Use the salted lemon to scrub the faucet, focusing on areas with mineral deposits or grime.
- Rinse the faucet with water and dry it with a microfiber cloth.
All-Purpose Cleaner
- Spray an all-purpose cleaner onto the faucet and let it sit for a few minutes.
- Scrub the faucet gently with a soft-bristled toothbrush to dislodge any dirt or grime.
- Rinse the faucet with water and dry it with a microfiber cloth.
Toothpaste
- Apply a small amount of non-gel toothpaste to an old toothbrush.
- Use the toothbrush to scrub the faucet gently, focusing on areas with water spots or stains.
- Rinse the faucet with water and dry it with a microfiber cloth.
Commercial Cleaner
- If your faucet requires a more intensive cleaning, consider using a commercial cleaner specifically designed for faucets.
- Follow the manufacturer’s instructions for the proper application and usage of the cleaner.
- Rinse the faucet with water and dry it with a microfiber cloth.
Preventative Maintenance
In addition to regular cleaning, there are steps you can take to prevent your faucets from becoming dirty or tarnished in the first place:
- Wipe down your faucets regularly with a microfiber cloth to remove water spots and prevent mineral buildup.
- After cleaning, dry the faucet thoroughly to prevent water spots and stains from forming.
- Install a water softener to reduce mineral deposits in your water, which can contribute to faucet buildup.
- Use a shower and faucet filter to remove impurities and sediment from your water, which can help prevent staining and buildup.
Advantages of faucets
Convenience and Accessibility
One of the primary advantages of faucets is their convenience and accessibility. With a simple turn of the handle or touch of a button, individuals can access clean water for a wide range of purposes. Whether it’s filling a pot for cooking, washing hands, or watering plants, faucets provide an effortless way to obtain water. In addition, the availability of various faucet designs, such as wall-mounted, pull-out, and touchless options, ensures that individuals can choose a model that suits their specific needs and preferences. This level of convenience and accessibility makes faucets an indispensable part of any home.
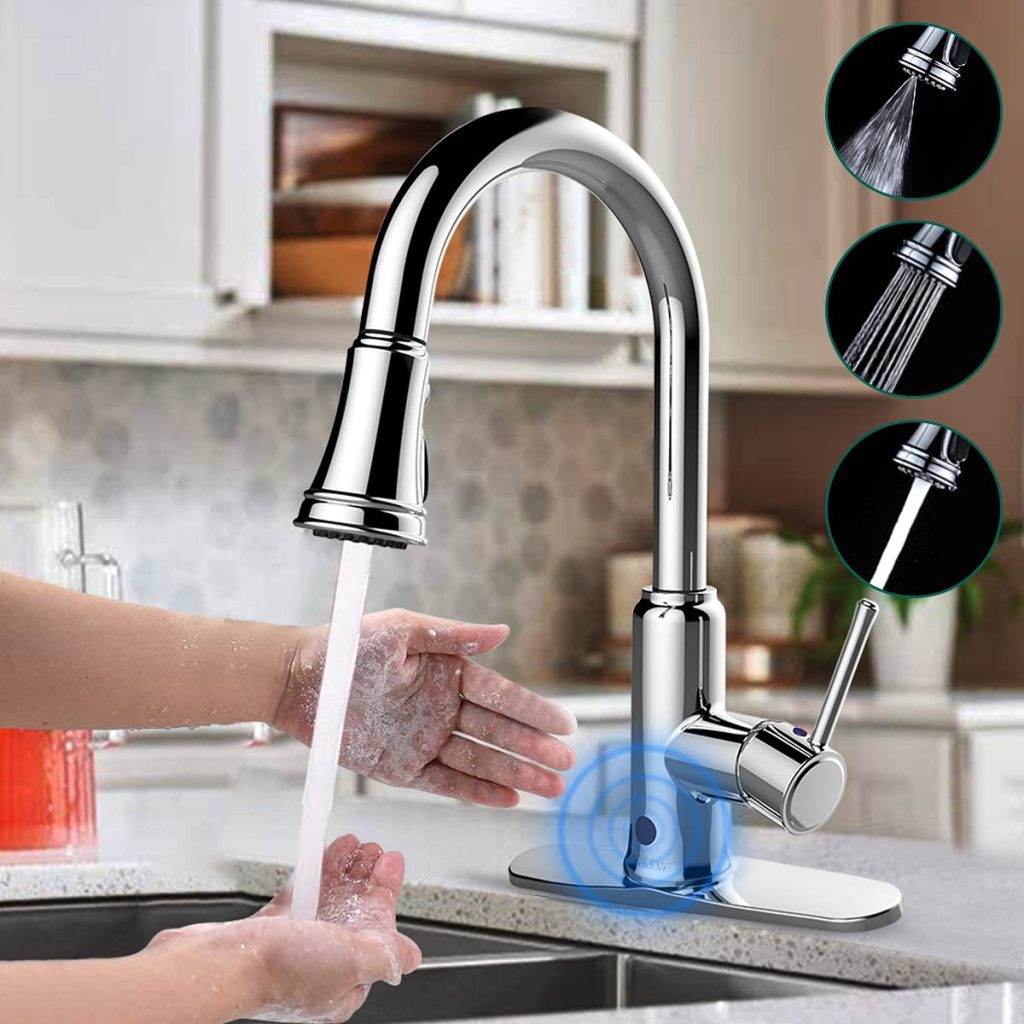
Hygiene and Health Benefits
Modern faucets, particularly touchless models, offer significant hygiene and health benefits. By eliminating the need to touch the handle with dirty hands, touchless faucets reduce the spread of germs and bacteria, promoting better hygiene practices. This is especially beneficial in kitchen and bathroom settings, where the risk of contamination is higher. Furthermore, touchless faucets are equipped with sensors that detect hand movement, allowing for a hands-free operation that minimizes cross-contamination. As a result, individuals can enjoy the health benefits of reduced germ exposure and improved hygiene through the use of advanced faucet technology.
Water Conservation
Another notable advantage of faucets is their contribution to water conservation. Many modern faucets are designed with water-saving features that regulate flow and reduce water consumption without compromising performance. For example, aerators and flow restrictors are commonly integrated into faucets to limit water usage while maintaining adequate pressure.
Conclusion
Install faucets requires careful planning and the use of the right tools and materials to ensure a proper and durable installation. Whether you are installing a deck-mounted, wall-mounted, or single-handle faucet, following the appropriate installation method will help you achieve a functional and aesthetically pleasing result. By understanding the different methods for install faucets and following the necessary steps, you can ensure a successful installation that meets your specific plumbing needs.