Preparing to Replace Your Faucet
Getting ready to switch out your wd40 in faucets requires a few key steps. Your success starts with good prep work.
Turning Off the Water Supply
The first move is to shut off the water. Locate the valves under the sink and twist them to the right. This stops the water flow so you can work safe.
Draining and Cleaning Pipes
Next, drain any water left in the pipes. Have a container ready to catch drips. Wipe the pipes down too. It’s smart to use a cleaner to get rid of old sealant or build-up.
Removing the Old Faucet
Now for the main task, removing the old faucet. You’ll need to unscrew nuts and disconnect the water lines. Take care not to damage the sink. After that, lift out the old faucet.
Selecting the Right Replacement Faucet
Choosing the right faucet is crucial for a smooth installation and function.
Matching Faucet to Sink Holes
First, check your sink’s hole arrangement. This ensures your new faucet will fit without extra drilling. Most sinks have one to four holes, so pick a faucet to match. Keep your sink’s layout in mind when shopping.
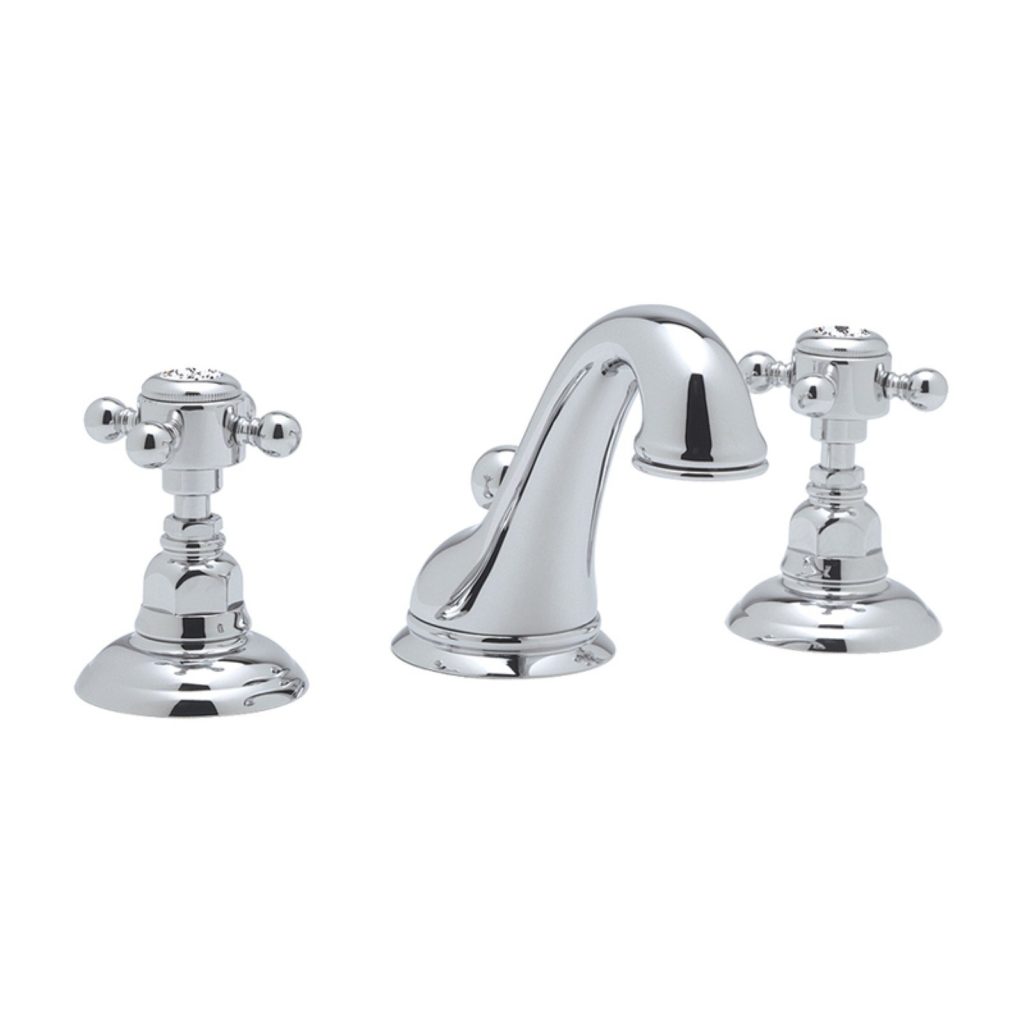
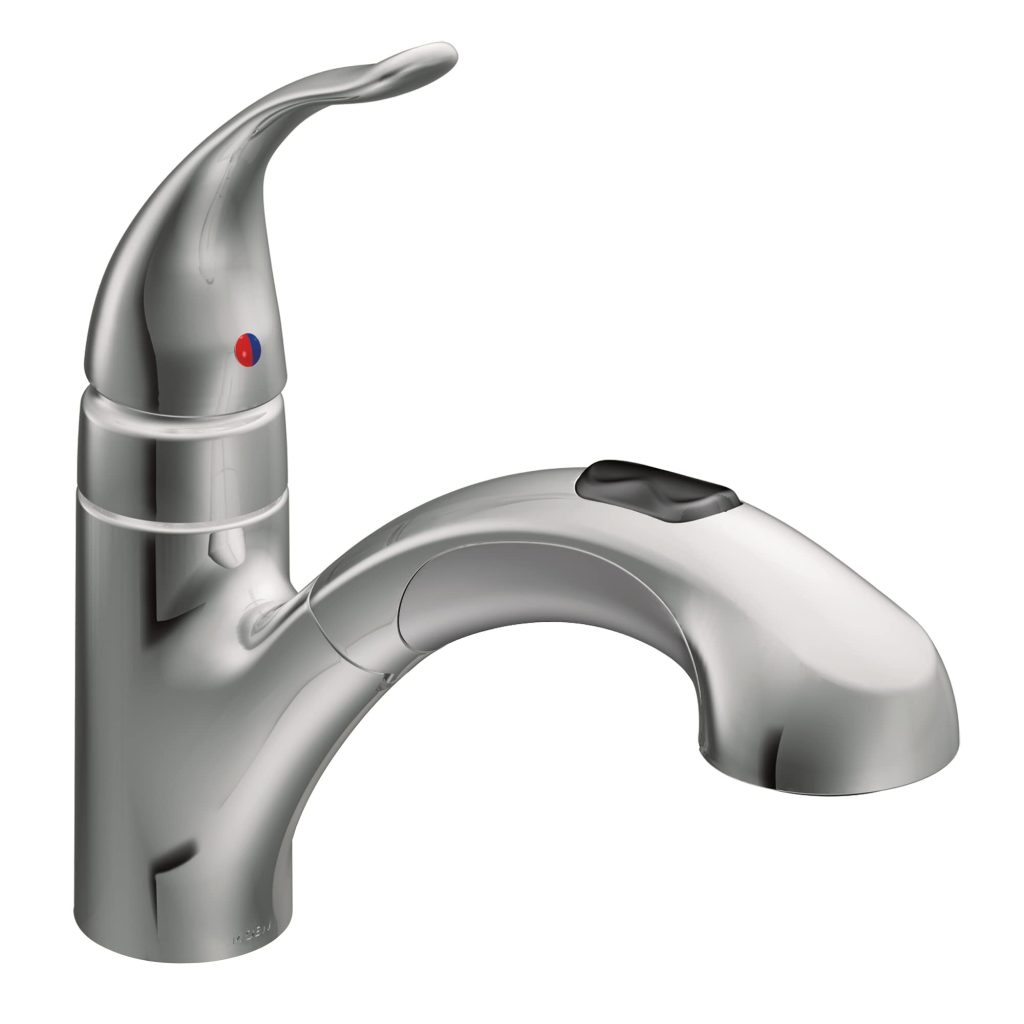
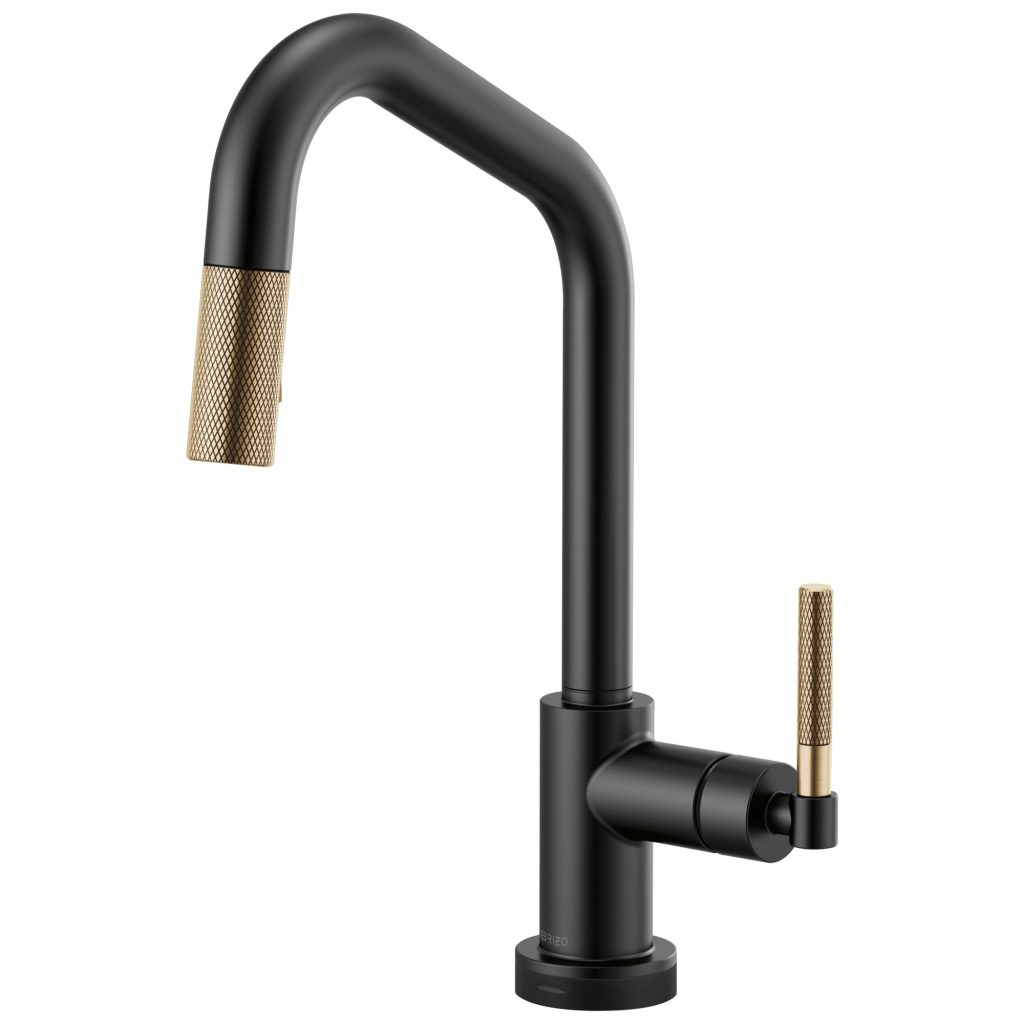
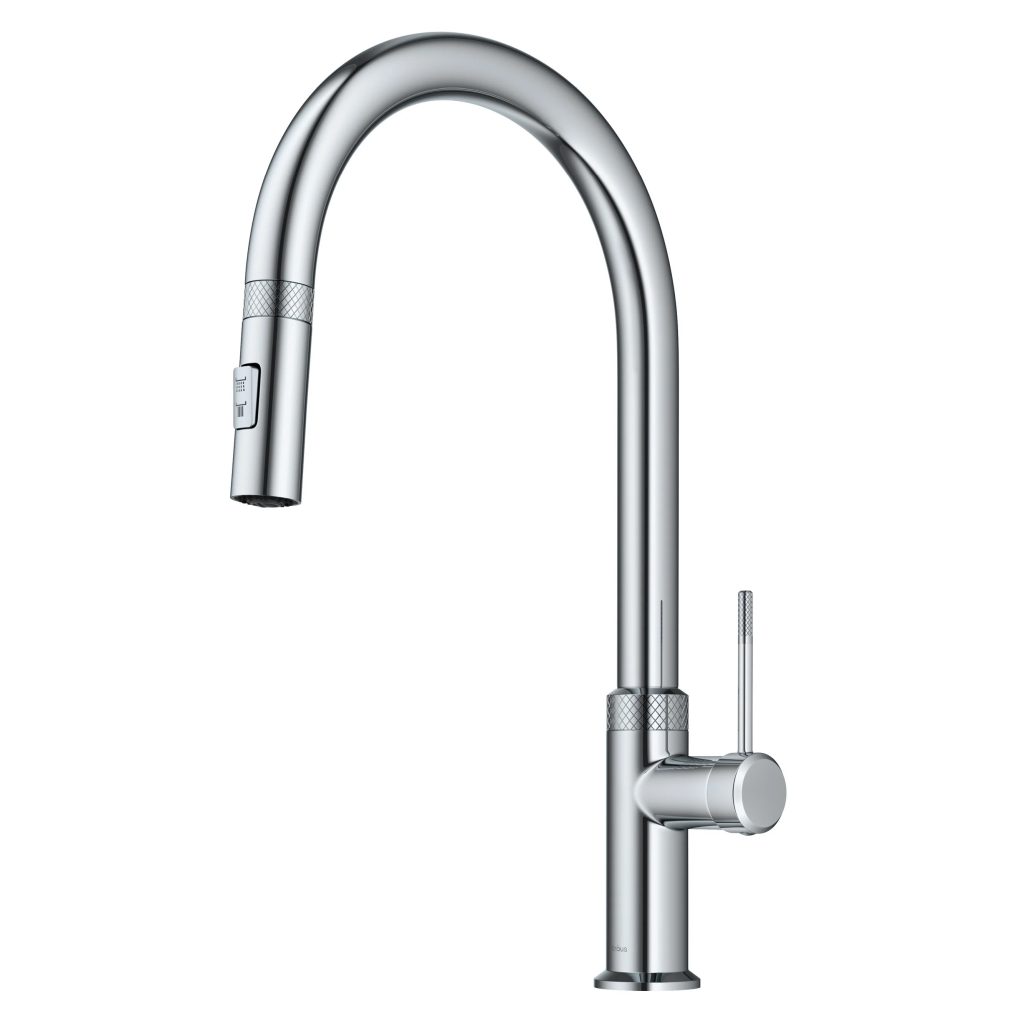
Understanding Faucet Types and Features
Faucets come in many styles. Single-handle and dual-handle are common types. Consider features like sprayers or motion sensors. Also, think about the faucet’s finish—it should match other fixtures for a unified look. A good faucet can save water too, look for efficient models.
Installing the New wd40 in faucets
The installation of your new faucet is a straightforward process if you prepare and follow these steps.
Placing the Gasket and Faucet
Lay down the gasket over your sink’s hole or apply plumber’s putty for a seal. Position your new faucet on top of the gasket aligning it with the holes.
Securing and Aligning the Faucet
Underneath the sink, secure the faucet with nuts. Make sure the faucet is straight and aligned correctly from above.
Attaching the Drain Assembly
Connect the drain assembly to the sink, ensuring a snug fit. Attach the lift rod to the drain plug by following the manufacturer’s guide.
Connecting the Water Lines
Hook up the hot and cold water lines to the faucet, checking that the connections are tight and leak-free. Once connected, turn on the water supply slowly to fill the lines.
After these steps, you’re ready to move on to final touches and checks to ensure a successful installation.
Finalizing the Installation
Once your faucet is in place, you’re in the home stretch. But not just yet; it’s important to ensure everything works perfectly and prevent future issues.
Flushing the Faucet and Checking for Leaks
After you’ve connected the new faucet, it’s crucial to flush it out before fully committing to the install. Turn on the water supply slowly and let the water run through the faucet. Look for any drips or leaks in the connections. Do this for both hot and cold water. A minute of running water should do. Tighten up any fittings if you spot moisture.
Remember, spot checks now can save you from water damage later. If all is dry, your new faucet is good to go. And thanks to using WD-40 in faucets during the process, you’ve likely avoided any issues with rusted or stuck parts.
Sealing and Finishing Touches
To finish, ensure all is tight and aligned. Apply sealant around the base of the faucet if necessary. This wards off water intrusion. replace any decorative caps on the handles. A clean rag can wipe away fingerprints, leaving your new faucet shining.
Congratulations, you’ve installed and finalized your new bathroom faucet! With these steps, your faucet should not only look good but operate smoothly.
Tips for Dealing with Stuck Components
In the process of replacing your wd40 in faucets, you may face stuck components. These can make the task challenging. But with the right approach, you can overcome this hurdle.
Using WD-40 for Rusted Parts
WD-40 is a go-to solution for dealing with rusted plumbing parts. It helps release stuck components. Here’s how to use WD-40 effectively in your wd40 in faucets replacement project:
- Identify rusted parts that need treatment. Look for signs of corrosion on nuts and valve stems.
- Shake the WD-40 can well before applying. This ensures the mixture is ready to work.
- Spray WD-40 onto the rusted parts. Give it time to penetrate the rust and bond.
- After a few minutes, try to move the part. The WD-40 should make it easier.
- If the part is still stuck, apply a bit more WD-40 and wait again.
- Once the part loosens, proceed with your wd40 in faucets replacement steps.
Using WD-40 can save time and prevent damage to plumbing. Always wear gloves to protect your hands during this process.
Additional Common DIY Plumbing Fixes
Beyond replacing a faucet, wd40 in faucets can help with other common plumbing issues around the home. Here are some additional quick fixes to keep your bathroom in top shape:
Addressing a Running Toilet
A running toilet is often due to an old flapper. Use food coloring to test for leaks. Replace the flapper if needed. Remember to check the chain’s length for proper function.
Solving Leaky Faucets
Drippy faucets waste water and can be a sign of worn-out parts. Turn off your home’s water supply first. Then, use an adjustable wrench and a screwdriver to dismantle the faucet. Replace old washers and O-rings to stop the leak.
Removing Water Marks from Wood
Water stains on wood can be unsightly. Lay a dry cloth over the mark and press with a medium-hot iron. Alternatively, wipe gently with denatured alcohol for stubborn marks.
Repairing Broken Tile
For cracked tiles, first clear away the grout with a grout saw. Break the tile into small pieces to remove. Glue in a new tile and reapply fresh grout for a seamless fix.
With these simple solutions and a can of WD-40, you can tackle common plumbing issues with confidence.
Advantages of wd40 in faucets
WD-40 is a versatile, multi-purpose lubricant and cleaner that has been a household staple for decades. While it is most commonly associated with loosening rusted bolts, silencing squeaky hinges, or protecting metal surfaces from corrosion, WD-40 also offers several benefits when used on wd40 in faucets.
Loosens Stiff or Stuck Faucet Handles
One of the most common issues with faucets is stiff or difficult-to-turn handles, often caused by rust, mineral deposits, or dried-out lubricants.
Restores Smooth Operation
- WD-40’s penetrating formula seeps into tight spaces, breaking down rust and grime that cause stiffness.
- After applying WD-40, faucet handles turn more easily, improving usability and reducing strain on your hands.
Prevents Further Wear
- By ensuring smooth movement, WD-40 reduces friction between moving parts, which can extend the lifespan of the faucet components.
Removes Mineral Deposits and Buildup
Hard water often leaves behind mineral deposits, such as calcium and lime, which can clog faucet aerators and affect water flow.
Dissolves Stubborn Deposits
- WD-40 effectively breaks down mineral buildup on faucet spouts, aerators, and other components, restoring proper water flow.
- This eliminates the need for harsh chemicals or abrasive scrubbing, making cleaning faster and easier.
Prevents Clogs
- Regular use of WD-40 helps prevent future mineral accumulation, ensuring consistent water pressure and flow.
Silences Squeaky or Noisy wd40 in faucets
Squeaking or grinding noises from wd40 in faucets handles are not only annoying but may also indicate underlying issues like dry or corroded parts.
Quiets Noisy Components
- Applying WD-40 to the moving parts of the faucet dampens noise by lubricating joints and reducing friction.
- This simple fix can make your faucet operate quietly and smoothly again.