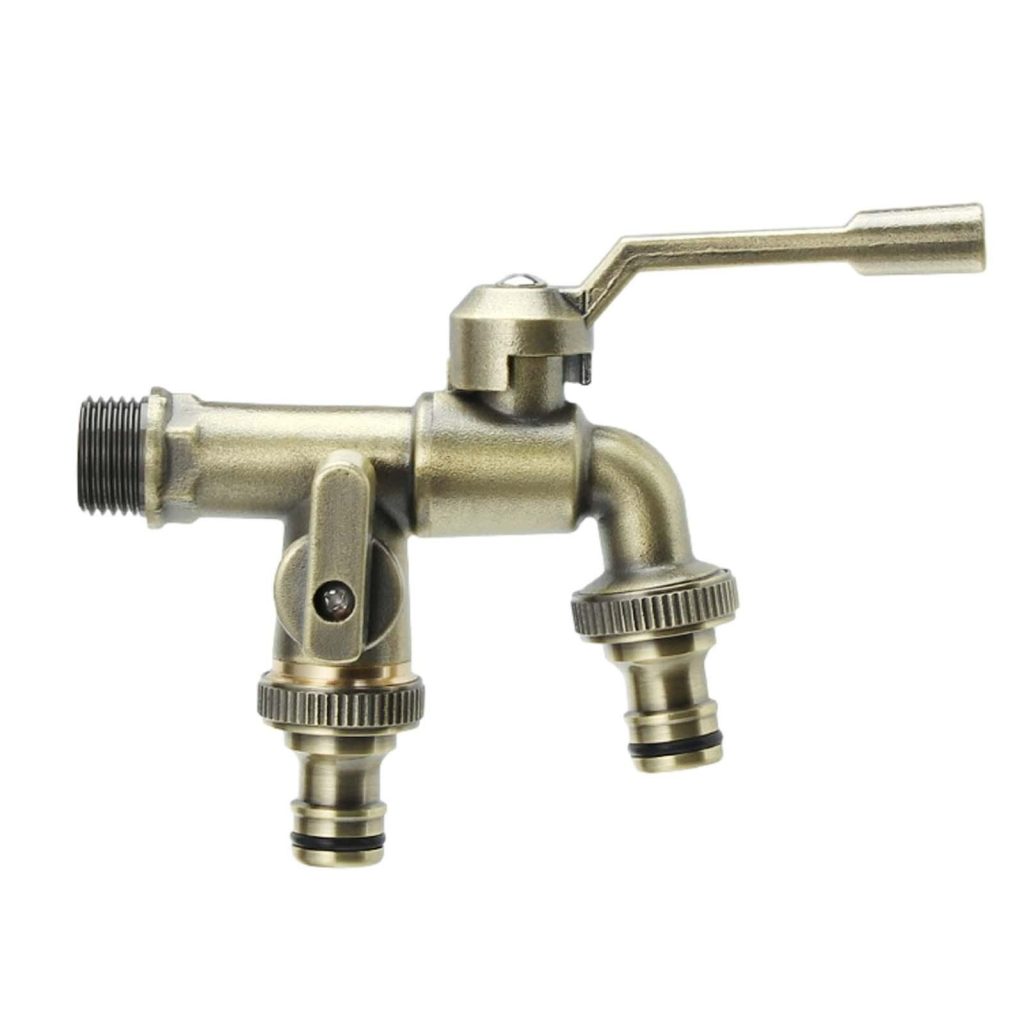
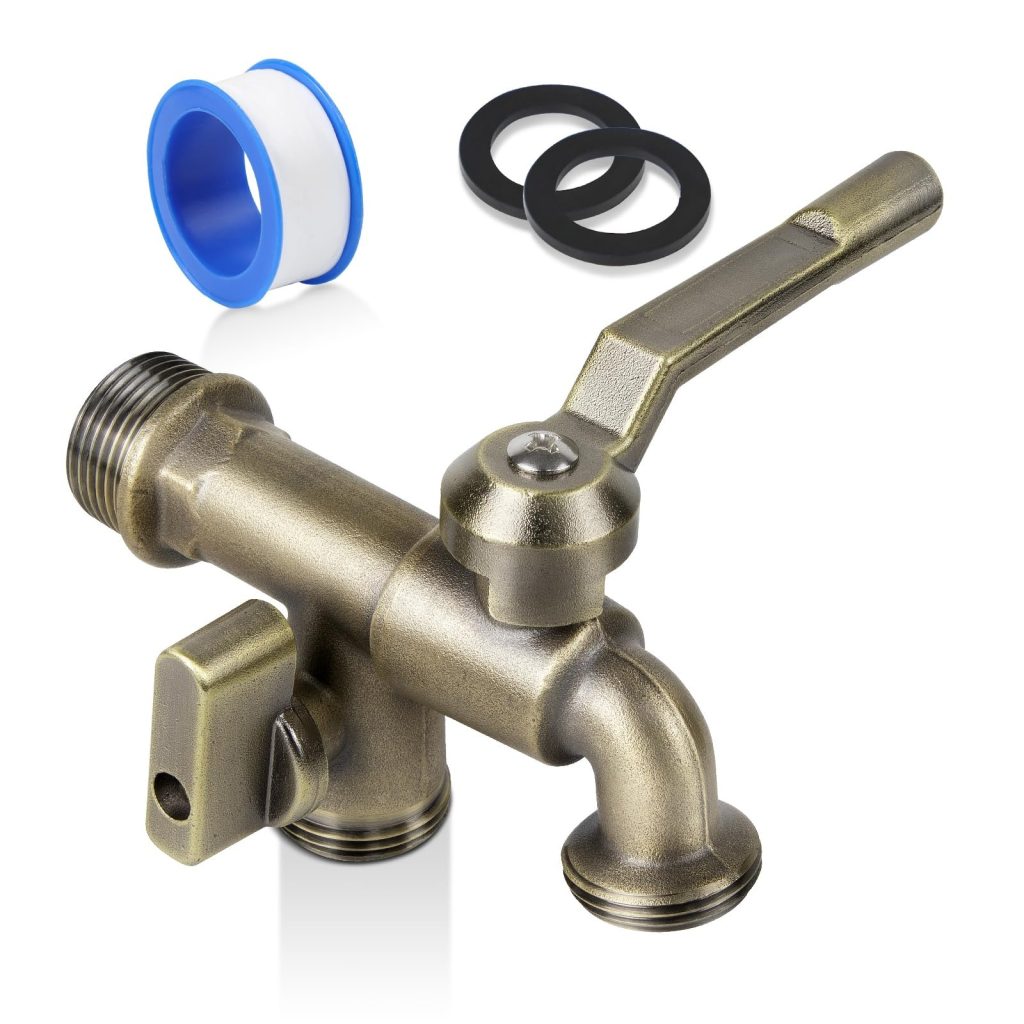
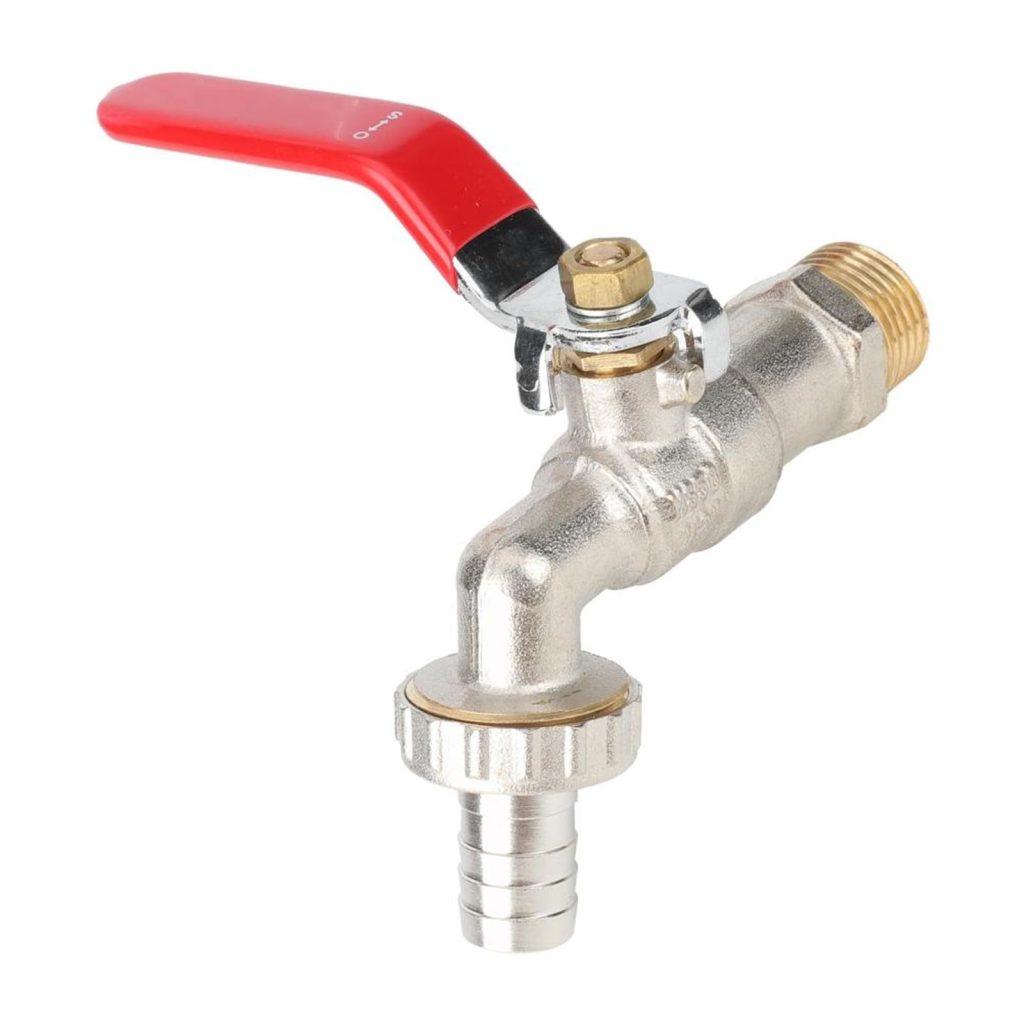
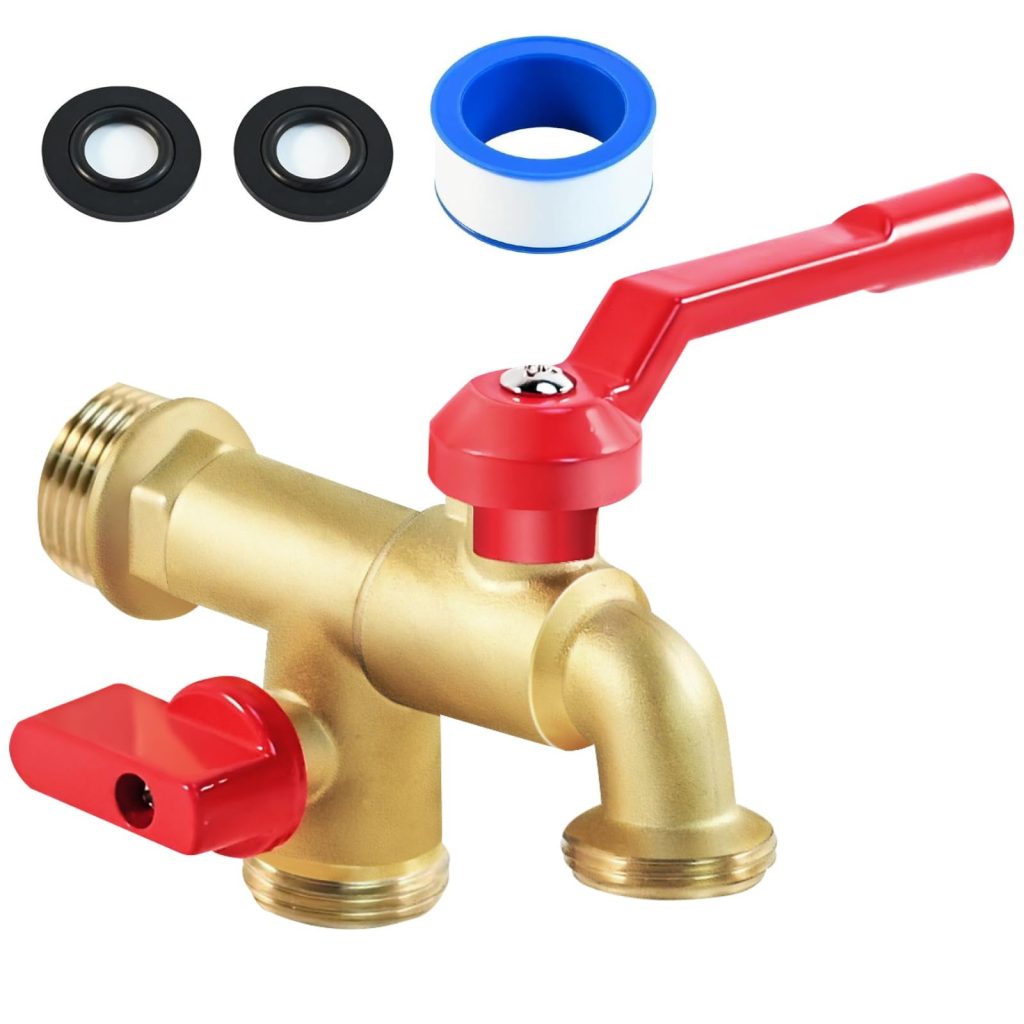
How to winterize your outside faucets? Winterizing your outside faucets is an essential task to prevent frozen pipes and costly repairs during the cold winter months. As the temperatures begin to drop, it’s important to take the necessary steps to protect your outdoor plumbing fixtures from freezing and bursting. By winterizing your outside faucets, you can ensure that they will remain in good working condition and ready for use when spring arrives. In this guide, we will discuss the steps you can take to effectively winterize your outside faucets, keeping them safe from the harsh winter conditions.

Preparing for winter
How to winterize your outside faucets? Before you start winterizing your outside faucets, it’s important to gather the necessary tools and materials. You will need insulation materials such as foam insulating covers and/or outdoor faucet covers, as well as a screwdriver, a wrench, and some waterproof tape. Additionally, it’s a good idea to have some insulated hose bibb covers if you have outdoor hoses attached to your faucets.
Shutting off the water supply
The first step in winterizing your outside faucets is to shut off the water supply to the outdoor plumbing fixtures. Locate the shut-off valve for your exterior faucets and turn it off to stop the flow of water to the outdoor pipes. This will prevent water from freezing and causing damage to the pipes and faucets.
Draining the water lines
After shutting off the water supply, you will need to drain the water from the outdoor pipes and faucets. Begin by opening the outdoor faucets to allow any remaining water to drain out. Then, go inside your home and open the indoor faucets connected to the outdoor pipes to allow any trapped water to drain as well.
Removing hoses and attachments
If you have hoses or other attachments connected to your outside faucets, it’s important to remove them before winterizing the faucets. Hoses left attached to outdoor faucets can trap water inside the pipes, leading to freezing and potential damage. Once you have removed the hoses, consider storing them in a warm, dry place for the winter to prolong their lifespan.
Insulating the faucets
Once the water has been drained from the outdoor pipes and faucets, it’s time to insulate them to protect them from freezing temperatures. Foam insulating covers and outdoor faucet covers are effective at providing insulation and preventing cold air from reaching the faucets. Use these covers to wrap the outdoor faucets and secure them in place with waterproof tape if necessary.
Protecting the hose bibbs
If you have hose bibbs (the spigots where you attach your garden hose) on your outside faucets, it’s important to protect them from freezing as well. Insulated hose bibb covers can be placed over the hose bibbs to prevent freezing and damage. These covers provide an extra layer of insulation and help to keep the hose bibbs from freezing in cold temperatures.

Checking for leaks
After completing the winterization process, it’s a good idea to check for any leaks or signs of water in the outdoor plumbing fixtures. Look for any remaining water and ensure that the insulation covers are securely in place. If you notice any leaks or water, make sure to address them before the cold temperatures set in to prevent potential damage and freezing.
How to use outside faucets
Outside faucets, also known as hose bibs or spigots, are a convenient and essential part of any home. They provide access to water for a variety of outdoor tasks, including watering the garden, washing the car, and cleaning outdoor surfaces. Proper use and maintenance of outside faucets are important to ensure their longevity and efficient operation.
Locating the Outside Faucet
The first step in using an outside faucet is to locate it. Depending on the layout of your home, the outside faucet may be attached to the exterior wall, located in the backyard, or positioned in a specific area of your property. Take a walk around your home to identify the outside faucet’s location before proceeding with its use.
Preparing the Hose
Before attaching a hose to the outside faucet, it’s important to inspect the hose for any damage, including leaks, cracks, or kinks. If the hose is damaged, it should be repaired or replaced to prevent water wastage and ensure proper water flow. Additionally, make sure the hose is clean and free of debris or dirt that could clog the faucet or the hose itself.
Attaching the Hose
Once the hose has been inspected and prepared, it can be attached to the outside faucet. To do so, simply screw one end of the hose onto the faucet until it is securely fastened. Be sure to use a hose washer to create a tight seal and prevent leaks. If the hose has a nozzle or sprayer, make sure it is securely attached to the other end of the hose.
Turning On the Water
Once the hose is properly attached, it’s time to turn on the water. Locate the valve or handle on the outside faucet and turn it clockwise to open the water supply. Take care not to open the valve too forcefully, as this could cause a sudden rush of water and potential damage to the hose or faucet. Instead, open the valve gradually to allow the water to flow smoothly.

Adjusting the Water Flow
After turning on the water, you may need to adjust the water flow to the desired level. Many outside faucets have a built-in handle or knob that can be turned to regulate the water flow. Experiment with the setting to find the right balance between pressure and volume for your specific task, whether it’s watering plants or washing a car.
Shutting Off the Water
Once you have finished using the outside faucet, it’s important to turn off the water to prevent leaks and water wastage. Locate the valve or handle and turn it counterclockwise to close the water supply. Make sure the valve is fully closed to prevent any residual water from escaping.
Draining the Hose
During the colder months. It’s important to drain the hose and disconnect it from the outside faucet to prevent freezing and damage. To do so, remove the nozzle or sprayer from the end of the hose and hold it at a downward angle to allow the water to drain out. Once the hose is empty. Coil it up and store it in a dry, protected area until it is needed again.
Outside faucets are a valuable resource for maintaining your home and completing a variety of outdoor tasks. By following these steps and best practices. You can ensure the proper use and maintenance of your outside faucet. Maximizing its lifespan and efficiency. With a little care and attention. Your outside faucet will continue to provide reliable access to water for years to come.

Conclusion
How to winterize your outside faucets? Winterizing your outside faucets is an important task to protect your outdoor plumbing fixtures from freezing temperatures and potential damage. By following the steps outlined in this guide. You can effectively prepare your outside faucets for the winter months. And ensure that they will remain in good working condition. Taking the time to winterize your outside faucets now can help you avoid costly repairs and inconvenience in the future. Don’t wait until it’s too late – take the necessary steps to protect your outdoor plumbing fixtures before the cold weather arrives.
