Common Shower Faucet Issues and Solutions
How to repair shower faucets? A dripping shower faucet can be a nuisance and lead to higher water bills. To address this, shut off the water supply and dismantle the faucet handle. You will likely need to replace a worn cartridge or washer. After obtaining replacement parts from a hardware store, put the faucet back together and check for drips.

Resolving Low Water Pressure
Low water pressure can make showers less satisfying. Determine if your whole house is affected or just the shower. If it’s isolated to the shower, clean a clogged showerhead or replace a blocked filter to restore pressure.
Fixing Water Temperature Fluctuations
How to repair shower faucets? Sudden hot or cold bursts during showering may be due to a malfunctioning thermostatic shower cartridge. Adjust the temperature limit stop or replace the cartridge as necessary. Always refer to manufacturer guidelines or consult a professional if unsure.
Dealing with a Leaking Shower Arm
A leaky shower arm requires turning off the water, removing the arm with a wrench, and applying plumber’s tape before reinstalling. Ensure a tight fit and check for leaks upon completion.
Loosening Stuck or Hard-to-Turn Handles
Handles that won’t budge are often due to mineral deposits. Turn off the water, soak the parts in a vinegar solution, then scrub and rinse before reassembling. If the handles still stick, seek professional help.
The Anatomy of a Shower Faucet System
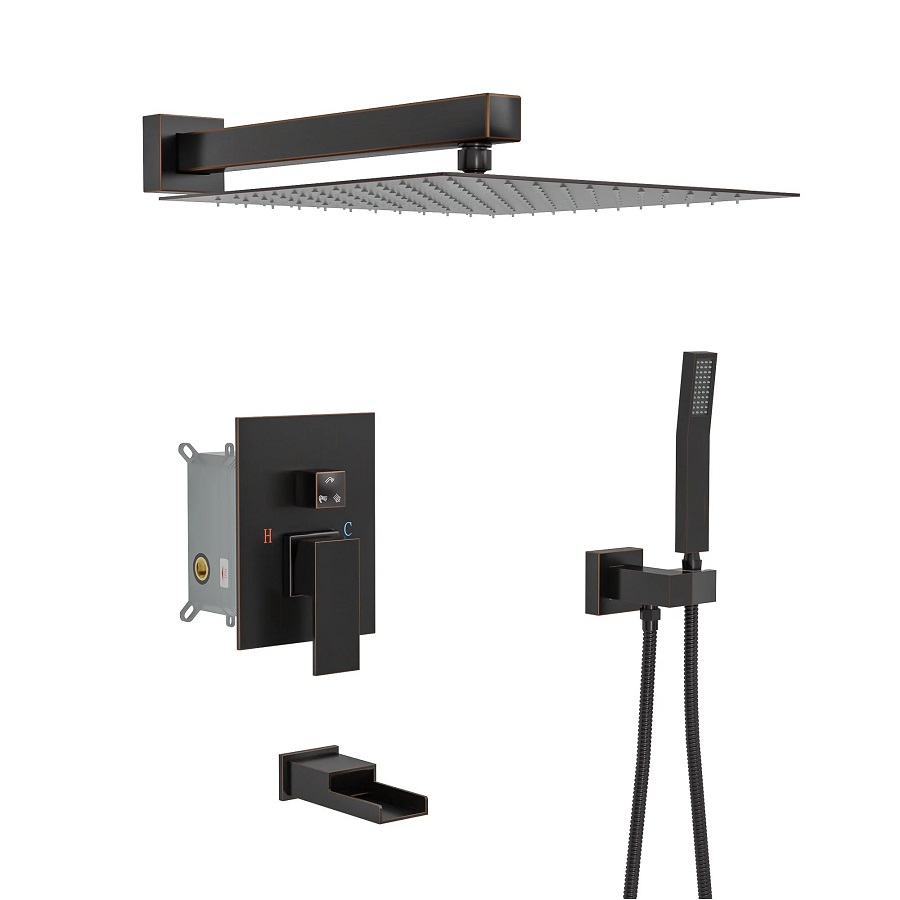
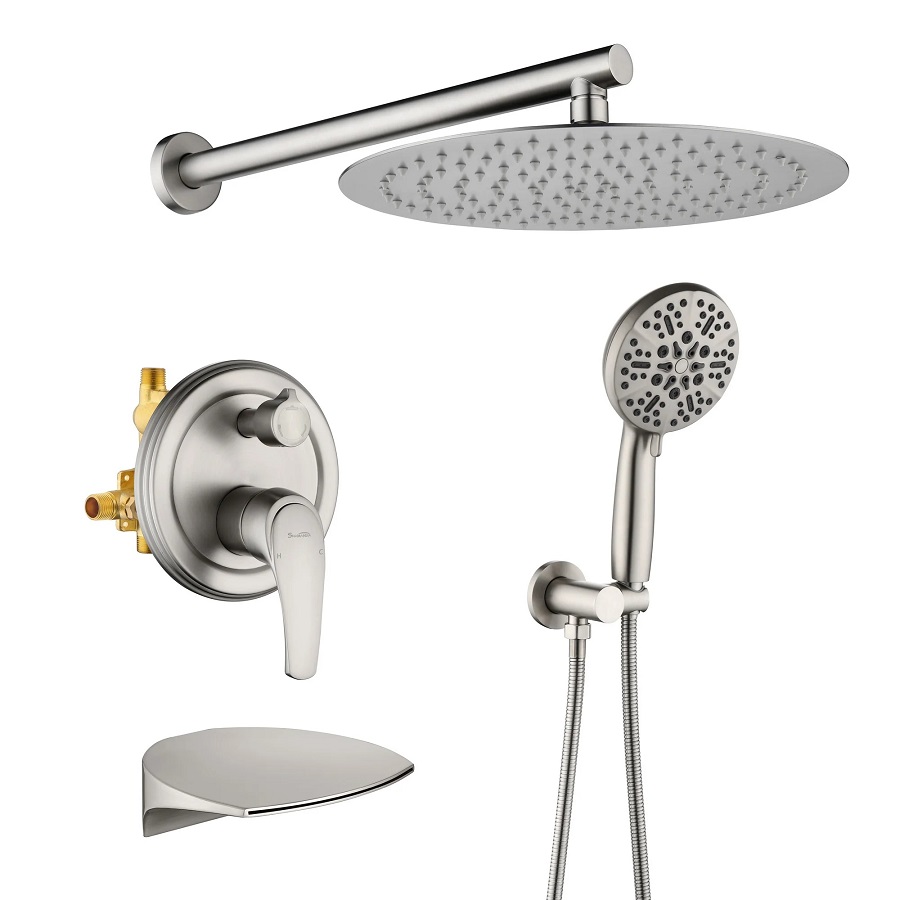
How to repair shower faucets? Understanding your shower faucet system is crucial before tackling any repair. A clear view of each part will help guide you through fixing common issues.
Understanding the Shower Cartridge
The shower cartridge is a pivotal element in your faucet. It manages both water flow and temperature. If you face water pressure or temperature problems, inspecting the cartridge is a smart first step. Replacing a faulty cartridge will often resolve these issues. It’s typically found after you remove the faucet handle.
Essential Components of a Single-Handle Faucet
A single-handle faucet has fewer parts than its multi-handle counterparts, making DIY repairs more straightforward. Key components include:
- The handle operates the cartridge, controlling water output.
- The escutcheon plate, which conceals the hole in the wall and is fastened by screws.
- Valve body, the main housing for the faucet’s internal parts.
- O-rings and washers prevent leaks by sealing connections.
Knowing these parts and their functions simplifies the repair process and aids in troubleshooting.

Tools and Materials You’ll Need for Faucet Repair
Before you begin any faucet repair, gathering the correct tools and materials is essential. You will typically need:
- A screwdriver for removing handle screws.
- Pliers for gripping and turning parts.
- An adjustable wrench for loosening and tightening nuts.
- Replacement parts like a new cartridge, O-rings, and washers.
- Plumber’s grease to lubricate parts.
- Towels or rags to clean up spills and protect surfaces.
Ensure that you have all these items handy. This prep step avoids mid-repair trips to the store.
Preparing Your Workspace for Shower Valve Replacement
Start by turning off the water supply to your entire home to ensure a safe work environment. Then, cover the drain to prevent losing small parts. Open the shower faucet to drain any water left in the pipes. Lay down towels or rags to protect your bathroom surfaces from tools and any spilled water.
Step-by-Step Guide to Removing an Old Cartridge
How to repair shower faucets? First, remove the shower handle by unscrewing it with a screwdriver. Next, take off the escutcheon plate to expose the valve body. Locate the locking nut and use pliers to loosen and remove it. Carefully pull the old cartridge from the valve body. Inspect the valve body for damage. If the cartridge resists, consider using a cartridge puller tool or seek professional help.
Installing the New Cartridge and Reassembly
After removing the old cartridge, it’s time to install the new one. This crucial step restores your shower’s performance.
Replacing Seats and Springs in the Valve Body
Before inserting the new cartridge, replace the seats and springs inside the valve body. These small parts ensure the cartridge functions well. Use a pencil to guide them into place.
Ensuring Proper Alignment and Fit for the New Cartridge
Lubricate the new cartridge’s O-rings with plumber’s grease. Proper alignment is key; match the hot and cold sides correctly. Gently insert the cartridge into the valve body.
Reassembling the Shower Handle and Escutcheon Plate
With the cartridge in place, mount the new escutcheon plate and screw it in. Align the handle properly, then tighten to secure. This completes the handle and faceplate installation.

Testing and Adjusting Your Repaired Faucet
Upon completion of your shower faucet repair, it’s vital to test for functionality and perform necessary adjustments. This ensures a safe and pleasant shower experience post-repair.
Checking for Leaks and Proper Water Flow
After installing the new cartridge and reassembling the shower faucet, slowly turn on the water supply. Observe if there are any leaks around the faucet handle or valve body. A dry work area indicates a successful seal. Next, verify that the water flow is smooth and consistent from the showerhead. If the flow seems uneven or weak, double-check that all components are tight and correctly installed.
Setting the Temperature Limit Stop
Modern shower faucets often feature a temperature limit stop to prevent scalding. Adjusting this stop is crucial for safety, especially in households with children or elderly members. To set the temperature limit stop, remove the handle again and locate the stop on the valve. Use a thermometer to monitor the water temperature as you adjust the stop screw, aiming for a safe but comfortable maximum temperature, typically around 120 degrees Fahrenheit. Replace the handle and confirm that the stop prevents the water from exceeding the set temperature.
Troubleshooting Post-Repair Issues
It’s normal to encounter a few hiccups after DIY faucet repairs. Let’s troubleshoot some common issues.
Addressing Leaks Post-Faucet Repair
Leaky faucets post-repair can be due to not tightening parts enough or worn O-rings. To fix them:
- Retighten all connections with an adjustable wrench.
- Check and replace any old O-rings and seals.
- Turn on the water and inspect for drips; if leaks persist, check all components again.
Temperature Control after Valve Replacement
If you face water temperature issues after replacing the valve, try these steps:
- Confirm the cartridge is properly aligned with the hot and cold sides.
- Adjust the temperature limit stop, found after removing the handle.
- Use a thermometer to test water temperature and set it to a safe limit.
Handling Low Water Pressure Following a Repair
Low water pressure can dampen the effectiveness of your repair. Here’s what to do:
- Clear any blockage in the showerhead by soaking it in a vinegar solution.
- Check the valve body for debris and clean as needed.
- Ensure the new cartridge is fully open and not obstructing flow.
Remember, if these steps don’t resolve your issues, it might be time to call in a professional.
When to Seek Professional Help for Faucet Repairs
How to repair shower faucets? While many shower faucet issues are manageable through DIY methods, certain situations require professional insight. Knowing when to call a plumber can save you from further damages and additional costs.
Evaluating When DIY is Not Suitable
Do-it-yourself repairs are convenient and cost-effective for minor issues. However, if you face significant damage or complex problems, professional help is necessary. Examples include severe corrosion, extensive leaks, and problems that persist after your repair attempts. These issues often need specialized tools and skills.
Check your comfort and skill levels too. If you feel uncertain about any repair step or lack the proper tools, it’s best to seek professional services.

Conditions That Require Expert Intervention
Some conditions in your faucet system demand an expert’s touch:
- Severe Corrosion and Damage: If the valve body or other components show significant decay, a plumber should replace them.
- Complex Plumbing Systems: Homes with unique or very old plumbing systems may present challenges that surpass typical DIY skills.
- Continuous Problems after DIY Efforts: If issues like leaks or temperature fluctuations persist despite your best efforts, a professional can diagnose and resolve underlying problems you might not detect.
Contacting a licensed plumber not only ensures a safe and correct repair but also helps preserve the integrity of your plumbing system. Don’t hesitate to call for help when needed to ensure your system’s longevity and functionality.
