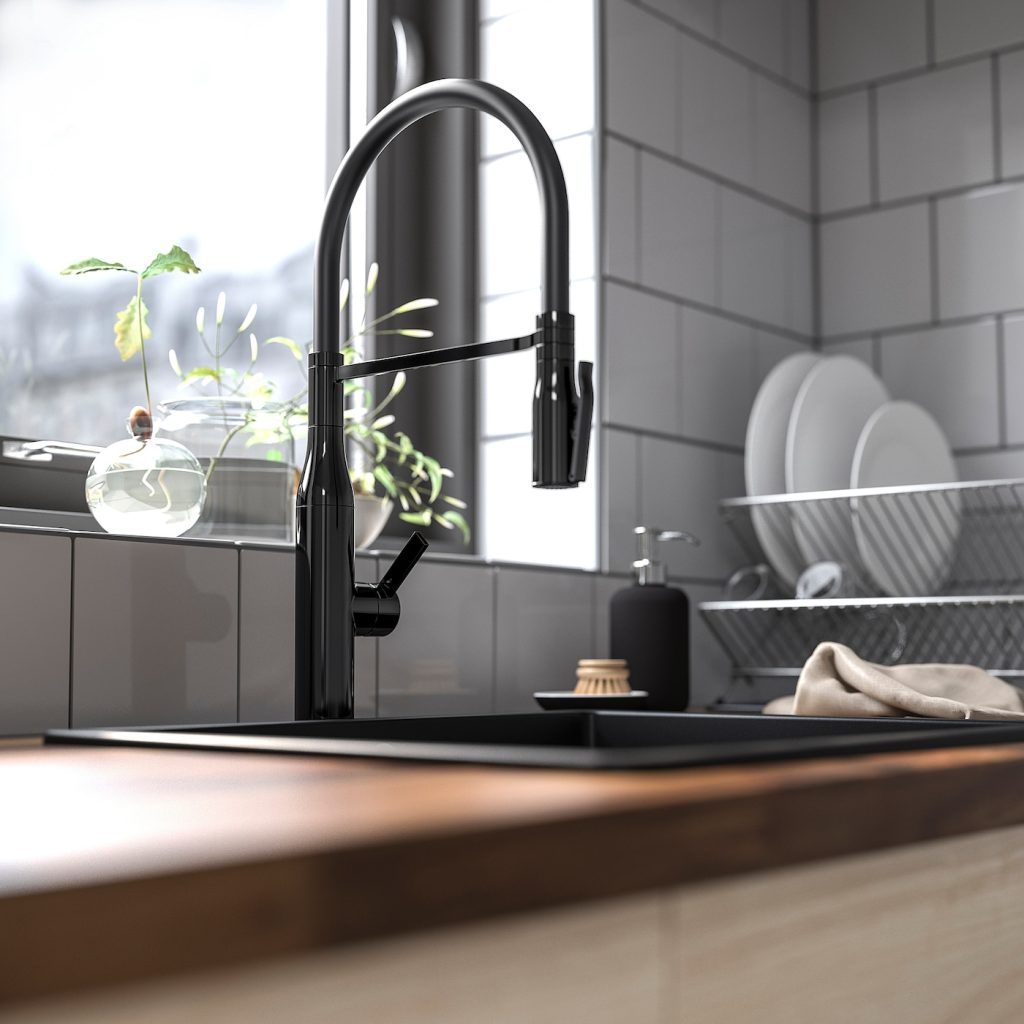
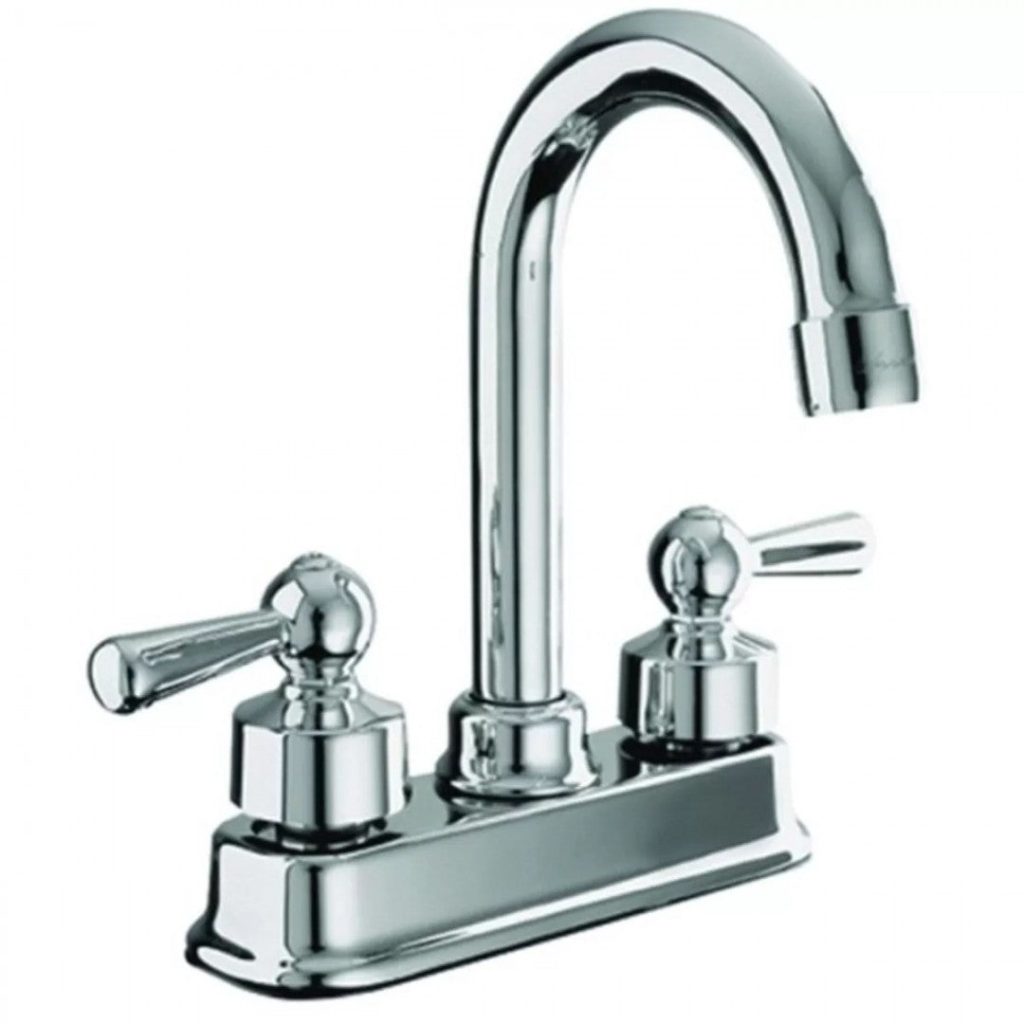
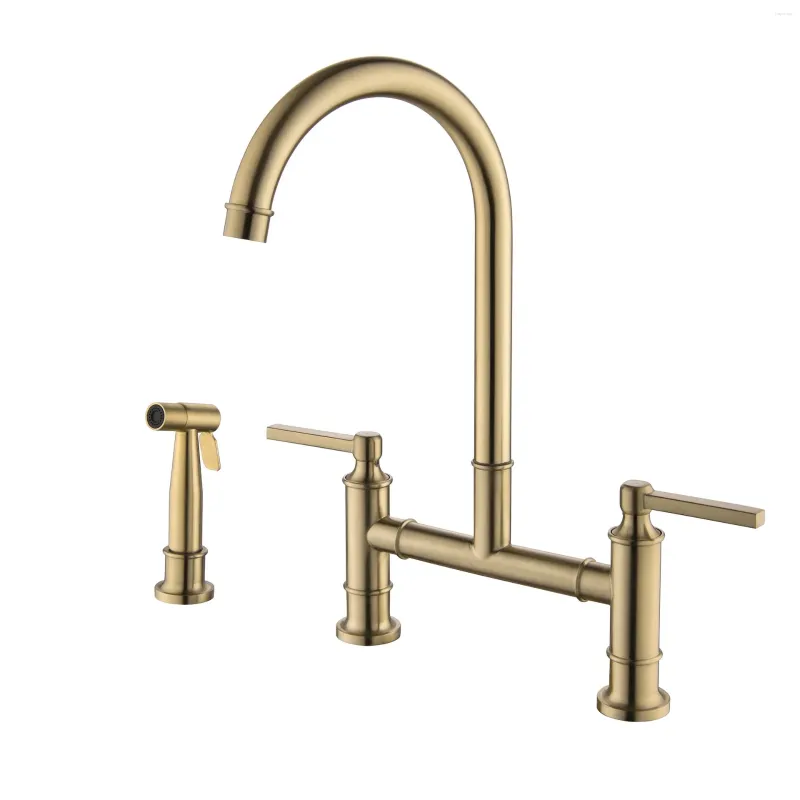
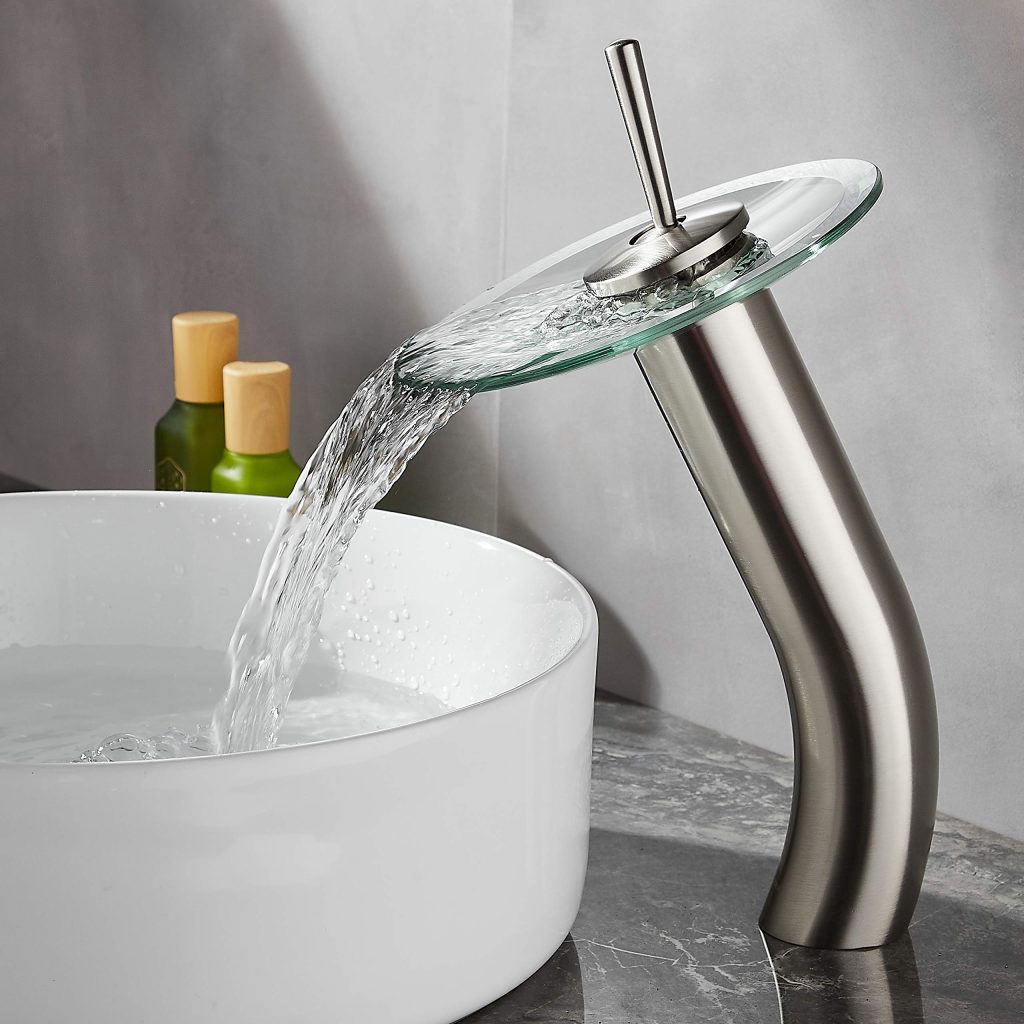
How to paint bathroom faucets? Are the faucets in your bathroom looking worn out or outdated? Instead of replacing them, consider painting them to give your bathroom a fresh and stylish look. Painting bathroom faucets is a quick and easy way to update the appearance of your bathroom without spending a lot of money. In this guide, we will walk you through the steps to paint bathroom faucets, from preparation to finishing touches.

Materials Needed
How to paint bathroom faucets? Before you get started, gather the following materials:
- Sandpaper
- Painter’s tape
- Primer
- Spray paint (metal-appropriate)
- Clear coat sealant
- Screwdriver
- Cleaning solution
- Microfiber cloth
- Gloves
- Newspaper or drop cloth
Preparation
- Start by creating a workspace in a well-ventilated area, such as a garage or outdoor space. Lay down newspaper or a drop cloth to protect the surface from paint.
- Turn off the water supply to the faucet and cover the sink with a plastic bag or cloth to prevent any accidental paint splatters.
- Remove the faucets from the sink by unscrewing them with a screwdriver. Place the screws in a safe place where they won’t get lost.
Cleaning
- Thoroughly clean the faucets with a cleaning solution to remove any dirt, grime, or soap scum. Use a microfiber cloth to ensure the surface is clean and dry.
- Use a degreaser if the faucets are greasy or have an oily residue. Wipe down with a clean, damp cloth and allow to dry completely.
Surface Preparation
- Use fine-grit sandpaper to roughen the surface of the faucets. This will help the primer and paint adhere better to the metal surface.
- Wipe away any dust or debris from sanding with a clean, dry cloth.
Applying Primer
- Apply painter’s tape to areas you do not want to paint, such as the handle or spout. Make sure the tape is securely in place to prevent any paint bleed.
- Apply a thin coat of metal-appropriate primer to the faucets. Hold the can about 6-8 inches away from the surface and use a back-and-forth motion to ensure even coverage. Allow the primer to dry completely according to the manufacturer’s instructions.
Painting
- Shake the spray paint can thoroughly to mix the paint. Hold the can about 6-8 inches away from the faucets and apply a thin, even coat of paint in a back-and-forth motion. It’s better to apply multiple thin coats than one thick coat to prevent drips and runs.
- Allow the first coat to dry completely before applying additional coats. It’s important to follow the drying time recommended on the paint can to ensure a durable finish.
- Once you are satisfied with the coverage, let the paint cure for at least 24 hours before handling the faucets.

Sealing
- Once the paint is fully dried, you can apply a clear coat sealant for added protection. Follow the same process as with the primer and paint, ensuring even coverage with thin coats. This will help protect the paint from chipping and peeling over time.
- Allow the sealant to dry completely before reassembling and reinstalling the faucets.
Reinstallation
- After the paint and sealant have dried, carefully remove the painter’s tape from the handle and spout.
- Reassemble the faucets using the screws and screwdriver, making sure they are securely in place.
- Turn the water supply back on and test the faucets to ensure they are functioning properly.
How to clean bathroom faucets
Bathroom faucets are an essential part of any bathroom and play a crucial role in maintaining hygiene. Over time, bathroom faucets can accumulate dirt, grime, and mineral deposits, leading to a dull and unsightly appearance. Regular cleaning of bathroom faucets is necessary not only for aesthetic purposes but also for maintaining the functionality of the fixtures.
Materials Needed for Cleaning Bathroom Faucets
Before we delve into the cleaning process, it’s important to gather the necessary materials for the task. Here are the common materials needed for cleaning bathroom faucets:
- Mild liquid soap or dishwashing detergent
- White vinegar
- Baking soda
- Lemon
- Soft-bristled toothbrush
- Microfiber cloth or soft sponge
- Toothpicks or cotton swabs
- Rubbing alcohol
Step-by-Step Cleaning Process
Now that we have the materials ready, let’s proceed with the step-by-step cleaning process for bathroom faucets.
Step 1: Remove Surface Dirt and Grime
Start by wiping the surface of the faucet with a soft cloth or sponge to remove any surface dirt and grime. Use mild liquid soap or dishwashing detergent mixed with warm water. Gently scrub the surface to loosen any stubborn residue.
Step 2: Clean the Aerator
The aerator is a small component located at the end of the faucet spout that controls the flow of water. Over time, mineral deposits can build up in the aerator, affecting the water flow. To clean the aerator, unscrew it from the faucet and soak it in a solution of white vinegar and water for at least 30 minutes. Use a toothbrush to scrub away any remaining deposits and rinse the aerator thoroughly before reattaching it to the faucet.

Step 3: Address Hard Water Stains with Vinegar
Hard water stains can be particularly stubborn and may require special attention. To tackle hard water stains, soak a cloth or paper towel in white vinegar and wrap it around the affected areas of the faucet. Leave it on for an hour to allow the vinegar to break down the mineral deposits. Afterward, remove the cloth and wipe the faucet clean with a damp cloth.
Step 4: Remove Lime Deposits with Lemon and Baking Soda
For lime deposits and stubborn stains, create a paste using baking soda and lemon juice. Apply the paste to the affected areas of the faucet and let it sit for 10-15 minutes. The acidic properties of the lemon juice combined with the abrasive nature of baking soda will help dissolve and remove the lime deposits. Use a soft-bristled toothbrush to gently scrub the paste into the faucet and then rinse it off with water.
Step 5: Disinfect the Faucet
To ensure that the faucet is thoroughly disinfected, use rubbing alcohol on a microfiber cloth to wipe down the entire fixture, including the handles and spout. Rubbing alcohol is effective in killing germs and bacteria, leaving your faucet clean and hygienic.
Step 6: Detailing with Toothpicks or Cotton
For hard-to-reach areas and crevices around the faucet, use toothpicks or cotton swabs dipped in a cleaning solution to effectively remove any remaining dirt and grime.
Step 7: Polish the Faucet
After completing the cleaning process, use a dry microfiber cloth to polish the faucet, leaving it sparkling clean and shiny.
Maintaining Clean Bathroom Faucets
Once you’ve thoroughly cleaned your bathroom faucets, it’s important to maintain their cleanliness and prevent future buildup. Here are some tips for maintaining clean bathroom faucets:
- Wipe down the faucets after each use to prevent water spots and mineral deposits from accumulating.
- Regularly clean the aerators to ensure smooth water flow and prevent clogs.
- Consider installing a water softener if you have hard water, as it can help reduce mineral deposits on faucets.
- Incorporate a weekly or bi-weekly cleaning routine for your bathroom faucets to prevent the buildup of dirt and grime.

Conclusion
How to paint bathroom faucets? Painting bathroom faucets is a simple and affordable way to update the look of your bathroom. With the right materials and proper steps, you can transform your faucets from dull to dazzling in no time. Whether you want to match your faucet to a new color scheme or give it a fresh coat of paint to restore its former luster, this step-by-step guide will help you achieve a professional-looking finish. So go ahead and give your bathroom a fresh new look with a few cans of paint and a little bit of elbow grease!
