Insulate outdoor faucets are crucial for irrigation, gardening, and various other outdoor activities. However, during the colder months, these faucets are at risk of freezing, which can lead to costly repairs. To prevent freezing and potential damage, insulating outdoor faucets is essential. There are several materials available for insulating outdoor faucets, each with its own benefits and drawbacks.

Foam Insulation
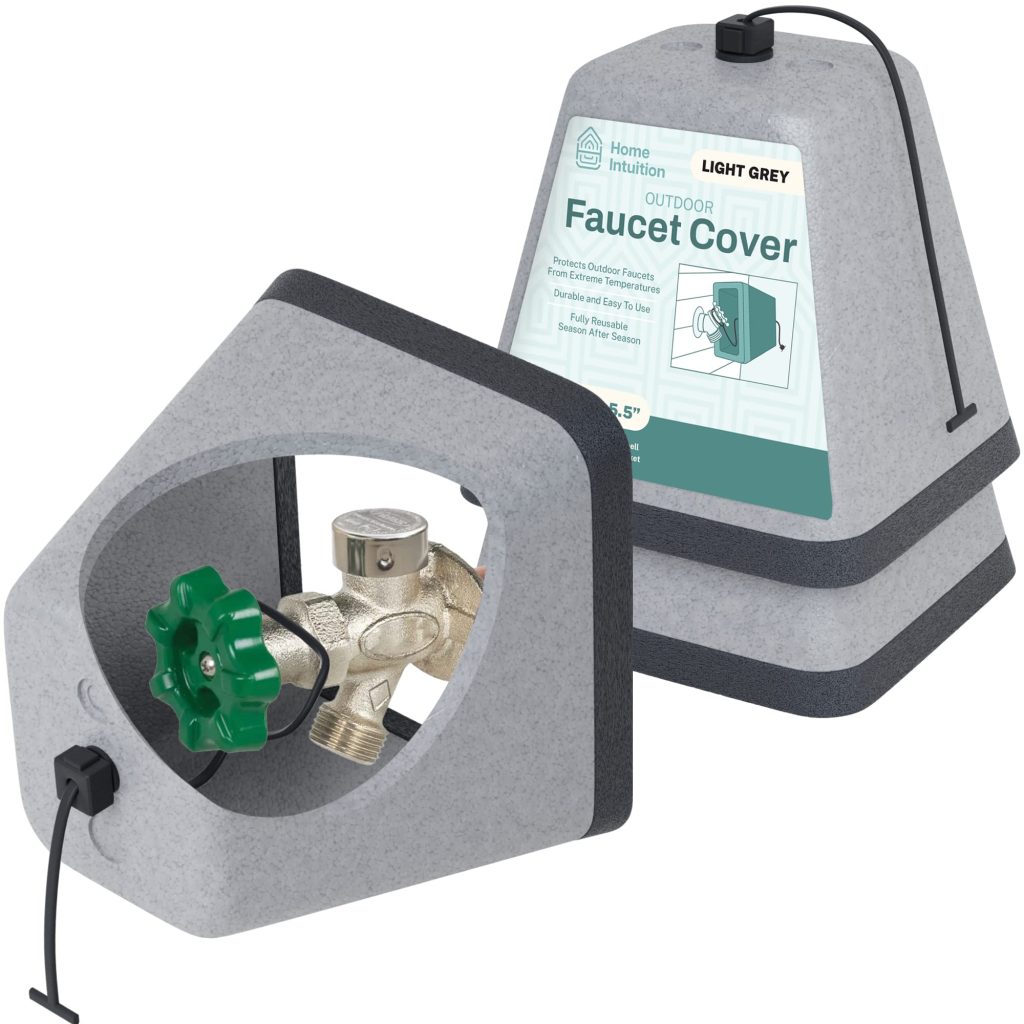
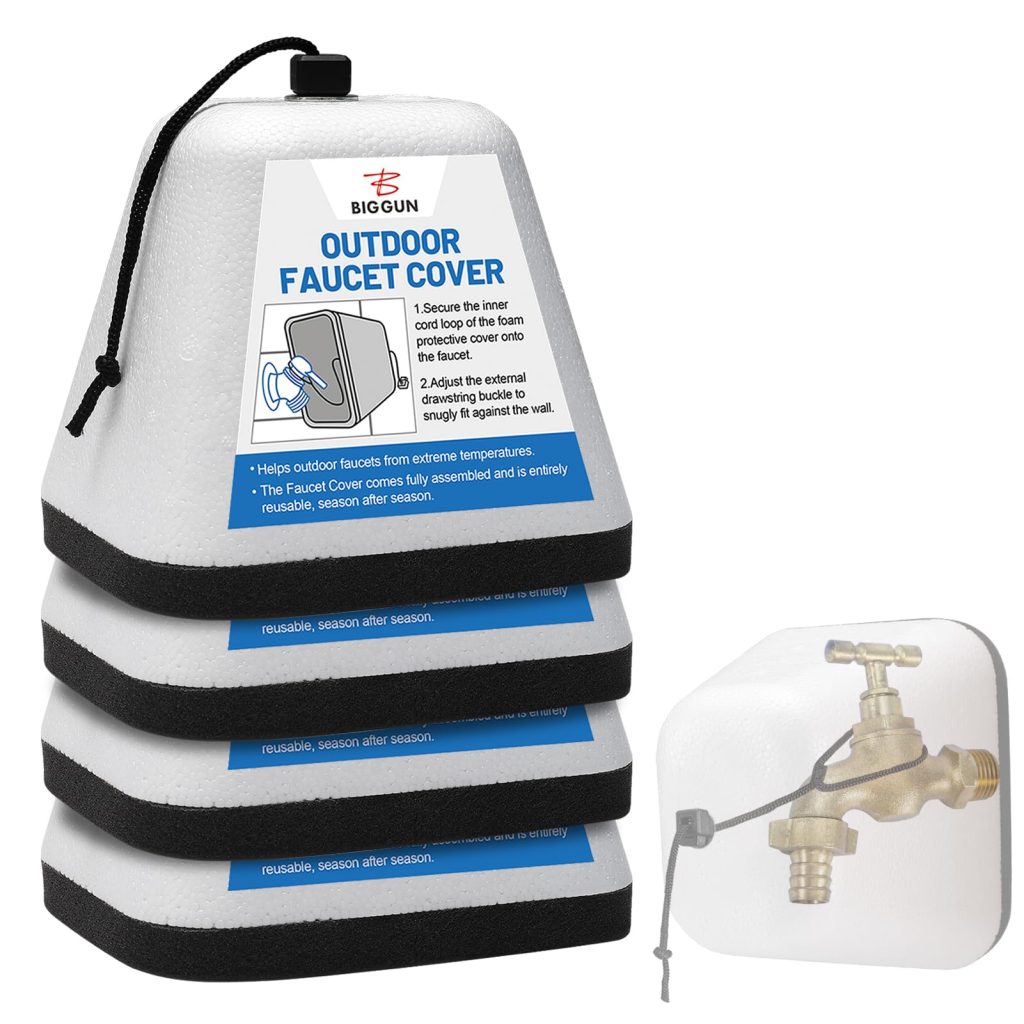
Foam insulation is a popular choice for insulating outdoor faucets. It is made from a durable foam material that can easily be wrapped around the faucet to provide insulation. Foam insulation is available in various thicknesses, allowing for customization based on the climate and specific needs of the faucet. Additionally, foam insulation is resistant to moisture, which is important for outdoor use. However, foam insulation can degrade over time due to exposure to the sun and harsh weather conditions, so it may need to be replaced periodically.
Rubber Insulation
Another material for insulating outdoor faucets is rubber insulation. Rubber insulation is flexible and can easily be wrapped around the faucet to create a protective barrier. It is resistant to temperature changes and can withstand extreme cold without becoming brittle or cracking. Rubber insulation is also durable and long-lasting, making it a cost-effective choice for insulating outdoor faucets. However, like foam insulation, rubber insulation may degrade over time and require replacement.
Fiberglass Insulation
Fiberglass insulation is a common material used for insulating indoor spaces, but it can also be used to insulate outdoor faucets. Is made from tiny glass fibers that are woven together to create a dense, insulating material. This material can be wrapped around outdoor faucets to provide protection from freezing temperatures. Fiberglass insulation is highly effective at retaining heat and can be used in extreme cold climates. However, it is not as flexible as foam or rubber insulation, which can make it more challenging to install on irregularly shaped faucets.
Insulating Tape
Insulating tape is a convenient and cost-effective solution for insulating outdoor faucets. This material is made from a flexible, self-adhesive foam that can easily be wrapped around the faucet to create a protective barrier. Insulating tape is available in various widths and can be customized to fit any size of faucet. It is also resistant to moisture and can withstand temperature changes without degrading. However, insulating tape may not be as durable as other materials and may need to be replaced more frequently.

How to use insulate outdoor faucets
Outdoor faucets are susceptible to freezing during the winter months, which can lead to costly repairs and potential water damage. Insulating outdoor faucets is a simple and effective way to prevent freezing and ensure they remain in good working condition.
Materials Needed
Before getting started, you will need to gather the following materials:
- Insulated faucet cover
- Insulating foam tube (or pipe insulation)
- Duct tape
- Towel or rag
- Garden hose (if applicable)
- Screwdriver or wrench (if needed to remove the hose)
Step 1: Turn Off the Water Supply
The first step in insulating outdoor faucets is to turn off the water supply. Locate the shut-off valve inside your home that controls the outdoor faucet and turn it off. This will prevent any water from flowing through the faucet while you are working on insulating it.
Step 2: Disconnect the Hose (if applicable)
If there is a garden hose connected to the outdoor faucet, disconnect it. Use a screwdriver or wrench to loosen the hose coupling and remove the hose from the faucet. Make sure to drain any remaining water from the hose before storing it for the winter.
Step 3: Drain the Faucet
Next, you will need to drain any remaining water from the outdoor faucet. Turn the faucet on to allow any water to drain out. Once the water has stopped flowing, turn the faucet off.
Step 4: Install an Insulated Faucet Cover
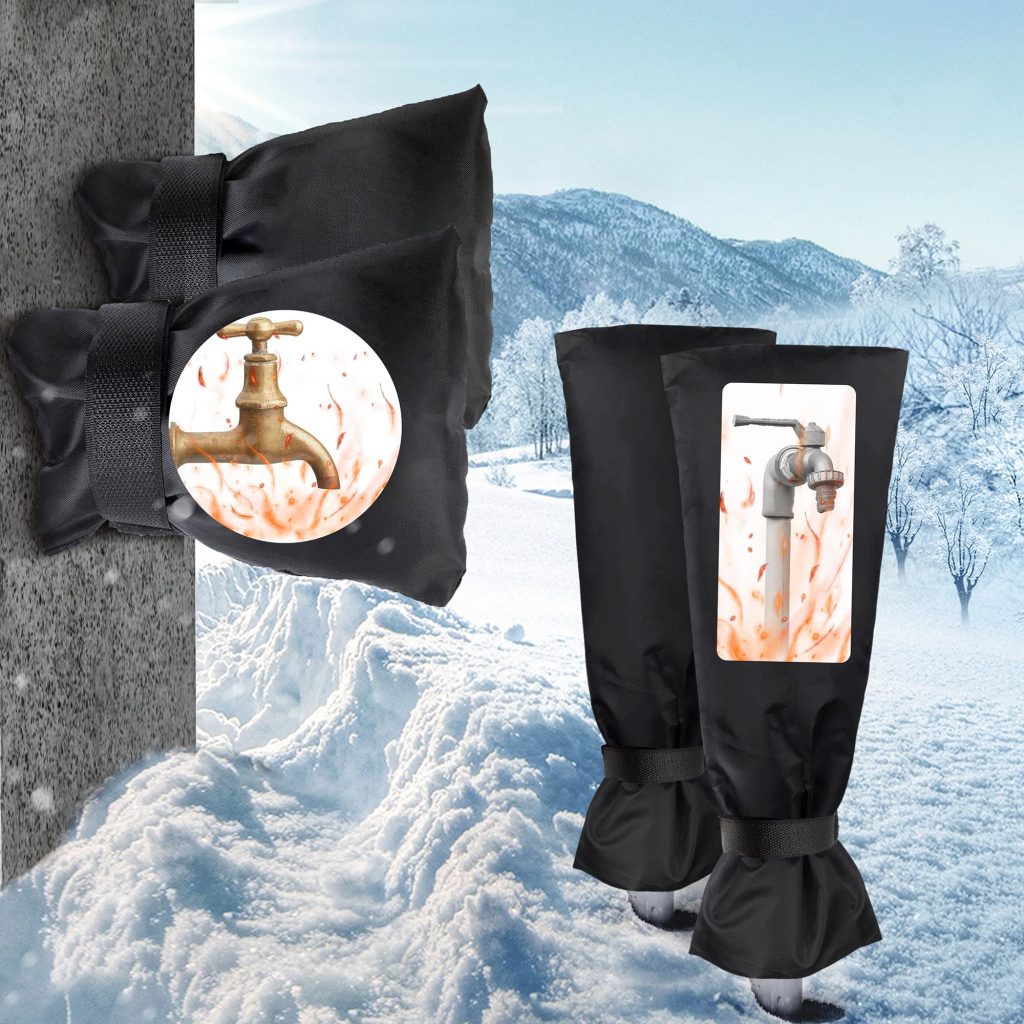
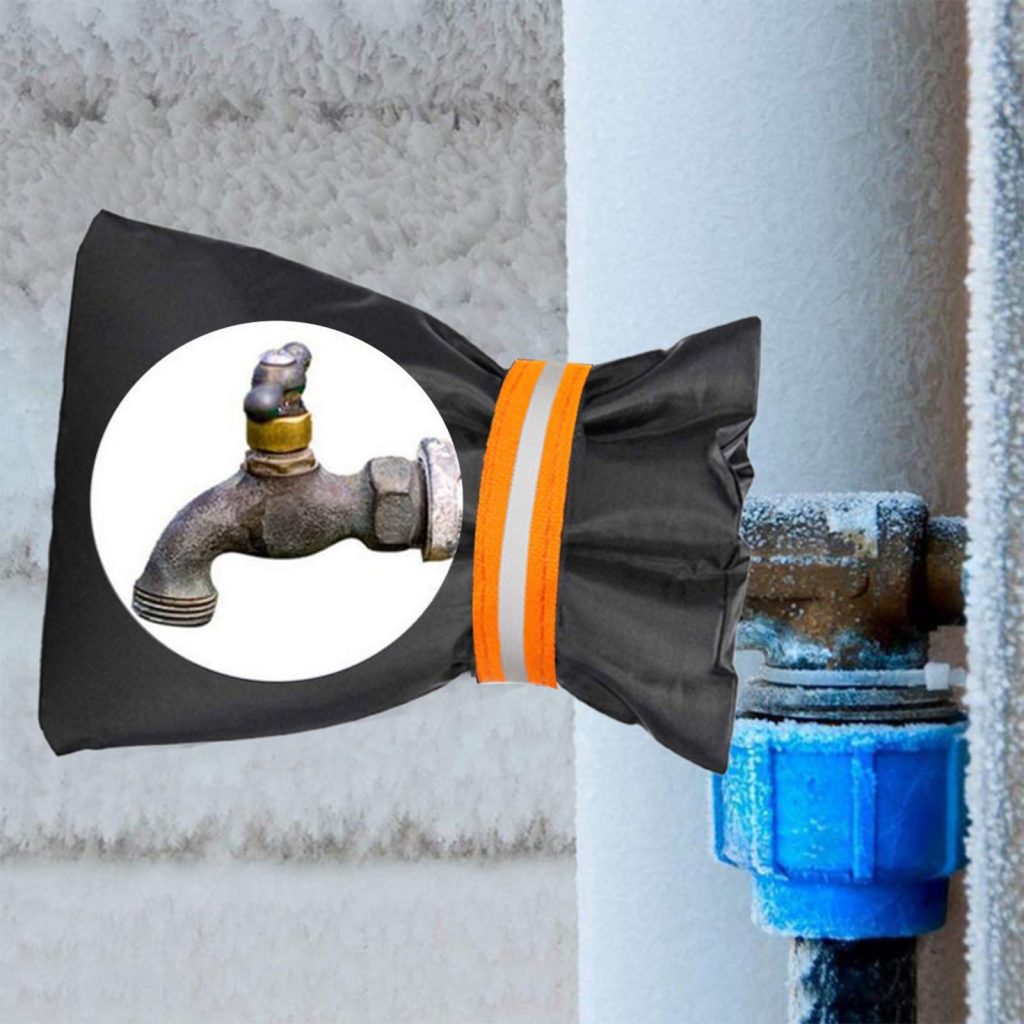
One of the easiest ways to insulate an outdoor faucet is to install an insulated faucet cover. These covers are designed to fit over the outdoor faucet and provide protection from freezing temperatures. Simply place the cover over the faucet and secure it in place using the straps or clips provided.
Step 5: Insulate the Pipes
If your outdoor faucet is not equipped with a built-in insulated cover, you can insulate the pipes leading to the faucet to provide additional protection. Use an insulating foam tube or pipe insulation to wrap around the exposed pipes, covering them completely. Use duct tape to secure the insulation in place and ensure a tight seal.
Step 6: Cover the Faucet
In addition to using an insulated faucet cover, you can also cover the faucet with a towel or rag for extra insulation. Simply wrap the towel or rag around the faucet and secure it in place with duct tape. This will provide an extra layer of protection from the cold.
Step 7: Insulate the Hose Bibs (if applicable)
If your outdoor faucet has hose bibs, it is important to insulate them as well. Hose bibs are often located in unheated areas, making them particularly susceptible to freezing. Use insulating foam tubes or pipe insulation to cover the hose bibs and secure them in place with duct tape.
Step 8: Check for Leaks
Once you have insulated the outdoor faucet and pipes, it is important to check for any leaks. Turn the water supply back on and inspect the faucet and pipes for any signs of leaking. If you notice any leaks, tighten the connections or repair any damaged parts before the freezing temperatures set in.
Step 9: Store Garden Hose (if applicable)
If you removed a garden hose in Step 2, make sure to store it in a protected area for the winter. Drain any remaining water from the hose and coil it up for storage. Keeping the hose indoors or in a heated garage will help prevent it from freezing and cracking.
Step 10: Monitor the Weather
Throughout the winter months, it is important to monitor the weather and take precautions to protect your outdoor faucets during periods of freezing temperatures. If a particularly cold spell is forecasted, consider running a small trickle of water through the faucet to prevent freezing.

Advantages of insulating outdoor faucets
Extended Lifespan
Insulating outdoor faucets can also contribute to their extended lifespan. When faucets are exposed to extreme temperatures, they can deteriorate more quickly, leading to the need for frequent repairs or replacements. By insulating outdoor faucets, homeowners can protect them from the harsh elements and extend their lifespan, ultimately saving them money in the long run.
Energy Efficiency
Insulating outdoor faucets can also contribute to energy efficiency. When faucets freeze and burst, it can lead to water leakage and waste. Additionally, the repairs and replacements required due to freezing can result in increased energy consumption and costs. By insulating outdoor faucets and preventing freezing, homeowners can conserve water, reduce energy usage, and lower their utility bills.

Conclusion
Insulate outdoor faucets is essential for preventing freezing and potential damage during the colder months. There are several materials available for insulating outdoor faucets, each with its own benefits and drawbacks. Foam insulation, rubber insulation, fiberglass insulation, and insulating tape are all effective materials for insulating outdoor faucets. When choosing a material, consider the climate, durability, and flexibility of the material to ensure proper protection for outdoor faucets. By insulating outdoor faucets with the right material, you can prevent freezing, extend the lifespan of your faucets, and avoid costly repairs.
