
How to paint faucets? Do you have an old, outdated faucet in your home that you’d like to give a facelift to? Instead of replacing it, consider painting it for a quick and budget-friendly upgrade. With the right tools and techniques, you can transform the look of your faucet and give it a fresh new appearance. In this guide, we’ll walk you through the steps to paint your faucets and achieve professional-looking results.
Gathering the Materials
Before you begin, gather all the necessary materials for this project. You will need:
- Sandpaper or a sanding block
- TSP cleaner or a similar degreaser
- Painter’s tape
- Drop cloths or old newspapers
- Spray primer
- Metallic spray paint in the color of your choice
- Spray sealant
Preparation
Start by preparing the faucet for painting. Turn off the water supply to the faucet and cover the surrounding area with drop cloths or old newspapers to protect it from paint overspray. Use painter’s tape to mask off any areas that you don’t want to be painted, such as the handles or the spout.
Next, use sandpaper or a sanding block to rough up the surface of the faucet. This will help the primer and paint adhere better to the metal. Clean the faucet thoroughly with TSP cleaner or a similar degreaser to remove any built-up dirt and grime. Rinse the faucet with clean water and allow it to dry completely before proceeding.
Applying the Primer
Once the faucet is dry, it’s time to apply the primer. Shake the can of spray primer well and spray a thin, even coat over the entire surface of the faucet. Hold the can 6-8 inches away from the faucet and use a sweeping motion to apply the primer. Allow the primer to dry according to the manufacturer’s instructions, then lightly sand the surface with fine-grit sandpaper to smooth out any imperfections.
Painting the Faucet
After the primer has been sanded, it’s time to apply the metallic spray paint. Shake the can of spray paint well and apply a thin, even coat to the entire surface of the faucet. Again, hold the can 6-8 inches away from the faucet and use a sweeping motion to apply the paint. Allow the first coat to dry, then apply a second coat for complete coverage. Let the paint dry thoroughly before handling the faucet.
Sealing the Paint
To protect the paint and give the faucet a durable finish, apply a coat of spray sealant. Shake the can well and spray a thin, even coat over the entire painted surface of the faucet. Allow the sealant to dry completely before using the faucet or exposing it to water.
Finishing Touches
Once the paint and sealant have dried, carefully remove the painter’s tape from the faucet to reveal clean, crisp lines. Turn the water supply back on and test the faucet to ensure that it is working properly. If you’re satisfied with the results, enjoy your newly painted faucet!
Notes on paint faucets
Painting a faucet is a cost-effective and simple way to update the look of your bathroom or kitchen. Whether you want to change the finish of your faucet or just freshen up the existing one, painting can give your faucets a whole new look. However, there are some important considerations and steps to take to ensure a successful and long-lasting finish.
Preparation is Key
Before you start painting your faucet, it is crucial to prepare the surface properly. This involves cleaning the faucet thoroughly to remove any dirt, grease, or grime. Use a mild detergent and a sponge to scrub the faucet and remove any residue that could affect the adhesion of the paint. Once the faucet is clean, be sure to dry it completely before moving on to the next step.
Next, you’ll want to use a fine-grit sandpaper to lightly sand the surface of the faucet. Sanding will create a rough texture that will help the paint adhere better to the metal surface. After sanding, be sure to wipe the faucet down with a damp cloth to remove any remaining dust or particles.
Choosing the Right Paint
When it comes to painting faucets, it is important to choose the right type of paint. Look for a high-quality metal paint that is designed for use on plumbing fixtures. These paints are formulated to withstand the rigors of daily use, including exposure to water, soap, and cleaning agents. Additionally, consider using a paint primer specifically designed for metal surfaces. This will help the paint bond to the faucet and provide a more durable finish.
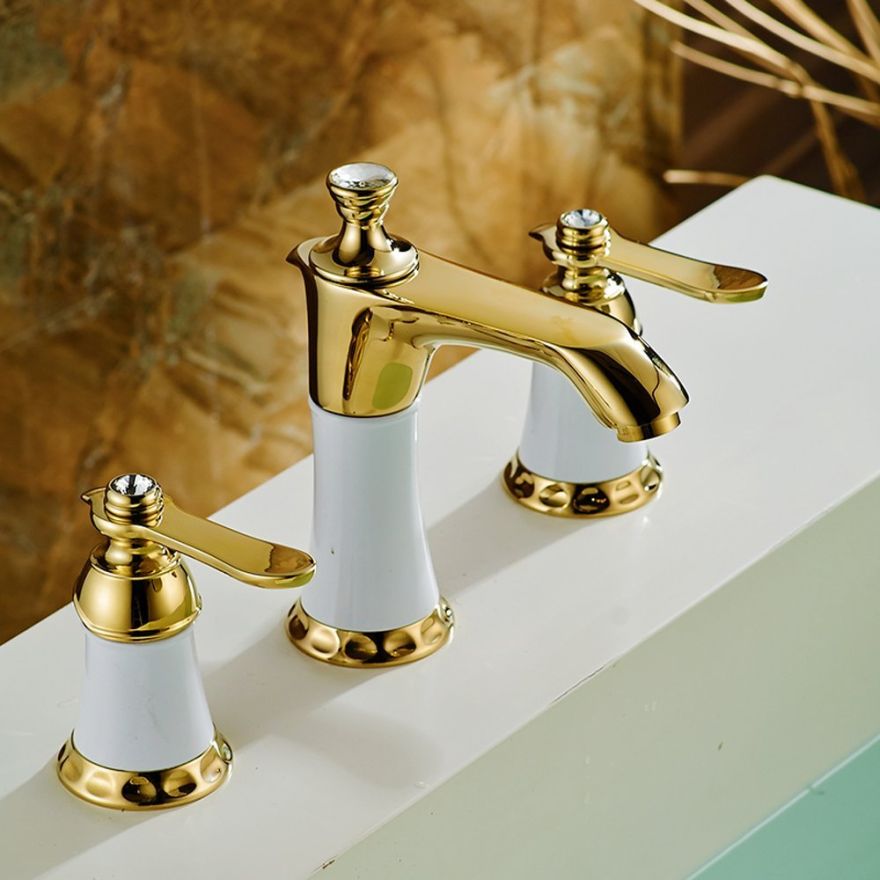
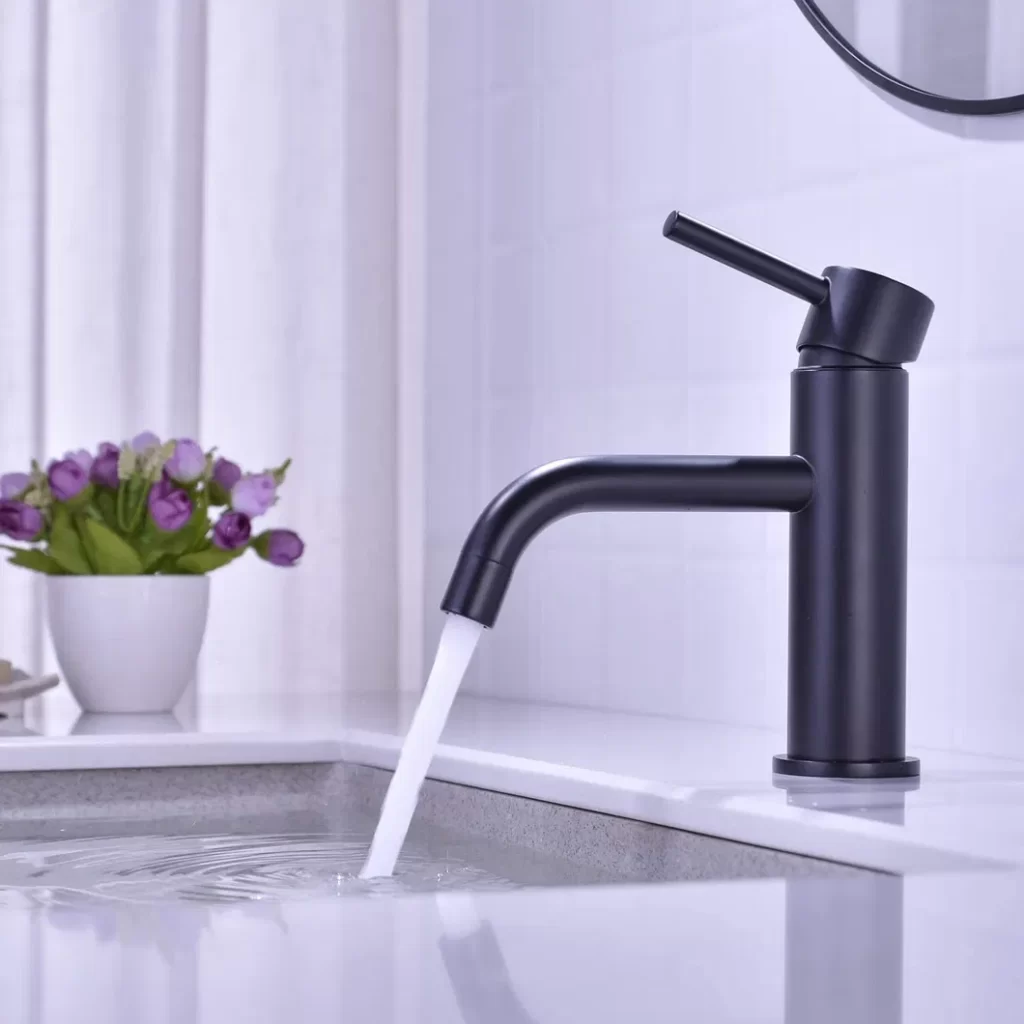
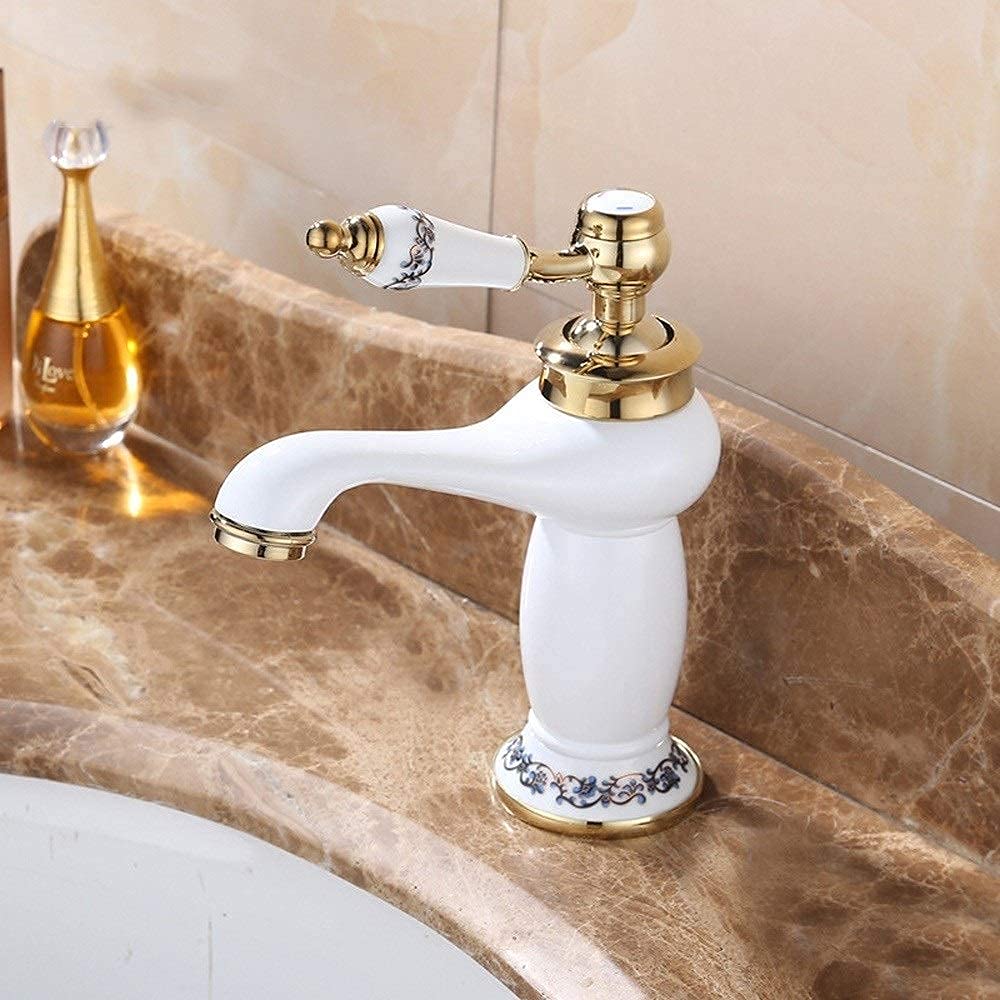
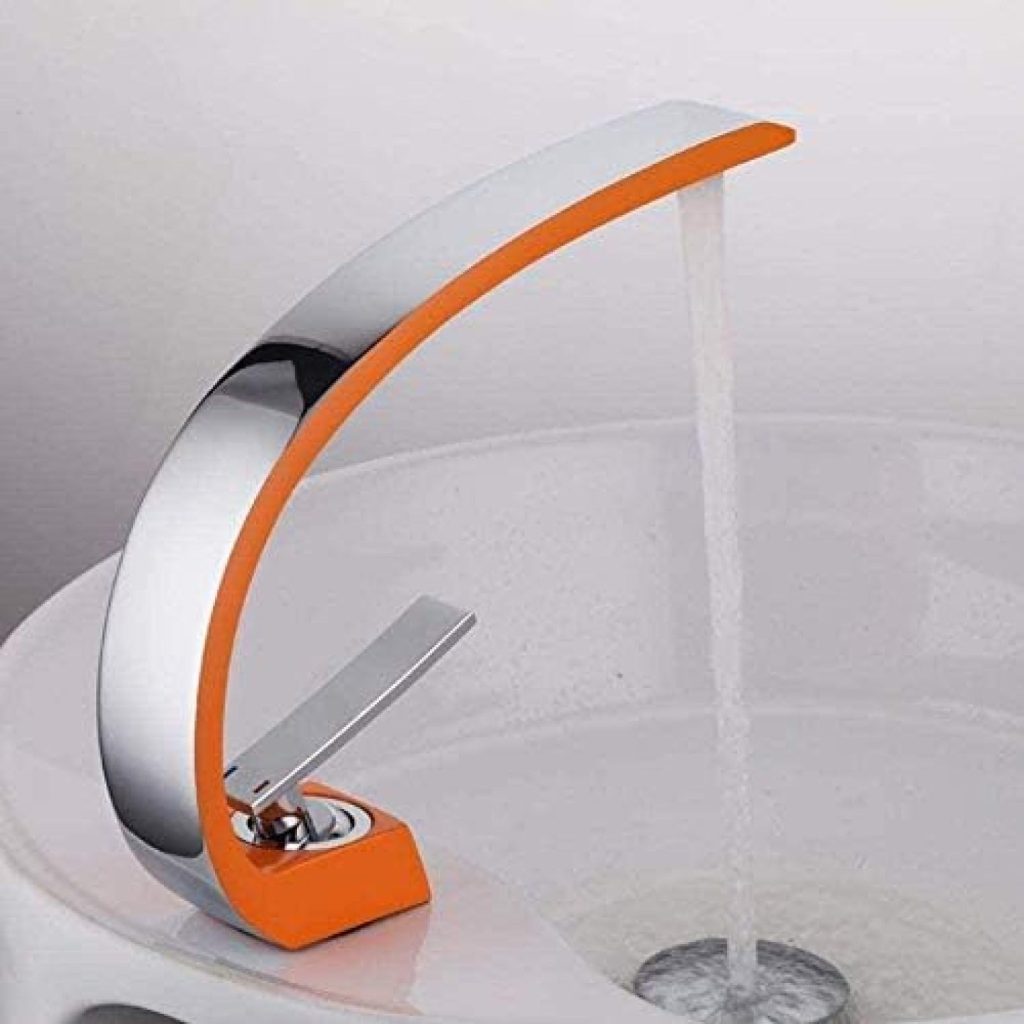
In terms of color, you can choose to match the existing finish of your faucet or go for a completely new look. There are numerous options available in terms of metallic finishes and colors, so take the time to find a shade that fits your style and complements your bathroom or kitchen decor.
Application Techniques
Once you have prepared the faucet and chosen the right paint, it’s time to start applying the paint. It’s best to use a high-quality brush or spray paint for the job. If using a brush, be sure to apply the paint in thin, even coats to avoid drips and streaks. If using spray paint, make sure to apply multiple light coats rather than a single heavy coat to achieve a smooth and uniform finish.
It is crucial to follow the manufacturer’s instructions for both the paint and the primer, including drying times and recoating intervals. This will ensure that the paint cures properly and provides a strong, long-lasting finish.
Post-Painting Care
Once you have finished painting the faucet, it is important to allow the paint to cure fully before using the faucet. This can take anywhere from 24 to 48 hours, depending on the type of paint you have used. Avoid using any cleaning agents or exposing the faucet to water during this time to prevent damage to the finish.
After the paint has fully cured, you can clean the faucet as usual, using mild soap and water. Avoid using abrasive scrubbers or harsh chemicals that could damage the painted surface. With proper care, a painted faucet can maintain its appearance for years to come.
Tips for Success
Here are some additional tips to keep in mind when painting faucets:
- Take your time with the preparation and application process to ensure a professional-looking finish.
- Consider removing the faucet from the sink or countertop before painting to make the job easier and ensure complete coverage.
- Protect surrounding surfaces from overspray or drips by using masking tape and drop cloths.
- If you’re unsure about painting the faucet yourself, consider hiring a professional to ensure a flawless finish.
Remember to always follow safety guidelines when working with paints and other materials, and consult with a professional if you are unsure about any step of the process. With the right precautions and attention to detail, you can transform the look of your faucets with a fresh coat of paint.
Conclusion
Painting your faucets is a simple and cost-effective way to update the look of your kitchen or bathroom without having to replace them. With the right materials and techniques, you can achieve professional-looking results that will last for years to come. Whether you want to change the color of your faucet or simply give it a fresh new finish, painting is a great option for homeowners on a budget. Follow this step-by-step guide to paint your faucets and give them a whole new lease of life.