How to remove old kitchen faucets? Removing an old kitchen faucet is a common task when upgrading or replacing an existing fixture. While it may seem daunting at first, with the right tools and step-by-step approach, homeowners can successfully remove old kitchen faucets. In this article, we will provide a comprehensive guide on how to remove old kitchen faucets. We will cover the necessary preparations, tools required, and a detailed step-by-step process. By following these instructions, homeowners can complete the removal process smoothly and prepare the space for a new faucet installation.
Preparation:
Safety Precautions:
Before starting the removal process, ensure the water supply to the kitchen faucet is turned off. Locate the shut-off valves under the sink and close them to cut off the water flow. To be safe, test the faucet handles to ensure there is no water pressure.
Gather Essential Tools:
Collect the necessary tools for the removal process, including:
- Adjustable wrench
- Slip-joint pliers
- Bucket or container
- Towels or rags for cleaning up any water spills
Step-by-Step Guide:
Clear the Workspace
Clear the area around the kitchen sink to create a clean and organized workspace. Remove any items that might obstruct your access to the faucet.
Disconnect the Water Supply Lines
Locate the water supply lines connected to the faucet. Using an adjustable wrench, carefully loosen the nuts securing the supply lines. Place a bucket or container beneath to catch any dripping water. Once the nuts are loosened, unscrew them by hand and set the supply lines aside.
Remove the Faucet Handle(s)
Depending on the faucet design, remove the handle(s) by locating the small set screw on the handle base. Use a screwdriver or Allen wrench to loosen the set screw, and then pull the handle off gently. Repeat this step for any additional handles.
Loosen and Remove the Mounting Nuts
Underneath the sink, locate the mounting nuts connecting the faucet to the sink or countertop. Use an adjustable wrench or slip-joint pliers to loosen and remove these nuts. If the nuts are difficult to reach, consider using an extended socket wrench or basin wrench for better leverage. Place a towel or rag beneath to catch any excess water that may leak during this process.
Disconnect the Sprayer or Side Spray (If Applicable)
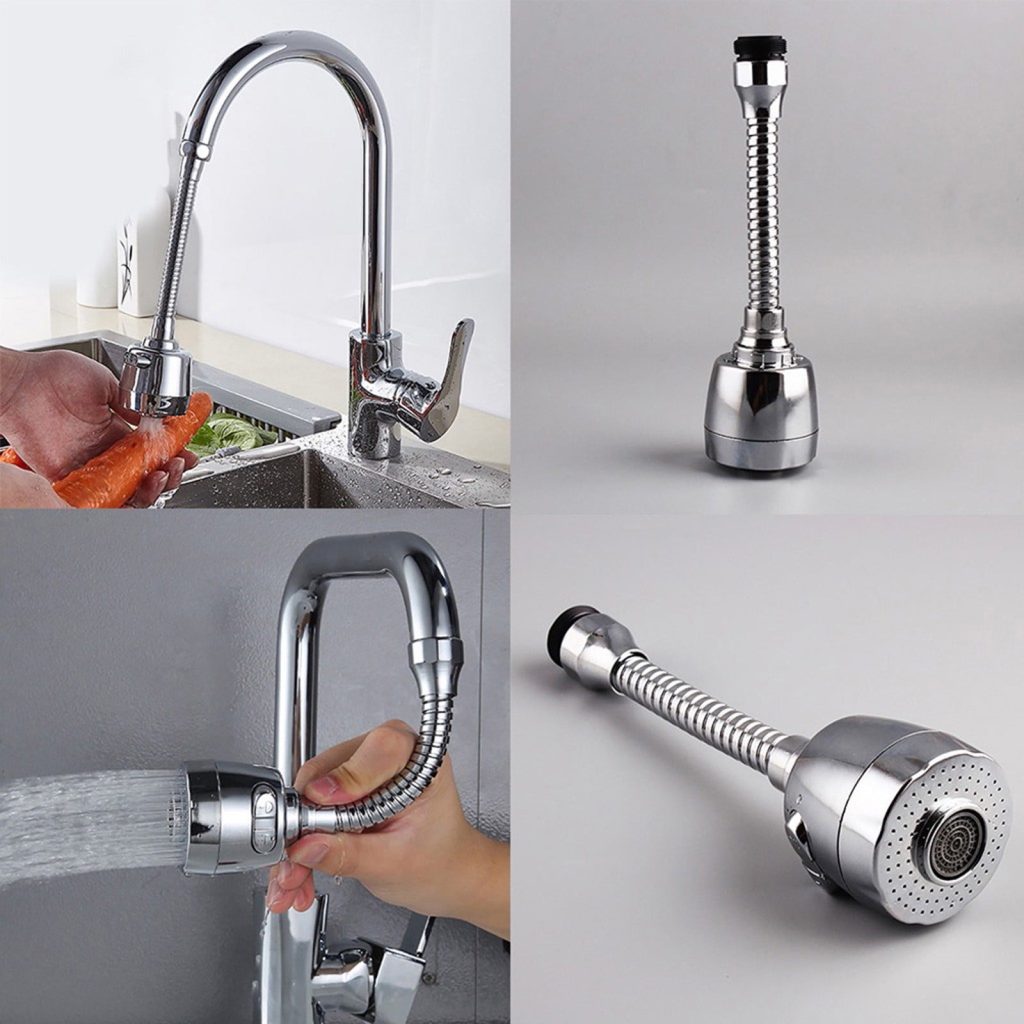
If your outdoor faucets includes a separate sprayer or side spray, detach it from the main faucet body. Most sprayers have a quick connect or threaded connection. If it is a quick connect, squeeze the tabs on the connection and separate the sprayer hose from the main faucet body. For threaded connections, carefully unscrew the connection by hand or using slip-joint pliers.
Lift the Faucet Assembly
Once all the mounting nuts and connections are removed, gently lift the old faucet assembly from the sink or countertop. Be cautious as the faucet may still be connected to the water supply lines. Inspect the area to ensure there are no remaining components or debris from the old faucet.
Clean the Sink or Countertop
With the old faucet removed, take the opportunity to clean the sink or countertop area thoroughly. Remove any accumulated dirt, grime, or residue with a mild cleanser, ensuring a clean and smooth surface for the new faucet installation.
Notes on using old kitchen faucets
Old kitchen faucets add character to a kitchen, but it’s important to exercise caution when using them to ensure their continued functionality and prevent potential issues. Over time, old faucets may develop leaks, mineral deposits, or other problems that can affect water flow and usability.
Regular Inspection:
Regularly inspect your old kitchen faucet for any signs of leaks, cracks, or mineral deposits. These issues can impair the functionality and performance of the faucet. Addressing problems early can prevent further damage and more extensive repairs in the future.
Addressing Leaks Promptly:
Leaking is a common issue with wall mount faucets. If you notice any leaks or dripping, it is essential to address them promptly. Leaks waste water and can lead to increased water bills. They can also cause damage to the sink, countertop, or surrounding areas. Do not ignore leaks; instead, repair or replace any worn-out washers, O-rings, or other faulty components.
Maintaining Water Pressure:
Old faucets may experience reduced water pressure due to mineral buildup or other factors. To maintain optimal water pressure, regularly clean the aerator or mesh screen, which is located at the tip of the faucet. Unscrew it, clean any debris or mineral deposits, and reinstall it. This will help improve water flow and maintain consistent pressure.
Energy Efficiency Considerations:
Older faucets may not be as energy-efficient as more modern options. This can lead to higher energy consumption and increased utility bills over time. Be mindful of turning off the faucet when not in use, especially for tasks such as dishwashing or brushing teeth. Conserving water and energy is beneficial for both the environment and your finances.
Temperature Regulation:
Old faucets might have temperature regulation challenges, especially when switching between hot and cold water. Be cautious when adjusting the temperature and do so gradually to avoid sudden scalding or freezing water. If the temperature regulation is inconsistent, consider having a plumber inspect and repair or replace the faucet’s internal components.
Avoid Harsh Chemicals:
When cleaning an old kitchen faucet, avoid using harsh or abrasive chemicals. These can damage the faucet’s finish or internal parts. Instead, use mild soap, warm water, and a soft cloth to gently clean the faucet. Be cautious not to use scrub brushes or abrasive sponges that could cause scratches or other damage.
Periodic Deep Cleaning:
To prevent mineral buildup and maintain proper functionality, periodically perform a deep cleaning of your old kitchen faucet. Soak the faucet head or aerator in a vinegar solution for a few hours to dissolve any mineral deposits. Afterwards, scrub gently with a soft brush to remove remaining debris. Rinse the components thoroughly before reassembling.
Advantages of old kitchen faucets
Timeless Style:
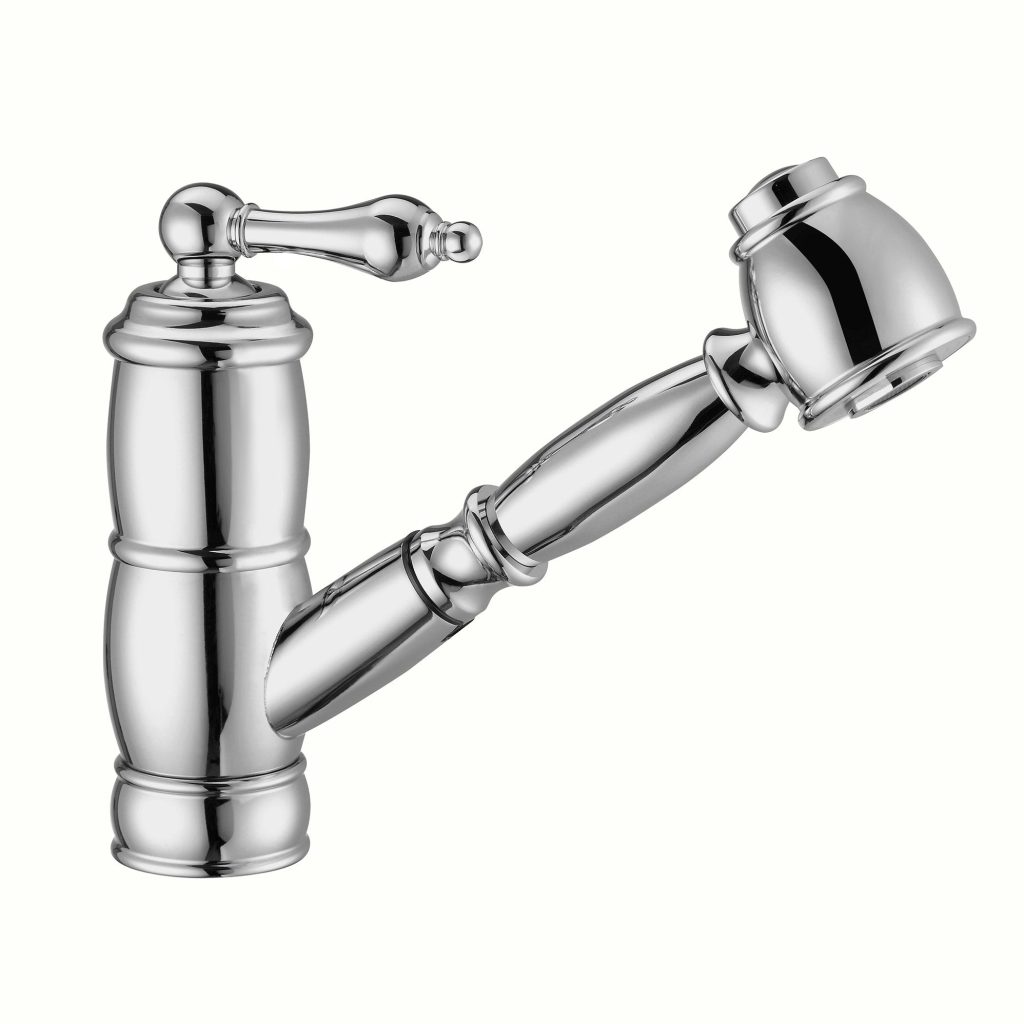
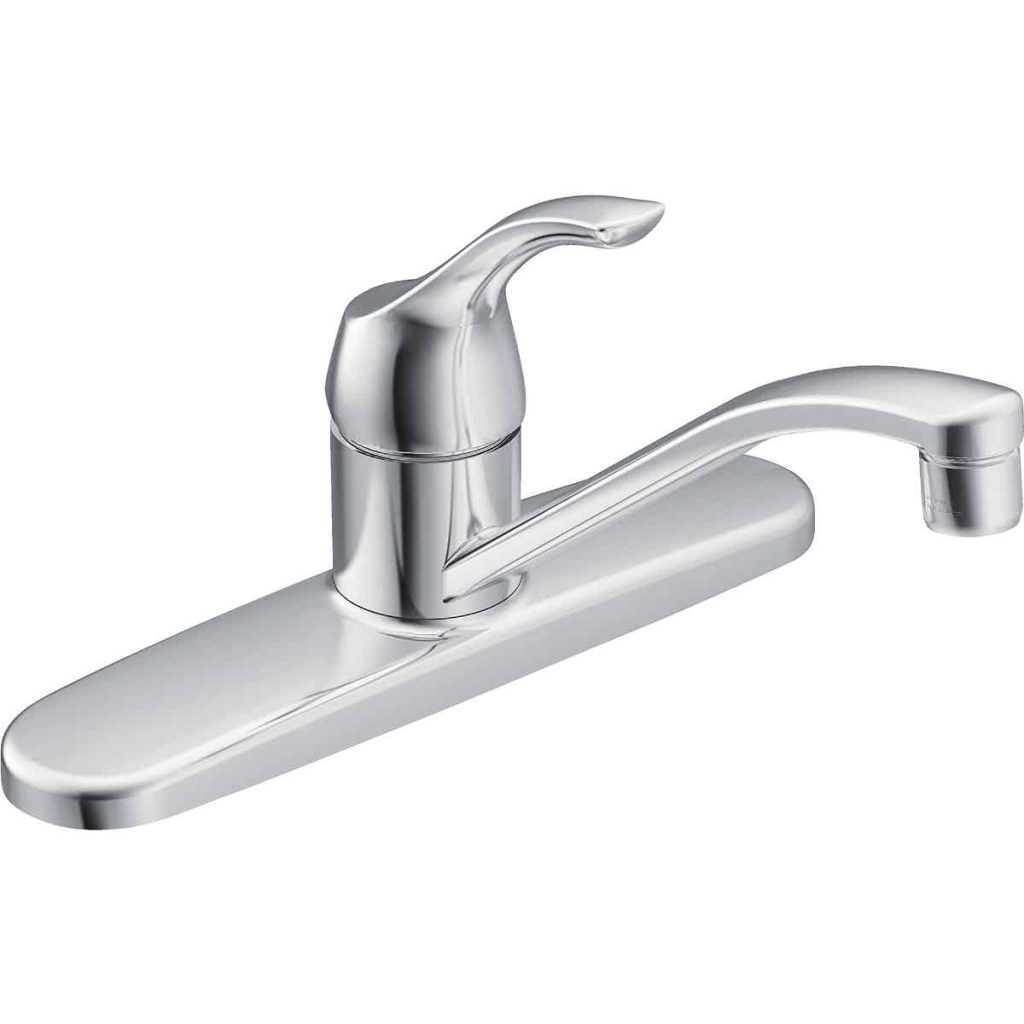
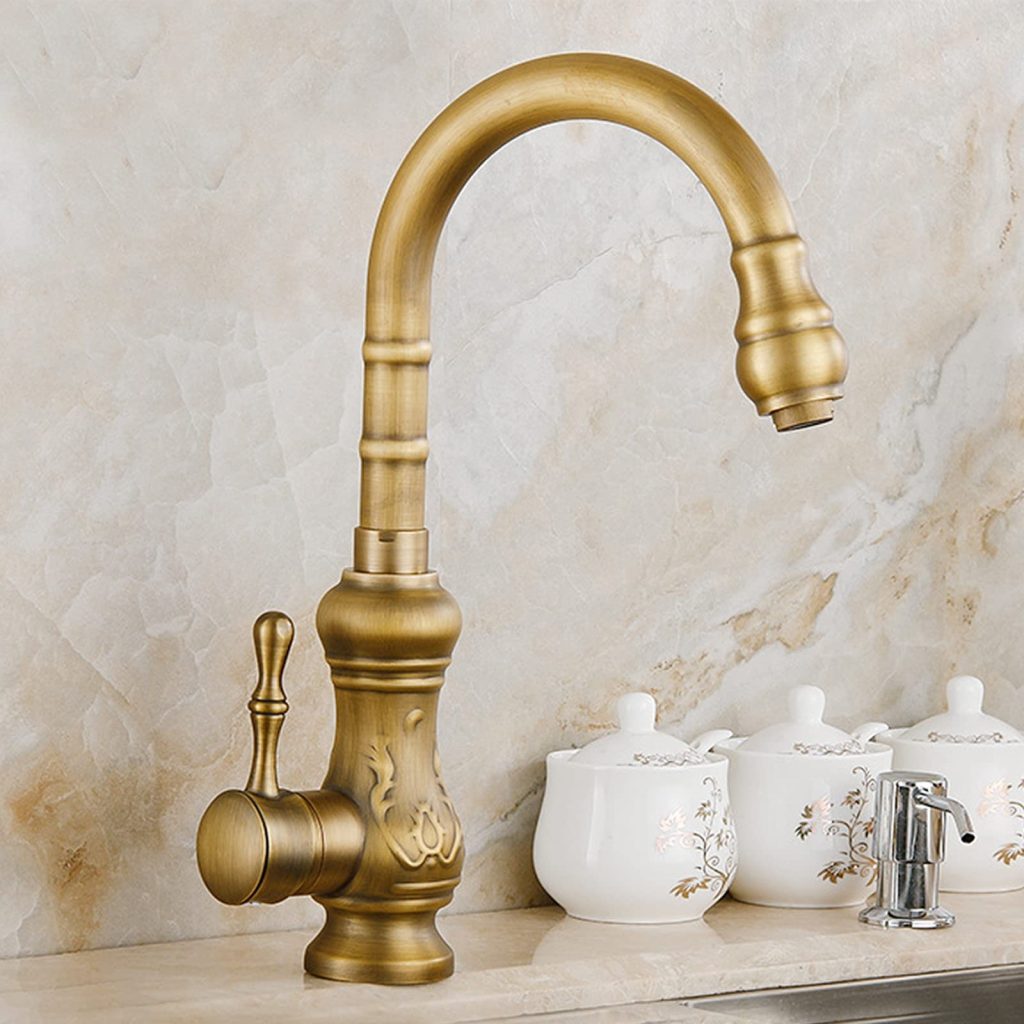
One of the primary advantages of old bathtub faucets is their timeless style. These faucets often feature classic and elegant designs that complement various kitchen aesthetics. Whether your kitchen has a traditional, rustic, or vintage theme, an old faucet can serve as a focal point, adding character and charm to the overall design.
Durability and Quality:
Old kitchen faucets were typically built to last. They were manufactured with durable materials, such as solid brass or stainless steel, which offer excellent resistance to corrosion and wear. The craftsmanship of older faucets often surpasses that of newer models, making them reliable and sturdy fixtures that can withstand the test of time.
Potential Cost Savings:
Old kitchen faucets can offer potential cost savings compared to their modern counterparts. Vintage faucets can often be found at lower price points, especially if sourced from salvage yards, flea markets, or online marketplaces. Repurposing an old faucet can be an affordable way to add character to your kitchen without breaking the bank.
Nostalgic Appeal:
Old kitchen faucets evoke a sense of nostalgia and can create a warm and inviting atmosphere in the kitchen. These fixtures can remind homeowners of fond memories and bygone eras, connecting them to the past and adding sentimental value to the space.
Conclusion:
Removing an old kitchen faucet may seem challenging, but following a step-by-step guide can simplify the process. By preparing the workspace, gathering the necessary tools, and carefully carrying out each step, homeowners can successfully remove their old kitchen faucets. Remember to turn off the water supply, disconnect the water supply lines, remove the handles, loosen and remove the mounting nuts, disconnect the sprayer (if applicable), and finally lift the faucet assembly. With patience and attention to detail, homeowners can complete this task efficiently, leaving the sink or countertop ready for the installation of a new kitchen faucet.