Kitchen faucets installation is a common DIY project that can update the look and functionality of your kitchen. Whether you are replacing an existing faucet or installing a new one, it is important to follow the proper installation process for successful results. In this comprehensive guide, we will walk you through the step-by-step process of installing a kitchen faucet, from gathering the necessary tools and materials to ensuring a leak-free connection.
Tools and Materials You’ll Need:
Before starting the installation process, gather the following tools and materials:
- Adjustable wrench or basin wrench
- Adjustable pliers
- Plumber’s tape (Teflon tape)
- Bucket or towels for water cleanup
- Safety glasses
- Silicone or plumber’s putty (if needed)
- Screwdriver
Step-by-Step Guide:
Preparation:
Shut off the Water: Locate the shutoff valves under the sink and turn them clockwise to shut off the water supply. Alternatively, if there are no individual shutoff valves, you may need to shut off the main water supply.
Open the Faucet: Turn on the old faucet to release any remaining water in the lines. This will prevent excessive leaking and make the removal process easier.
Remove the Old Faucet:
Disconnect Supply Lines: Use an adjustable wrench or pliers to unscrew the supply line connections from the faucet. Place a bucket or towels under the connections to catch any water that may spill out.
These are typically found underneath the sink. Use an adjustable wrench or basin wrench, if needed, to loosen and remove the nuts.
Detach the Old Faucet: Lift the old faucet and carefully remove it from the sink. Clean and dry the area thoroughly to prepare for the new faucet installation.
Prepare the New Faucet:
Assemble the Faucet: Follow the manufacturer’s instructions to properly assemble the new faucet. This may involve attaching handles, spout, and other components. Ensure all connections are secure and properly tightened.
Apply Plumber’s Tape: If required, wrap the threaded ends of the faucet spout and any additional connections with plumber’s tape. This helps create a watertight seal and prevents leaks.
Install the New Faucet:
Position the Faucet: Insert the new faucet into the mounting holes on the sink. Align the faucet properly to ensure smooth operation and an attractive appearance.
Secure the Faucet: From underneath the sink, slide the mounting nuts over the faucet shanks and tighten them by hand. Use an adjustable wrench or basin wrench to firmly secure the nuts, but be careful not to overtighten, as it can cause damage.
Attach Supply Lines: Connect the supply lines to the corresponding hot and cold water valves. Ensure the connections are tight and leak-free. If the supply lines are not included with the faucet, purchase and install compatible lines.
Test and Check for Leaks:
Turn on the Water Supply: Gradually open the shutoff valves to restore water flow to the sink. Check for any leaks around the connections and handle area.
Inspect and Adjust: Monitor the faucet for any signs of leakage or dripping. If necessary, tighten connections or apply plumber’s tape to resolve any leaks. Make any necessary adjustments to ensure a secure and leak-free installation.
Clean Up and Finish:
Clean the Area: Wipe down the sink and surrounding area to remove any excess water, debris, or fingerprints. Ensure the workspace is clean and presentable.
Test the Faucet: Operate the new faucet by turning on the hot and cold water handles. Check for smooth flow, proper water temperature, and any potential issues.
Seal and Caulk (if needed): If instructed by the manufacturer or to prevent water damage, seal around the base of the faucet with silicone or apply plumber’s putty to create a watertight seal between the faucet and sink.
What styles are there in kitchen faucets?
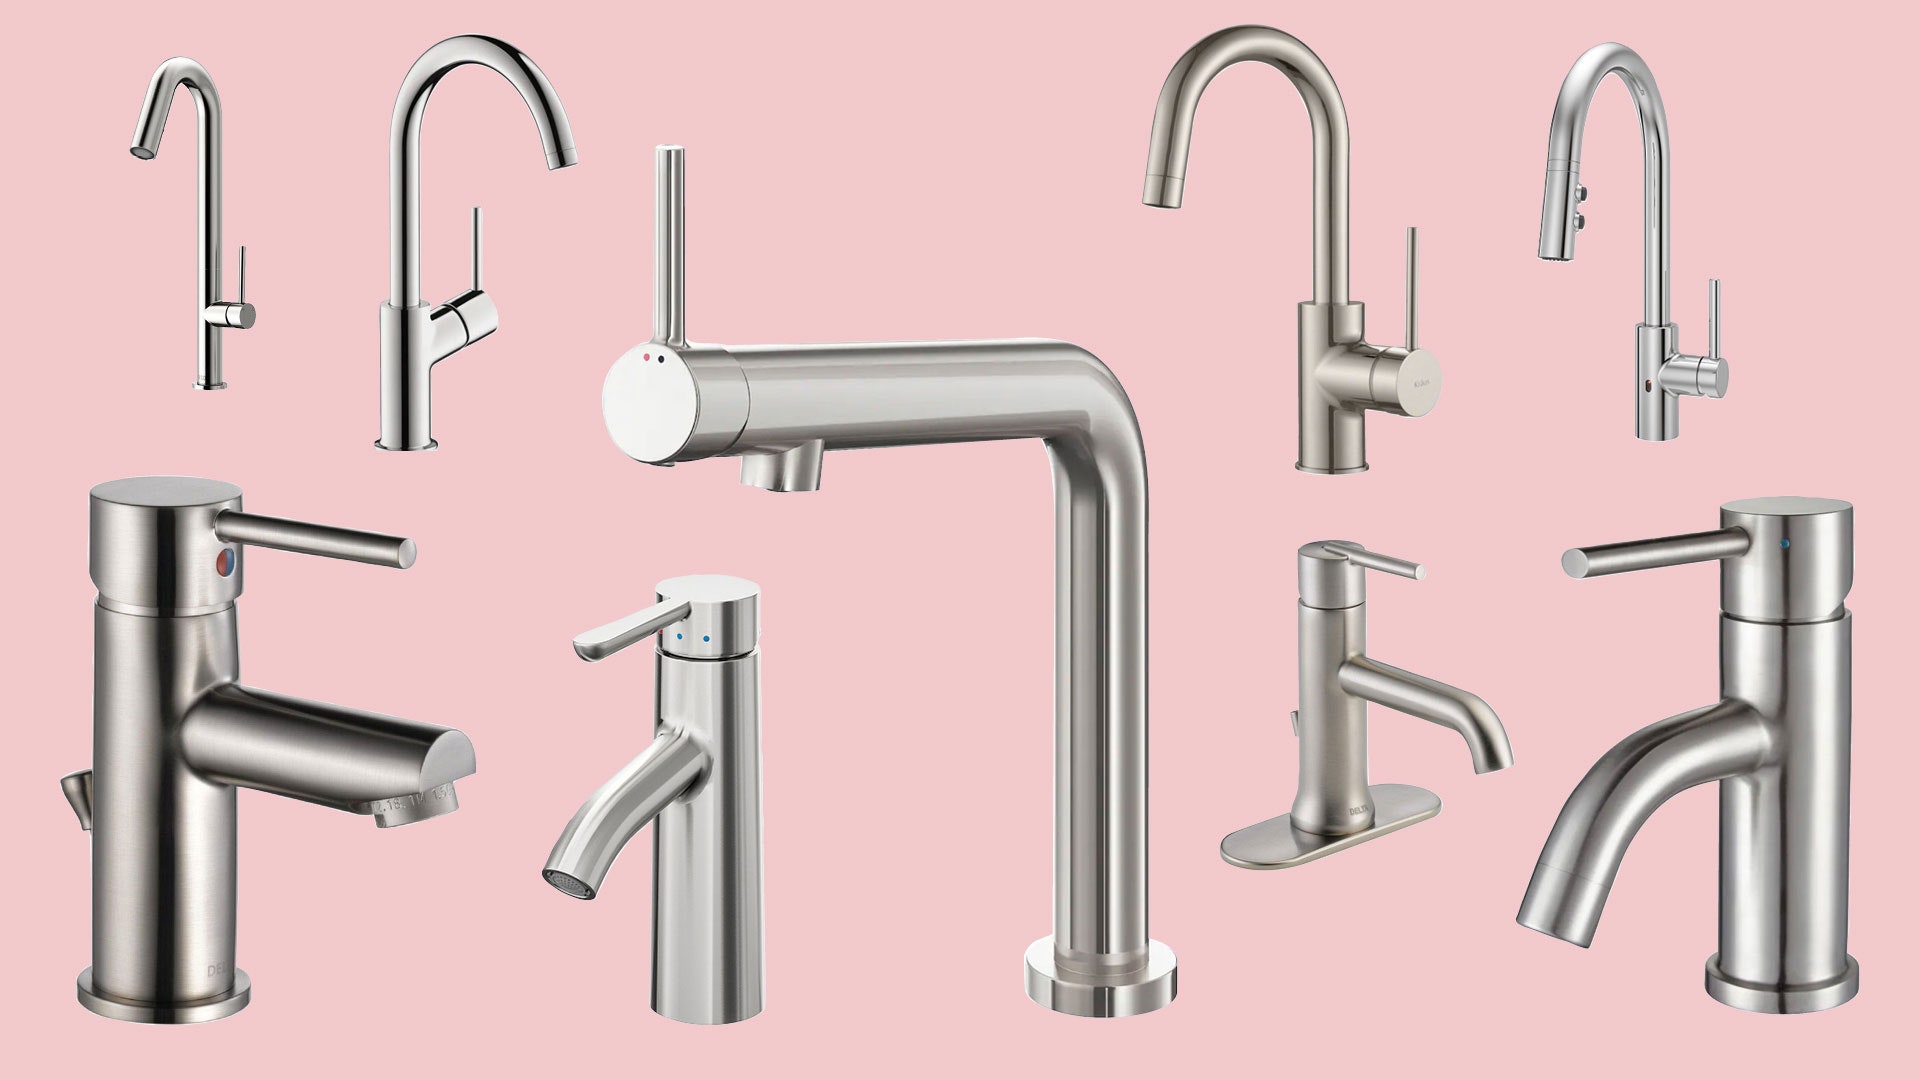
Kitchen faucets come in a variety of styles and designs, each offering unique features, functionalities, and aesthetics. Whether you’re looking for a classic and traditional design, a modern and sleek appearance, or a functional high-tech faucet, there is a wide range of options to choose from.
-
Single-Handle Faucets:
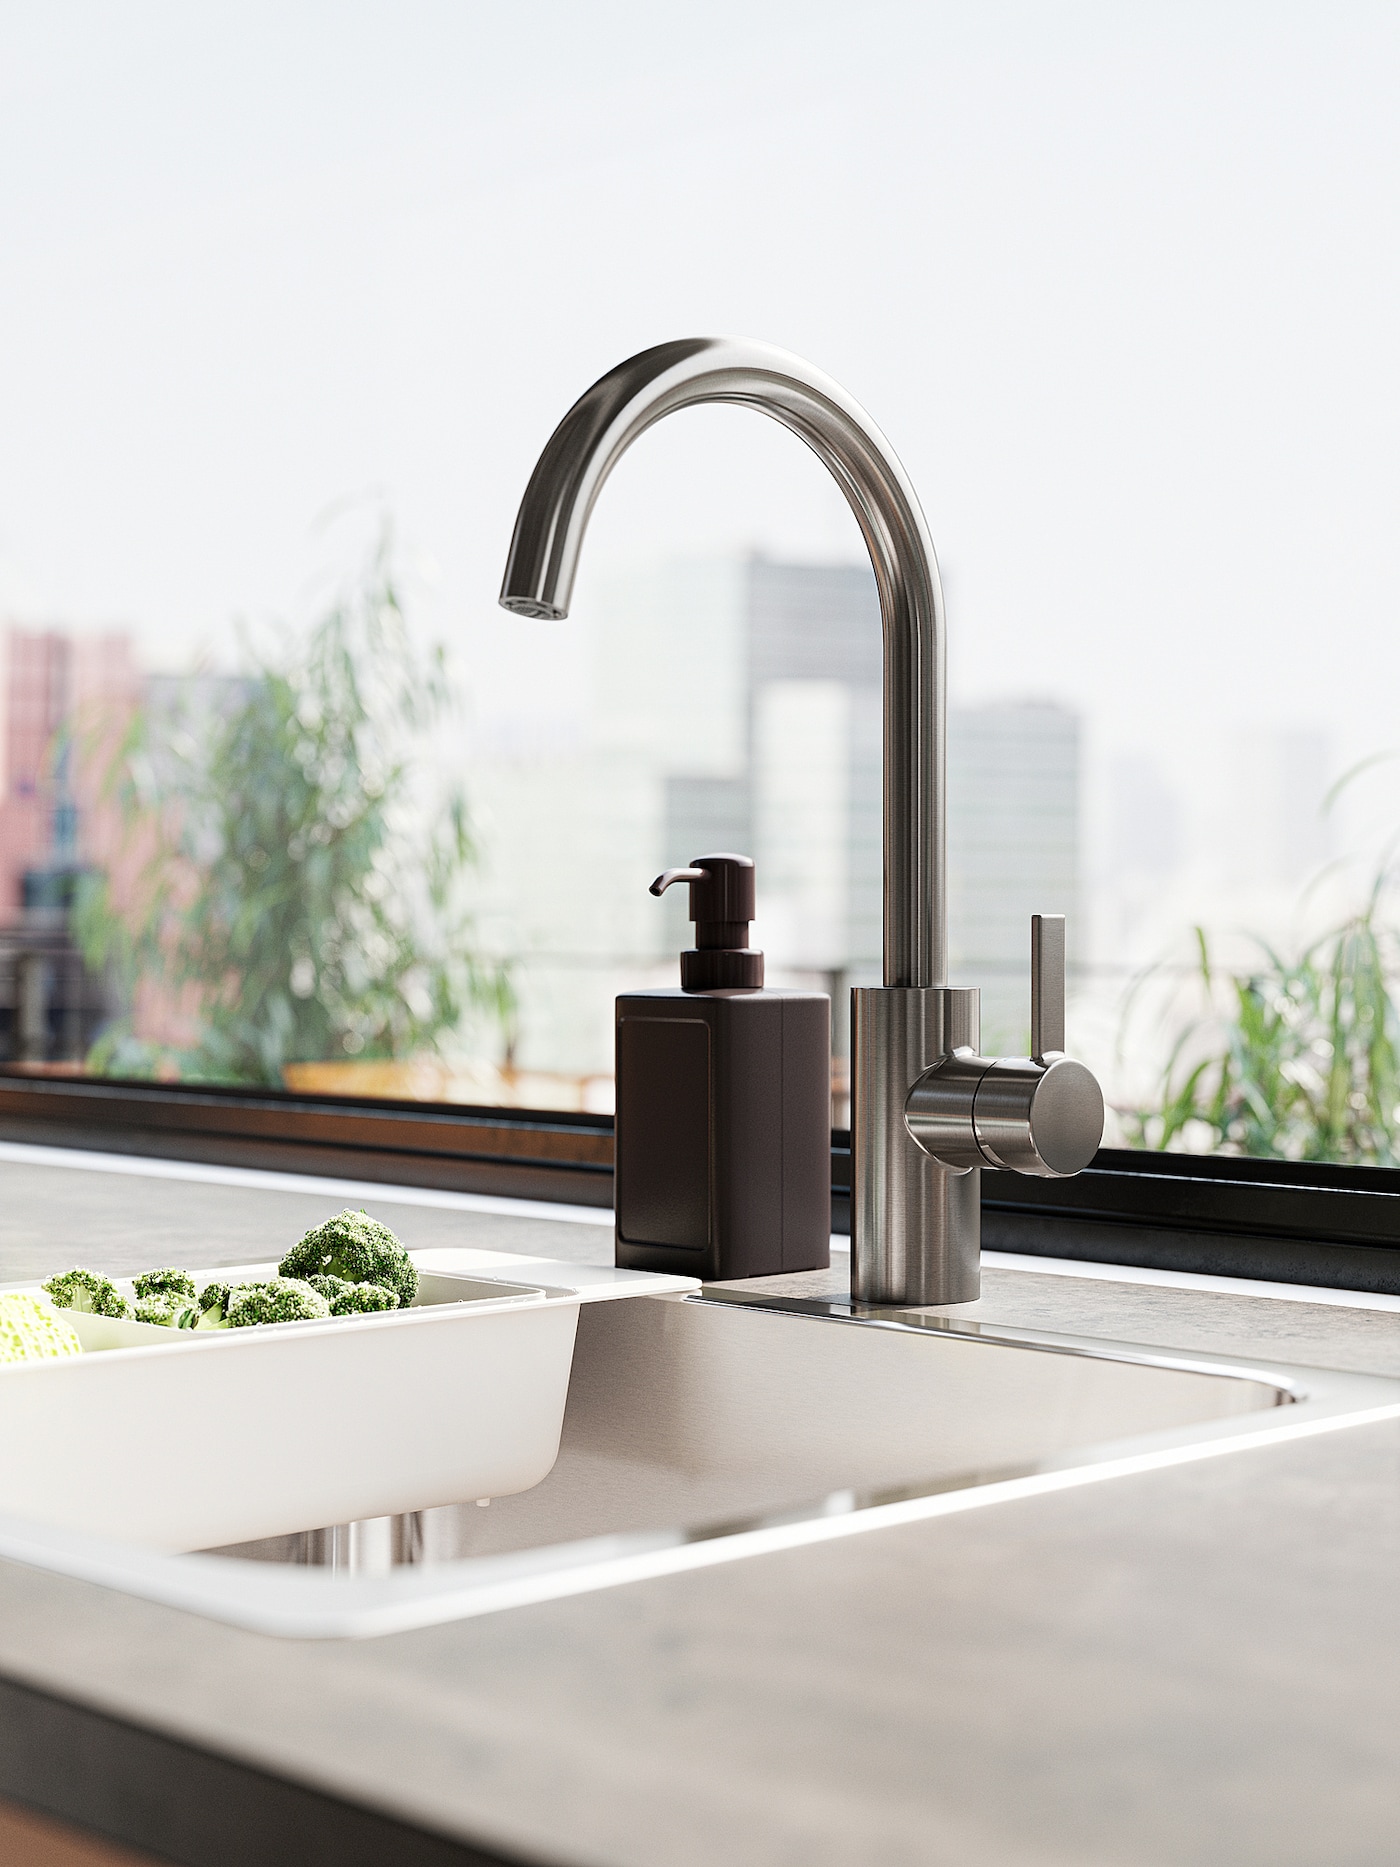
Single-handle faucets feature a single lever for controlling both water temperature and flow. They are popular for their sleek and minimalistic design, making them suitable for modern and contemporary kitchens. Single-handle faucets also provide ease of use and precise control, as the lever can be easily adjusted with one hand.
-
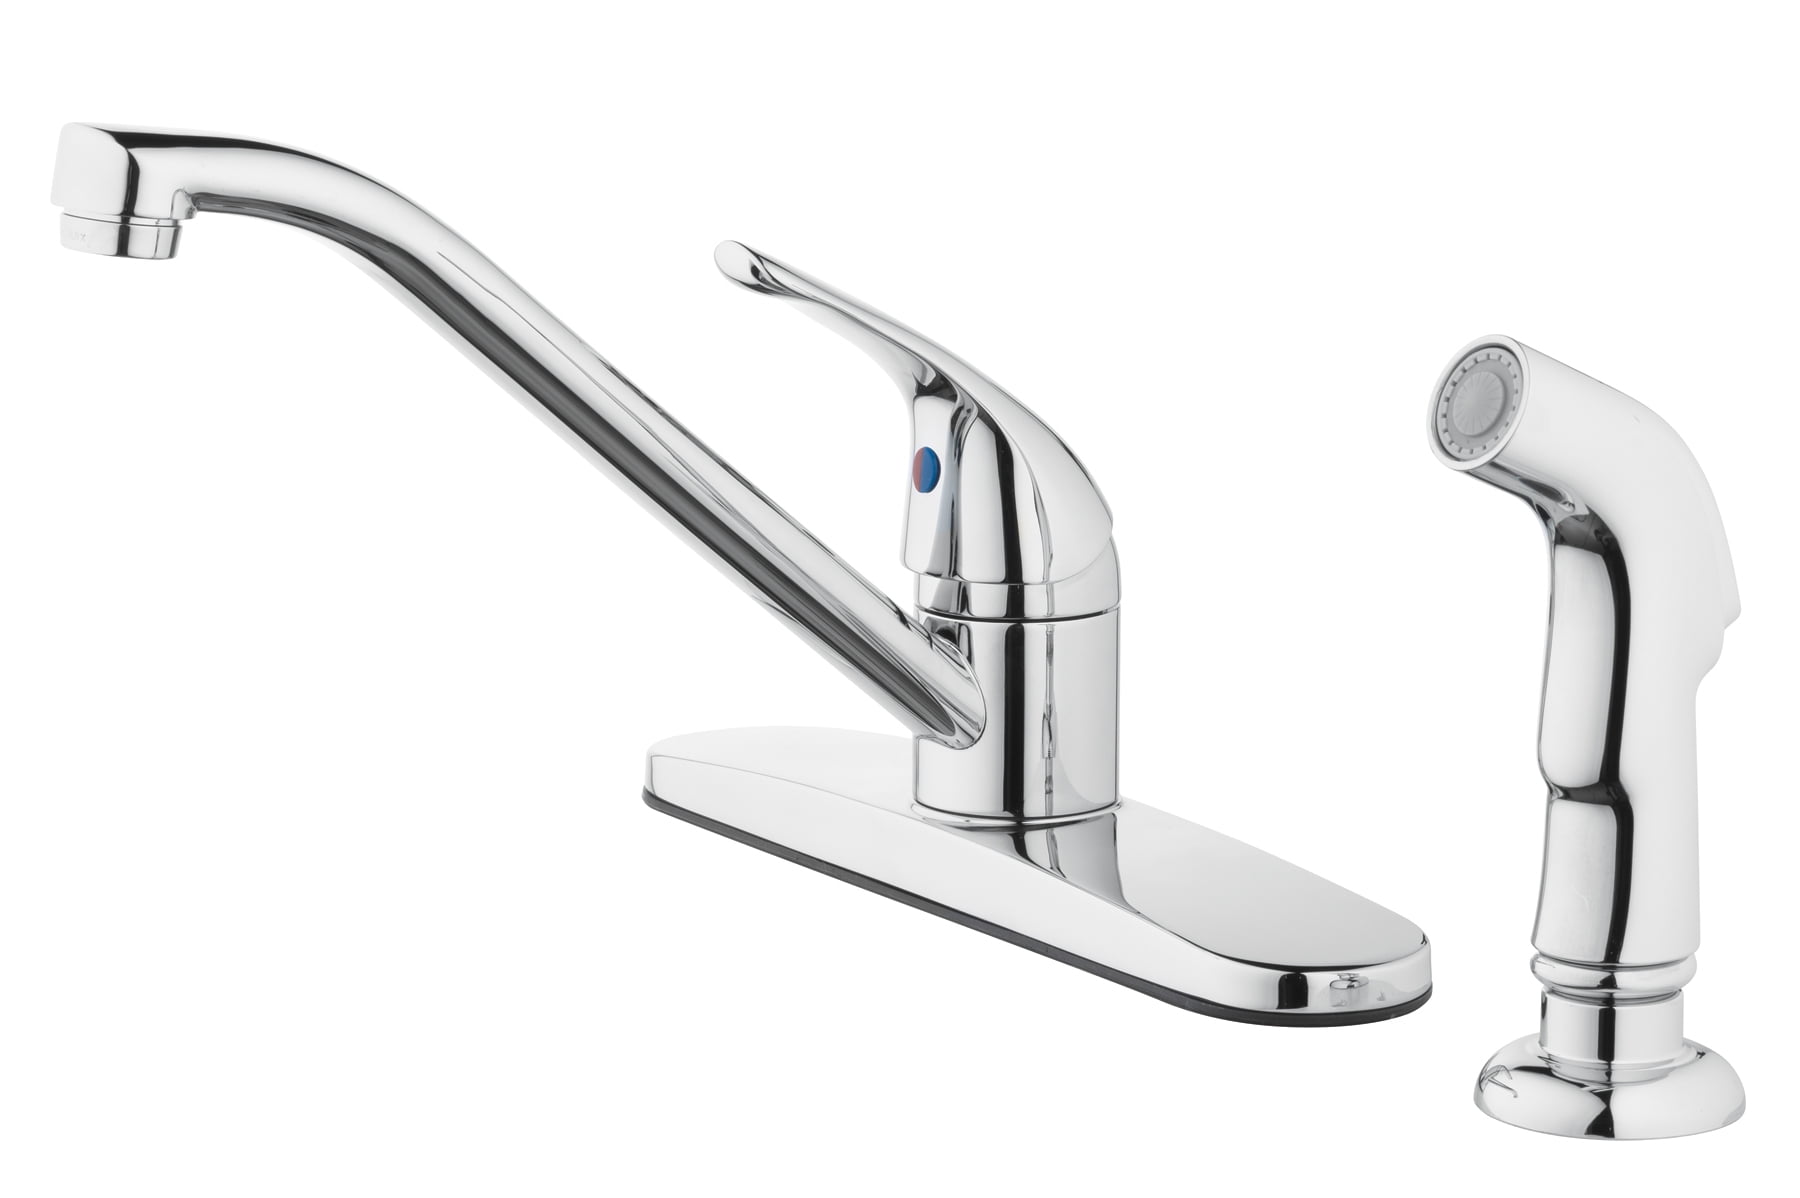
Dual-Handle Faucets:
Dual-handle faucets have separate handles for hot and cold water, allowing for precise control over water temperature. They offer a classic and traditional look, making them ideal for traditional or farmhouse-style kitchens. Dual-handle faucets can add a touch of elegance and sophistication to the kitchen decor.
-
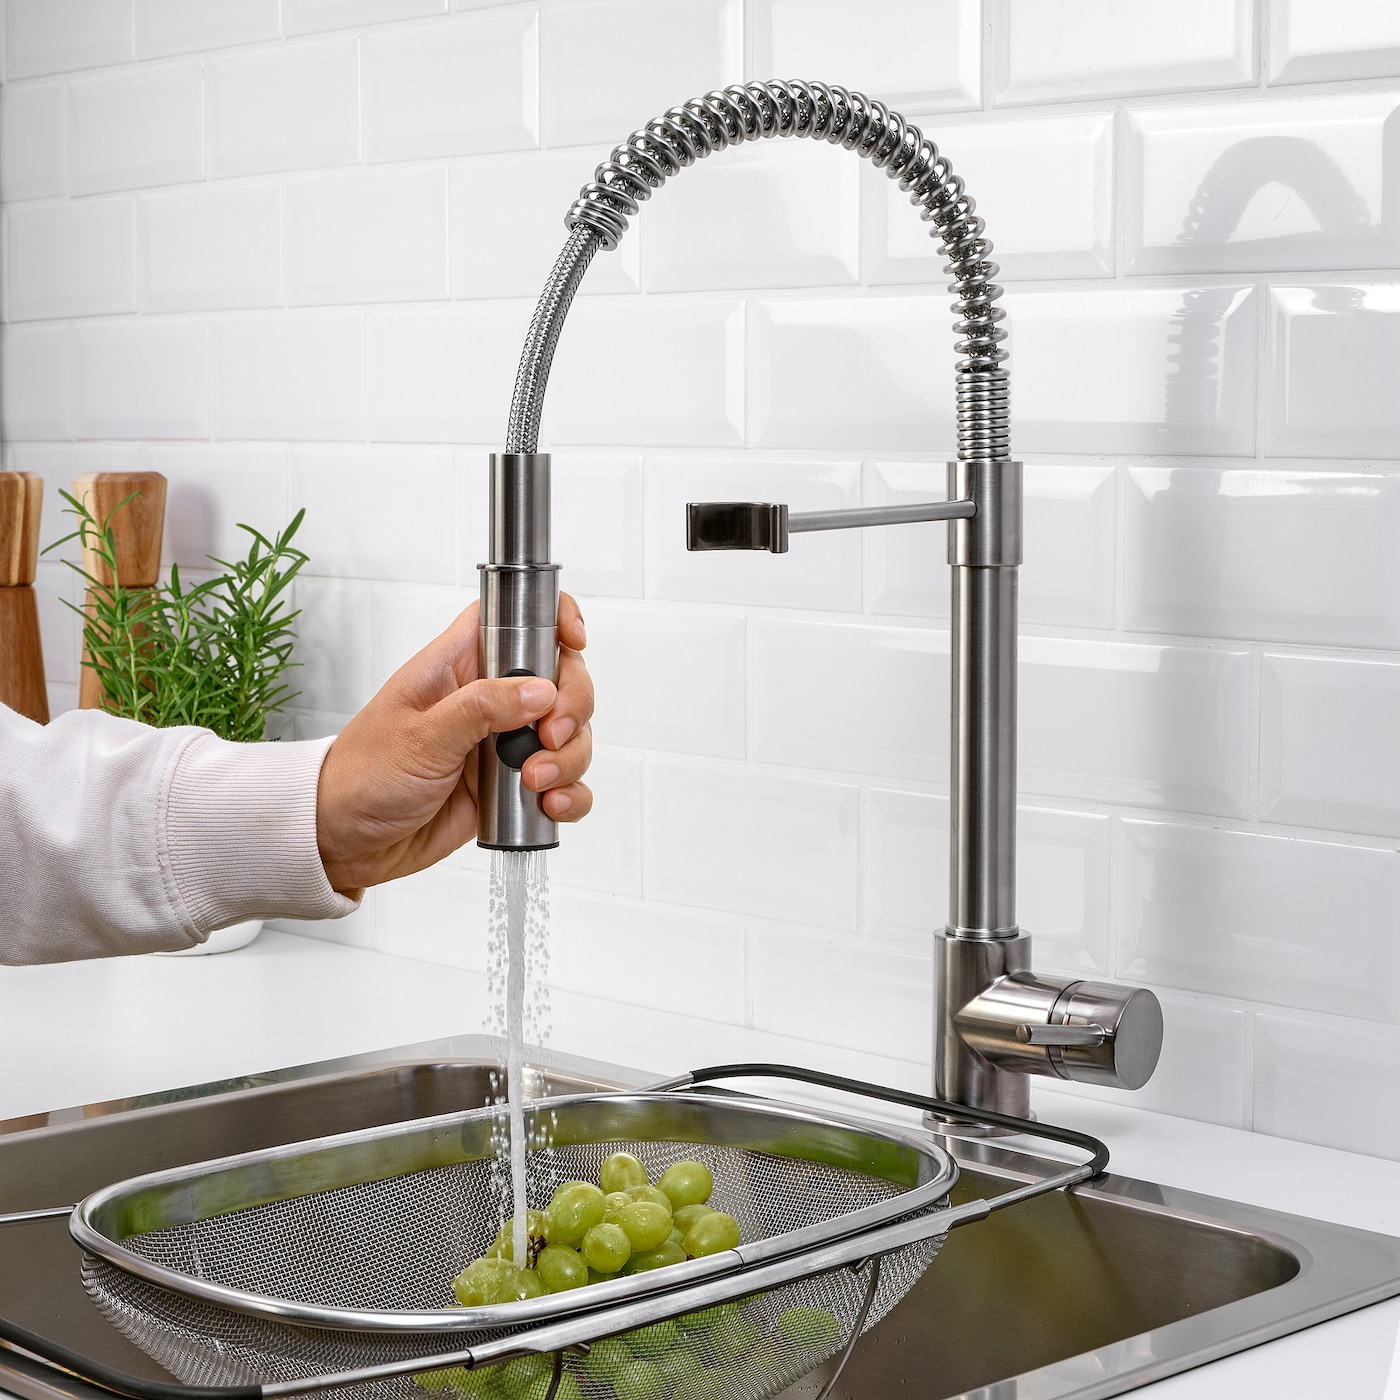
Pull-Down Faucets:
Pull-down faucets feature a spray head that can be pulled down directly into the sink. These faucets allow for easy maneuverability and flexibility, making tasks such as rinsing dishes and filling pots more convenient. Pull-down faucets are popular for their seamless design and sleek appearance.
-
Pull-Out Faucets:
Similar to pull-down faucets, pull-out faucets have a spray head that can be pulled out, offering extended reach and maneuverability. The main difference is that the spray head of a pull-out faucet is more compact and often has a wider spray pattern. Pull-out faucets are versatile and ideal for smaller sinks or kitchens with limited space.
-
Bridge Faucets:
Bridge faucets feature a bridge design with a high-arc spout, reminiscent of traditional or vintage styles. The hot and cold water handles are connected to the faucet body by a bridge, creating a visually appealing centerpiece. Bridge faucets add an elegant and nostalgic touch to traditional or farmhouse kitchens.
-
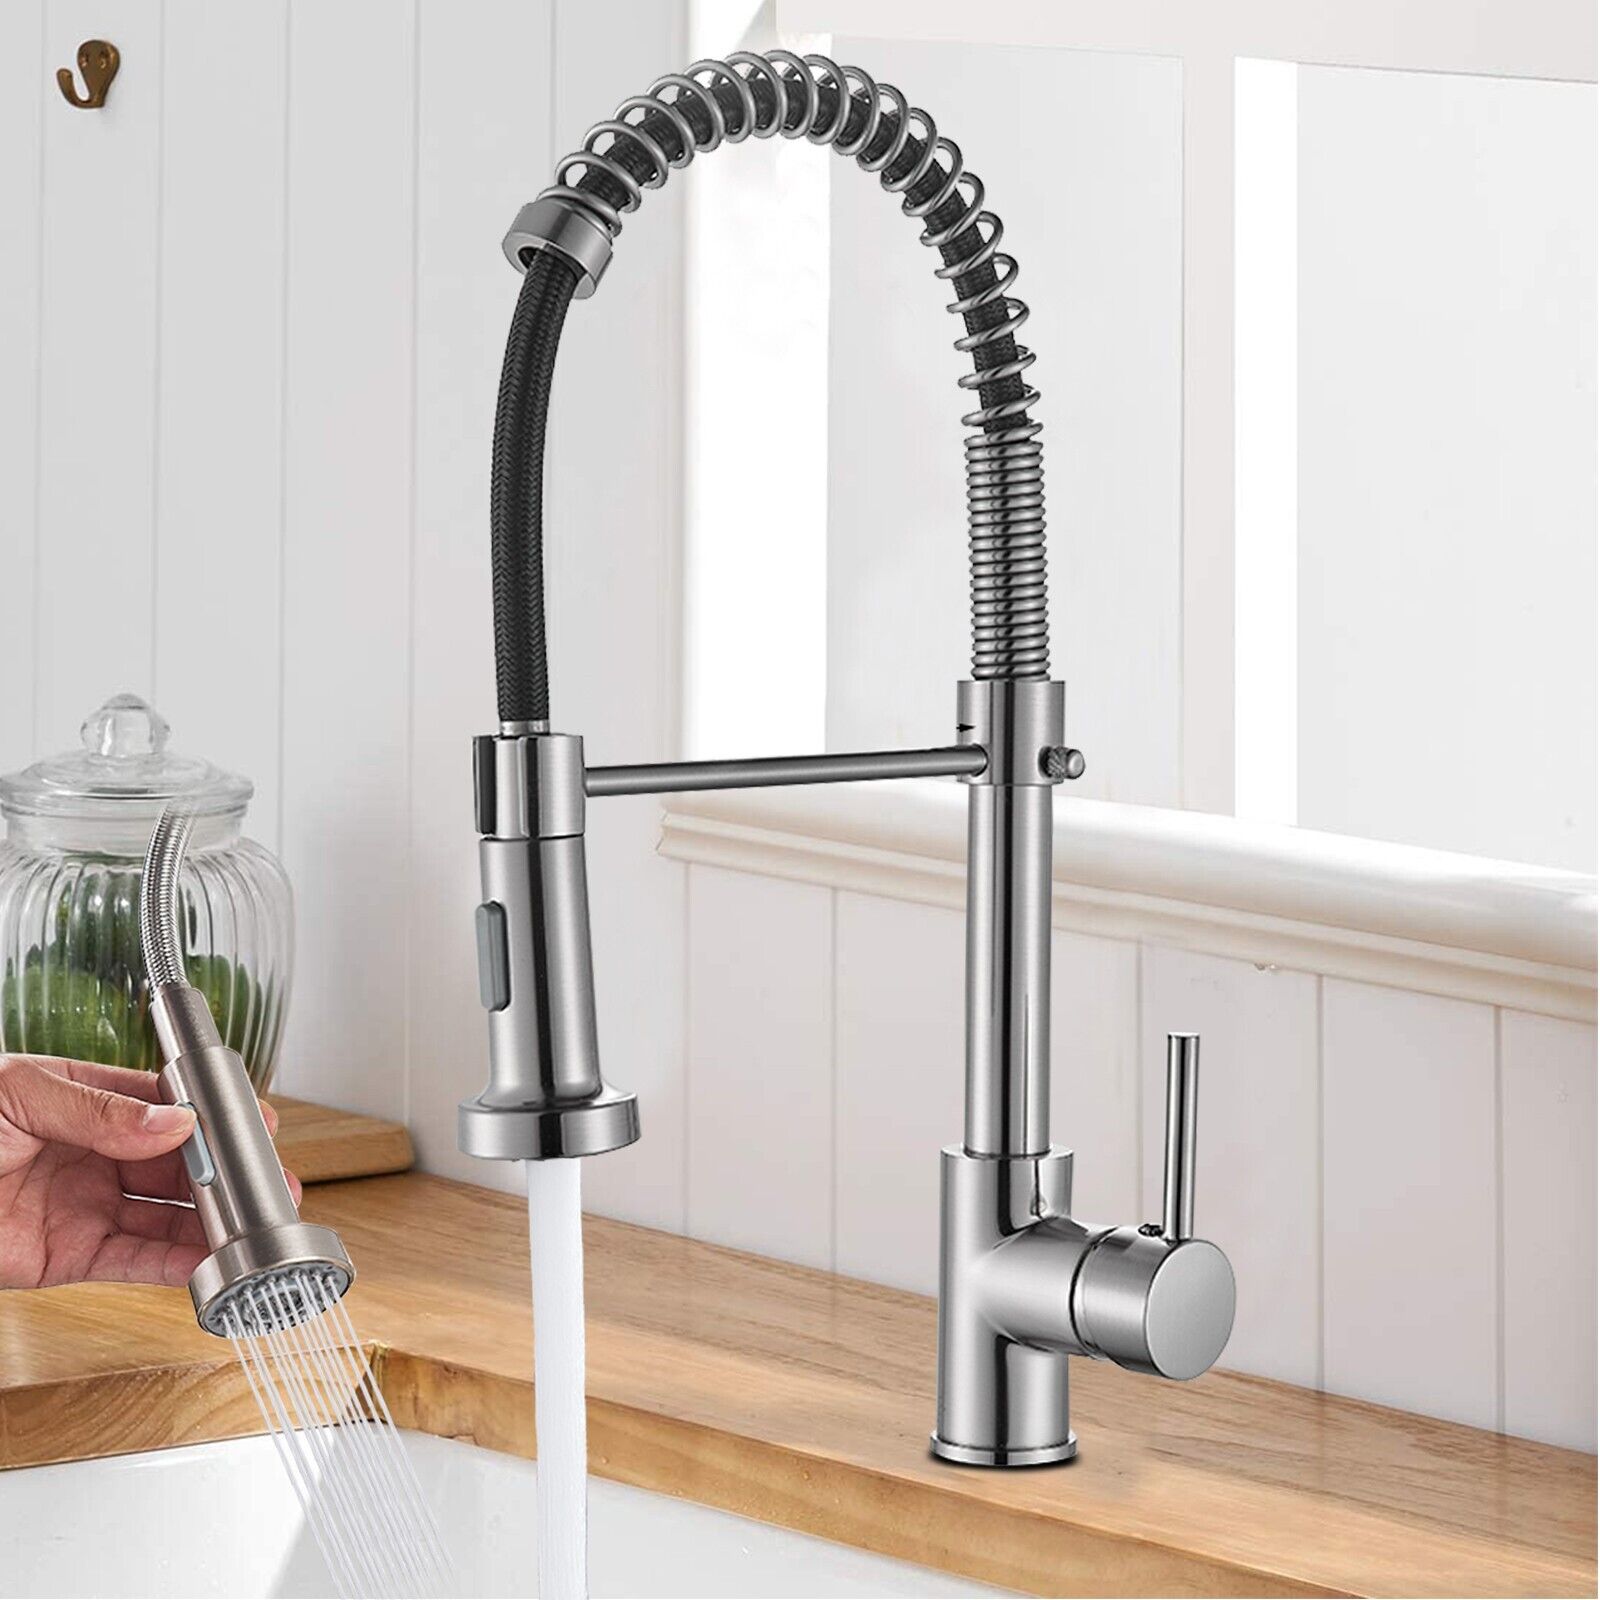
Commercial-Style Faucets:
Commercial-style faucets, also known as professional-style or chef-inspired faucets, are designed to mimic the look and functionality of faucets found in commercial kitchens. They feature a high-arc spout, a flexible spray head, and robust construction. Commercial-style faucets offer a modern and industrial aesthetic and are popular for their durability and professional-grade features.
In conclusion
Installing a kitchen faucet is a rewarding DIY project that can significantly improve the aesthetics and functionality of your kitchen. By following these step-by-step instructions, you can successfully complete the installation process with confidence. Remember to gather the necessary tools and materials, properly remove the old faucet, prepare and assemble the new faucet, securely install it, and thoroughly test for leaks. With careful attention to detail and proper installation, your new kitchen faucet will provide years of reliable service and enhance your overall kitchen experience.