How to install shower faucets? Installing a shower faucet is a relatively straightforward process that can be accomplished with basic plumbing knowledge and the right tools. Whether you’re replacing an old shower faucet or installing a new one, following a step-by-step guide will help ensure a successful installation. In this guide, we will provide you with a comprehensive step-by-step process for installing shower faucets, including preparing the area, removing the old faucet, installing the new faucet, and testing for leaks.
Before You Begin:
-
Gather the Necessary Tools and Materials:
- Adjustable wrench
- Plumber’s tape
- Screwdriver
- Pipe cutter or hacksaw
- Teflon tape
- Socket wrench set
- Silicone sealant
- New shower faucet set
-
Turn Off the Water Supply:
Before starting the installation process, locate the main water supply valve and turn it off to prevent any water flow to the shower. You may need to drain the remaining water from the pipes by turning on the shower faucet to relieve any pressure.
Prepare the Area:
Remove the Old Faucet Trim: Use a screwdriver to remove the screws or nuts that hold the faucet trim in place. Gently pry off the trim plate or faceplate, exposing the valve behind it. Carefully set aside the removed trim pieces.
Inspect and Clean the Valve: Inspect the exposed valve for any damage or signs of wear. Clean the valve and surrounding area to ensure a smooth installation.
Measure and Prepare the Pipe Length: Measure the distance between the valve and the showerhead outlet. If necessary, use a pipe cutter or hacksaw to cut the existing pipe to the appropriate length.

Install the New Faucet:
Apply Plumber’s Tape: Wrap plumber’s tape clockwise around the threads of the shower arm, ensuring a tight seal. This prevents leaks and ensures a secure connection between the showerhead and the arm.
Attach the Shower Arm: Attach the shower arm to the outlet on the valve by turning it clockwise. Use an adjustable wrench to tighten the connection, ensuring it is snug.
Install the Valve Trim: Place the valve trim over the valve, aligning it with the mounting holes. Secure the trim in place using the provided screws or bolts. Follow the manufacturer’s instructions for the specific trim installation.
Connect the Shower Head: Screw the showerhead onto the shower arm by turning it clockwise. Use an adjustable wrench to tighten the connection, ensuring it is snug. Be careful not to overtighten, as it can damage the threads.
Test for Leaks:
Turn on the Water Supply: Carefully turn on the main water supply valve to restore water flow to the shower. Check for any leaks around the connections or valve.
Check for Proper Functionality: Test the shower faucet by turning it on and off. Check for proper water flow, temperature control, and any unusual noises or vibrations.
Seal the Trim Plate: Apply a bead of silicone sealant around the edges of the trim plate to create a watertight seal. Smooth out the sealant using your finger or a caulk tool.
Finalize the Installation:
Reinstall the Trim Plate: Place the trim plate or faceplate back onto the bathroom wall, aligning it with the valve. Secure it in place using the screws or nuts that were previously removed.
Clean and Polish: Wipe off any excess sealant or water from the surface of the faucet and surrounding area. Use a clean, dry cloth to polish the faucet and make it shine.
What styles of shower faucets are there?
Shower faucets are an essential part of any bathroom, providing control over water flow and temperature. They also contribute to the overall aesthetics and functionality of the shower space. From traditional to modern designs, there are various styles of shower faucets available to suit different preferences and bathroom themes.
-
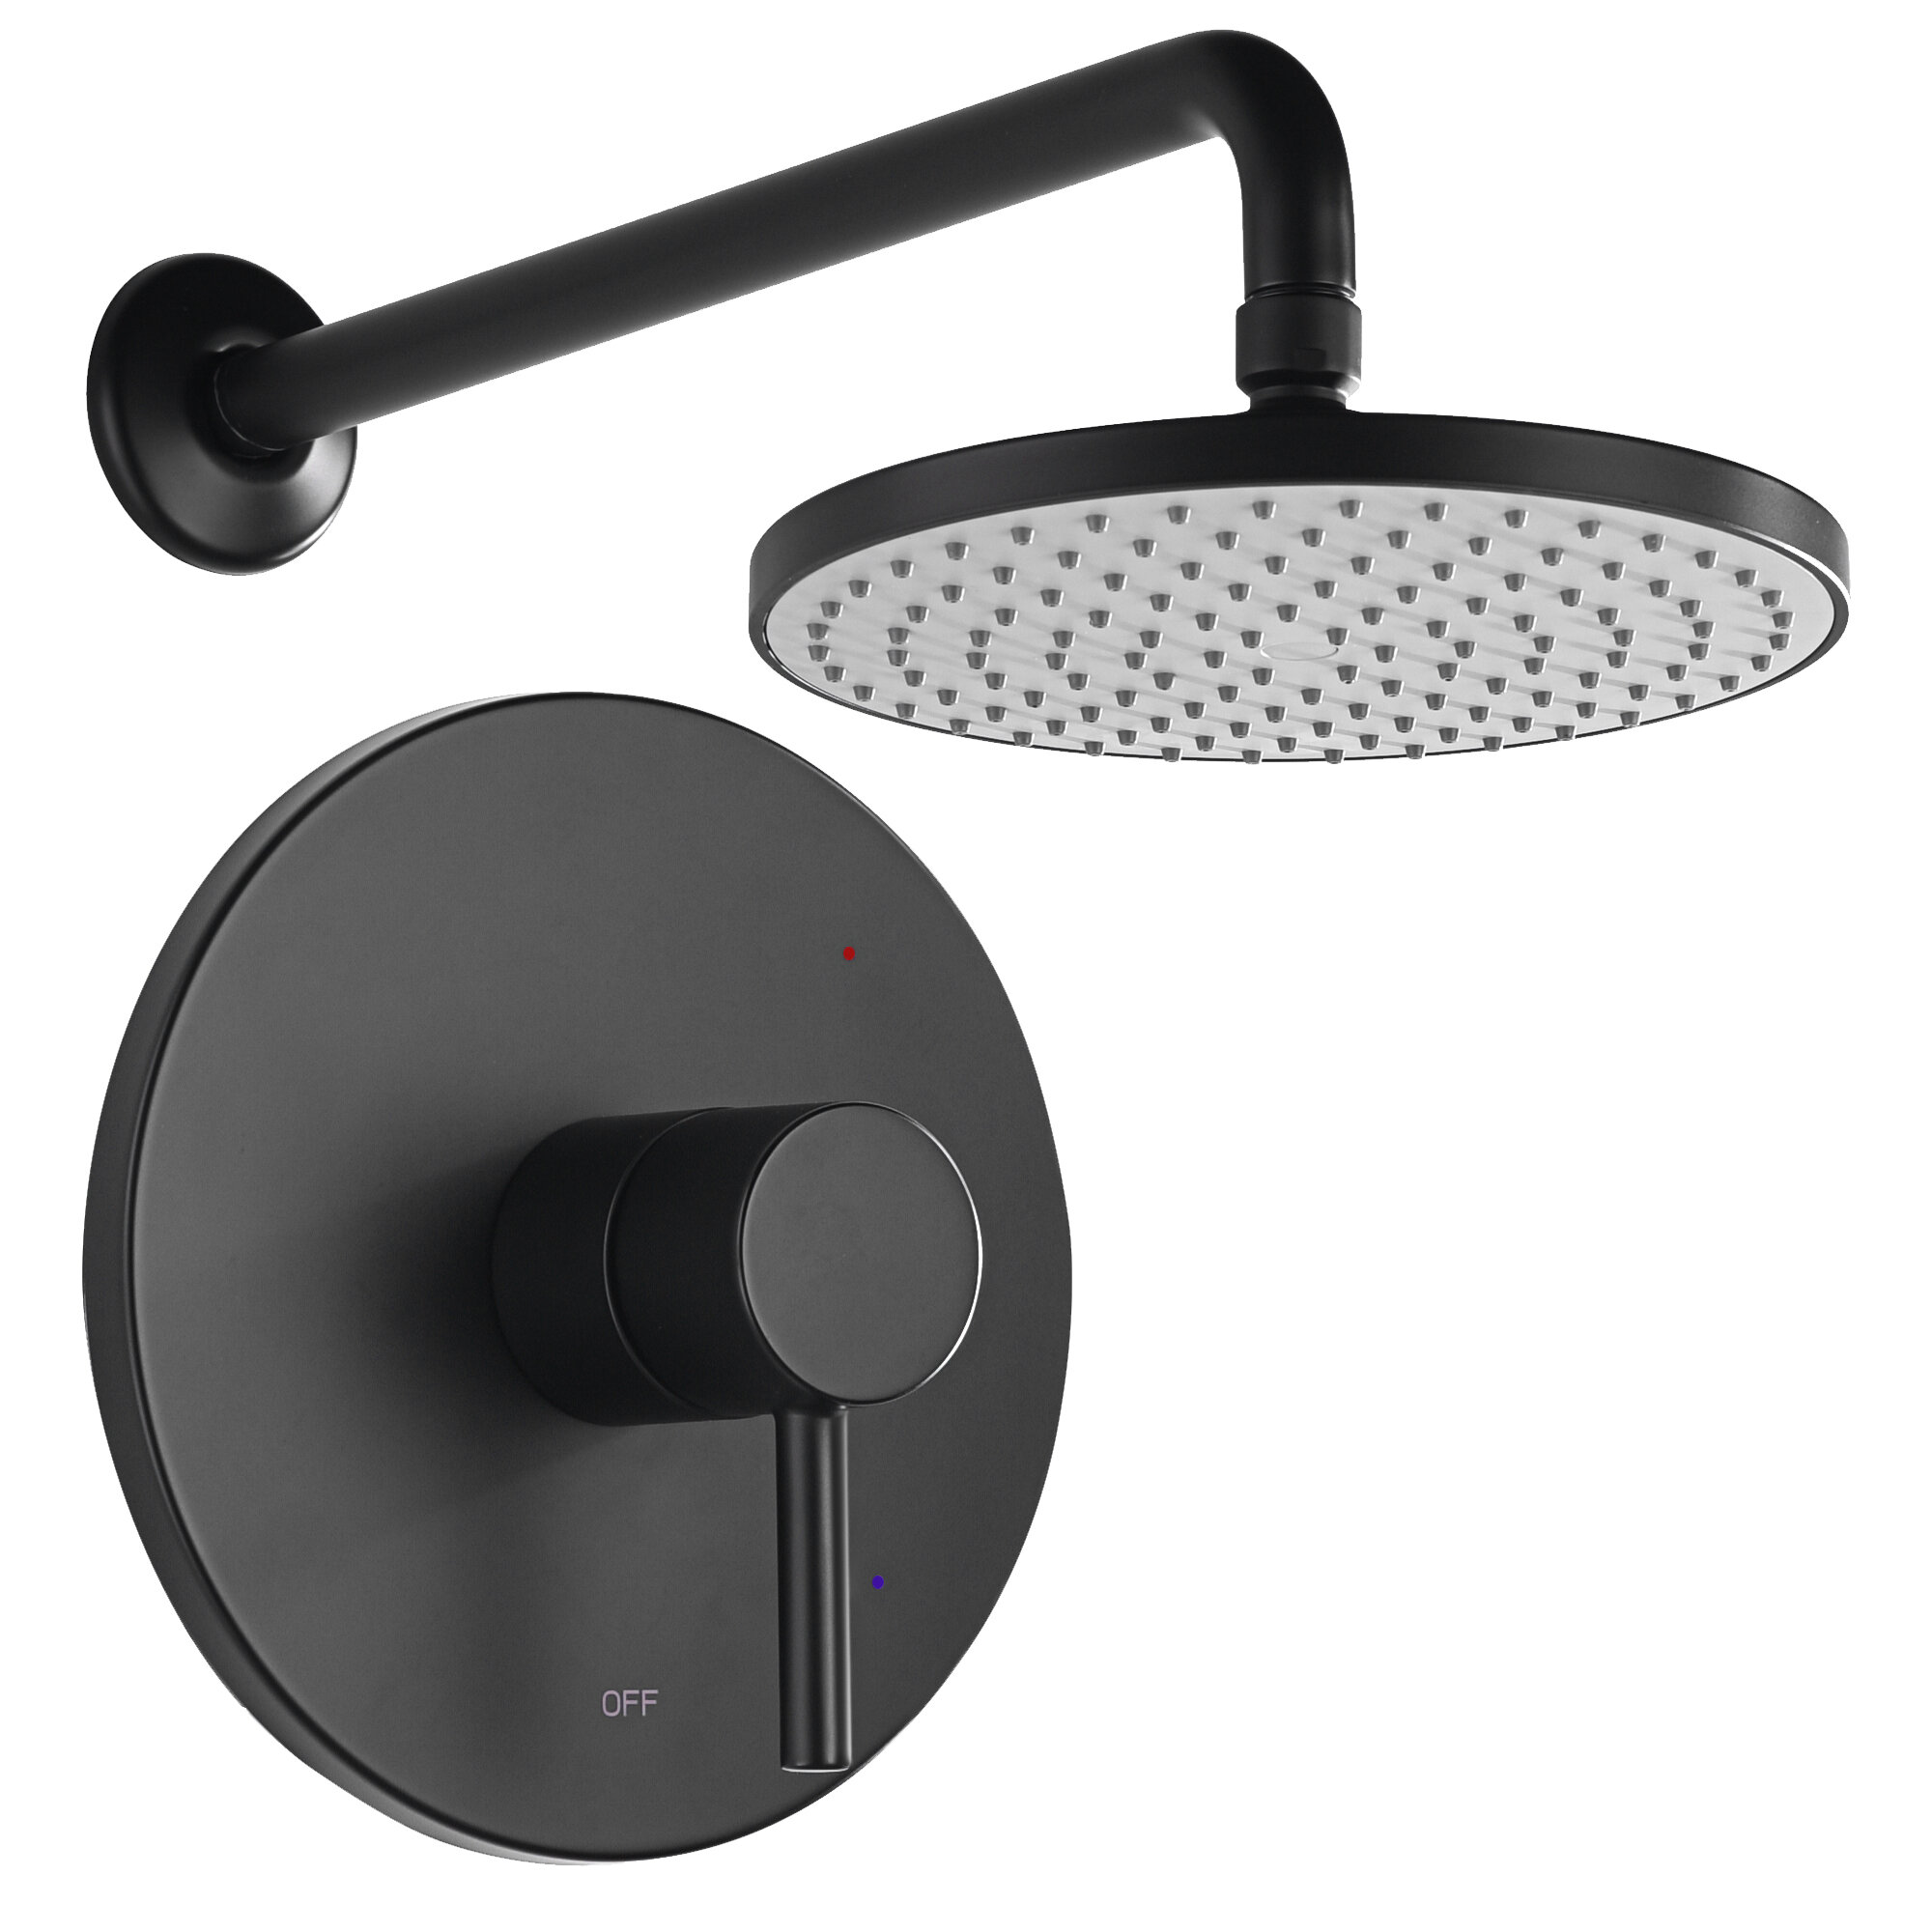
Single-Handle Shower Faucets:
Single-handle shower faucets, also known as monobloc faucets, offer a sleek and streamlined design. They typically feature a lever or knob that controls both water flow and temperature. Benefits of single-handle shower faucets include:
- Convenience: One lever or knob allows for easy and precise control over water temperature and flow rate.
- Space Efficiency: Single-handle faucets take up less space on the shower wall, making them a great choice for smaller bathrooms.
- Modern Aesthetics: The minimalist design of single-handle faucets lends a contemporary and clean look to the shower space.
-
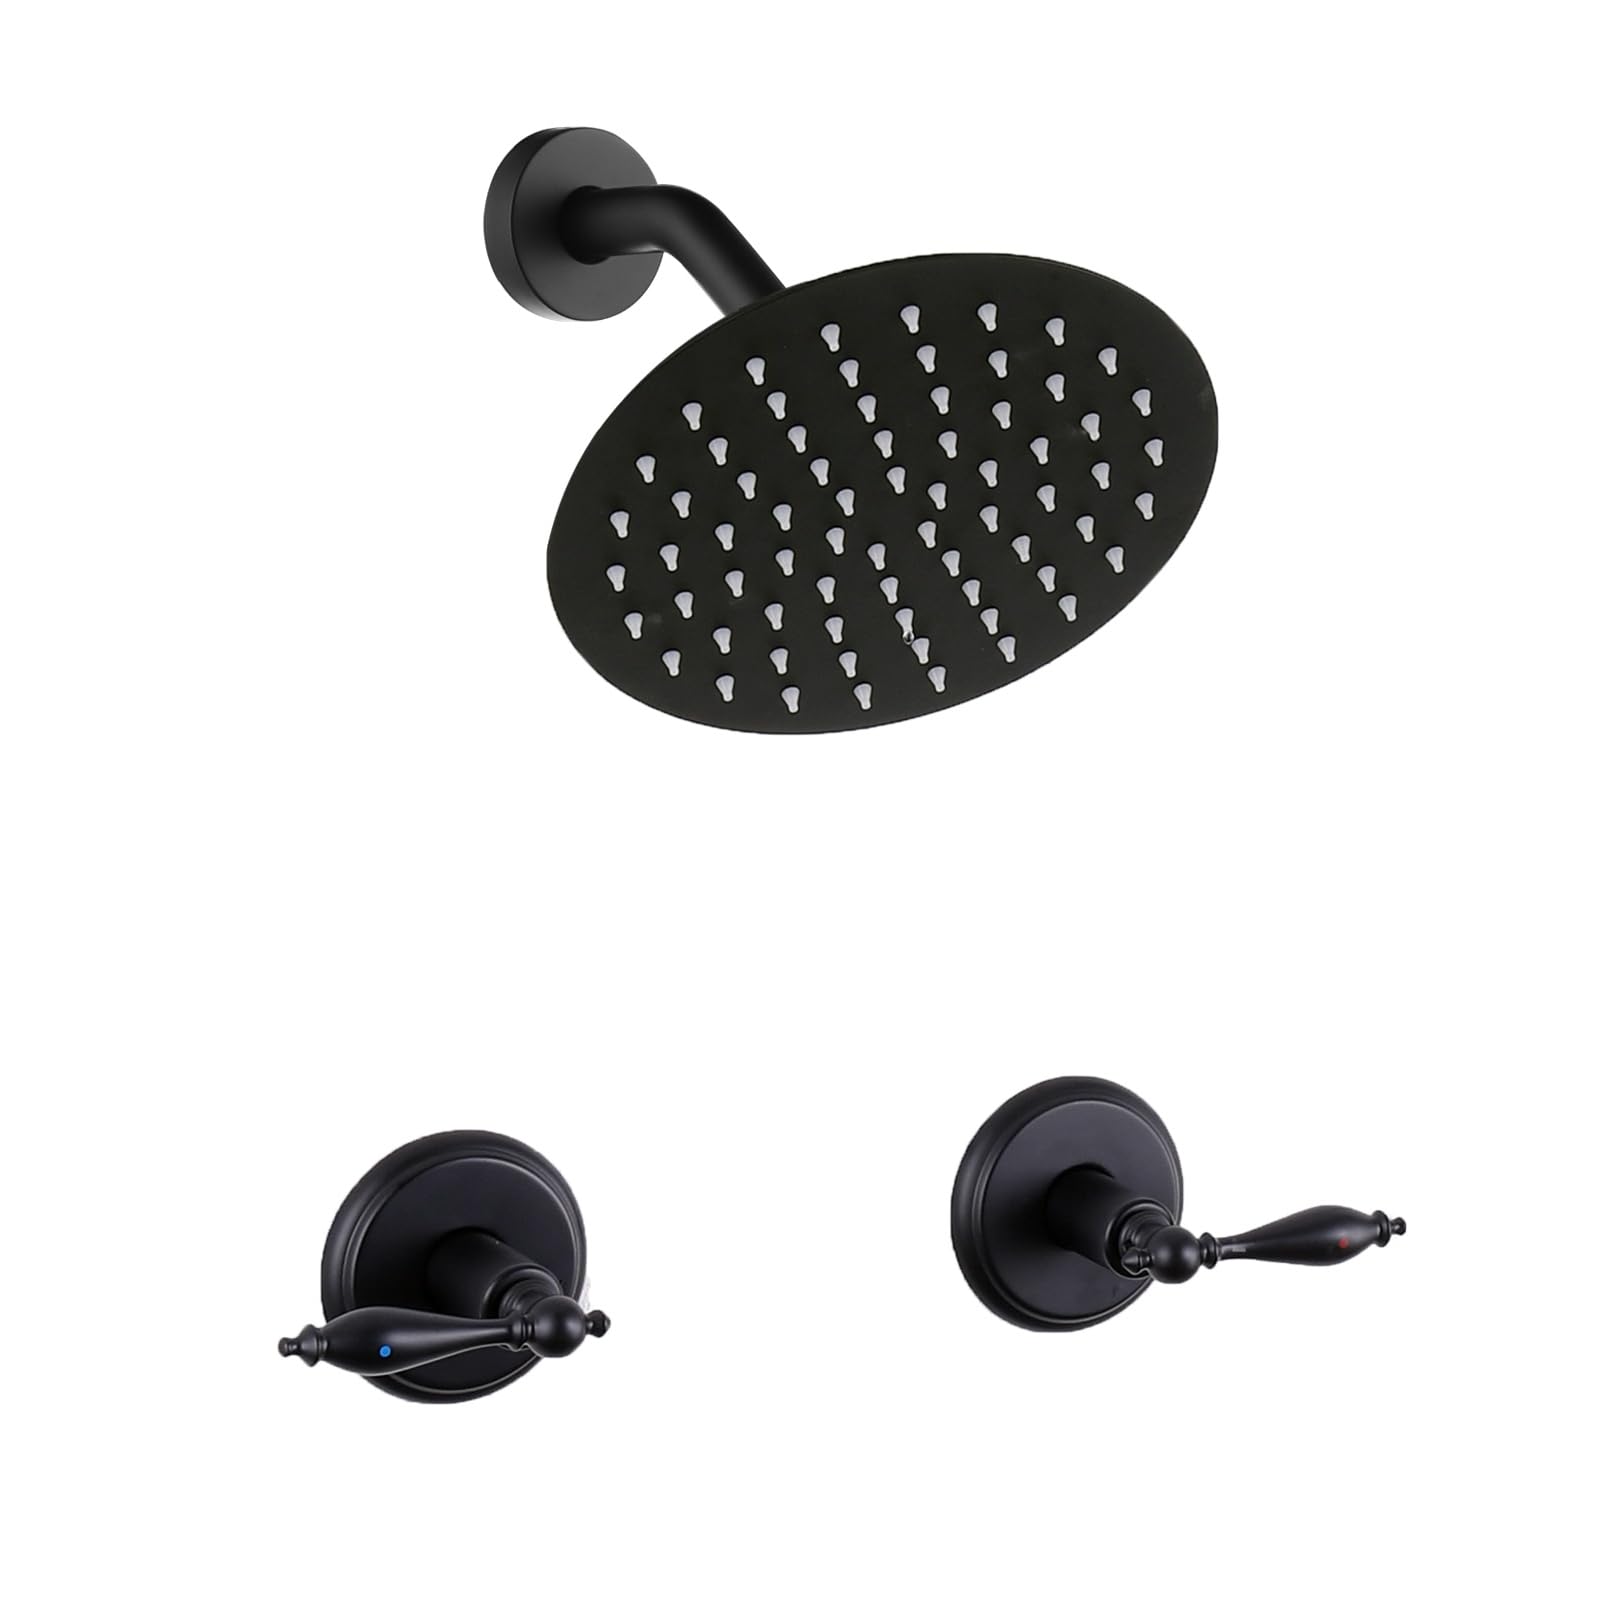
Double-Handle Shower Faucets:
Double-handle shower faucets feature separate controls for hot and cold water. They often consist of two handles, one for each water source, providing a classic and timeless appeal. Benefits of double-handle shower faucets include:
- Enhanced Temperature Control: Separate handles allow for fine-tuning of hot and cold water, resulting in precise control over the desired temperature.
- Traditional Style: Double-handle faucets evoke a timeless and elegant look, making them suitable for bathrooms with a classic or vintage theme.
- Compatibility: Double-handle faucets are compatible with various shower systems, including multi-head setups or those with additional features like body sprays or rain showers.
-
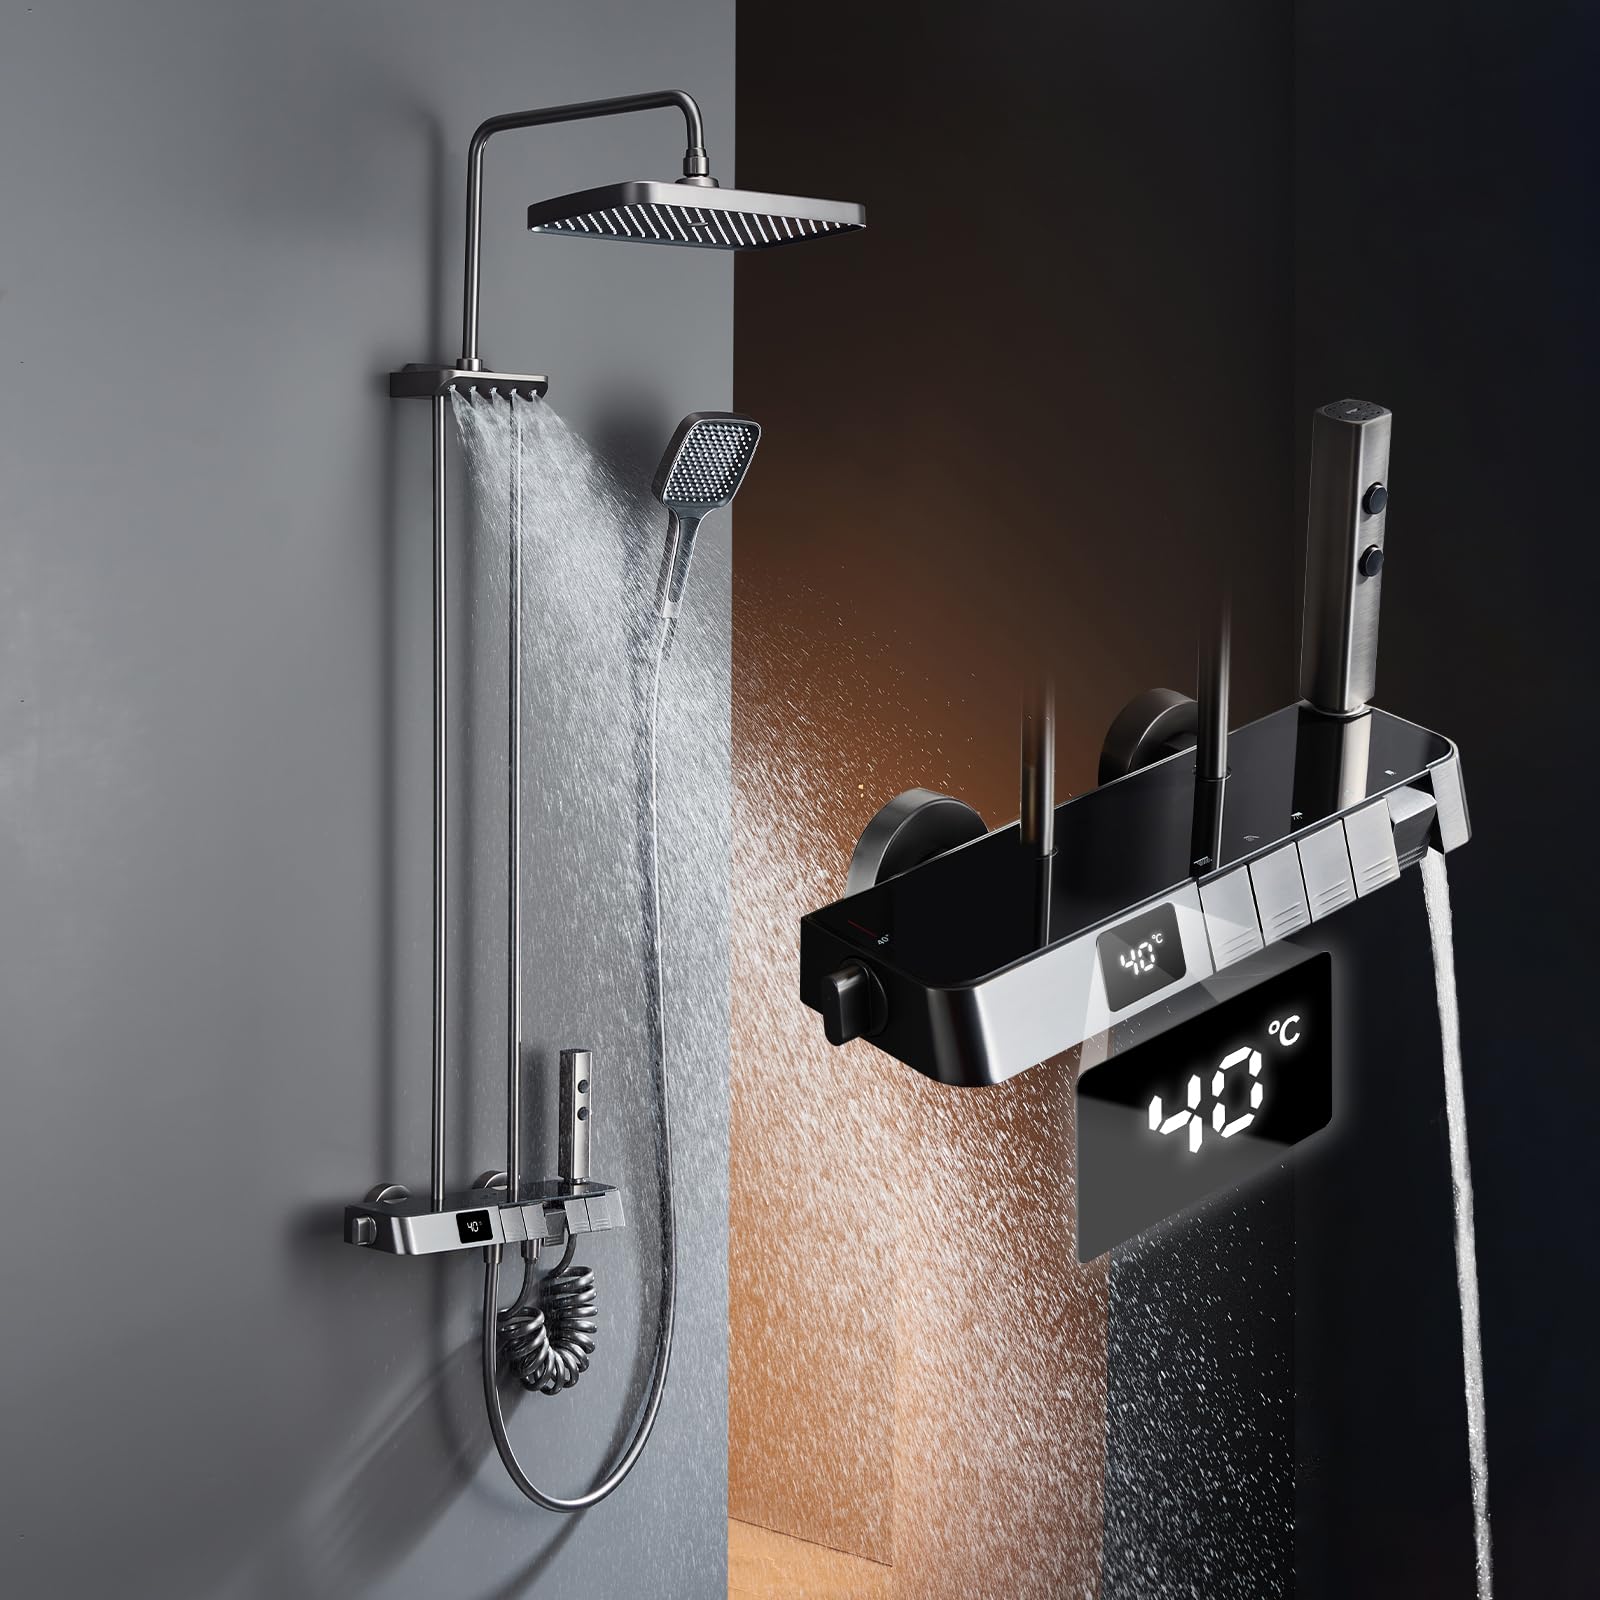
Thermostatic Shower Faucets:
Thermostatic shower faucets are designed to maintain a consistent water temperature, even when there are fluctuations in water pressure. They often feature a separate control for temperature and volume. Benefits of thermostatic shower faucets include:
- Safety: The thermostatic valve prevents sudden temperature changes, providing a safer showering experience, especially for households with children or the elderly.
- Customization: Thermostatic faucets usually include additional features like diverter controls, allowing you to switch between different shower components, such as body sprays or overhead rain showers.
- Energy Efficiency: The ability to maintain a consistent water temperature reduces the need for constant adjustments, resulting in energy and water savings.
-
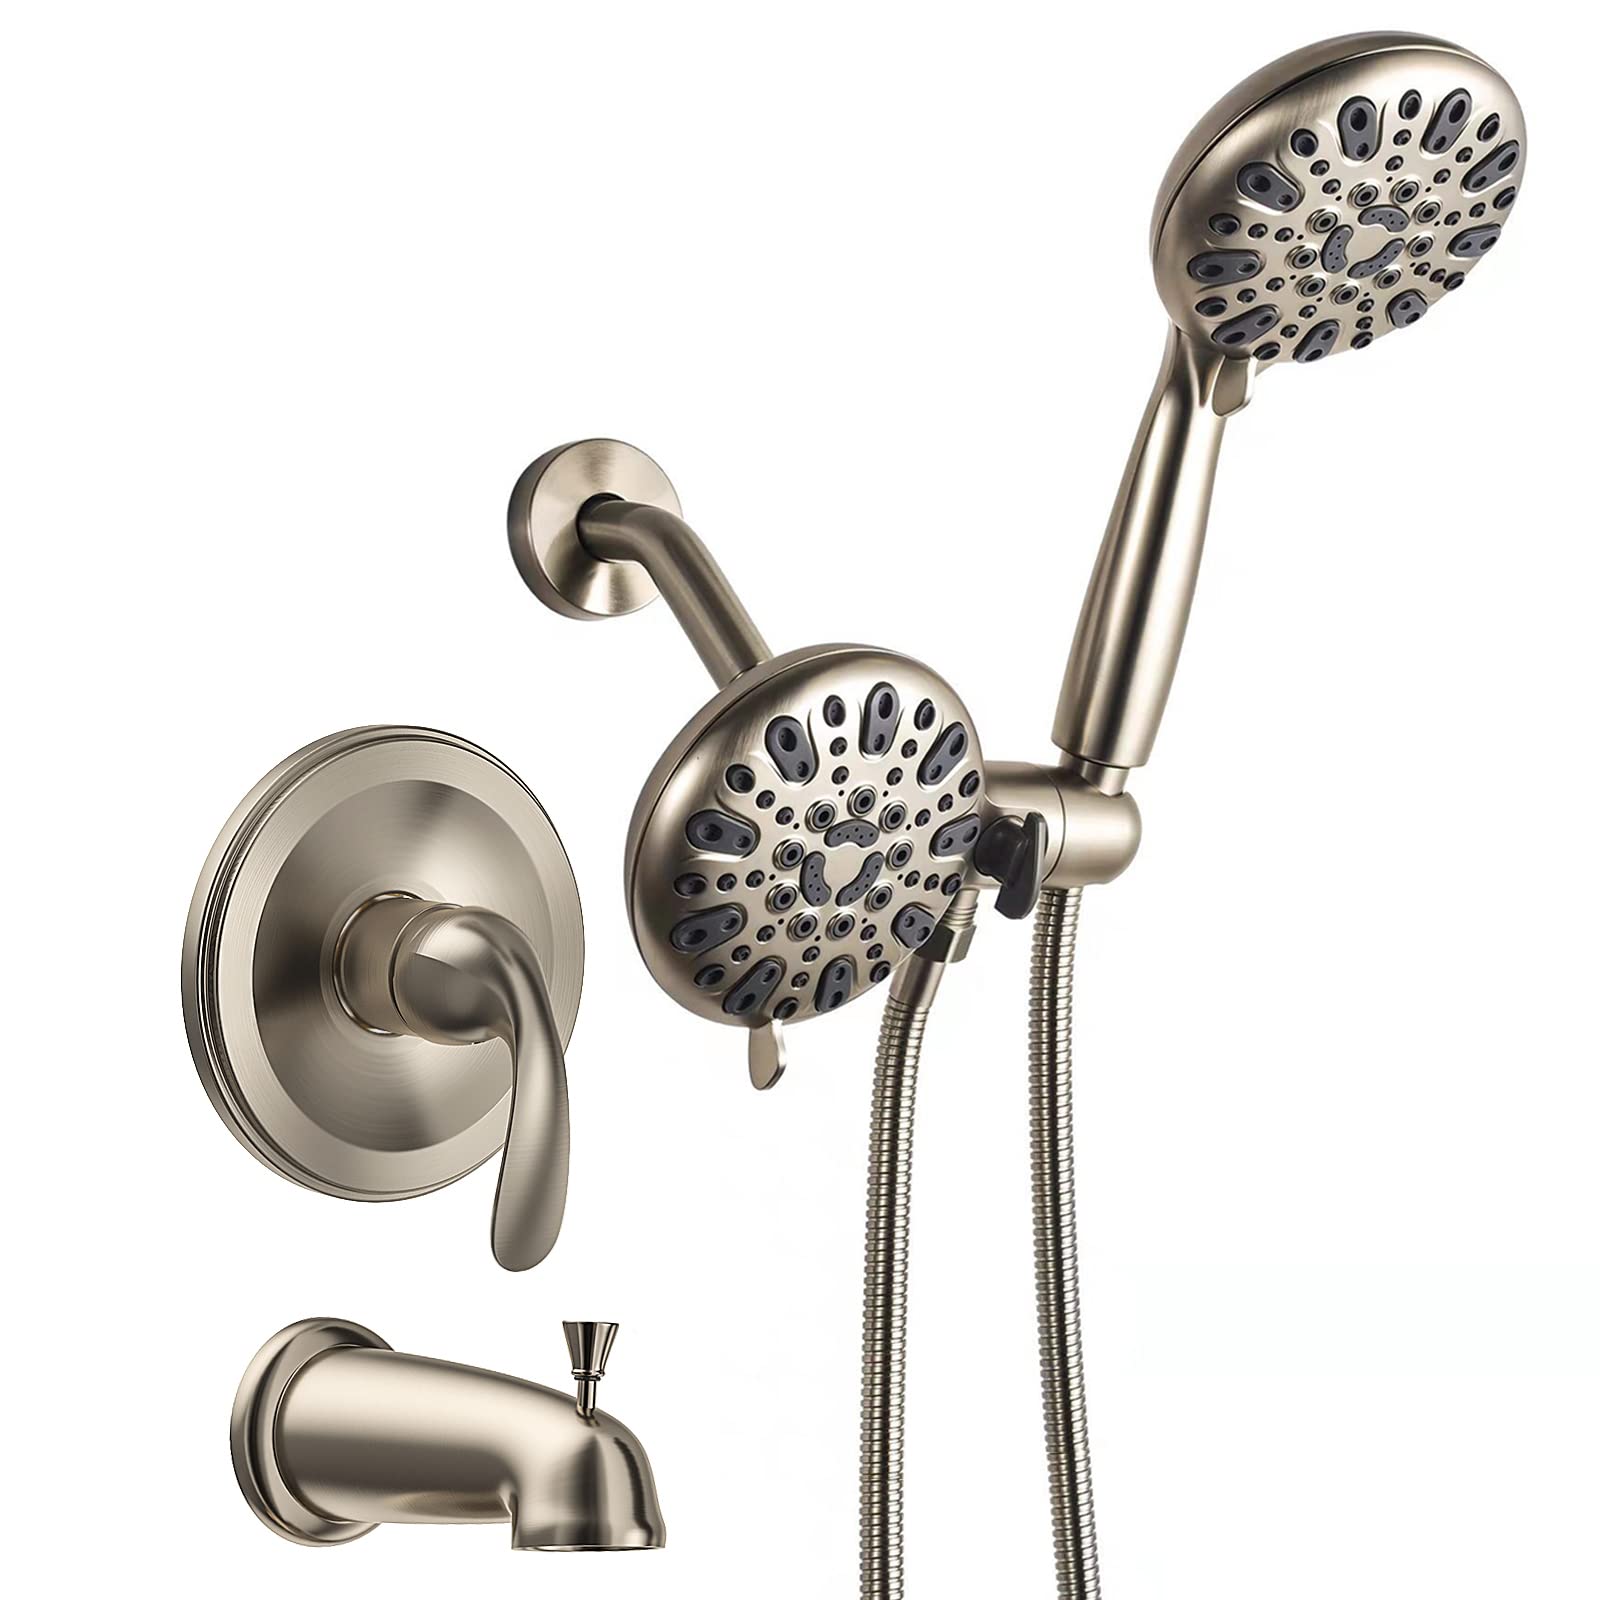
Rainfall Shower Faucets:
Rainfall shower faucets are designed to mimic the sensation of standing under a warm, gentle rainstorm. They typically feature a large showerhead that provides a wide and even stream of water. Benefits of rainfall shower faucets include:
- Luxurious Showering Experience: The rain-like water flow of these faucets creates a relaxing and spa-like atmosphere in the shower.
- Coverage: Wide showerheads provide excellent coverage, enveloping the user in a soothing and immersive showering experience.
- Design Statement: Rainfall shower faucets make a design statement in the bathroom, adding a touch of luxury and elegance.
In conclusion
installing a shower faucet is a relatively straightforward process that can be completed with basic plumbing knowledge and tools. By following this step-by-step guide, you can successfully install a new shower faucet or replace an existing one. Remember to turn off the water supply, prepare the area, install the new faucet correctly, and test for leaks before finalizing the installation. With proper installation, your new shower faucet will provide a functional and enjoyable bathing experience.