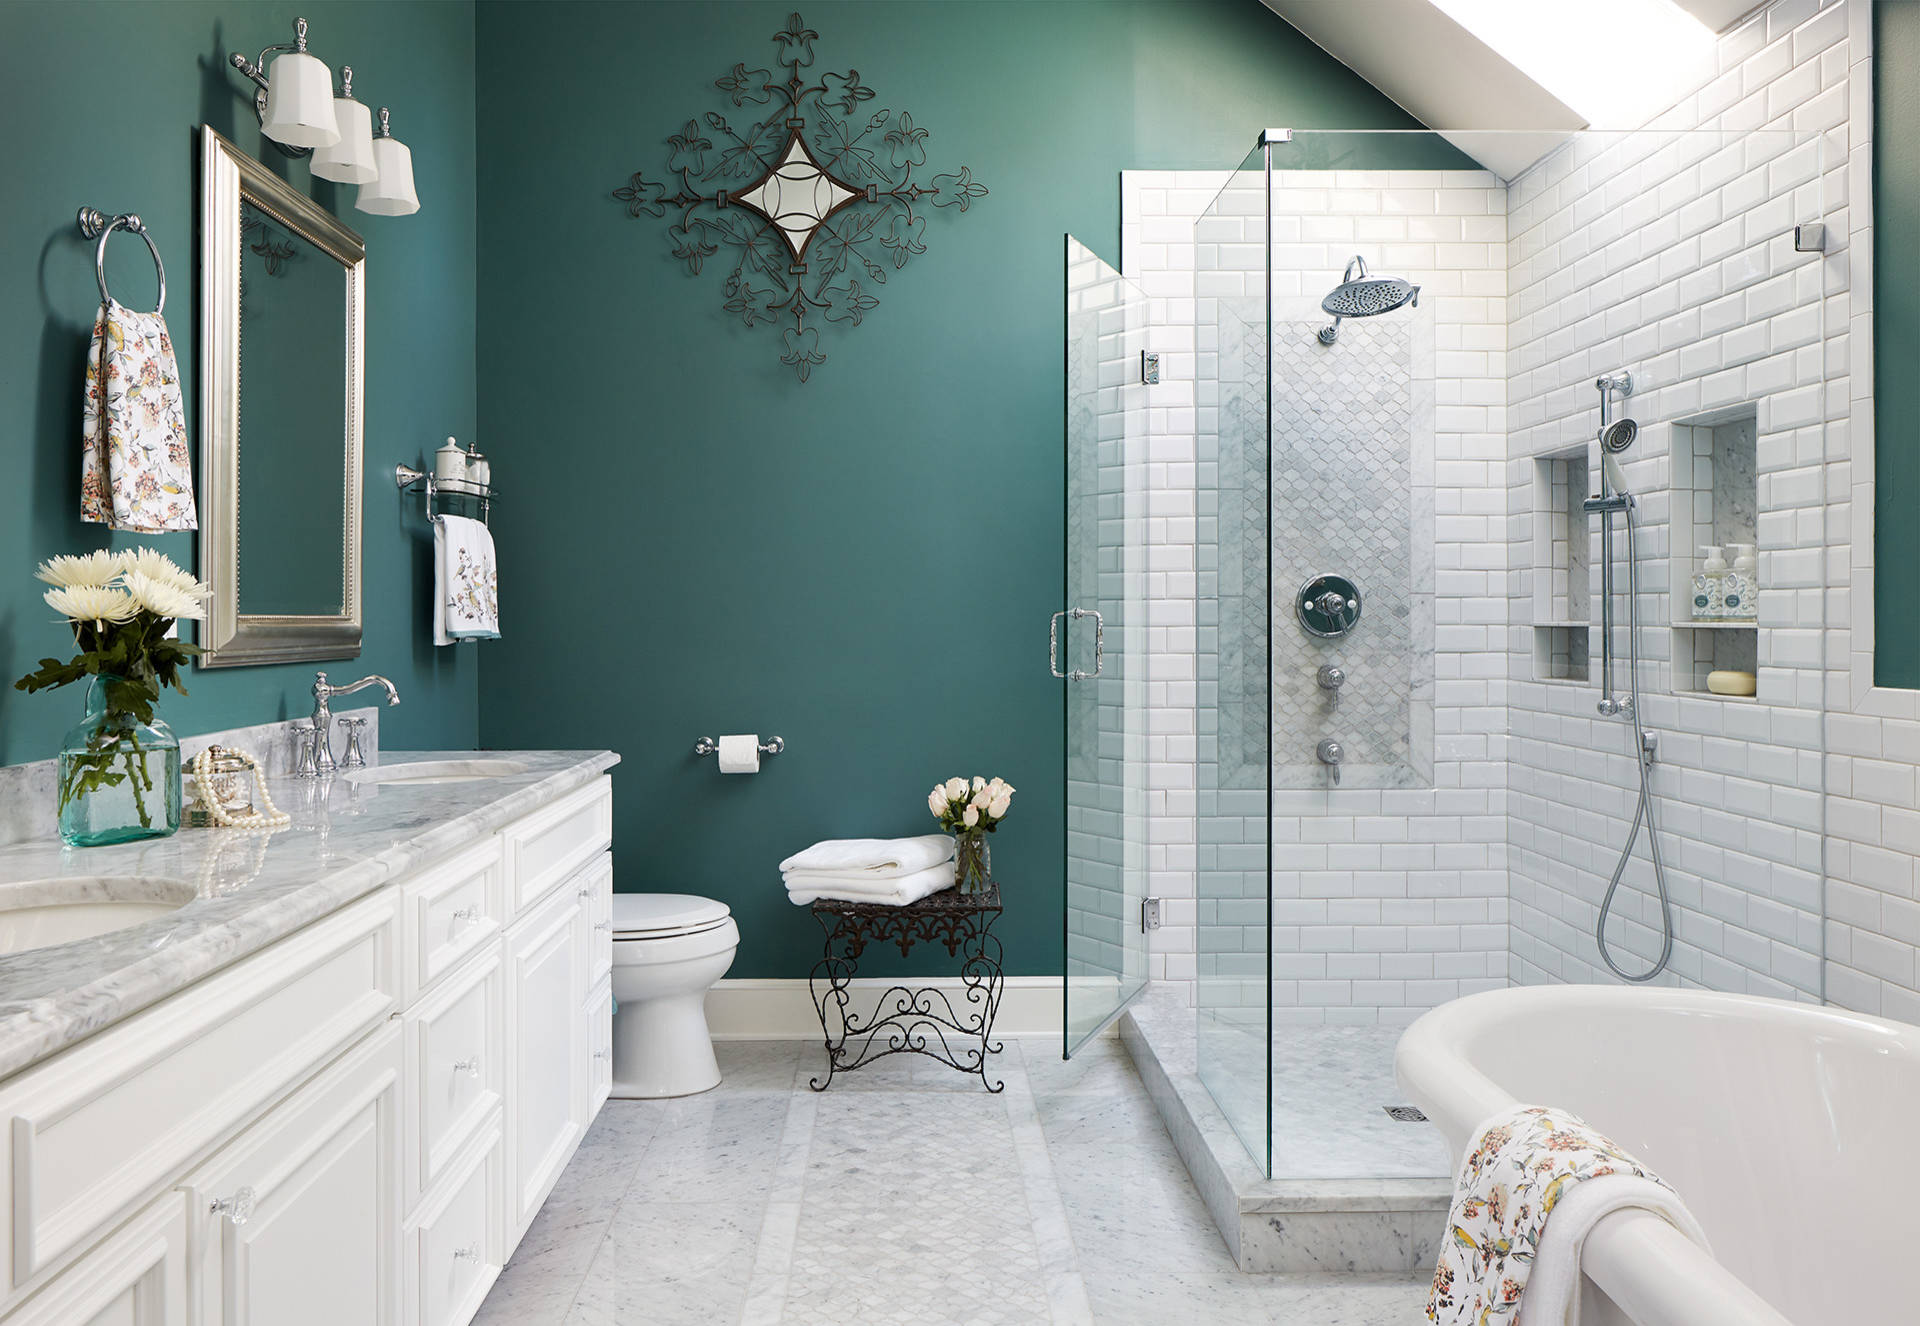
Removing tile from bathroom wall can be a challenging task, but with the right tools, techniques, and precautions, it is achievable. This guide will provide you with step-by-step instructions, valuable tips, and safety precautions to help you successfully remove tiles from your bathroom wall without causing damage or injury.
Preparing for Tile Removal:
- Safety Precautions: Prioritize safety by wearing appropriate protective gear, including safety goggles, gloves, and a dust mask. Ensure that the bathroom pony wall is well-ventilated to minimize inhaling dust or fumes.
- Gathering Tools: Gather the necessary tools, including a hammer, chisel or putty knife, pry bar, bucket, drop cloth, and a dustpan.
Assessing the Wall:
- Identify Tile Type and Material: Determine the type of tiles you are removing, such as ceramic, porcelain, or natural stone. This will affect the removal technique and the tools required.
- Checking for Structural Integrity: Inspect the wall for any signs of damage, such as water leakage or weakened structure. Address any structural issues before proceeding with the tile removal.
Preparing the Work Area:
- Clearing the Area: Remove any items, fixtures, or accessories near the tile area to create an unobstructed workspace. Lay down a drop cloth to catch falling debris and protect the floor.
- Protecting Surfaces: Use a painter’s tape or adhesive protective film to cover nearby surfaces, including vanity tops, bathtub edges, or floor tiles, to prevent accidental damage during the removal process.
Removing Grout:
- Loosening Grout: Begin by using a grout saw or multi-tool with a grout removal attachment to score and loosen the grout between the tiles. Work carefully to avoid scratching adjacent tiles.
- Clearing Grout Debris: Use a vacuum cleaner or soft brush to remove loose grout debris, ensuring a clean and clear surface for tile removal.
Removing Tiles:
- Starting at an Edge: Position a chisel or putty knife at a tile’s edge and gently tap it with a hammer to break the bond between the tile and the adhesive. Start with a tile near the edge or in a less visible area to practice the technique.
- Gradual Removal: Work systematically, gradually removing tiles by tapping the chisel or putty knife behind them until they come loose. Avoid excessive force to minimize the risk of tile breakage.
- Removing Adhesive: Using a pry bar or wide putty knife, carefully scrape the remaining adhesive from the wall. Take caution not to damage the wall during this process.
Repairing and Patching:
- Surface Preparation: After removing all the tiles and adhesive, clean the wall thoroughly to remove any remaining debris or dust. Use a damp cloth and mild soap if necessary.
- Patching or Repairing: If the wall surface is damaged or uneven, patch or repair it with an appropriate filler or skim coat. Follow the manufacturer’s instructions for the chosen product.
- Sanding and Smoothing: Once the patched areas are dry, sand the surface gently with fine-grit sandpaper to ensure a smooth and level wall.
Cleaning Up:
- Disposing of Debris: Collect the tile fragments, adhesive residue, and debris in a bucket or trash bag, taking care to avoid injury from sharp edges.
- Vacuuming and Wiping Down: Thoroughly clean the work area, using a vacuum cleaner or a broom and dustpan to remove dust and debris. Wipe down the surfaces with a damp cloth or mop to eliminate any remaining dirt or adhesive residue.
Post-Removal Considerations:
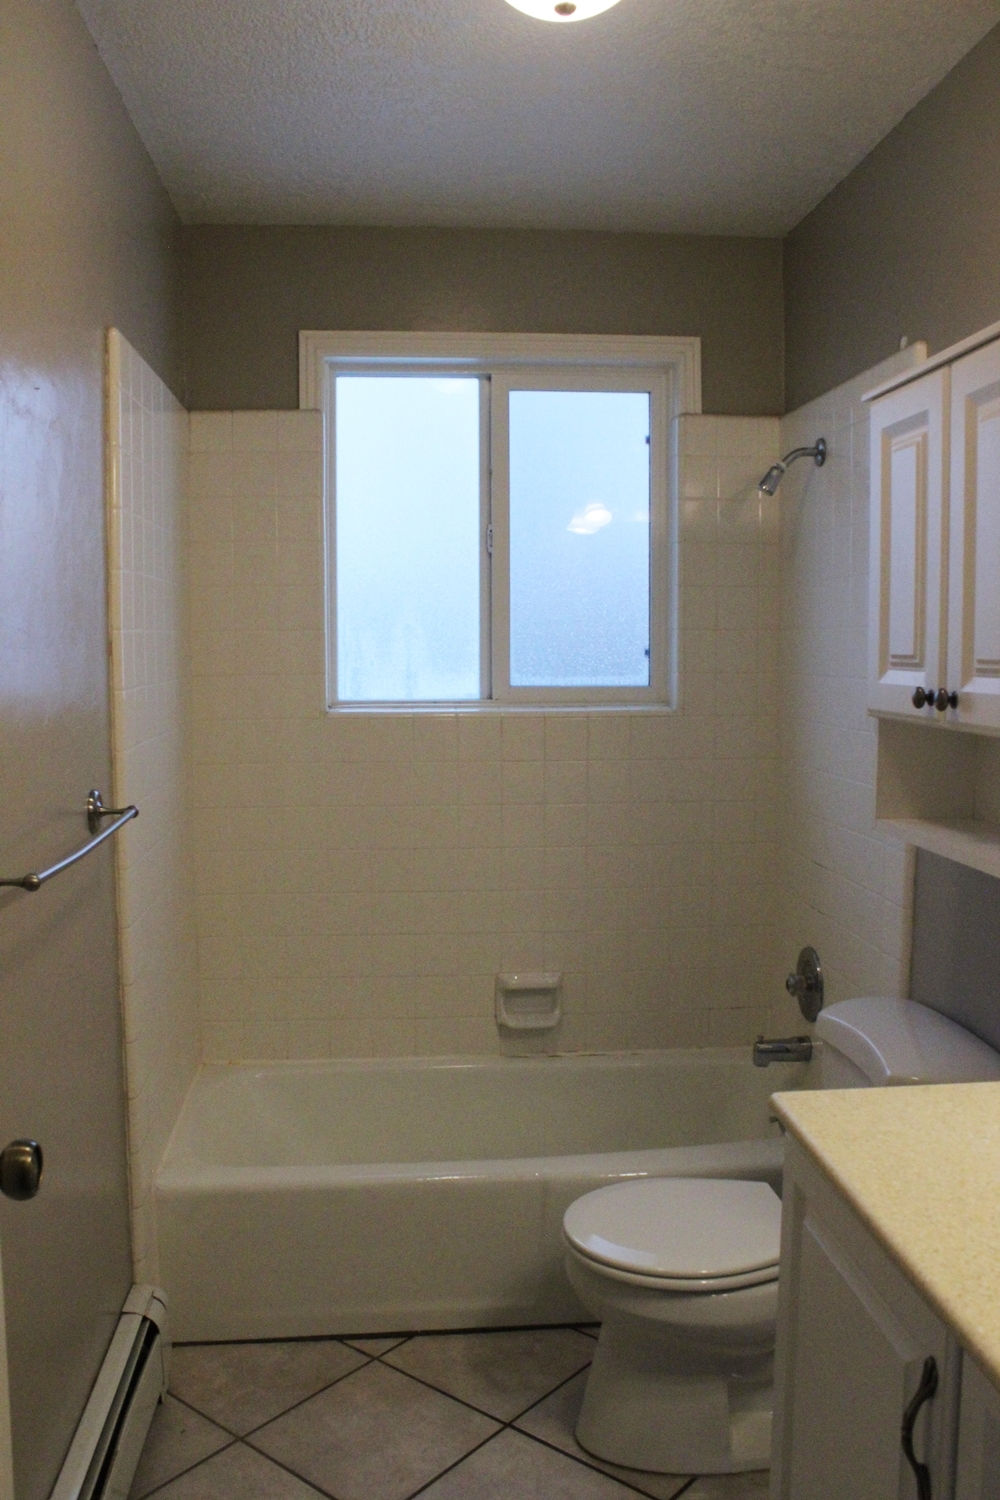
- Waterproofing: If you plan to tile the bathroom half wall again, consider applying a waterproofing membrane or sealer to protect the surface from moisture damage before installing new tiles.
- Wall Preparation for the Next Step: Ensure the wall is smooth, dry, and free from any debris before proceeding to the next stage of your renovation, whether it is tile installation, painting, or alternative wall covering.
Tips for removing wall tiles
Removing wall tiles can be a challenging task that requires careful planning, proper tools, and safety precautions. It is crucial to approach the tile removal process with caution to avoid damage to the underlying wall surface and ensure personal safety.
Safety Precautions:
- Personal Protective Equipment (PPE): Wear the appropriate safety gear, including safety goggles, gloves, and a dust mask, to protect yourself from flying debris and respiratory irritants.
- Ventilation: Ensure proper ventilation in the work area to remove dust and fumes generated during the tile removal process.
Preparing the Work Area:
- Clearing the Space: Remove any obstacles, furniture, or fixtures near the tiled wall to create a safe and unobstructed workspace. Cover the floor with drop cloths or protective materials to prevent damage from falling tiles or debris.
- Protecting Surfaces: Use painter’s tape or adhesive protective films to cover adjacent surfaces, such as countertops, cabinets, or flooring, to prevent accidental damage during the tile removal process.
Assessing the Wall:
- Wall Condition: Inspect the wall for any signs of damage, such as cracks, water seepage, or weakened structure. Address any structural issues before proceeding with tile removal to ensure a stable and sound surface.
- Tile Type and Material: Identify the type of tiles you are removing, such as ceramic, porcelain, or natural stone. Different tile materials may require specific tools or techniques for safe removal.
Removing Grout:
- Grout Removal: Begin by using a grout saw or a rotary tool with a grout removal attachment to carefully remove the grout surrounding the tiles. Work slowly and steadily to avoid damaging adjacent tiles.
- Grout Debris Removal: Use a vacuum cleaner or a soft brush to clear away loose grout debris from the gaps between the tiles.
Tile Removal Techniques:
- Tile Breaking Method: Start tile removal by tapping a chisel or putty knife at a tile’s edge and gently hitting it with a hammer to break the tile away from the adhesive. Work systematically, gradually moving across the wall row by row.
- Full Tile Removal: Alternatively, you can aim to remove complete tiles by using a thin pry bar or a tile lifter to carefully lift the tiles away from the wall. This method reduces the risk of tile breakage and minimizes damage to the wall surface.
Conclusion:
Removing tiles from a bathroom wall design can be a challenging task, but by following these step-by-step instructions and safety precautions, you can achieve a successful tile removal process. Remember to prioritize safety by wearing protective gear and properly preparing the work area. Take your time to loosen grout and remove tiles gradually, being cautious of potential tile breakage. Pay attention to the wall’s condition, patch or repair as needed, and thoroughly clean up the work area when finished. With careful execution and proper preparation, you can remove tiles from your bathroom wall efficiently and with minimal damage or disruption.
