Common Issues with Delta Bathroom Faucets
When dealing with repair delta faucets bathroom, several common issues may arise, impacting their performance. Understanding these problems helps target the right repair solution.
- Leaky Faucet: Over time, the wear and tear on the internal components, like seals and O-rings, can cause dripping.
- Low Water Pressure: Mineral buildup from hard water often clogs the aerator, restricting flow and reducing pressure.
- Handle Problems: A loose handle or difficulty in operation can stem from a worn-out stem or cartridge.
- Temperature Regulation Issues: Trouble with adjusting water temperature could point to a faulty mixing valve or cartridge.
- Corrosion and Mineral Deposits: Prolonged exposure to water can lead to corrosion or build-up, affecting functionality.
In most cases, these common issues to repair Delta faucets in the bathroom can be resolved with basic maintenance or part replacements. For persistent problems, it may be necessary to seek professional help.
Tools and Materials Needed for Faucet Repair
Before starting your repair for delta faucets in the bathroom, gather the necessary tools and materials. This preparation ensures a smooth repair process. You will need:
- Adjustable Wrench: For loosening and tightening nuts and fittings.
- Screwdrivers (Flathead and Phillips): To dismantle faucet handles and other components.
- Allen Wrenches: To remove handle setscrews in some Delta models.
- Plumber’s Tape: To seal threaded joints and ensure a watertight fit.
- Replacement Parts: Such as O-rings, washers, cartridges or aerators, specific to your faucet model.
- Plumber’s Putty or Silicone: For sealing the base of the faucet or any openings.
- Cloth and Vinegar: To clean mineral deposits from the faucet’s aerator.
- Bucket or Towel: To catch any water that may spill during the repair process.
Always turn off the water supply before you start repairing a leaking faucet. Check the faucet’s manual or Delta’s website for model-specific instructions and part numbers. It’s best to visit a hardware store with a photo or the faulty part itself to find an exact match. By having all these items ready, you ensure a seamless fix for your Delta faucet issues.
Step-by-Step Guide to Dismantling Your Delta Faucet
Dismantling your Delta faucet is a straightforward process. Here’s how to do it step by step:
- Turn Off the Water Supply: Locate the shut-off valves under the sink. Turn them clockwise to cut off water flow.
- Open the Faucet: Release any water left in the lines by opening the faucet.
- Remove Faucet Handles: Use an Allen wrench or screwdriver to remove the handle setscrew. Lift off the handles.
- Take Out the Cartridge or Stem: With an adjustable wrench, unscrew the bonnet nut. Pull out the cartridge or stem.
- Inspect O-Rings and Seals: Check for damage or wear. Replace parts as needed.
- Clean Mineral Deposits: Soak parts in vinegar if there are mineral build-ups.
By following these steps, you repair delta faucets bathroom with confidence. Take your time and handle parts carefully to avoid damage.
How to Replace a Delta Faucet Cartridge
Replacing a Delta faucet cartridge is a common repair for bathroom faucets when faced with temperature regulation issues or persistent leaks. This task can seem daunting, but with the right approach, it’s a repair you can handle on your own. Here’s a simple step-by-step guide to help you through the process.
- Turn Off the Water: Ensure the water supply is off. Check by turning on the faucet to confirm no water comes out.
- Remove the Faucet Handle: Use an Allen wrench to loosen the handle setscrew. Take the handle off the faucet.
- Take Off the Bonnet Nut: With your adjustable wrench, unscrew and remove the nut that secures the faucet cartridge.
- Pull Out the Old Cartridge: Grip the stem of the cartridge firmly and pull it straight out. If stuck, wiggle it gently.
- Insert the New Cartridge: Slide the new cartridge in. Make sure it aligns with the notches and sits snugly.
- Replace the Bonnet Nut: Screw the nut back on to secure the new cartridge in place.
When you replace a Delta faucet cartridge, double-check that you have the correct replacement part. It’s key for a successful repair. If you’re unsure, take the old cartridge to a hardware store to get an exact match. Tackle the task with patience, and your Delta bathroom faucet should be functioning like new in no time.
Fixing Leaks in Delta Bathroom Faucets
Fixing leaks in Delta bathroom faucets can often be a simple task. Here’s how you can tackle the common problem of a leaky faucet in your bathroom.
- Identify the Leak Source: Is the drip coming from the spout or the handle? Knowing this helps focus your repair efforts.
- Shut Off the Water Supply: Always start by turning off the water valves beneath the sink. This prevents any water from flowing while you work.
- Disassemble the Faucet: Use appropriate tools like screwdrivers or an Allen wrench to remove the faucet handle carefully. Then, take out the cartridge or stem.
- Replace Worn Parts: Check for worn O-rings, seals, or a faulty cartridge. These often cause leaks and need replacement.
Leaks in Delta bathroom faucets usually come down to worn components that are easy to replace. Make sure to have replacement parts, like washers or a new cartridge, on hand before starting the repair. With the right tools and some patience, your faucet should soon be leak-free.
Tips for Maintaining Your Delta Bathroom Faucets
Proper maintenance can extend the life of your Delta bathroom faucets and prevent common problems. Here are helpful tips to keep them in top condition:
- Regular Cleaning: Wipe your faucet with a damp cloth often. This removes soap scum and prevents mineral deposits.
- Soft Water Use: If possible, use soft water to reduce scale and buildup around your faucet.
- Aerator Maintenance: Unscrew and clean the aerator regularly. Soak it in vinegar to dissolve mineral deposits.
- Check for Leaks: Inspect faucets for signs of leakage. A small drip can lead to bigger issues.
By following these maintenance tips for repair delta faucets bathroom, you minimize the need for extensive repairs later on. A well-maintained faucet ensures smooth operation and longevity.
When to Call a Professional for Delta Faucet Repairs
Sometimes, despite your best efforts to repair Delta faucets in the bathroom, you might need expert help. Here are instances when it’s wise to call a professional plumber:
- Persistent Leaks: If leaks continue after you’ve replaced parts, a plumber should take a look.
- Complex Issues: When you’re unsure what’s wrong or how to fix it, get professional help.
- Water Damage: If repairs have led to water damage, professionals can assess and fix the problem.
- Improper Function: When the faucet still doesn’t work right after your repair attempts, a pro can diagnose the issue.
A skilled plumber has the right tools and experience to handle complicated repairs quickly and safely. They can prevent further damage, saving time and money in the long run. Don’t hesitate to call a pro when your Delta bathroom faucet repair is more than you can manage.
Troubleshooting Other Faucet Problems
Troubleshooting Delta faucet issues involves more than handling leaks and cartridge replacements. Here are steps to solve other common problems.
- Handle Rotation is Stiff: Apply a silicone-based lubricant to the faucet’s moving parts. Do this if the handle feels hard to turn.
- Faucet Makes Noise: A loose washer or valve seat often causes noises. Tighten them or replace if needed.
- Water Doesn’t Come Out: When water won’t flow, check if the shut-off valves are open. Clean aerators that might be clogged.
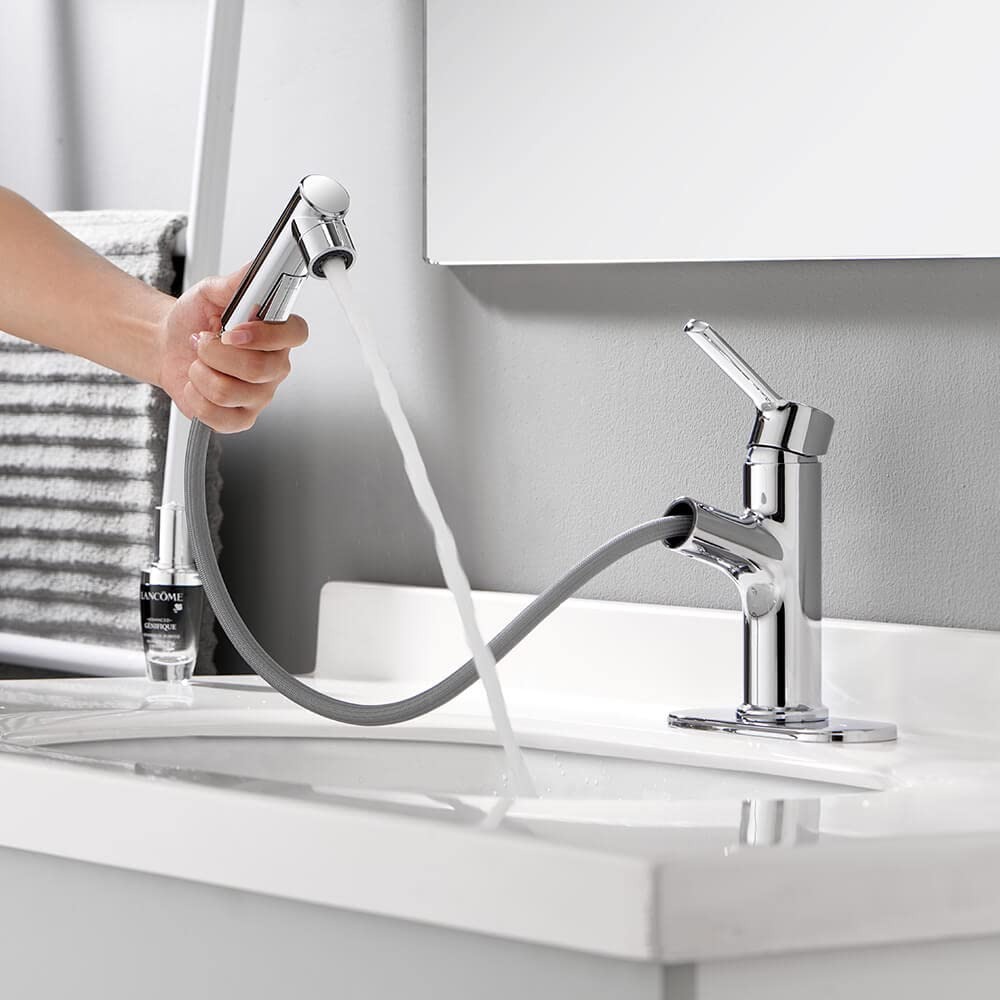
- Sprayer Problems: If you have a sprayer, clean the head regularly. Replace it if it fails to work properly.
When troubleshooting repair delta faucets bathroom, never force parts to move. This can cause more harm. If you can’t fix an issue, it could be time to call a professional.