Identifying Common Types of Faucets
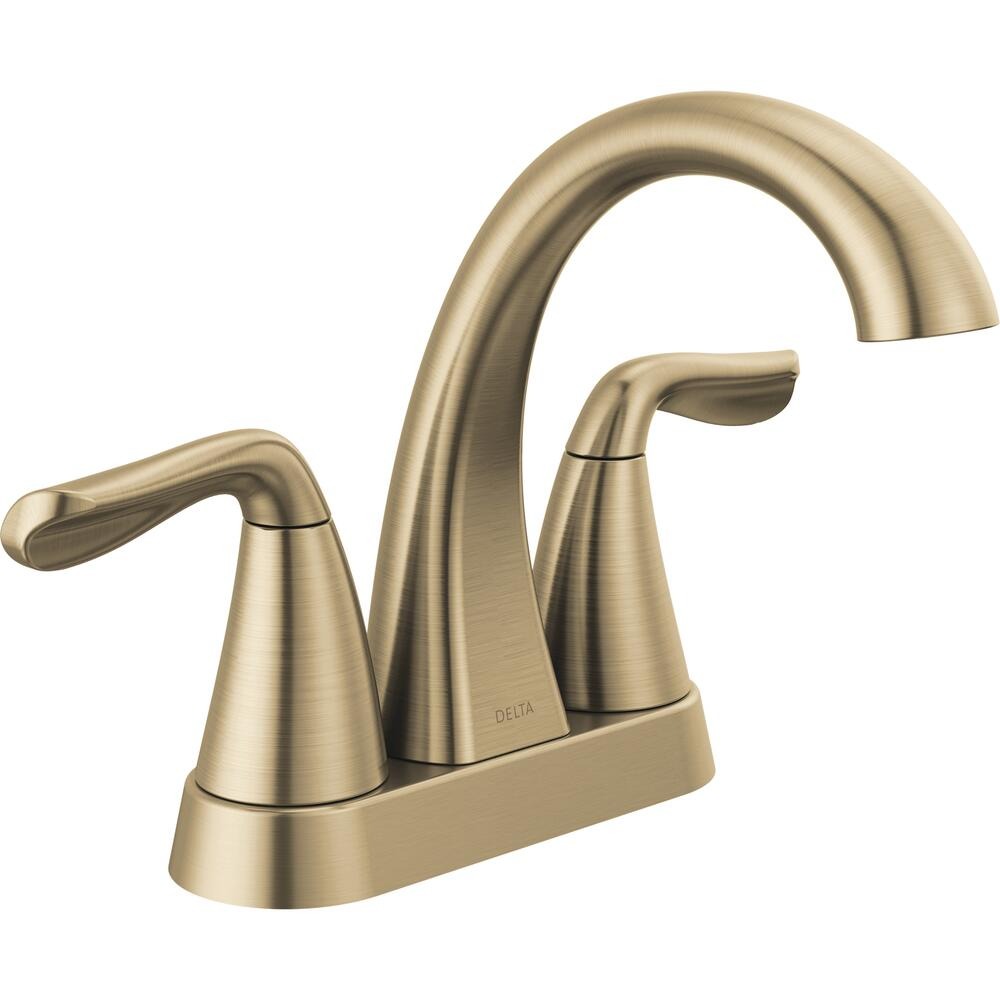
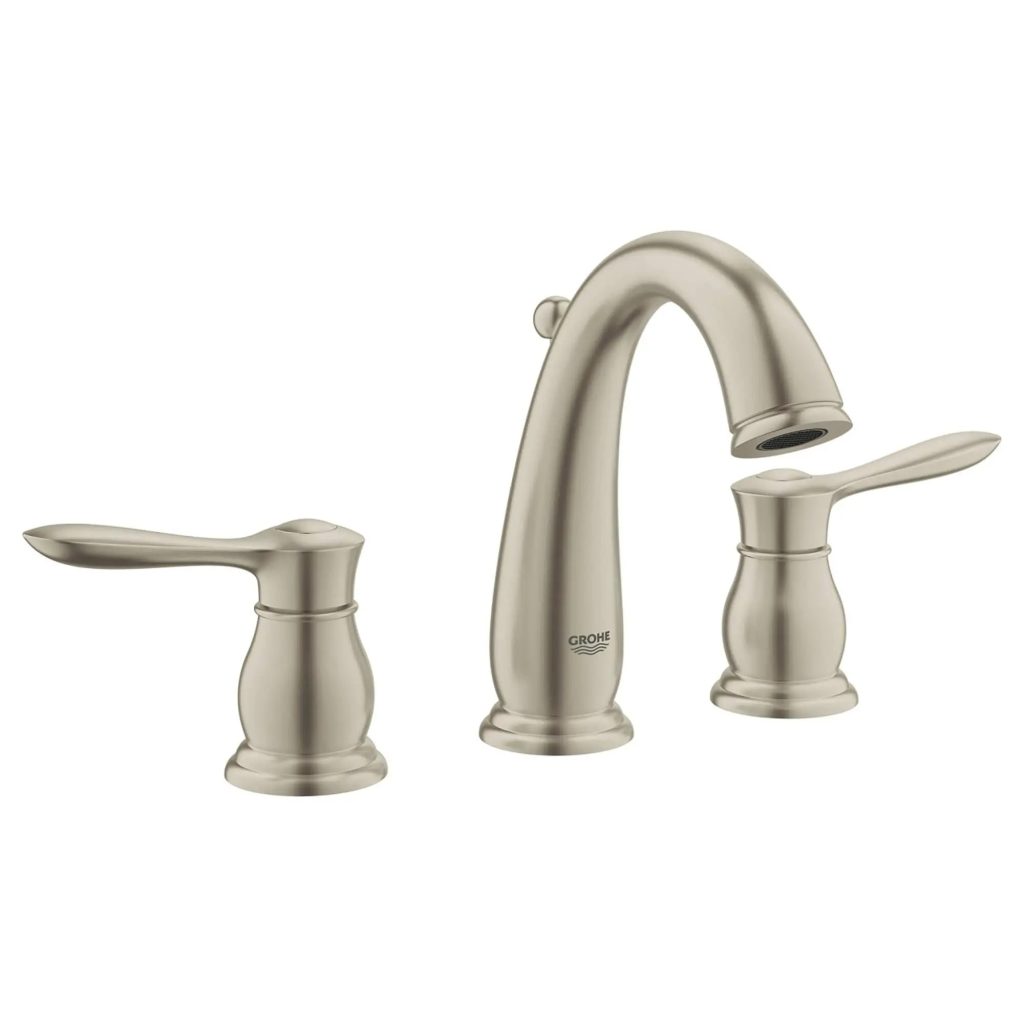
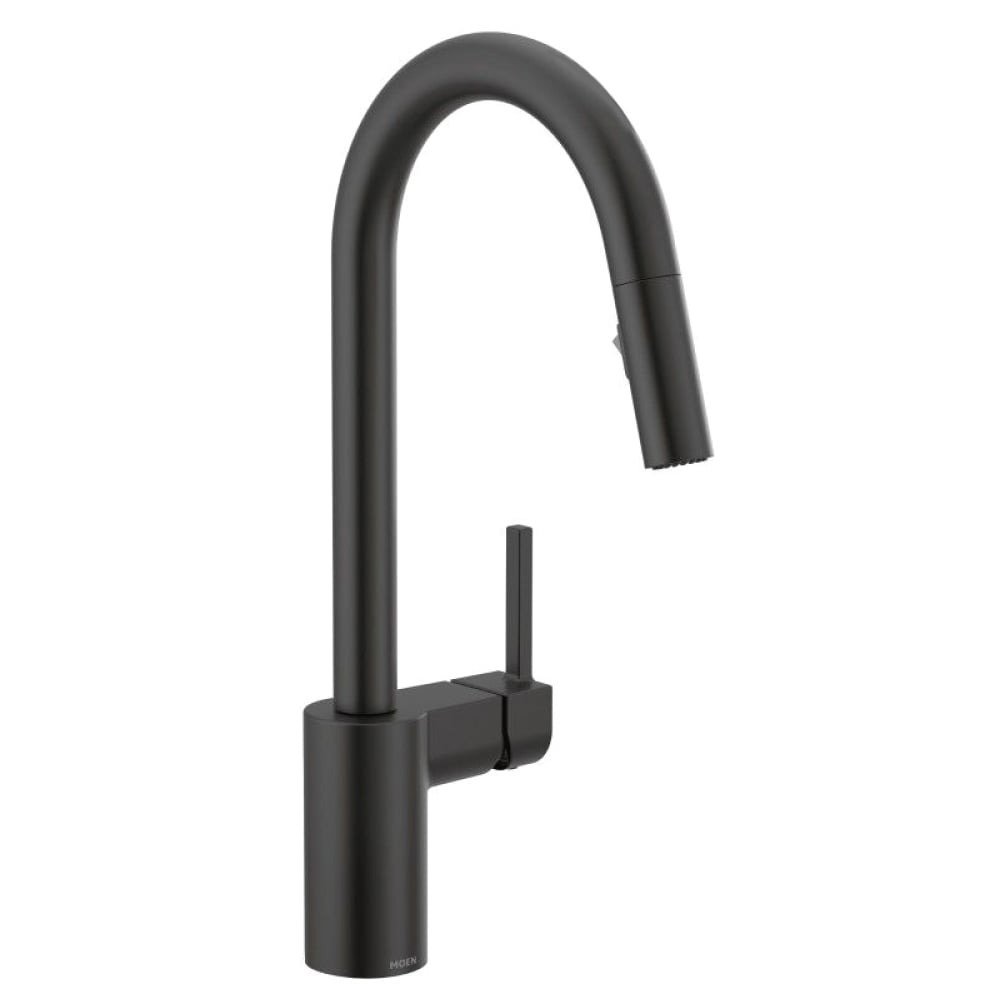
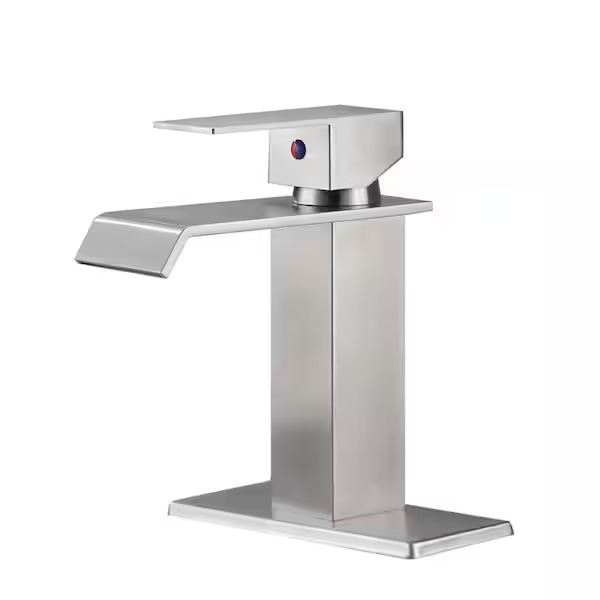
Before jumping into plumbing repairs faucets, it’s crucial to identify the type you’re dealing with. Generally, faucets fall into four common categories:

- Compression Faucets: These are often found in older homes and operate with a washer that compresses against a valve to control water flow.
- Ball Faucets: Utilizing a ball joint to manage the hot and cold water lines, these faucets are common in kitchens and are identifiable by their single handle.
- Cartridge Faucets: Similar to ball faucets but with a cartridge, they can have one or two handles. Cartridge faucets provide a smooth and consistent flow.
- Ceramic Disc Faucets: The most modern type, with two ceramic discs sliding against each other to adjust the water flow and temperature.
Each type will have its own repair process, so it’s essential to recognize which one is in your home. Look under the sink if necessary, as this often provides clues to the mechanism at work. Understanding the type sets the foundation for successful plumbing repairs on your faucets.
Tools and Materials Needed for Faucet Repair
Before you commence with plumbing repairs on faucets, ensure you have the right tools and materials. Having these on hand will make the repair process smoother and more efficient. Here’s what you’ll typically need:
- Adjustable Wrench: This is a must-have for tackling various nut sizes.
- Channel Locks: These pliers are great for gripping and turning pipes or other plumbing components.
- Screwdrivers: A set of flat-head and Phillips-head screwdrivers will come in handy.
- Faucet Washers and O-rings: These are often the culprits in drippy faucets and are crucial for replacements.
- Plumber’s Tape: This tape is necessary to secure thread connections and prevent leaks.
- Cartridge (if applicable): Have a replacement ready if your faucet uses a cartridge system.
Make sure to gather all these items before you start disassembling your faucet. As you prepare for plumbing repairs, remember that some faucets may require specific parts. Always check the manufacturer’s recommendations to get the correct materials for your faucet type.

Step-by-Step Guide to Disassembling a Faucet
In tackling plumbing repairs for faucets, disassembly is a key step. Follow this guide to start:
- Turn Off Water Supply: Locate the water valves under the sink and turn them off. Confirm water flow stops before proceeding.
- Remove Faucet Handle: Use a screwdriver to take out the handle screws. Gently lift the handle off the stem.
- Take Out the Cap: After removing the handle, unscrew the cap or collar using adjustable wrench or channel locks.
- Loosen the Stem: Depending on your faucet type, you may need to remove a nut or simply pull out the stem.
- Examine Parts: Check the O-ring and washer inside the valve seat. These parts often cause drips when worn out.
Efficient disassembly sets you up for successful plumbing repairs. Reference manufacturer guidelines if you get stuck. For the multiple types of faucets discussed earlier, remember the disassembling steps may slightly vary. Keep your workspace organized and parts together to ensure a smooth reassembly process later on.
Troubleshooting Common Issues with Drippy Faucets
When you’re faced with plumbing repairs for faucets, troubleshooting is a critical step. Here are common issues you may encounter with drippy faucets and how to address them.
- Leaky Handle: If water leaks from the handle, the O-ring might need replacing. This is common over time due to wear and tear.
- Dripping from the Spout: This usually means a worn-out washer or a damaged valve seat. Inspect these parts and replace them if necessary.
- Low Water Pressure: Blockages from mineral deposits can cause this. Clean the aerator and check for sediment buildup that might be restricting flow.
- Squeaky Handle: Lack of lubrication can lead to a squeaky handle.
When you work on plumbing repairs for faucets, remember to do so with care and attention. Rushing might cause further damage. If troubleshooting does not resolve the issue, it might be time to replace the entire faucet or call a professional plumber.
Replacing Washers and O-rings in Faulty Faucets
Replacing washers and O-rings is often the go-to solution for fixing drippy faucets. These small parts can wear out over time, leading to leaks. Here’s how to replace them:
- Identify the Faulty Part: Once you’ve disassembled the faucet, check if the washer or O-ring is worn or damaged.
- Remove the Old Washer or O-ring: Carefully take out the old washer from the valve seat or the O-ring from around the stem.
- Choose the Correct Replacement: Match the old washer or O-ring with new ones from a hardware store. Make sure they are the exact size and shape.
- Install the New Washer or O-ring: Place the new washer where the old one sat or roll the new O-ring back onto the stem.
With these steps, most drippy faucets can be fixed easily. Always turn the water supply back on and check for leaks after the repair. If the faucet continues to drip, it may indicate a more significant issue that could require a professional plumber.

Reassembling and Testing Your Faucet
After completing the plumbing repairs on your faucets, such as replacing washers and O-rings, the next step is to reassemble and test the faucet. This will ensure that all components are in place and that your repairs have solved the drip issue.
- Fit the Parts Back Together: Start by repositioning the stem into the faucet body, followed by any nuts or retaining clips that were removed. Ensure they are hand-tightened to avoid damage.
- Reattach the Faucet Handle: Once the stem is secure, place the handle back on top. Fasten it with screws but don’t overtighten, as this may strip the threads.
- Check for Smooth Operation: Turn the handle or handles without the water supply on to confirm they move freely. If any stiffness is present, make sure all parts are correctly aligned and lubricated.
- Restore the Water Supply: Slowly turn on the water valves under the sink. Watch for any immediate leaks as the pressure builds.
- Test the Faucet: Turn on the faucet, and let the water run for a few moments. Check for a consistent water flow and a stop to drips from the spout.
By following these steps, you can confidently finish plumbing repairs for your faucets. If, after reassembly, you still notice dripping or other issues, it might be time to consider seeking professional help. In such cases, the problem may extend beyond simple washer or O-ring failures.
When to Call a Professional Plumber
While many drippy faucet issues can be fixed at home, sometimes you may need expert help. Here are situations where it’s best to call a professional plumber:
- Complex Faucet Mechanisms: If you’re unsure about disassembling complex faucet types, a plumber can ensure proper handling.
- Persistent Leaks: If your repair attempts have not stopped the leak, professionals have the experience to diagnose and fix tricky problems.
- Water Damage: When leaks have caused water damage, professionals can assess and repair the damage beyond the faucet itself.
- Installation of New Faucets: If you’re upgrading to a newer faucet model, getting it right requires skills that a plumber possesses.
- Multiple Plumbing Issues: If you’re facing multiple plumbing repairs faucets, a professional can efficiently handle all of them at once.
It’s important to weigh the cost of continued DIY repairs against hiring a professional. If the issue persists or you feel out of your depth, don’t hesitate to seek professional assistance. They have the tools and expertise to fix the issue quickly and effectively.
Preventative Maintenance Tips for Faucets
Regular maintenance can extend the life of your faucets and prevent common problems. Here are helpful tips:
- Inspect Regularly: Check your faucets often for signs of wear or leaks.
- Clean Aerators: Unscrew the aerator from the tip of the spout and rinse off debris to maintain proper water flow.
- Tighten Connections: Use an adjustable wrench to ensure that all nuts and connections are tight, preventing future leaks.
- Replace Washers Annually: Prevent drips by replacing washers and O-rings before they fail.
- Use Plumber’s Grease: Apply plumber’s grease to moving parts during routine cleaning for smoother operation.
- Avoid Harsh Chemicals: Harsh cleaners can damage fixture finishes. Use mild soap and water instead.
These simple steps can keep plumbing repairs for faucets to a minimum, saving time and money.

