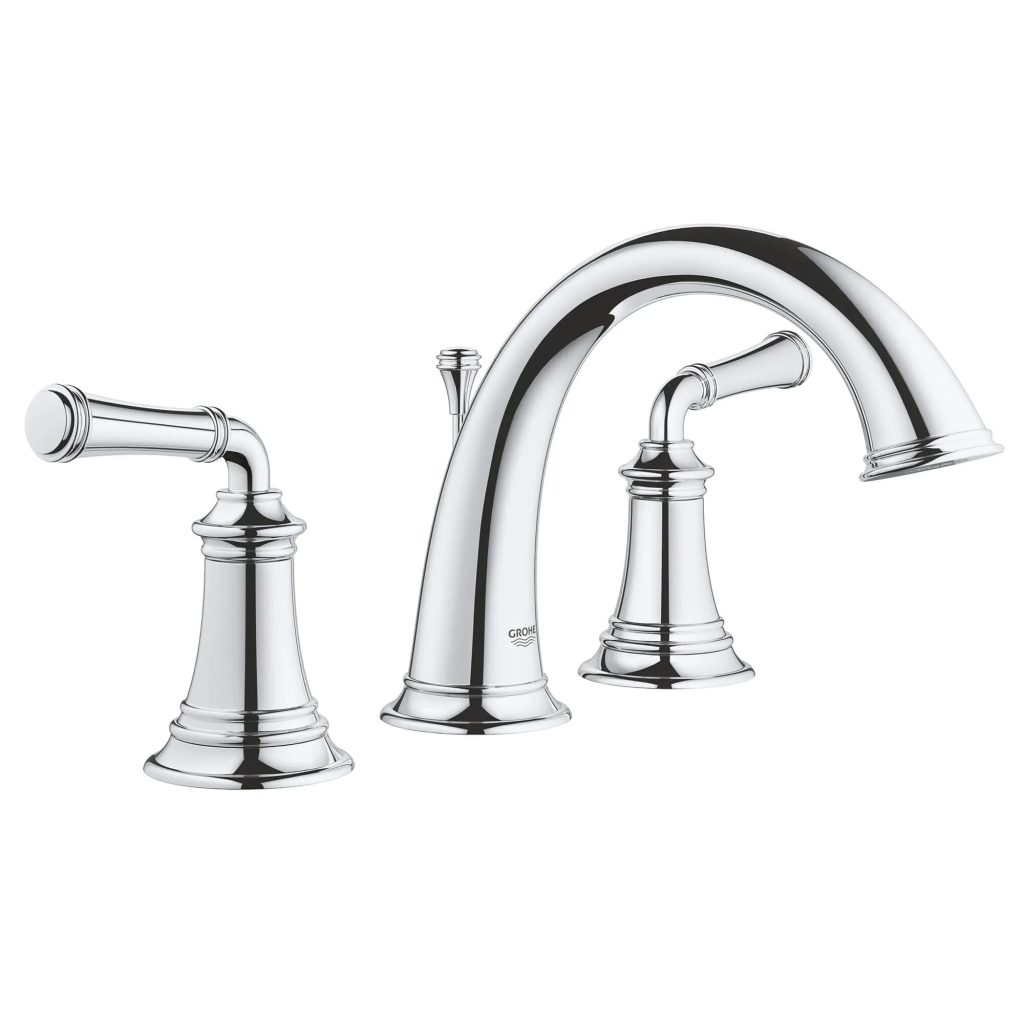
Selecting the Right Type of Paint for Bathroom Faucets
How to paint bathroom faucets? Choosing the correct paint is vital in learning how to paint bathroom faucets. Not all paints adhere well to metal surfaces, especially those exposed to water. For a lasting finish, opt for a paint specifically designed for metal. Two paint types stand out for bathroom faucets: epoxy paint and automotive paint. Epoxy paint resists moisture and prevents rust. Automotive paint offers durability and a high-gloss finish. Ensure you select a water-resistant and non-peeling variety.
Preparing the Faucets for Painting
Before you start with the actual painting process, preparing your bathroom faucets is essential. Proper preparation ensures that the paint will adhere correctly and last longer. Here’s how you can prepare your bathroom faucets for painting:
- Clean the Surface: Begin by thoroughly cleaning the faucets. Dust, grime, and soap scum can prevent proper paint adhesion. Use a degreasing cleaner suitable for metal surfaces.
- Sand the Surface: Once clean, lightly sand the faucet’s surface. This step creates a rougher surface that helps the paint stick. Use fine-grit sandpaper and sand gently to avoid scratching the faucets.
- Repair Damages: Inspect the faucets for any signs of damage, such as rust or pitting. If you find any, use a metal filler to repair these areas before painting.
- Tape Off Areas: Use painter’s tape to protect the surrounding areas and any parts of the faucet you don’t want to paint, like handles or logos. This helps achieve clean lines and a professional look.
By following these steps on how to paint bathroom faucets, you will prepare your faucets effectively for the upcoming primer and paint layers. This preparation is crucial for achieving a durable and aesthetically pleasing finish.
Steps to Clean Your Faucets Before Painting
Cleaning your bathroom faucets is crucial for the painting process. A well-prepared surface ensures better paint adhesion. Follow these steps for effective cleaning:
- Dissolve the Grime: Apply a degreaser to break down tough build-ups. Let it sit for a few minutes before scrubbing.
- Scrub Gently: Use a soft-bristle brush or sponge. Scrub gently to avoid scratching your faucets.
- Rinse Thoroughly: Wash off the degreaser with water. Ensure no cleaner residue is left, as it can affect the paint.
- Dry the Surface: Before moving to the next step, dry the faucets completely with a clean cloth. A dry surface prevents paint from dripping.
By cleaning your faucets properly, you’re setting the stage for how to paint bathroom faucets with a lasting finish. This step cannot be skipped. Remember, painting over a dirty surface can lead to peeling and unevenness.
Applying Primer: The Key to a Long-Lasting Finish
Before applying paint, a primer is essential for how to paint bathroom faucets. Primer acts as a key bonding agent between the paint and the metal surface of the faucets, ensuring the paint holds fast over time. Here are the steps you should follow:
- Choose the Correct Primer: Select a primer designed for metal surfaces. It should be rust-inhibiting to prevent future problems.
- Apply Primer Evenly: Using a spray primer offers an even coat. Hold the can at the recommended distance and apply it in light, even layers.
- Allow Adequate Drying Time: Consult the primer’s instructions for drying times. A fully dried primer creates a more secure bond with the paint.
- Inspect the Coat: Once dry, check for any uneven areas or drips. A smooth primer coat means a smoother paint application.
By properly applying primer, you set the stage for a durable, stunning finish on your bathroom faucets. This is one of the key steps in how to paint bathroom faucets that you cannot skip.
Painting Techniques for a Smooth and Even Finish
When it comes to learning how to paint bathroom faucets, applying your chosen paint correctly is crucial for a professional-looking finish. Here are some techniques that can help ensure a smooth and even coat:
- Choose the Right Brush or Spray: If using a brush, make sure it’s high-quality and designed for use with metal. For spray paint, opt for a nozzle that allows a fine mist for even coverage.
- Apply Thin Coats: It’s better to apply several thin coats of paint than one thick coat. This helps prevent drips and ensures the paint dries evenly.
- Maintain a Steady Hand: Whether brushing or spraying, keep your hand as steady as possible. Quick, erratic movements can cause uneven lines or splotches.
- Follow the Manufacturer’s Instructions: Each paint has its specifics for application; make sure to adhere to these to achieve the best results.
By following these techniques on how to paint bathroom faucets, you’ll be well on your way to achieving that smooth and even finish. Taking your time and being attentive to each step is key.
Letting the Paint Dry and Curing Time
After applying the final coat of paint to your bathroom faucets, the next crucial step is allowing the paint to dry and cure. Here’s how to handle this stage to ensure the best results for your project:
- Wait for the Paint to Dry: Check the paint can for drying times. Follow this guideline closely. It usually takes a few hours for the paint to feel dry to the touch.
- Keep the Area Ventilated: Good airflow aids in drying. Keep the bathroom ventilated. This means turning on the fan or opening windows if possible.
- Avoid Touching: Resist the temptation to touch the paint to see if it’s dry. Fingerprints can damage the smooth finish.
- Curing Time is Key: Even when the paint feels dry, it may not be fully cured. Curing can take days or even weeks. During curing, the paint hardens and becomes more durable.
By allowing your painted bathroom faucets enough time to dry and cure, you are ensuring the longevity of your hard work. Be patient, as curing is as important as the painting process itself when learning how to paint bathroom faucets.
Reassembling and Maintaining Your Newly Painted Faucets
After allowing adequate drying and curing time, the final step in how to paint bathroom faucets is reassembling and maintaining them. Here’s what to keep in mind:
- Reassemble with Care: Gently reattach any removed parts. Use a soft touch to avoid chipping the paint.
- Tighten Connections: Make sure all connections are secure. This prevents leaks and ensures smooth operation.
- Check for Functionality: Turn on the water and check for smooth flow and no drips. Address any issues immediately.
- Keep It Clean: Regularly wipe your faucets with a soft, damp cloth. Avoid harsh cleaners that can damage the paint.
- Avoid Abrasive Materials: Don’t use scrubbing brushes or abrasive pads. These can scratch the surface and ruin the finish.
By carefully reassembling and providing proper care, your painted bathroom faucets can maintain their beauty and function for years to come. Follow these maintenance tips to protect your hard work and enjoy your bathroom’s fresh new look. Remember, with the right upkeep, a DIY paint job can have long-lasting results.
Common Mistakes to Avoid When Painting Bathroom Faucets
When you learn how to paint bathroom faucets, avoiding common errors is crucial. Mistakes can lead to poor results and less durability. Here are the main missteps to watch out for:
- Skipping Surface Preparation: Preparing the faucets is a must. Don’t overlook sanding, cleaning, and repairing damages before painting.
- Using the Wrong Paint: Remember, not all paints work on metal surfaces. Choosing the incorrect type could mean quick peeling and rust.
- Neglecting Primer: A primer is essential for a strong bond between paint and faucet. Skipping this step may shorten your paint’s lifespan.
- Painting Thick Coats: Heavy layers of paint often lead to drips and an uneven finish. Always go for multiple thin coats instead.
- Rushing the Process: Allowing paint and primer sufficient dry time is key. Do not rush drying and curing, as it enhances endurance.
Remember these points to achieve the best results in your faucet painting project. Careful attention to each step will yield a beautiful and lasting finish.