Identifying Your Moen Faucet Model
Identifying the exact model of your moen faucets repair is crucial for a precise repair. This step is essential to ensure you acquire the right replacement parts. Without the correct model identification, the repair process might not be effective, leading to potential errors and further issues.
Check Your Faucet for Model Numbers
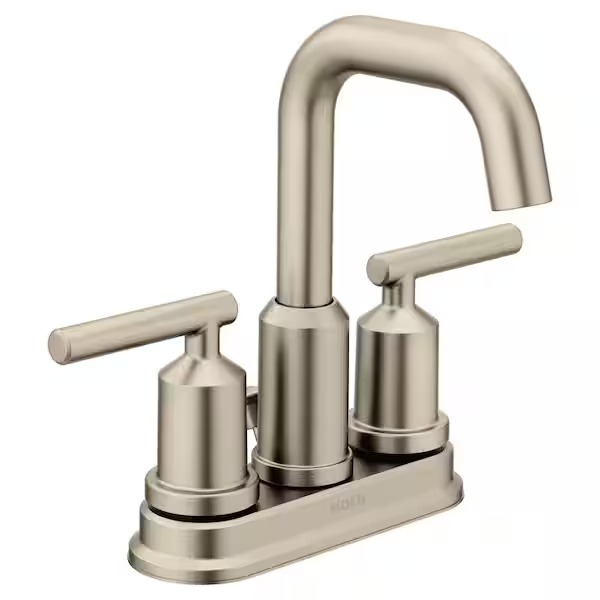
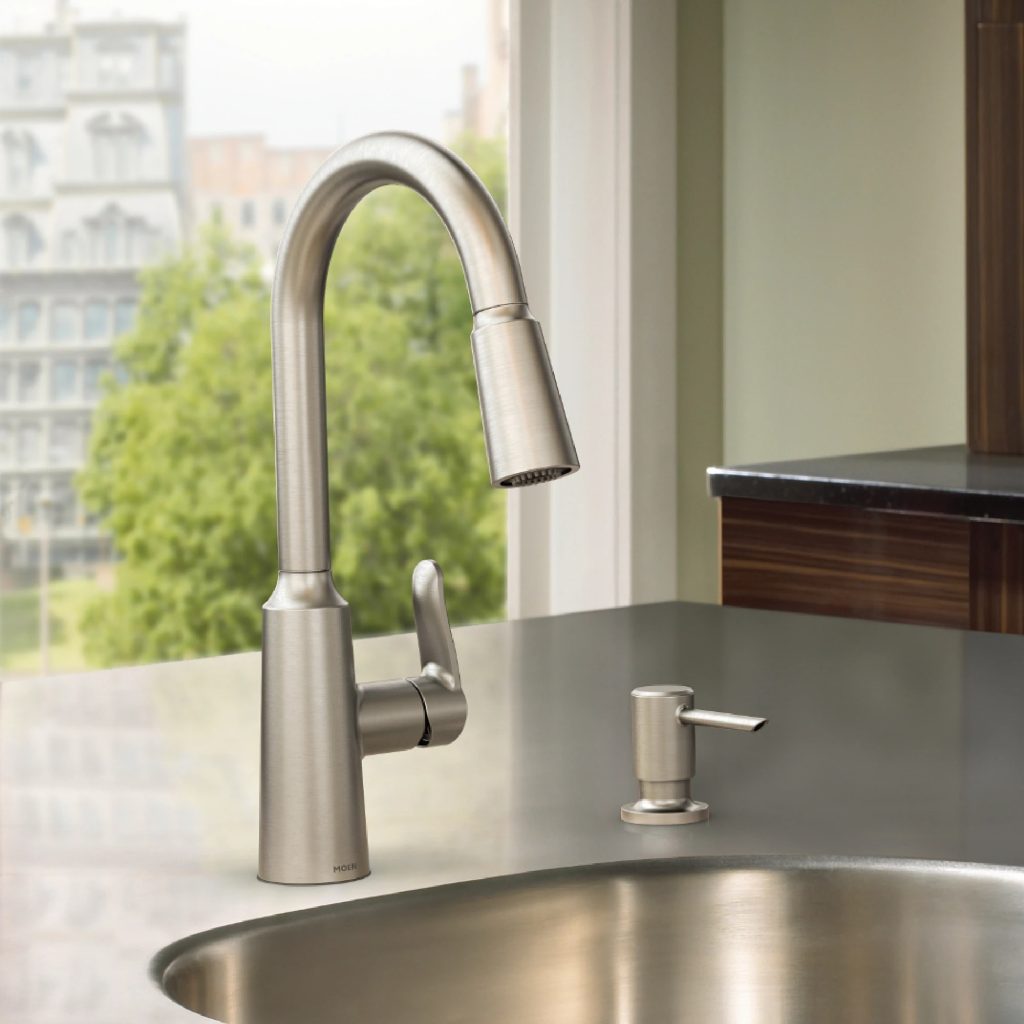
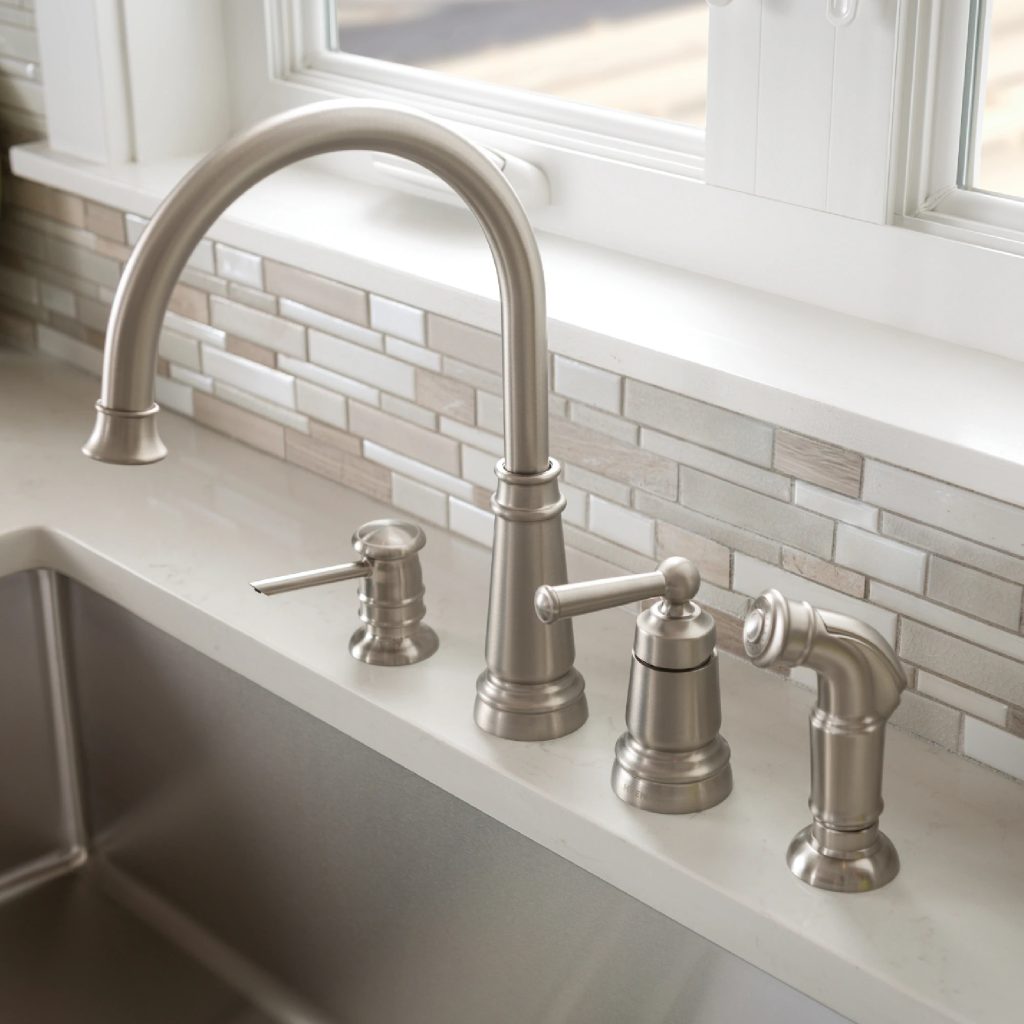
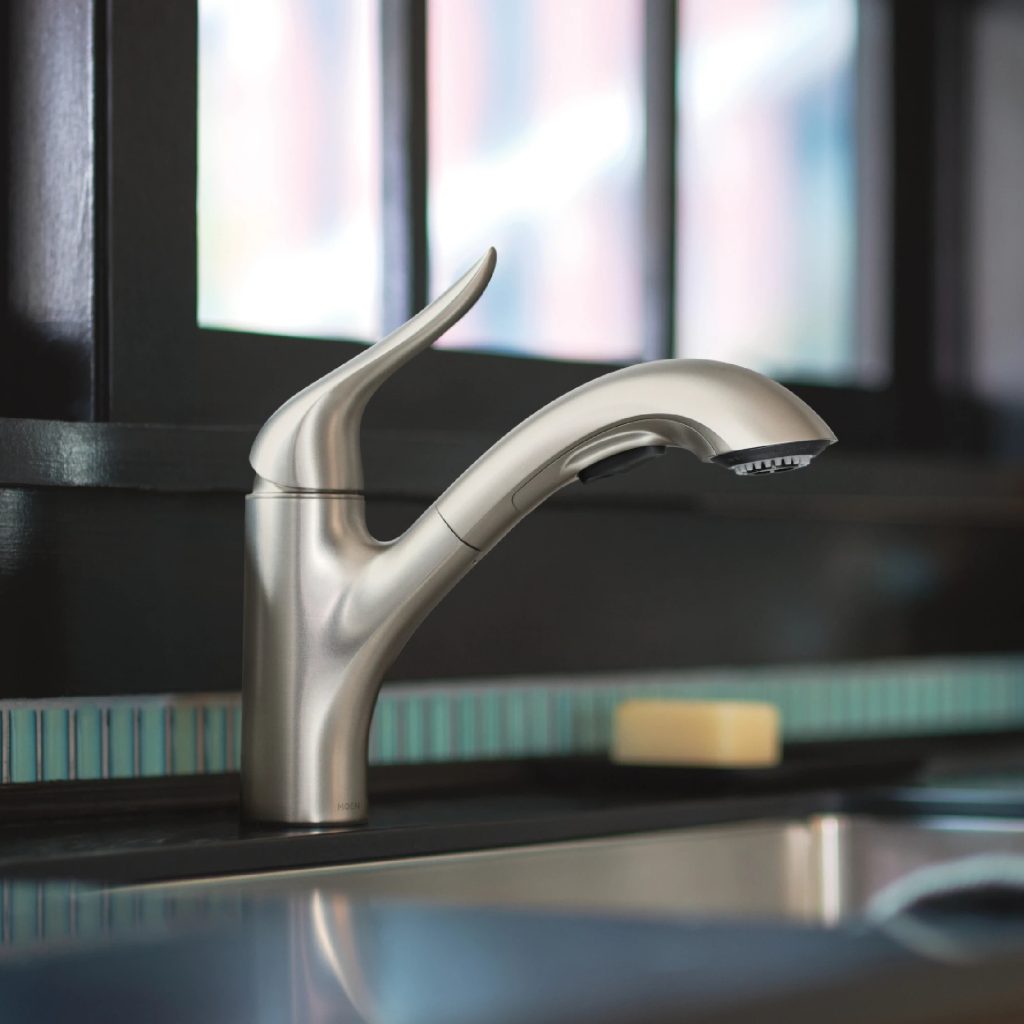
Start by thoroughly inspecting your faucet for any visible model numbers. Moen often places these numbers on parts that are easy to spot, such as under the sink, at the base of the faucet, or even inside the handle. If you find a number, jot it down as it will greatly assist you throughout the repair process.
Use Moen’s Website for Identification
If you cannot locate a model number, visit Moen’s official website. They provide a helpful feature that assists users in identifying their faucet model using images. Comparing your faucet to the pictures provided on the site or using the ‘Faucet Identifier Tool’ can help confirm the model you have before you proceed with the repair of Moen faucets.
Gathering the Necessary Tools
Before you start the moen faucets repair, gathering all necessary tools is essential. Having the right tools on hand can make the process smoother and less time-consuming.
What Tools You’ll Need
To moen faucets repair effectively, you’ll need a few basic tools:
- Adjustable wrench: This tool helps loosen and tighten various faucet components.
- Phillips and flat-head screwdrivers: These are useful for handling screws during the disassembly and reassembly stages.
- Allen keys: Some Moen faucet models require Allen keys to remove the handle.
- Slip-joint pliers: These pliers are great for gripping and turning parts that might be too tight to handle by hand.
- Plumber’s putty or sealant: Essential for ensuring a water-tight seal upon reassembly.
Finding the Correct Replacement Parts
After you have your tools ready, the next step is to find the correct replacement parts for your specific Moen faucet model. It is crucial to use the right parts to prevent leaks or further damage.
- Visit a hardware store: You can find a variety of Moen replacement parts at your local hardware store. Make sure to bring the model number of your faucet.
- Check online: Moen’s official website offers a comprehensive list of replacement parts. You can order directly from there to ensure you get the exact parts needed.
- Consult with a professional: If you’re unsure which parts are needed, consulting with a plumbing professional can help you make the right choice.
Proper preparation and having the right tools and parts are critical to successfully repairing Moen faucets.
Shutting Off the Water Supply
Before you begin with the moen faucets repair, it’s necessary to shut off the water supply. This prevents any accidental leakage or water waste while you work on the faucet.
Locating the Water Shut Off Valves
To locate the water shut off valves, look under the sink. You can usually find them attached to the pipes there. In some homes, these valves might be in the basement or a utility area. They are typically small, round knobs or lever-style handles that you can turn.
How to Properly Turn Off the Water
Once you’ve located the valves, it’s time to turn off the water. Here is how:
- Clear the area: Make sure you have good access to the valve. Remove anything that may be in the way.
- Turn the valves clockwise: Rotate the knobs or handles clockwise until they stop. This motion closes the valves and cuts off the water supply.
- Check the faucet: After you close the valves, turn on the faucet to ensure the water is off. The remaining water in the pipes will run out.
With the water supply safely off, you can now proceed to the next steps for moen faucets repair. Remember, taking the time to properly shut off the water supply is crucial for a smooth repair process.
Disassembling the Faucet
Before starting your moen faucets repair, disassembling the faucet is your first hands-on step. This process involves removing key components in order to access the internal parts that may need replacement.
Removing the Handle
To get to the cartridge, you first need to remove the handle. Begin by turning off the water supply to ensure a safe working environment. Look for a set screw on the handle which is usually fixed with an Allen key. Insert the key and turn it counterclockwise to loosen and remove the screw. With some models, you may need to pop off a decorative cap to access the screw. Once the screw is out, gently pull the handle off from the faucet body.
Taking Out the Cartridge
After removing the handle, the next step is taking out the cartridge, which controls water flow and temperature. Use slip-joint pliers to remove the retaining clip or nut that secures the cartridge in place. Once the clip is out, grasp the stem of the cartridge with the pliers and pull it straight out. If it’s stuck, wiggle it back and forth while pulling up until it comes free. Be patient and take care not to damage the faucet body.
By carefully disassembling the faucet and keeping track of all the parts, you set the stage for a successful repair of your Moen faucet.
Inspecting and Replacing the Cartridge
After disassembling your Moen faucet, inspect the cartridge. This part regulates water flow and temperature.
Examining the Cartridge for Damage
Start by inspecting the cartridge for any signs of wear or damage. Look for cracks, build-up, or anything that seems out of place. Compare it with a new cartridge if uncertain. Identifying damage early can prevent leaks post-repair. If damage is evident, proceed to replace the cartridge.
Installing a New Cartridge
To install a new cartridge, align it properly with the faucet’s configuration. Make sure it fits securely. Then, reverse the removal steps: reinsert the retaining clip or nut to secure the new cartridge. Do this carefully to avoid damage to the new part. Gently insert the cartridge straight into the slot to ensure a perfect fit. This helps preserve the integrity of the faucet’s internal structure. Now, your Moen faucet is set with a new, functioning cartridge.
Reassembling the Faucet
After successfully replacing the cartridge, the next step involves reassembling your Moen faucet. This phase is crucial in ensuring that all parts fit back together correctly with no leaks.
Attaching the Handle
First, start by attaching the handle to the faucet. Align the handle with the stem of the cartridge. Then, insert the set screw back into place using an Allen key. Turn it clockwise until it’s tight. For some models, remember to replace the decorative cap.
Ensuring a Leak-Free Reassembly
To ensure a leak-free reassembly, carefully check all connections. Tighten any loose screws and confirm that the new cartridge is securely held by the retaining clip or nut. Apply a small amount of plumber’s putty or sealant where necessary. This step avoids potential water leaks, which could damage your faucet or sink area over time.
By following these steps, your Moen faucet will be reassembled correctly, ready for testing and everyday use.
Testing Your Faucet
After reassembling your Moen faucet, testing it is crucial. This ensures everything works correctly and there are no leaks.
How to Test for Leaks
Start by turning on the water supply. Watch the faucet and connecting pipes for any water escaping. If you see any drips, tighten connections and check again. No leaks mean your repair was successful!
Adjusting Water Flow and Temperature
Turn on the faucet to adjust the water flow and temperature. If the water runs too slow or too fast, adjust the handle and check the settings on the cartridge. This ensures proper operation and comfort in use.