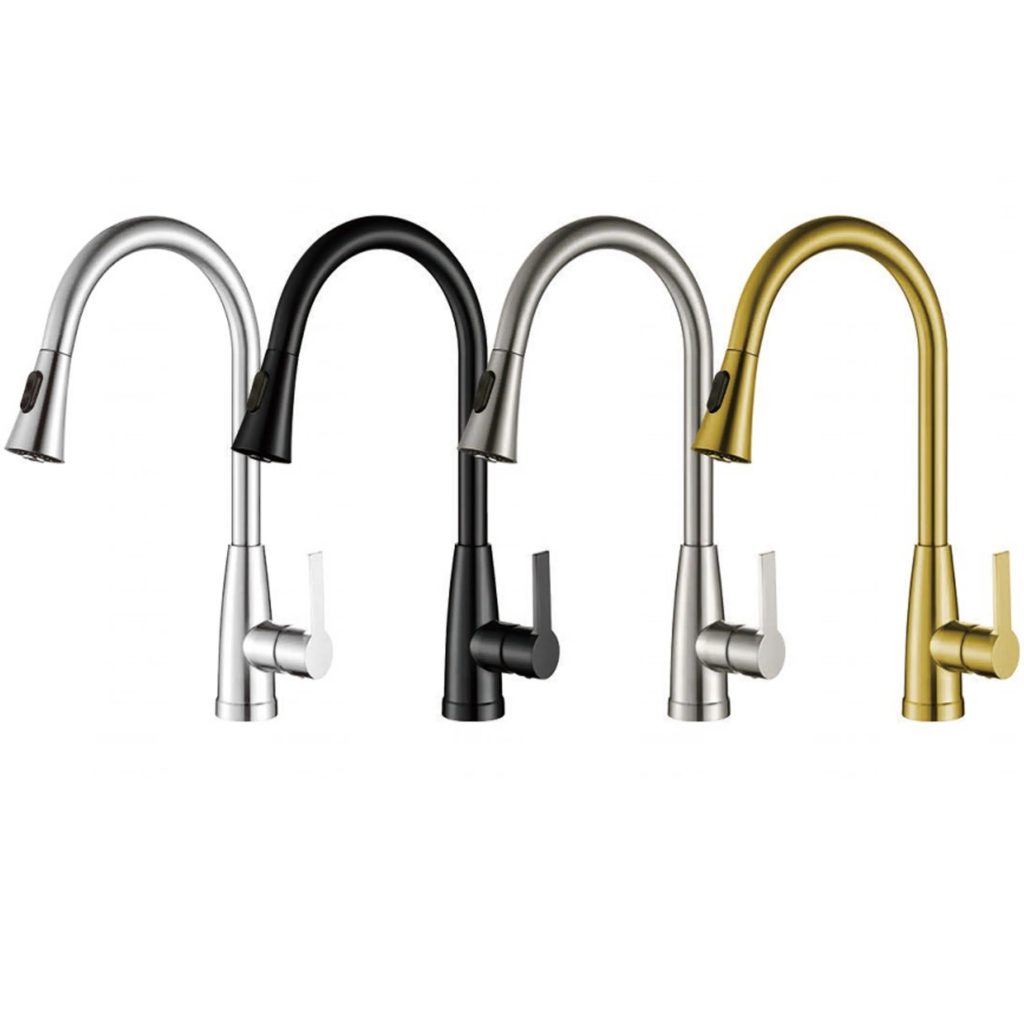
Introduction to Single Handle Faucets
Repairing single handle faucets blend hot and cold water using one lever or knob. They are common in kitchens and bathrooms. Their design allows for easy temperature control. With only one moving part, they often require less maintenance. However, repairing single handle faucets can be necessary over time. Issues like leaks or stiff handles can arise. Understanding how they work is the first step to effective repair. In this guide, we will walk through that process. The aim is to help you fix any common issues with minimal fuss.
Common Issues with Single Handle Faucets
When dealing with repairing single handle faucets, pinpointing common issues is key. Users often come across several typical problems. Dripping or leaking is the most frequent complaint. This can indicate a worn-out seal or O-ring. Another issue is a stiff handle, which makes adjusting water temperature difficult. This stiffness usually points to mineral buildup or a problem with the internal mechanism. Less commonly, you may find that the faucet produces no water. This could be due to a blocked water supply line. Identifying these issues helps direct the repair process effectively. By knowing what to look for, you can resolve the problem quickly and efficiently.
Tools and Materials Needed for Repair
Before starting the process of repairing single handle faucets, gathering the right tools and materials is essential. Ensure you have the following items:
- Adjustable wrench: For loosening and tightening nuts.
- Screwdrivers: Both flat-head and Phillips are helpful for different screws.
- Allen wrenches: Needed for removing handles.
- Replacement parts: Includes O-rings, seals, or a new cartridge.
- Plumber’s grease: Helps lubricate moving parts during reassembly.
- White vinegar: Useful for cleaning mineral buildup.
- Clean cloth: For wiping down parts as you work.
These are the basics. You might need additional tools depending on the specific faucet and issue. Double-check the repair instructions for your faucet model before you start. Know where each tool comes into play to streamline your workflow. This careful preparation sets the stage for a smooth repair process.
Shutting Off the Water Supply
The first critical step in repairing single handle faucets is to shut off the water supply. This prevents water from gushing out when you disassemble the faucet. Here’s how you can turn off the water safely and effectively:
- Locate the Shut-off Valves: These are usually under the sink. Look for two valves – one for hot water and one for cold.
- Turn the Valves Clockwise: Twist each valve clockwise to close it. This will stop the water flow to the faucet.
- Confirm the Water is Off: Open the faucet to ensure no water comes out. If water still flows, check the valves again.
- Relieve Water Pressure: After closing the valves, let any remaining water in the lines drain out. This reduces pressure and prevents spills.
- Prepare for Drips: Have a bucket or towel handy to catch any drips when you open the faucet.
Always double-check that the water is fully shut off before you move on to the next steps of disassembling the faucet. This step is crucial for a safe repair process.
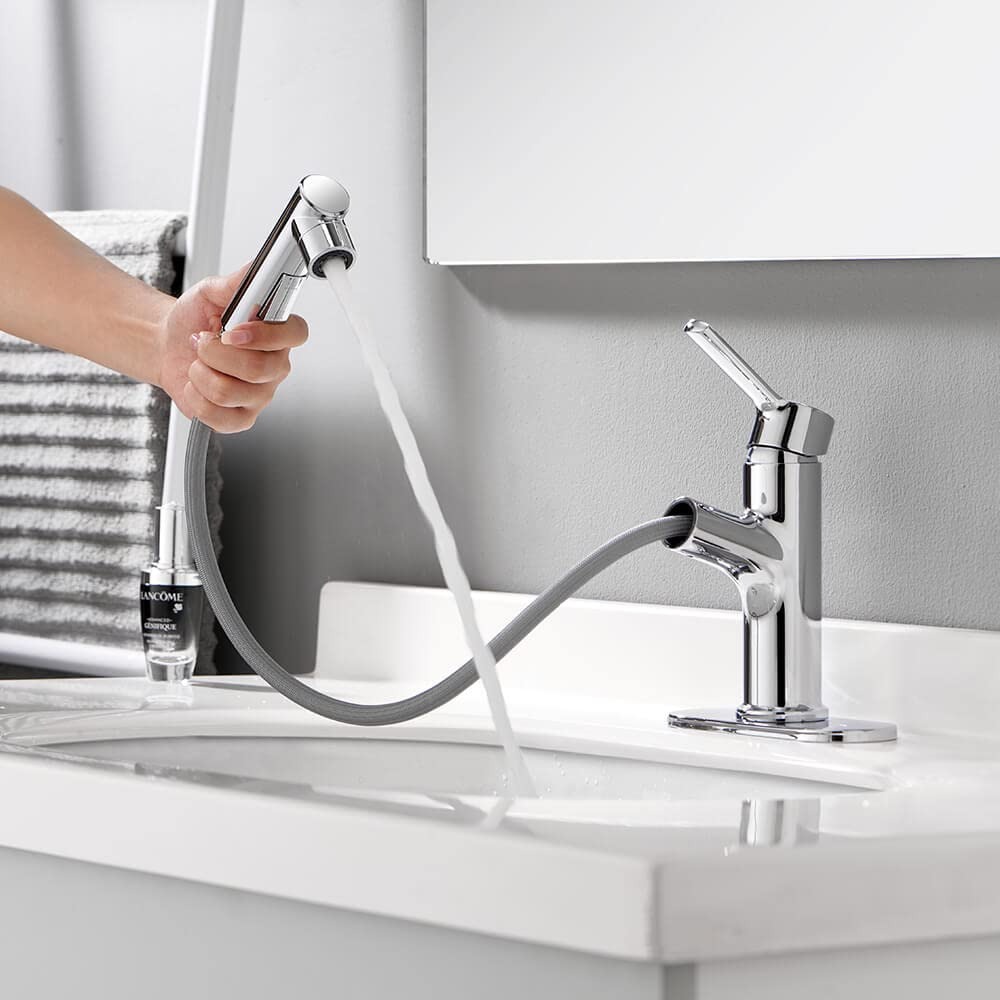
Disassembling the Faucet
The next step in repairing single handle faucets is disassembly. This process requires careful attention and precision. Here’s what you need to do:
- Remove the Handle: Use an Allen wrench or screwdriver, depending on your faucet type, to loosen the set screw. Once that’s done, lift the handle off.
- Take Out the Cap and Collar: If present, these should be unscrewed and set aside. A wrench may help with the collar.
- Unscrew the Mounting Nuts: An adjustable wrench will be handy here. This lets you access the cartridge or other inner parts.
- Pull Out the Cartridge or Ball Assembly: Which component you’ll find depends on your faucet model. Gently remove it, taking note of how it fits.
- Inspect the O-rings and Seals: Look for any wear, tear, or mineral buildup that might be causing leaks or stiffness.
Remember, each faucet is a bit different. Use the flashlight to see clearly under the sink. Keep track of all parts, especially the small ones. Organize them neatly to avoid confusion. Taking pictures before you start might be a good idea, to aid in reassembling later. With all pieces removed, you’re ready to move on to identifying the specific problem with your faucet.
Identifying the Problem
After you have disassembled your single handle faucet, it’s time to identify the problem. Here are the main issues to look for and how to identify them:
- Check the O-rings and Seals: Look closely for wear or tears. Damaged O-rings or seals often cause leaks and need replacing.
- Examine the Cartridge: If the faucet handle is stiff or if there’s an inconsistent water flow, the cartridge might be to blame. Look for signs of mineral deposits or wear.
- Inspect for Blockages: Sometimes, debris or sediment might block the water flow. Check for blockages in the small openings of the faucet.
- Look at the Valve Seat: A corroded valve seat can lead to leaks around the spout. Inspect it for any signs of corrosion.
Identifying the correct issue is crucial in repairing single handle faucets efficiently. Take note of any faulty parts that need replacement. Remember, proper diagnosis leads to a smoother repair process. Next, you’ll find out how to replace these faulty components for a fully functioning faucet.
Replacing Faulty Parts
Once you’ve disassembled the faucet and pinpointed the issue, it’s time to replace the faulty parts. Here’s a systematic approach to ensure a successful repair:
- O-rings and Seals: If these are the culprits, remove the old ones. Clean the area with white vinegar and a cloth. Apply plumber’s grease to the new parts and fit them into place securely.
- Cartridge or Ball Assembly: Handle stiffness or erratic water flow often points to these parts. Purchase a compatible replacement, preferably of the same brand as your faucet. Insert the new cartridge or ball assembly carefully, aligning it as the old one was.
- Clearing Blockages: Should you find debris causing flow issues, rinse the faucet’s small openings. Use white vinegar to break down mineral deposits.
- Valve Seat: A corroded valve seat can compromise the faucet integrity. You may need a special tool, like a valve seat wrench, to remove and replace it.
When purchasing replacements, ensure they match your faucet’s model. Using incorrect parts can lead to more problems than solutions. Replacing worn or damaged components is generally straightforward with the right tools. If you run into difficulties, consider consulting the manufacturer’s instructions or seeking professional help. After these steps, you are ready to put the faucet back together and test its performance.
Reassembling and Testing the Faucet
After replacing the faulty parts, the next step in repairing single handle faucets is reassembly. This phase requires attention to detail to ensure that every component goes back in the correct place. Here is how to proceed:
- Reinstall the Cartridge or Ball Assembly: Carefully place the new part into the faucet body. Align it just like the old one.
- Reattach the Mounting Nuts: Secure them with an adjustable wrench. Do not over-tighten to prevent damage.
- Replace the Cap and Collar: If you removed them, screw them back into place now.
- Reattach the Handle: Slide it back onto the stem and tighten the set screw with an Allen wrench or screwdriver.
- Clear the Work Area: Move tools and any debris out of the way. Wipe down surfaces with a clean cloth.
If everything functions well, your faucet repair is successful. If you encounter any issues, go through the checklist to ensure all parts are installed correctly. Remember, proper reassembly is just as important as the diagnosis and replacement of faulty components to ensure the longevity of the repair.