Materials Needed for the Job
Can you paint faucets? When embarking on a faucet repainting project, it’s crucial to gather all necessary materials beforehand to ensure a smooth process. Here is a list of essential tools and sprays required for the job:

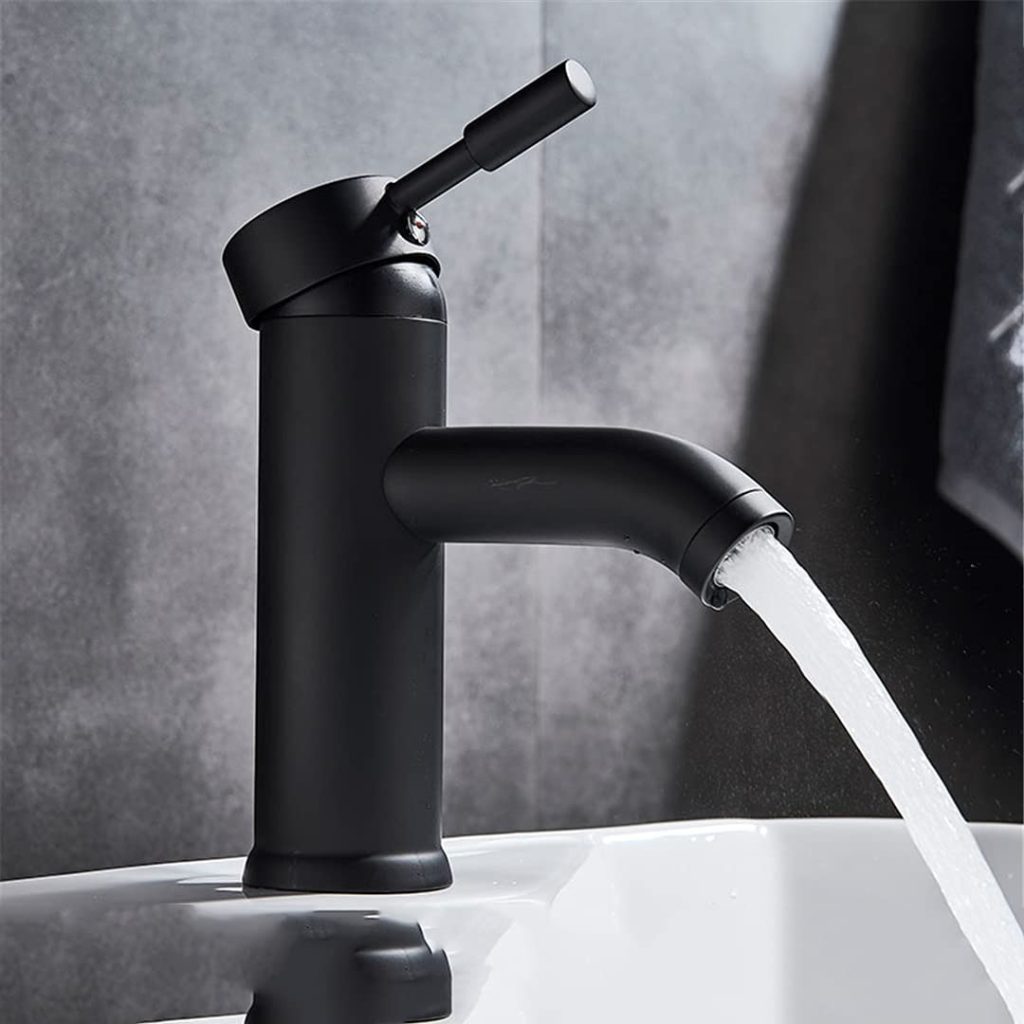
- Matte Black Spray Paint: This will be your main paint for achieving a sleek, modern finish on your faucets.
- Primer Spray: Essential for preparing the surface and enhancing the paint’s adherence, thus providing a lasting finish.
- Fine Grit Sandpaper: Needed to sand the faucets lightly before painting, helping the paint stick better.
- Painters Tape: Use this to protect the areas around your painting surface to avoid overspray.
- Plastic Sheeting: Helps protect other surfaces and areas from getting painted by mistake.
- Drop Cloths: These are necessary for covering the floor and counters to protect them from paint drips.
Gather these tools to make the task at hand simpler and more effective, paving the way for a successful repainting job.
Safety and protective equipment
Can you paint faucets? While dealing with paint and minor renovations, it’s important to also prioritize your safety. The appropriate safety and protective equipment not only ensures your well-being but also enhances the efficiency of your work by allowing you to focus on the task without discomfort. Here are the key items you should have:
- Safety Goggles: To protect your eyes from harmful vapors and paint splashes.
- Gloves: These will guard your hands against chemicals and paint, especially during the sanding process.
- Face Mask: Essential for preventing the inhalation of fumes and dust, especially if you are working in a lesser-ventilated area.
- Long-sleeved Clothing and Protective Overalls: Protect your skin from paint stains and any chemical interaction.
Ensuring you have these safety items on hand will not only keep you safe but also make the painting process more comfortable and professional.
Preparation Steps
Can you paint faucets? The right preparation can make your bathroom faucet painting project go smoothly. Here’s how to get started.
Setting up your workspace effectively
To begin, cover your work area to protect it from overspray. Use plastic sheeting to drape around the faucet and sink. Secure the sheeting with painter’s tape. Lay a drop cloth on the floor and countertop to catch drips. Remember to block the faucet’s water outlet with masking tape to keep paint out.

Cleaning and sanding the fixtures
A clean surface is key for paint to adhere. Use a damp cloth to clean the faucet, removing any grease or dirt. Then, lightly sand the fixture with fine-grit sandpaper. This helps to create a surface that the paint can grip onto. After sanding, wipe away any dust or debris with a cloth and dry the area well before moving on to the painting process.
Painting Process
Applying primer properly
Before you start painting, applying a good primer is essential. Begin by shaking the primer can well. Hold it about 6-8 inches away from the faucet and spray in gentle, even strokes. Make sure you cover the entire surface but keep the layer light to avoid drips. Allow the primer to dry completely, typically this takes about 2-3 hours, depending on the humidity and temperature of your work space.
Techniques for the first coat of paint
Once the primer has dried, it’s time for the first layer of matte black spray paint. Shake the can well before use. Similar to the primer, maintain a distance of 6-8 inches and apply the spray paint using light, controlled bursts. For the best results, make sweeping motions to ensure even coverage without heavy build-up. Allow this coat to dry for at least a few hours. Remember, thin, light coats are crucial to avoid drips and achieve a smooth, professional finish.
How to apply the second coat effectively
Can you paint faucets? After the first coat is completely dry, proceed with the second coat of paint. Use the same spraying techniques mentioned earlier. This second layer is vital for full coverage and richness of color. Continue to add light coats until you achieve the desired opacity. Each coat should dry thoroughly before the next is applied. Patience during this step ensures the paint layers bond well and result in a durable, sleek finish.
Finishing Touches
Removing tape and cleanup
Once your faucet’s new paint job is dry, it’s time for cleanup. Start by carefully peeling off the painter’s tape. Do this slowly to avoid removing any fresh paint. Next, remove the plastic sheeting and drop cloths. Check for any overspray and clean it up with a damp cloth. If paint seeped under the tape, a razor blade can scrape it off. This precision will ensure a neat finish. Finally, dispose of the used materials properly.
Final inspection and touch-ups
Inspect your newly painted faucet from different angles. Look for any light spots or missed edges. If you find imperfections, use a small brush for touch-ups. Apply thin layers to blend with the rest of the surface. Wait for the touch-ups to dry completely. A final wipe with a soft cloth adds shine and removes any leftover dust. With patience and careful inspection, your faucet will look brand new.
Additional Tips and Tricks
Avoiding common painting mistakes
When repainting bathroom faucets, small errors can have a big impact on your results. Here are key mistakes to avoid:
- Skipping Surface Prep: Always clean and sand the faucet before starting. This helps the paint adhere better.
- Applying Heavy Coats: Use thin, light sprays instead of heavy ones to avoid drips and uneven textures.
- Ignoring Manufacturer’s Instructions: Each paint has specific directions for optimal use. Follow them to ensure best outcomes.
- Rushing the Drying Time: Allow sufficient drying time between coats to prevent smudges and imperfections.
Taking care to avoid these common errors will significantly improve the quality of your repainting project.

Enhancing durability with optional sealants
To extend the life of your newly painted faucets, consider using a sealant. This extra step can protect against water damage and wear, maintaining the fresh, matte appearance. Here’s how to do it:
- Choose the Right Sealant: Opt for a clear, water-resistant sealer suited for use on painted metals.
- Apply Accordingly: After the final paint coat has dried, apply the sealant. Follow the manufacturer’s instructions for the best application method.
- Let it Dry Completely: Ensure the sealant has dried fully before using the faucet.
Using a sealant is not mandatory, but it’s a wise choice for faucets subjected to frequent use. This protective layer adds durability and preserves the aesthetic appeal of your DIY project.
Expanding Your DIY Horizons
After successfully repainting your bathroom faucets, you may feel inspired to tackle more home improvement projects. Repainting can freshen up a space, add personality, and even increase your home’s value. The key is to start with smaller, manageable tasks and gradually move to larger ones.
Ideas for further home DIY projects involving repaint
- Kitchen Cabinet Makeover: Transform your kitchen by repainting the cabinets. Choose a color that complements your decor.
- Upcycling Old Furniture: Give old chairs or tables a new lease on life with a fresh coat of paint.
- Revitalizing Room Walls: Change the mood of any room by repainting the walls. Pick trendy colors for a modern touch.
- Door and Window Trims: Small details matter. Repaint your door and window trims for an instant visual uplift.
- Heating Radiators Refresh: If you have traditional radiators, a special heat-resistant paint can make them look new.
- Accent Pieces: Create accent pieces, like a painted mirror frame or bookshelf, to add character.
Remember, before starting any repaint project, gather all the necessary materials, take the time for proper surface preparation, and always use the right type of paint for the surface. With these new ideas and the same careful approach as your faucet repaint, you’re ready to expand your DIY repainting horizons and beautify your home one stroke at a time.

