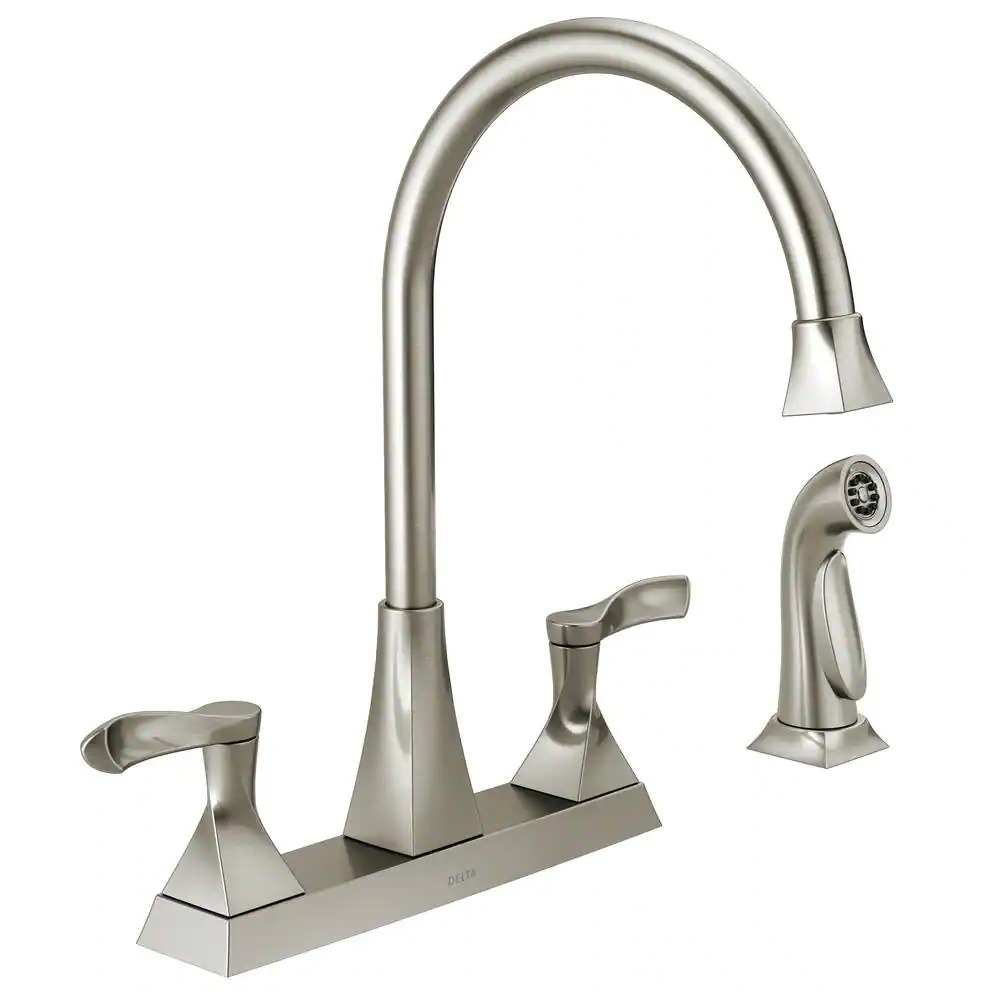
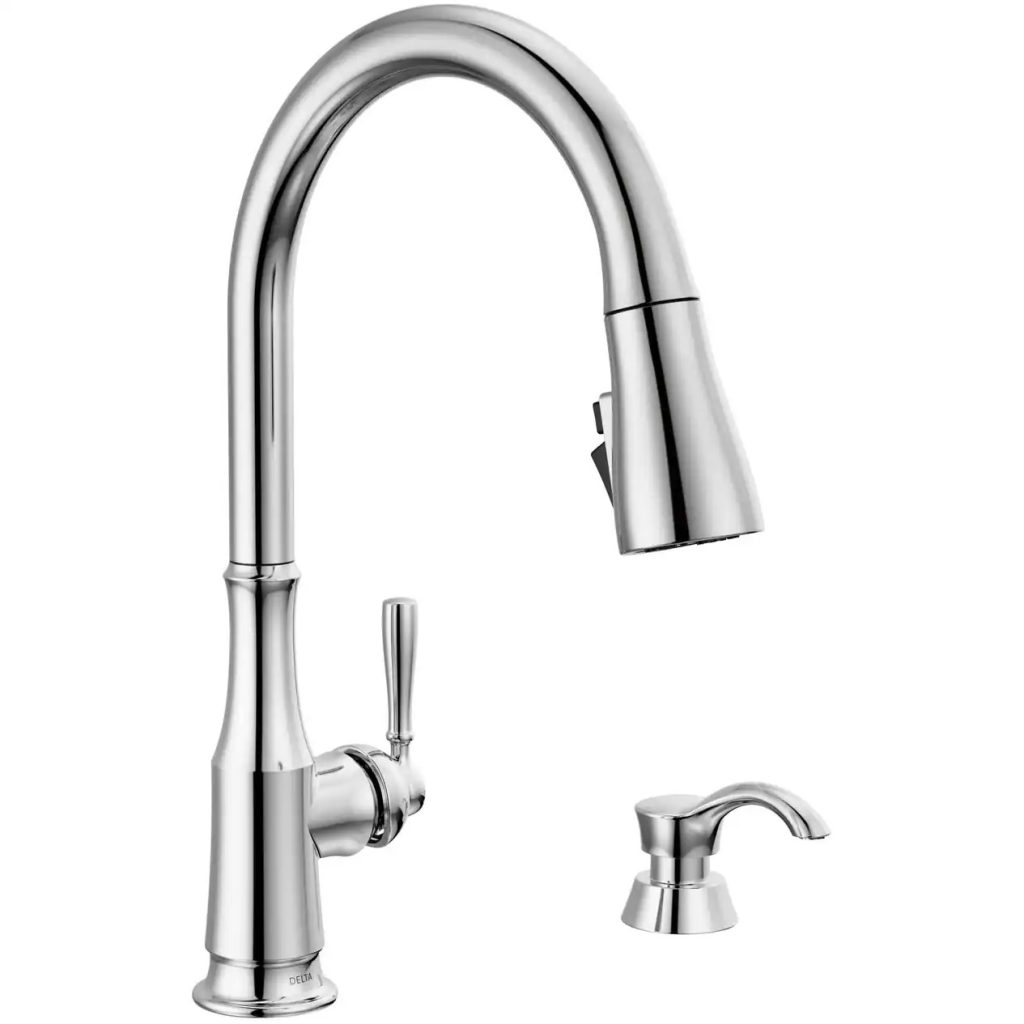
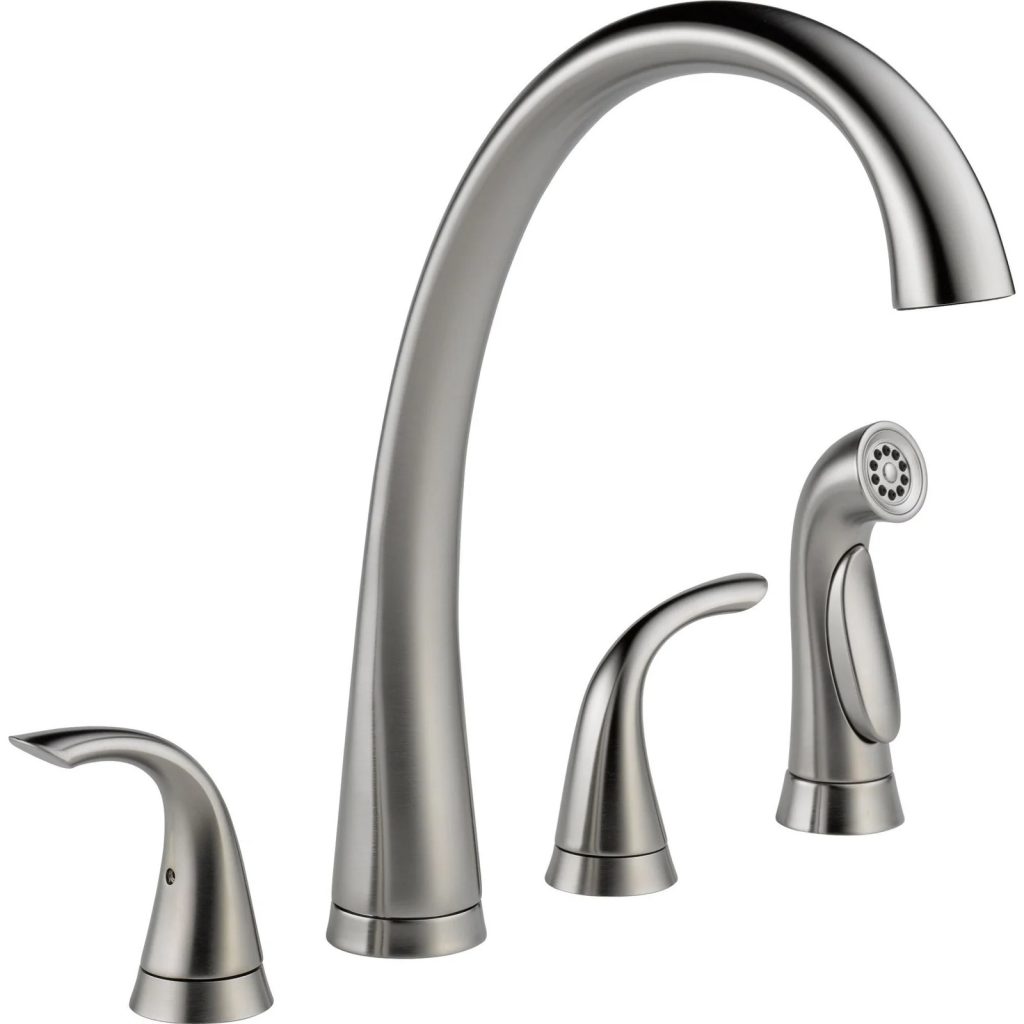
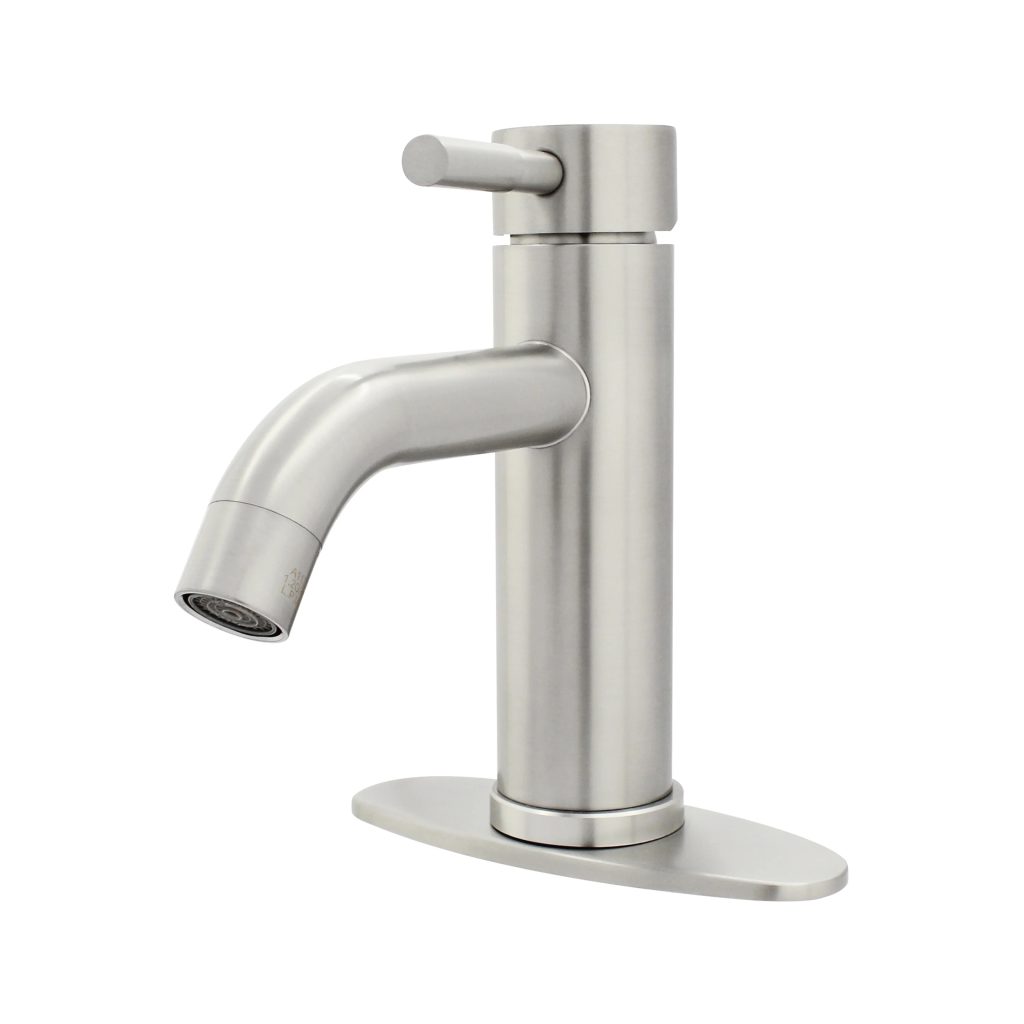
Identifying Your Delta Kitchen Faucet Model
Before you start any delta kitchen faucets repair, it’s vital to know exactly which model you’re dealing with. Delta has numerous kitchen faucet models, and each may have specific parts and mechanisms. Identifying your model helps you find the correct replacement parts and guides for repair.

To identify your Delta faucet model:
- Check Underneath the Sink: Look for any tags or inscriptions under the sink that might indicate the model number.
- Inspect the Faucet for Symbols or Logos: Sometimes, the model or series number is located on the faucet itself.
- Refer to the Original Packaging or Manual: If you’ve kept the original packaging or manual, you can easily find the model number there.
- Visit the Delta Faucet Website: Delta’s website provides an identification tool which can help you through images and descriptions.
- Contact Delta Support: If all else fails, the Delta support team can help identify your model with a description or a photo.
Knowing your specific model makes troubleshooting simpler and ensures that you purchase the right parts for your delta kitchen faucets repair. Keep your model information handy for quick reference throughout the repair process.
Common Delta Faucet Problems and Solutions
When it comes to delta kitchen faucets repair, a few common issues tend to arise. Understanding these problems and their quick fixes can save you time and hassle.
Leaky Faucet Handle
A leaky faucet handle is a frequent complaint. This often results from worn-out O-rings or seals. Here’s how you can address it:
- Turn off the water supply.
- Remove the handle by unscrewing it.
- Replace the old O-rings with new ones.
- Reassemble the handle and turn the water back on.
Check for leaks once complete. If it continues to drip, the issue might lie deeper within the faucet’s internal parts.
Low Water Pressure
Low water pressure can be frustrating. It’s typically due to a clogged aerator or debris in the lines. To fix this issue:
- Unscrew and clean the aerator.
- Flush out any debris from the line.
- Reattach the aerator carefully.
If cleaning the aerator doesn’t solve the problem, inspect the lines for kinks or obstructions.

Sprayer Hose Malfunction
If the sprayer hose isn’t working right, the problem could be a kink in the hose or a clogged nozzle. Here’s what you can do:
- Ensure the hose isn’t twisted or kinked.
- Clean the nozzle with a mixture of vinegar and water.
- Check the diverter valve for blockages.
A malfunctioning sprayer hose can often be fixed without needing to replace the entire unit. But, if these tips don’t work, consider a new hose.
Step-by-Step Guide to Replacing Delta Faucet Parts
When your Delta kitchen faucet needs a part replacement, follow this simple guide. With it, you can perform a confident delta kitchen faucets repair. Ensure you have the model information as identified earlier for a targeted fix. Here are the steps for a typical replacement process:
- Shut Off the Water Supply: Prevent water flow before anything else. Use the valves under the sink to turn off the water.
- Disassemble the Faucet: Depending on the model, remove handles or caps. Use a screwdriver or Allen wrench as needed.
- Remove Faulty Parts: Identify and take out the part that’s causing trouble. For leaky handles, it could be O-rings; for a faulty hose, it could be the sprayer head.
- Replace with New Parts: Fit the new parts into place. Make sure they match your specific faucet model.
- Reassemble the Faucet: Put all components back together. Tighten screws and make sure handles are in place.
If at any stage you find difficulty or the repair does not fix the issue, you may need professional help. Moreover, for steps that involve complex inner parts, refer to the faucet’s manual or seek online tutorials specific to your Delta faucet model.
Cleaning and Maintenance Tips for Delta Faucets
Regular care extends the life of your Delta kitchen faucets. Follow these steps to keep your faucet in top shape:
- Daily Wiping: Use a soft, damp cloth to wipe down the faucet daily. This prevents mineral build-up.
- Weekly Cleaning: Mix mild soap with water for a gentle cleanse. Rinse and dry with a soft towel.
- Monthly Descale: Tackle hard water spots with a 50/50 solution of white vinegar and water. Apply with a cloth and rinse thoroughly.
- Aerator Check: Unscrew the aerator monthly to clear debris. Soak it in vinegar if it’s clogged.
- Hose Inspection: Pull out the sprayer hose. Stretch it to check for kinks and clean it as needed.
- Seal Refresh: Rubber seals dry out over time. Keep them supple by applying silicone grease annually.
By following these maintenance tips, you can prevent common issues needing delta kitchen faucets repair. Consistency is key to maintaining smooth operation and preventing wear and tear.
When to Call a Professional for Delta Faucet Repairs
While DIY delta kitchen faucets repair can be rewarding, some situations require a professional plumber. Recognize when to get expert help to avoid more damage. Call a professional if you see these signs:
- Persistent Leaks: If leaks continue after replacing seals and O-rings, you may need a plumber.
- Complex Issues: When issues are beyond basic repairs, like deep internal problems, seek professional aid.
- Installation Errors: If you suspect incorrect installation of a new faucet, a professional should address it.
- Lack of Tools or Expertise: Without the right tools or know-how, you could risk damaging your faucet.
- Warranty Concerns: Attempting repairs by yourself could void your warranty. Check with Delta first.
Calling the right professional can save money, time, and prevent further problems. Make the call if you are uncertain about any step of repair or if the problem persists after your attempts to fix it.

Essential Tools for DIY Delta Faucet Repairs
When you take on delta kitchen faucets repair, having the right tools is crucial. Essential tools make the repair smoother and help prevent damages. Below is a list of tools you’ll likely need:
- Adjustable Wrench: Adjusts to different sizes, perfect for tightening or loosening nuts.
- Allen Wrench Set: Needed for removing handles or set screws in faucet levers.
- Screwdrivers: Both flat-head and Phillips-head screwdrivers are useful for disassembly.
- Plumber’s Tape: Helps to secure threaded joints and prevent leaks.
- Channel Locks: Provides grip and leverage for turning pipes or fittings.
- Basin Wrench: A specialized tool for working on faucets in tight spaces.
- O-Ring Pick: Useful for removing old O-rings without scratching surfaces.
- Silicone Grease: Keeps rubber components like O-rings supple.
Troubleshooting Advanced Issues: Valve Seat and O-Ring Fixes
When you dive into delta kitchen faucets repair, you may encounter more complex issues. These may relate to the valve seat or O-rings that are critical for a leak-free faucet. Let’s explore how to address these advanced problems.
Valve Seat Deterioration
The valve seat connects the faucet and the spout. Wear and tear here can cause leaks. To fix this:
- Turn off the water supply.
- Remove the faucet handle and stem.
- Use a valve seat wrench to take out the worn seat.
- Replace it with a new, exact-match seat.
- Reassemble the faucet parts and test for leaks.
If you’re not comfortable with this repair, consider calling a professional plumber.
Worn or Damaged O-Rings
O-Rings seal various parts of the faucet and prevent leaks. Over time, they may break or wear out. Here’s what you can do:
- Shut off the water beneath the sink.
- Disassemble the relevant parts of the faucet.
- Remove the old O-rings with an O-ring pick.
- Apply silicone grease to new O-rings.
- Place the new O-rings where the old ones were.
- Put the faucet back together and turn on the water.
Dealing with complicated issues might be challenging. If problems persist after your repairs, or if the task seems too complex, reach out to a plumbing professional. It’s essential to handle these components with care to maintain your faucet’s function and avoid further issues.

