Introduction: The Importance of Winterizing Outdoor Faucets
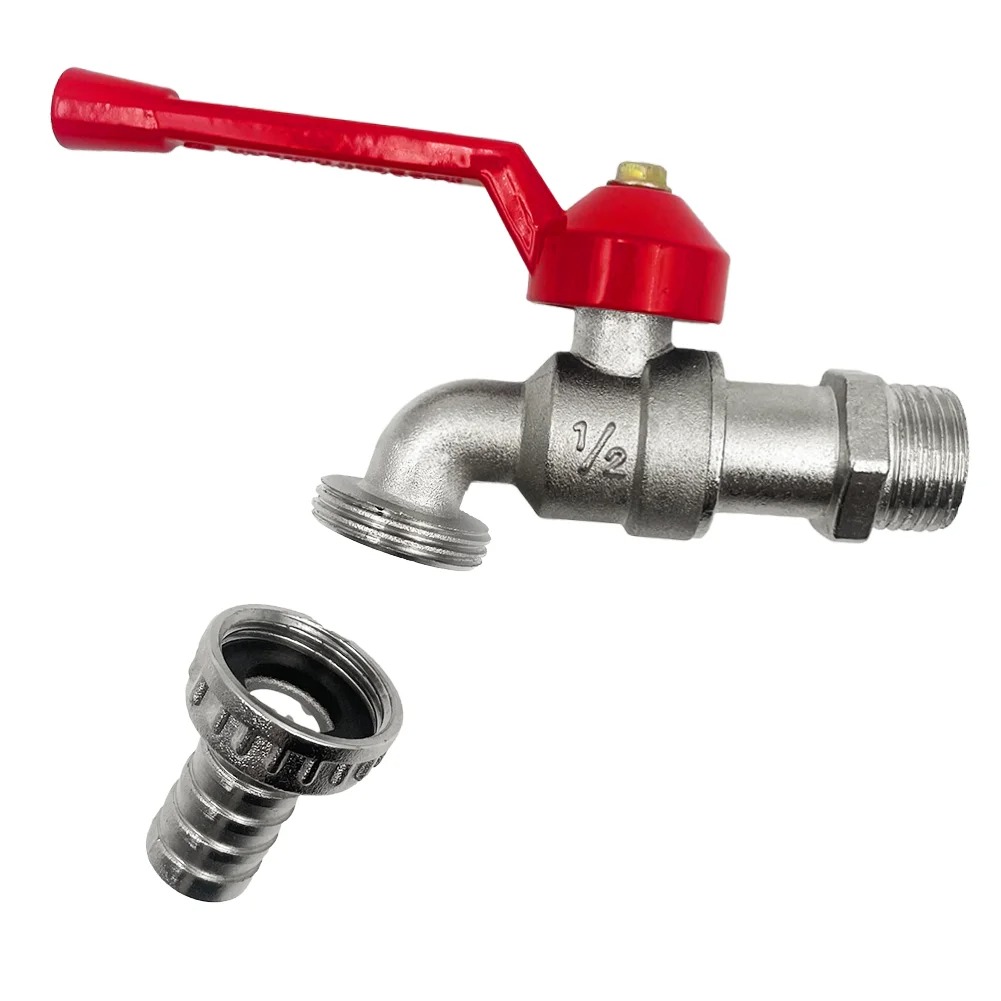
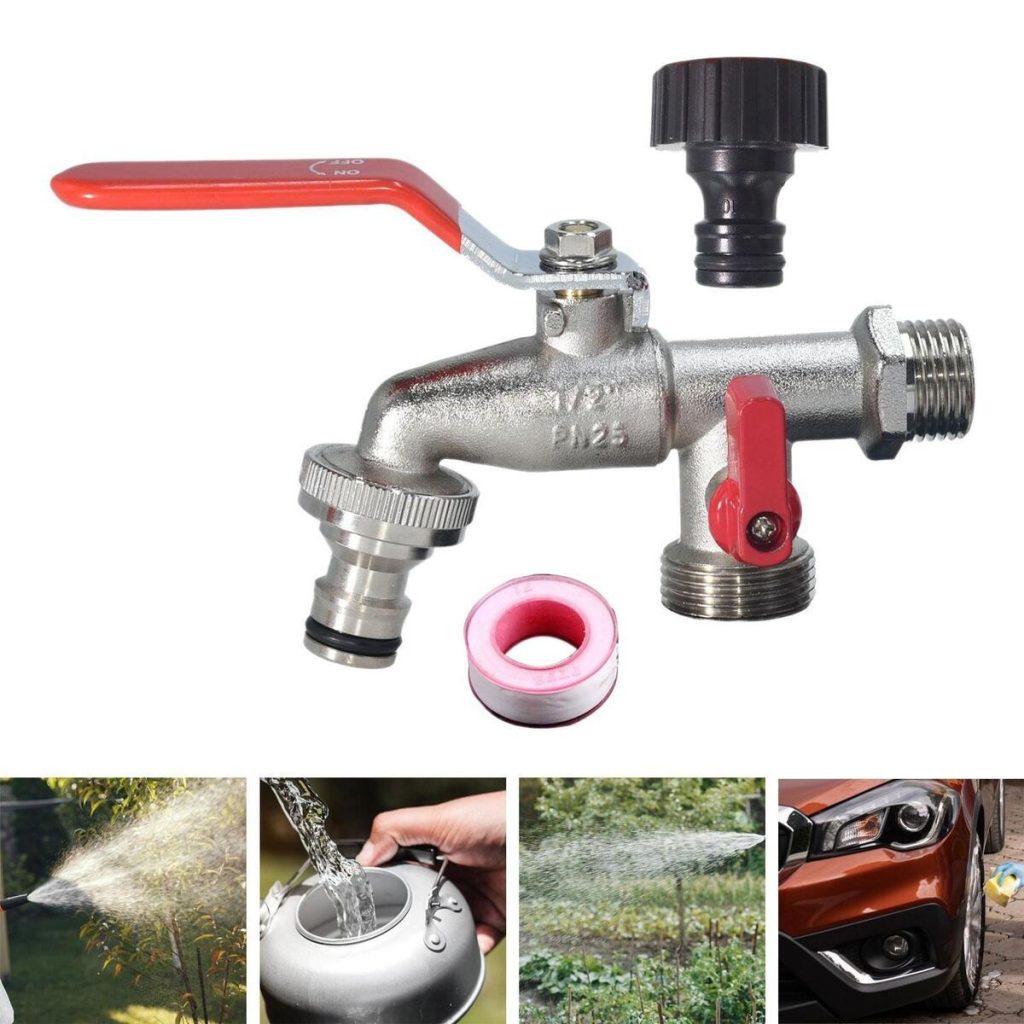
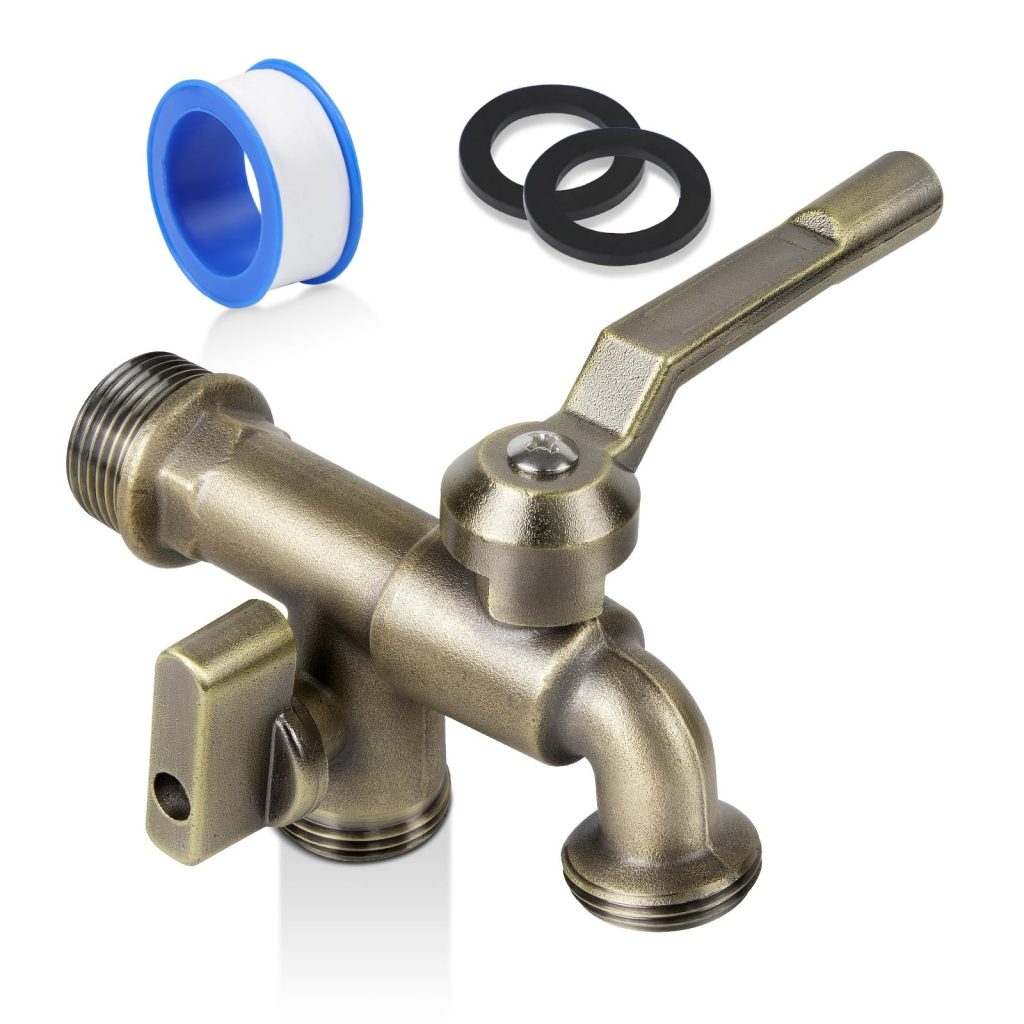
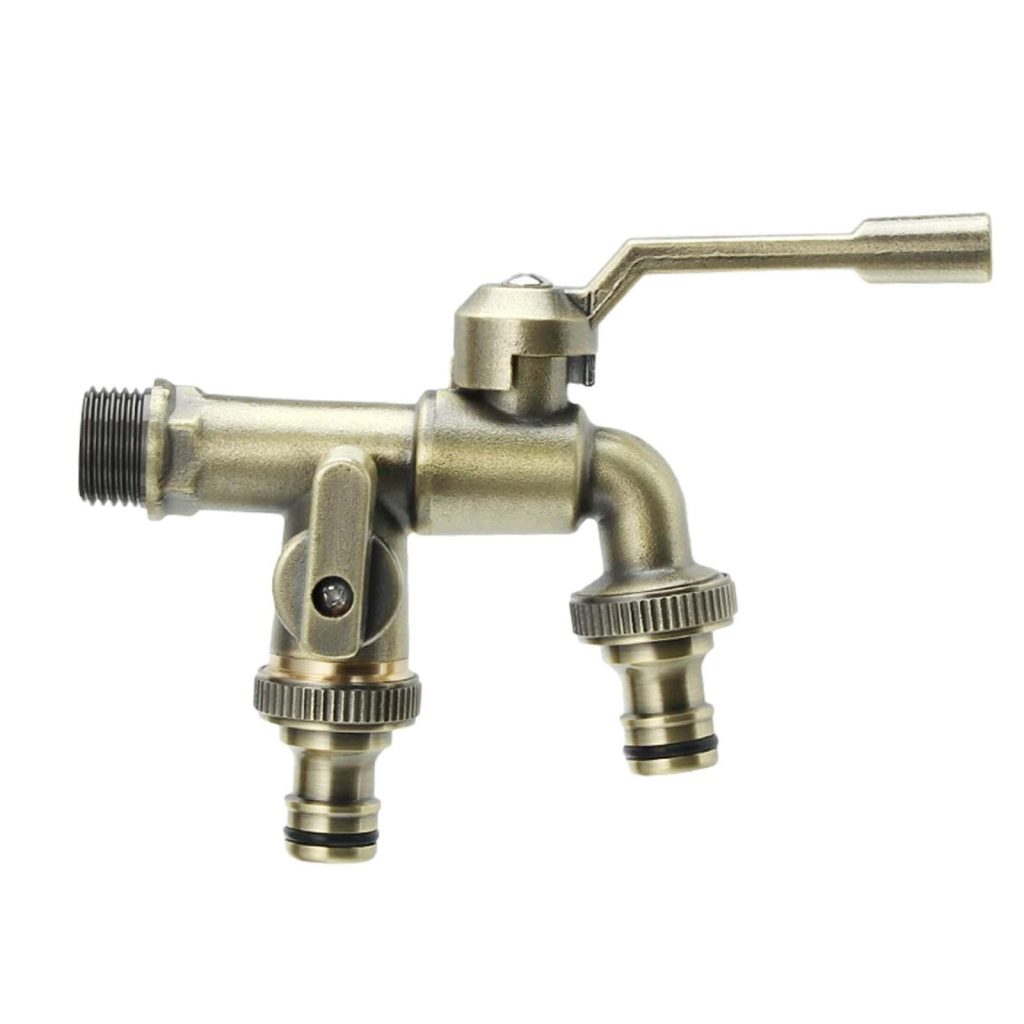
How to prepare outside faucets for winter? As winter approaches, the need to winterize outdoor faucets becomes critical. Just as we prepare our homes and wardrobes for the colder months, our home’s plumbing requires similar attention. Failure to prepare outside faucets for winter can lead to frozen pipes. These pipes may burst and cause extensive damage to your home.

Step 1: Locate and Disconnect All Outdoor Hoses
Preventing winter water woes starts with your outdoor hoses. To prepare your faucets for the freezing temperatures, begin by identifying all hoses. Take a walk around your home’s exterior to find any hoses connected to faucets. Once located, carefully disconnect each one. Removing hoses is crucial because any water left inside can freeze and expand, causing damage to both the hose and the faucet. After disconnecting, be sure to drain any remaining water out of the hoses. Turn them upside down to ensure all water escapes. This simple action protects the hoses from cracking and safeguards your faucets from the peril of bursting pipes. With your hoses detached and drained, you’re on the right track to secure your outdoor faucets against the cold season.
Step 2: Find and Turn Off the Interior Water Supply Valve
The next step to winterize your outdoor faucets is to locate the interior water supply valve. This valve stops water from flowing to your outdoor faucets. You will typically find it near the main water shut-off valve. It’s often in the basement or the utility area of your home. Look for a lever-style valve, not a standard one. It might have a bleeder cap for draining water. When you find the valve, turn off the water. This prevents water from reaching the outdoor faucets. Your house may have separate valves for interior and exterior lines. Ensure you turn off the correct one for the faucets outside. If you have trouble identifying the valve, do not hesitate to call a plumber. They can assist you in locating and turning off the appropriate valve.
Step 3: Drain Water from Pipes and Outdoor Faucets
Once you’ve turned off the interior water supply valve, it’s time to focus on the water that may still be in your pipes and outdoor faucets. To prevent the water from freezing, you must ensure that it’s fully drained, a task that protects the internal workings of your plumbing system. Here’s how you can do it in simple steps:
- Open the outdoor faucet. Go outside and turn the faucet on to release any water that may be inside. Let it run until the water stops dripping out.
- Drain the pipes. Go back inside and find the bleeder cap on the shut-off valve. Place a bucket below to catch water. Then, remove the cap to let out any water left in the pipes.
- Catch and clean. As water drains, use the bucket to catch it to prevent messes. Once the water is done draining, rinse the bleeder cap and reattach it firmly.
- Check for leaks. After the water stops running, inspect the faucet and fittings for any potential leaks. Tighten any loose parts and repair as needed.
- Close the faucet. Once you have confirmed there’s no more water and no leaks, close the outdoor faucet tightly. This step seals the system and protects against cold air.
By following these straightforward actions, you can confidently protect your outdoor faucets from the harsh winter ahead.

Step 4: Open and Clean the Bleeder Cap
After draining the pipes, the next move is to address the bleeder cap. This cap plays a key role in making sure all water is out of the system. Here’s how to easily manage this critical step:
- Locate the bleeder cap. Find the bleeder cap on the shut-off valve inside your home.
- Place a container beneath. Set a bucket under the cap to catch any dripping water.
- Open the cap carefully. Use a wrench to gently twist off the bleeder cap.
- Clean the cap. Once removed, wipe the cap with a rag to clear debris.
- Wait for water to drain. Let any residual water flow into the bucket.
- Replace and secure the cap. After draining, reattach the bleeder cap and tighten it.
Simple acts like opening and cleaning the bleeder cap are vital for prepping your home’s outdoor faucets for winter. By ensuring you complete this step, you’re helping to prevent any water left in the pipes from freezing and causing damage. Remember to handle the bleeder cap with care to maintain its condition for future use.
Step 5: Insulate and Protect with Outdoor Faucet Covers
After draining your faucets, the next step is insulating them. This protects against freezing temperatures. Insulation covers are key to this step. They act as a barrier, keeping cold air away from the faucet.
Choose the right cover for your faucets. They come in various shapes and materials. Foam covers work well and are easy to install. Simply slip them over the faucet and secure. Some covers use a hard shell or thick fabric for extra protection.
Step 6: Consider Installing Frost-Free Faucets
When preparing your outdoor faucets for winter, think about installing frost-free faucets. These are a permanent fixture designed to resist freezing temperatures and prevent the water within the pipes from freezing. Here is a quick guide on why and how to consider this option:
- Examine your faucets: Check current outdoor faucets to see if they’re frost-free.
- Understand the benefits: Frost-free faucets can reduce the risk of burst pipes by keeping water away from the exposed end of the spigot.
- Seek professional advice: If you’re unsure about the type your faucets are, ask a plumber. They can recommend the best type for your home.
- Consider location-specific needs: If you live in a region with severe winters, frost-free faucets are more of a necessity than a choice.
- Plan for installation: Choose a time, before winter hits, for the plumber to make the switch.
- Invest for long-term savings: Though there’s an upfront cost, these faucets can save money by avoiding repair costs from freeze damage.
By evaluating these aspects, you will ensure your plumbing is equipped to handle winter’s challenges. Frost-free faucits serve as a safeguard, offering peace of mind throughout the cold season.

Conclusion: Maintaining Plumbing Integrity During Cold Months
The steps we’ve covered are key to safeguarding your home’s plumbing through winter. Summing up, start by taking off all outdoor hoses. Make sure to drain any leftover water. Next, locate and switch off the internal water supply valve. This will halt water flow to outdoor faucits. Move on to draining pipes and faucets to prevent ice damage. Don’t overlook the bleeder cap. Open it, clean it, and let water run out. Faucet covers are the next line of defense. They insulate and ward off the cold. Lastly, installing frost-free faucets offers a lasting solution for cold climates.
Every step you take prevents costly repairs. Pipes that burst from freezing can wreck your home and wallet. Take action before winter’s chill sets in. This way, you maintain the integrity of your plumbing and avoid the horrors of water damage. Prepping outdoor faucits for winter’s freeze is not just wise; it’s crucial. Thank you for following along. Stay warm and safe, and trust that your home is ready to face the cold season ahead.

