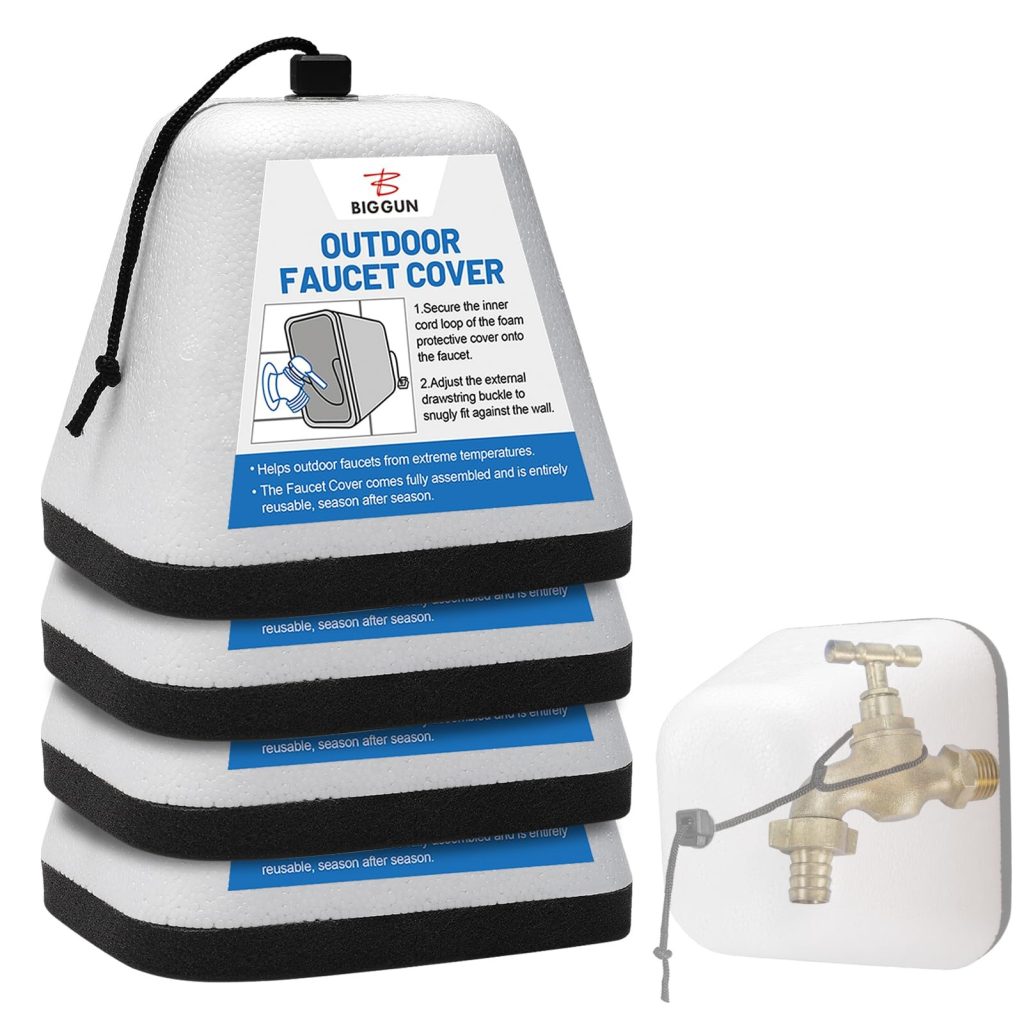
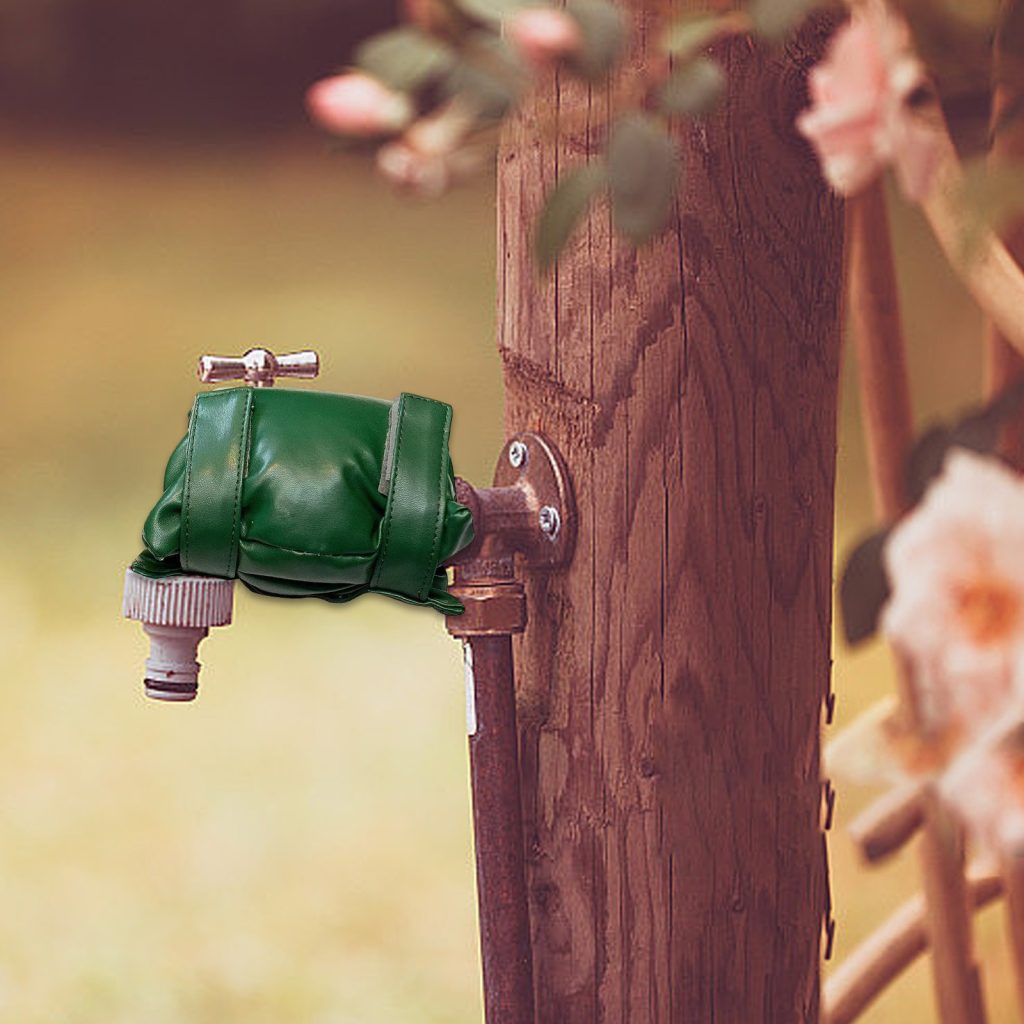
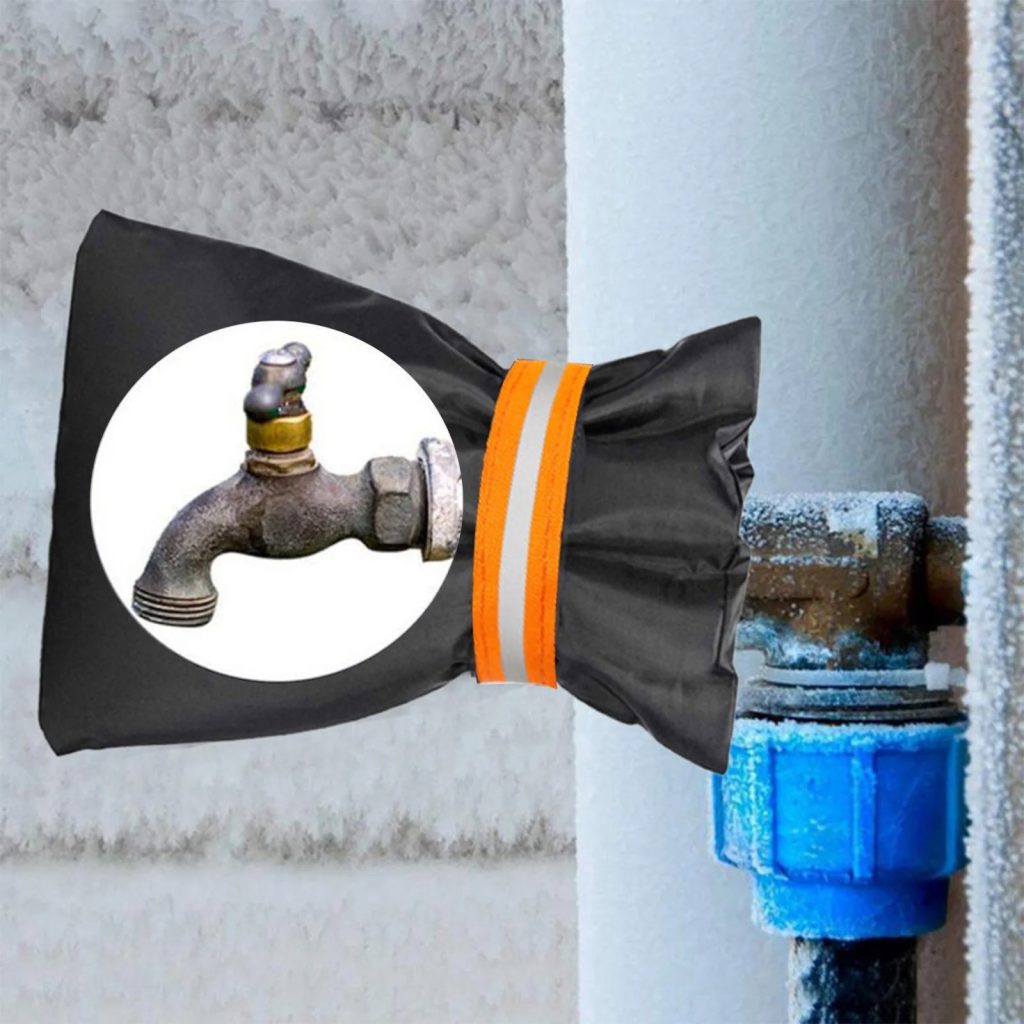
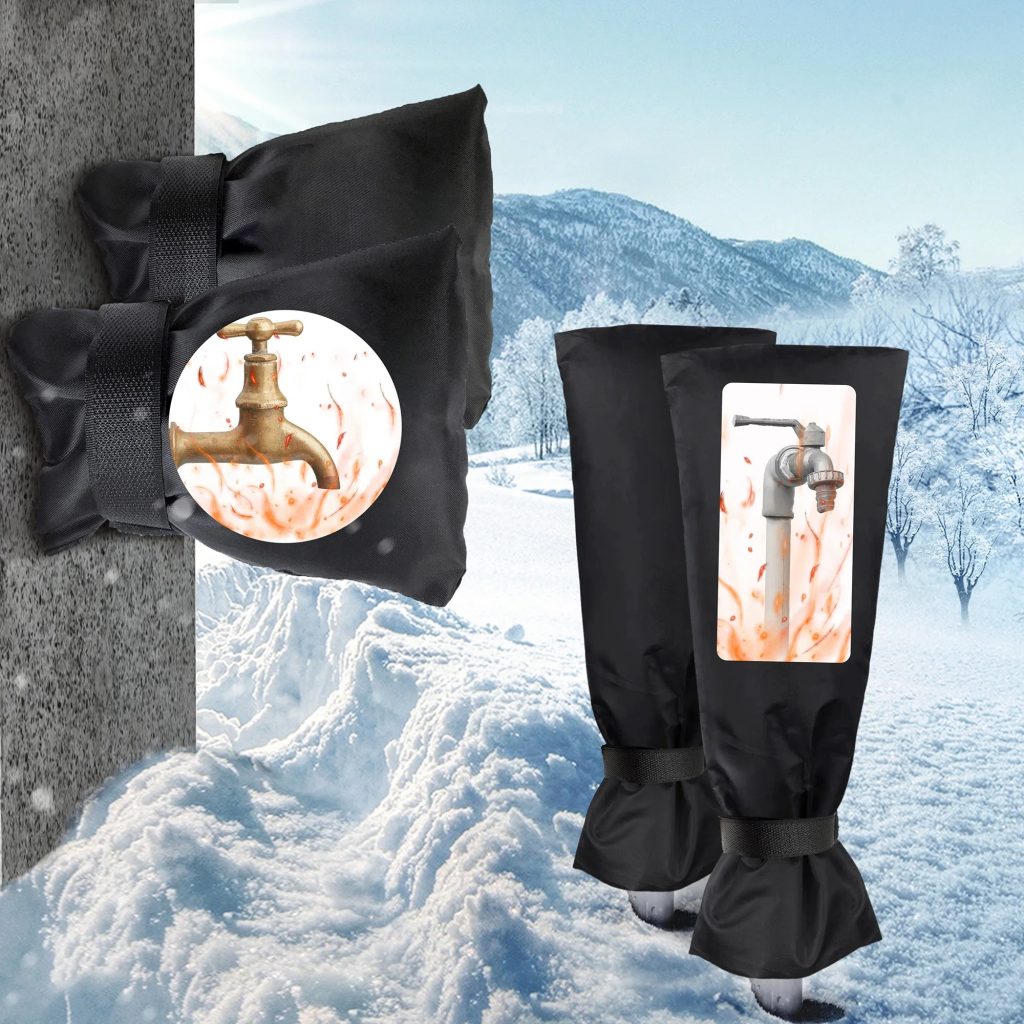
Importance of Protecting Outdoor Faucets in Winter
How to cover outside faucets? Protecting outdoor faucets in winter is essential. It prevents costly pipe damage due to freezing temperatures. Cold weather can cause water in pipes to freeze and expand, leading to possible cracks and bursts. Covering outdoor faucets is a simple measure that saves money on potential repairs.

Selecting the Right Materials for Faucet Covers
How to cover outside faucets? Choosing the right materials for your DIY faucet covers is key. These materials must be strong, withstand cold, and last over time. Let’s look at what you need for a robust faucet cover.
Durability and Weather Resistance
Pick materials that handle freezing temperatures well. Look for items like thick fabrics, old towels, or insulated foam. These can resist winter weather and protect your faucets.
Eco-Friendly and Cost-Effective Options
Recycled materials are both cheap and green. Old clothes or towels are great choices. These are often free and equally effective.
Ensuring Adequate Insulation
Insulation is vital. It keeps the heat in and the cold out. Consider using items with insulating properties. This can be anything from specialized batting to bubble wrap.
By selecting appropriate materials, you create a faucet cover that will serve you for many winters. It’s a simple project that can save you from costly repairs. Plus, it’s satisfying to make something useful with your own hands.
Step-by-Step Guide to Crafting a Faucet Cover
How to cover outside faucets? Creating your own faucet cover is easy. With these steps, you make a cover that keeps faucets warm all winter.
- Gather Materials: Start with an old towel, shirt, or piece of foam insulation. Add a large plastic bag and strong tape like duct or packing tape to your list.
- Measure the Faucet: Measure your outdoor faucet. Add a few inches to ensure the cover will fit snugly.
- Cut and Fold: Cut your fabric or foam so it wraps around the faucet multiple times. Fold it to size if needed.
- Wrap the Faucet: Place the material over the faucet. Make sure it extends past the faucet and covers any exposed pipes.
- Secure with a Bag: Slip the plastic bag over the wrapped faucet. Push it as close to the wall as possible.
- Tape it Up: Tape around the bag and fabric. First, do a rough wrap to hold it in place. Then, wrap it completely to secure it.
- Check for Gaps: Make sure there are no exposed areas. These could let in cold air and cause freezing.
Now your outdoor faucet is covered for the cold months! Make sure to remove the cover and check the faucet when warm weather returns.

Safety Tips for Creating Your Own Faucet Cover
When making your own faucet cover, safety comes first. Here are essential tips to avoid harm and make a reliable cover.
Use Non-Toxic Materials
Choose safe, eco-friendly materials for your cover. Avoid toxins that harm you and nature.
Handle Tools with Care
Use scissors and tape with caution. Store sharp tools away from kids and pets.
Wear Protective Gear
Don protective gloves and eyewear. They shield from accidental scrapes and pokes.
Check the Weather
Pick a warm, calm day for this project. Cold and windy conditions raise injury risks.
Keep a Clean Workspace
A tidy area prevents tripping and falling. Clear your space of clutter before starting.
By following these safety tips, you ensure a secure DIY experience and a successful faucet cover project. Stay safe, plan well, and get crafting!
The Role of Insulation in Faucet Covers
Insulation is key in preventing faucet freezes. It helps maintain a warm temperature around the pipes, avoiding ice formation. This section discusses various insulation types suitable for DIY faucet covers.
Types of Insulation
Different insulations offer varied protection:
- Foam Insulation: Offers excellent warmth and is easy to handle.
- Fiberglass: Traps air and is efficient but harder to work with due to its nature.
Importance of Proper Insulation
Correct insulation prevents water in the pipes from freezing. It reduces the risk of burst pipes and costly repairs. Well-insulated covers save energy too.
Installation Tips for Insulation
Wrap the insulation snugly around the faucet. Cover any exposed parts of the pipe. Secure with weather-resistant tape to provide a barrier against cold air infiltration.
Insulation is not just functional; it’s a crucial aspect of home maintenance. Having the right insulation can make a significant difference in faucet protection.
Regular Maintenance for Longevity of Faucet Covers
Regular upkeep is crucial for DIY outdoor faucet covers. It helps them last longer. Here are simple maintenance steps:
- Inspect Covers Regularly: Check for wear or damage. Look at your covers every few weeks.
- Clean Your Covers: Remove any debris. Use mild soap and water for a quick wash.
- Make Repairs Promptly: Fix any tears or holes. Use durable tape or replacement fabric.
- Store Properly: During warm months, dry covers before storing. This prevents mold.
- Adjust for Weather: With changing seasons, check insulation is still effective. Add or remove layers as needed.
By caring for faucet covers, you ensure they work winter after winter. They keep faucets safe from cold. Plus, maintenance avoids last-minute fixes when the chill hits.

Troubleshooting Common DIY Faucet Cover Problems
When you create DIY faucet covers, you might face some common issues. Here’s how to solve them effectively.
Problem 1: Inadequate Insulation
Sometimes your cover might not prevent freezing. Check if the insulation is thick enough. Add more layers if necessary.
Problem 2: Moisture Accumulation
Moisture can gather under the cover. Ensure the cover is tight and sealed. Consider using waterproof materials.
Problem 3: Wind Displacement
Strong winds might displace loose covers. Secure your covers with durable ties or weights.
Problem 4: Material Deterioration
Materials exposed to elements can degrade. Inspect your covers regularly and replace worn materials.
Problem 5: Incorrect Size
A cover that’s too large or small won’t protect well. Measure your faucets before making covers. Adjust materials accordingly.
Address these problems promptly. Keep your faucet covers functional throughout winter.
Seasonal Adjustments for Faucet Covers
When crafting DIY outdoor faucet covers, consider the changing seasons. This ensures your covers remain effective all year. Here are some guidelines for seasonal adjustments to keep your covers functional:
Spring and Fall Adjustments
During spring and fall, weather can be unpredictable. Lighter covers are usually sufficient. These seasons typically require less insulation but still need protection from unexpected cold snaps and wind.
- Check covers regularly: Weather changes can be sudden. Regular checks ensure covers are intact and secure.
- Adjust insulation as needed: Add or remove layers based on the current weather forecast. Keep materials handy for quick changes.
Winter Preparations
Winter demands more robust protection due to extreme cold. Heavier materials and more thorough insulation are crucial.
- Increase insulation: Use thicker materials to prevent freezing. Materials like fiberglass or foam work well.
- Secure covers tightly: Ensure there are no gaps where cold air can penetrate. Use durable tapes or ties.

Summer Considerations
How to cover outside faucets? In summer, focus mainly on protecting faucets from dust and debris. Insulation is less of a concern.
- Use lighter covers: Simple covers can prevent dust and small animals from entering.
- Store winter covers: Properly clean and store heavy insulated covers for next winter. This extends their life.
By adjusting your DIY faucet covers according to the season, you ensure optimal protection and longevity. This proactive approach saves on potential repair costs and keeps your outdoor faucets in good condition.
