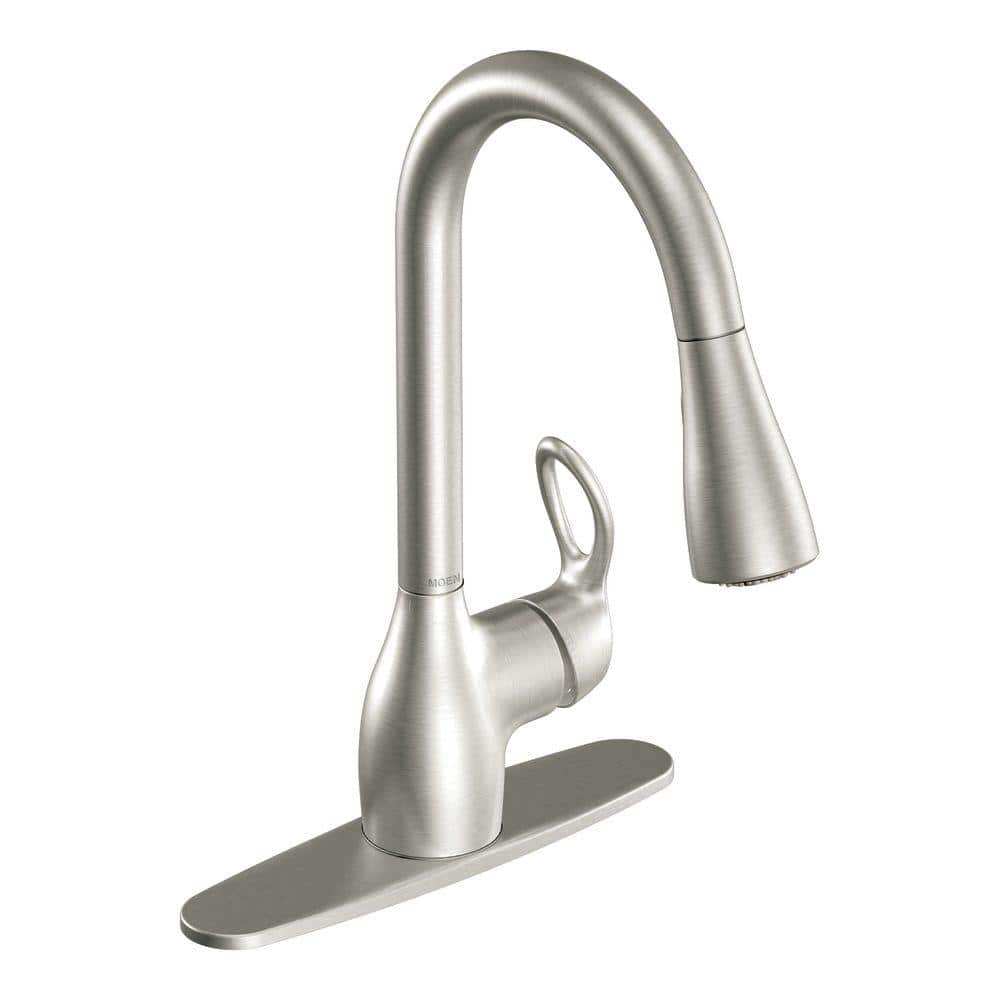
Identifying Your Moen Kitchen Faucet Model
Before you begin any moen kitchen faucets repair, it’s crucial to know your faucet’s model. There are several ways to identify it. Look for the model number on the faucet’s original packaging if you still have it. If not, search for a model identification tag attached to the faucet’s supply lines underneath your sink. This tag usually has the model number and can be found by shining a flashlight into the cabinet. Lastly, visit Moen’s official website. They provide a helpful identification tool. You can compare photos of your faucet to those on their site. Make sure to write down the model number when you find it. You’ll need it to buy the right replacement parts.
Troubleshooting Leaky Moen Faucets
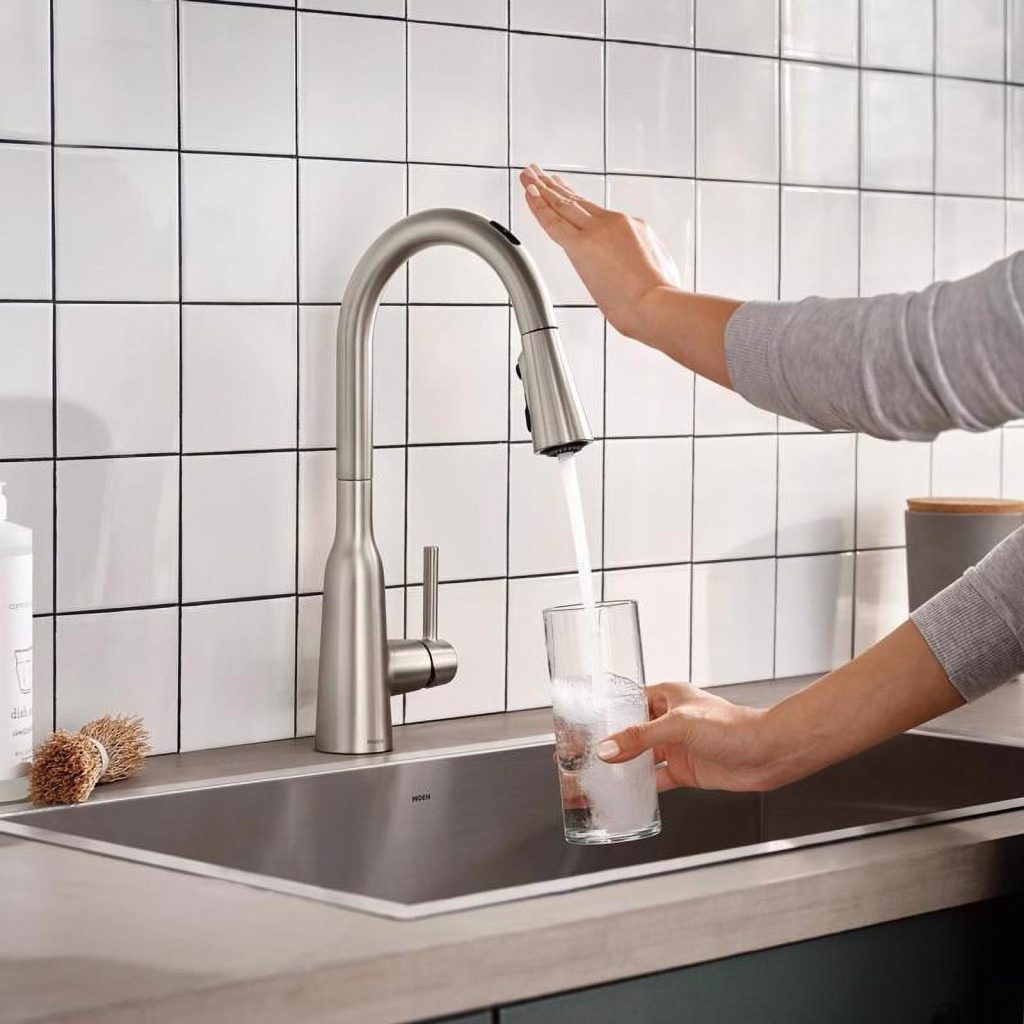
Leaky Moen kitchen faucets can be a nuisance. To fix them, first, determine where the leak is coming from. Is it from the spout, handle, or base? If the spout is leaking, the issue might be with the cartridge. A handle leak often involves a loose or damaged O-ring. A leak from the faucet’s base could point to a compromised seal. To troubleshoot, follow these steps:
- Turn off the water supply. Before starting any repairs, shut off the water valves under the sink. This prevents water from gushing out when you remove parts of the faucet.
- Disassemble the faucet. Use the appropriate tools to carefully remove the faucet handle and other parts. Keep them in order to make reassembly easier.
- Inspect the parts. Look for any signs of damage or wear on the O-rings, cartridge, and seals. Be sure to handle the parts carefully to avoid any further damage.
- Replace faulty components. If you identify any damaged parts during inspection, visit a hardware store to find the suitable replacements. Use the model number you noted earlier to purchase the correct items for your Moen kitchen faucets repair.
- Reassemble the faucet. After replacing the necessary parts, put the faucet back together. Make sure everything is tight but do not overtighten as it can cause more leaks.
- Test the faucet. Turn the water supply back on and monitor the faucet for leaks. If the problem persists, the issue may be more complex, and it could be time to contact Moen support.
By following these simple steps and handling each part with care, you can solve many common leak problems associated with Moen kitchen faucets. Remember to work patiently and to keep all parts and tools organized for a successful repair.
Replacing Cartridges in Moen Faucets
When it comes to moen kitchen faucets repair, one common fix involves replacing the cartridge. This part controls the flow of water and can cause leaks if faulty. Here’s how to do it:
- Identify the right cartridge. Using your faucet’s model number, buy the correct cartridge.
- Shut off the water supply. Always turn off your sink’s valves before starting work.
- Remove faucet handle. Use a screwdriver to take off the handle that covers the cartridge.
- Take out the old cartridge. Pull the old cartridge up and out with the right tools.
- Insert the new cartridge. Carefully place the new cartridge into the faucet.
- Reattach the handle. Put the handle back and secure it with screws.
- Test your faucet. Turn on the valves and check for leaks.
By following these steps, you can replace cartridges in Moen faucets without any hassles. Ensure you have the correct tools and take your time for a successful repair.
Clearing Clogged Moen Faucet Aerators
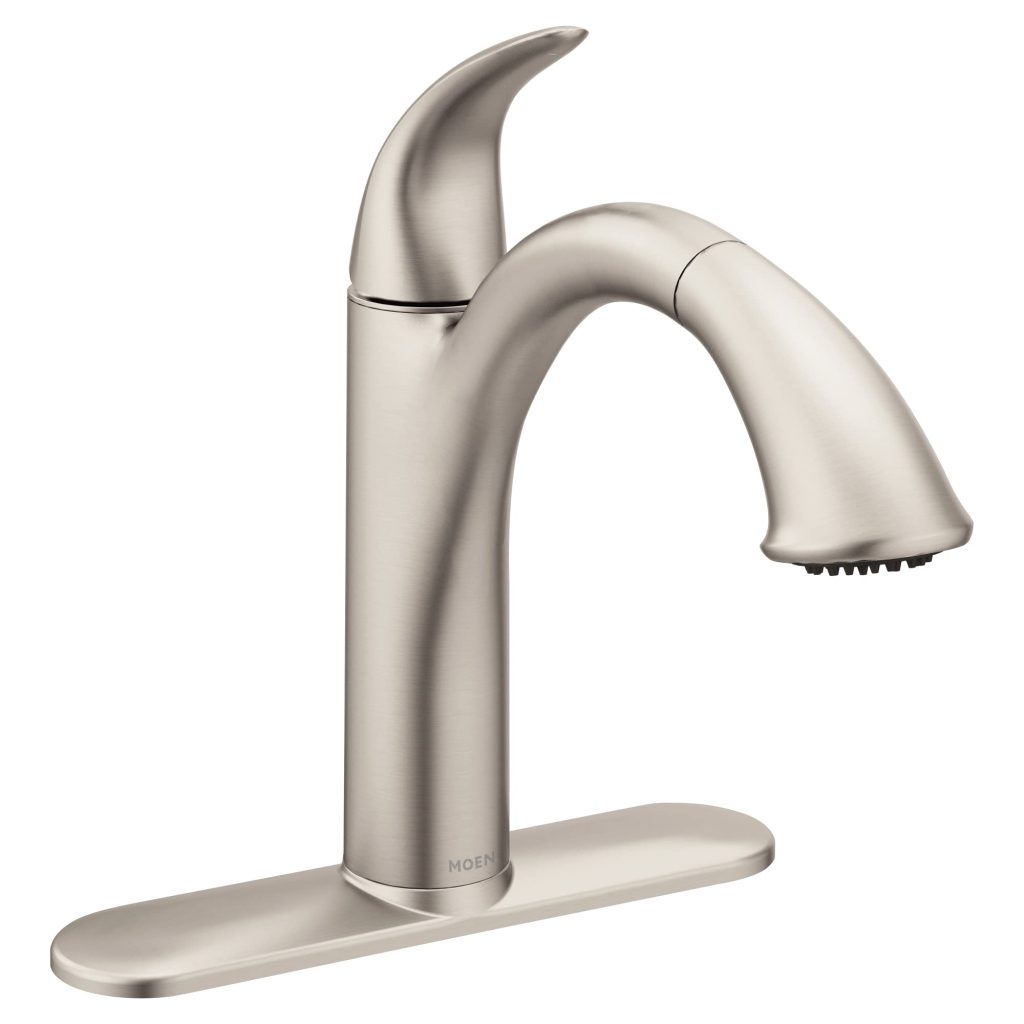
Clogged aerators can cause water to spray in odd directions or reduce flow. It’s a common issue in Moen kitchen faucets, but fortunately, it’s also easy to fix. Here’s a step-by-step guide to clearing up the clog and getting your water running smoothly again:
- Locate the aerator. It’s at the tip of the faucet’s spout.
- Remove the aerator. Use pliers wrapped with tape to avoid scratching and twist it off counterclockwise.
- Rinse the aerator. Wash away debris under running water.
- Soak in vinegar. If clogging persists, immerse the aerator in vinegar for an hour.
- Scrub gently. Use a soft brush to remove mineral deposits.
- Rinse and reinstall. After cleaning, fix the aerator back onto the spout.
- Test the faucet. Turn on the water to ensure the flow is normal and steady.
Carrying out these simple steps will usually resolve any issues caused by a dirty or clogged aerator. This moen kitchen faucets repair will enhance your faucet’s performance and water efficiency. Regular cleaning will prevent future clogs, ensuring a steady and splash-free flow.
Handling Stiff Handles and Spouts
Dealing with stiff handles and spouts in Moen kitchen faucets repair can be frustrating. Yet, it’s often a straightforward fix. Here are the steps to loosen things up:
- Shut off the water supply. Always start by turning off the water valves.
- Clean around the base. Dirt and grime can cause stiffness. Wipe down the area.
- Inspect for mineral deposits. Hard water can lead to buildup. Look for white, chalky residue.
- Use vinegar. Soak a cloth in vinegar and wrap it around the stiff part. Leave it for some hours.
- Remove and clean parts. Carefully take apart the handle or spout. Wash any buildup away.
- Lubricate moving parts. Apply silicone-based lubricant to make movement smooth.
- Reassemble and test. Put everything back and turn on the water to test.
By following these steps, you can usually restore easy handling to your Moen kitchen faucets. Regular maintenance and cleaning will help prevent stiffness from returning.
Fixing Low Water Pressure in Moen Faucets
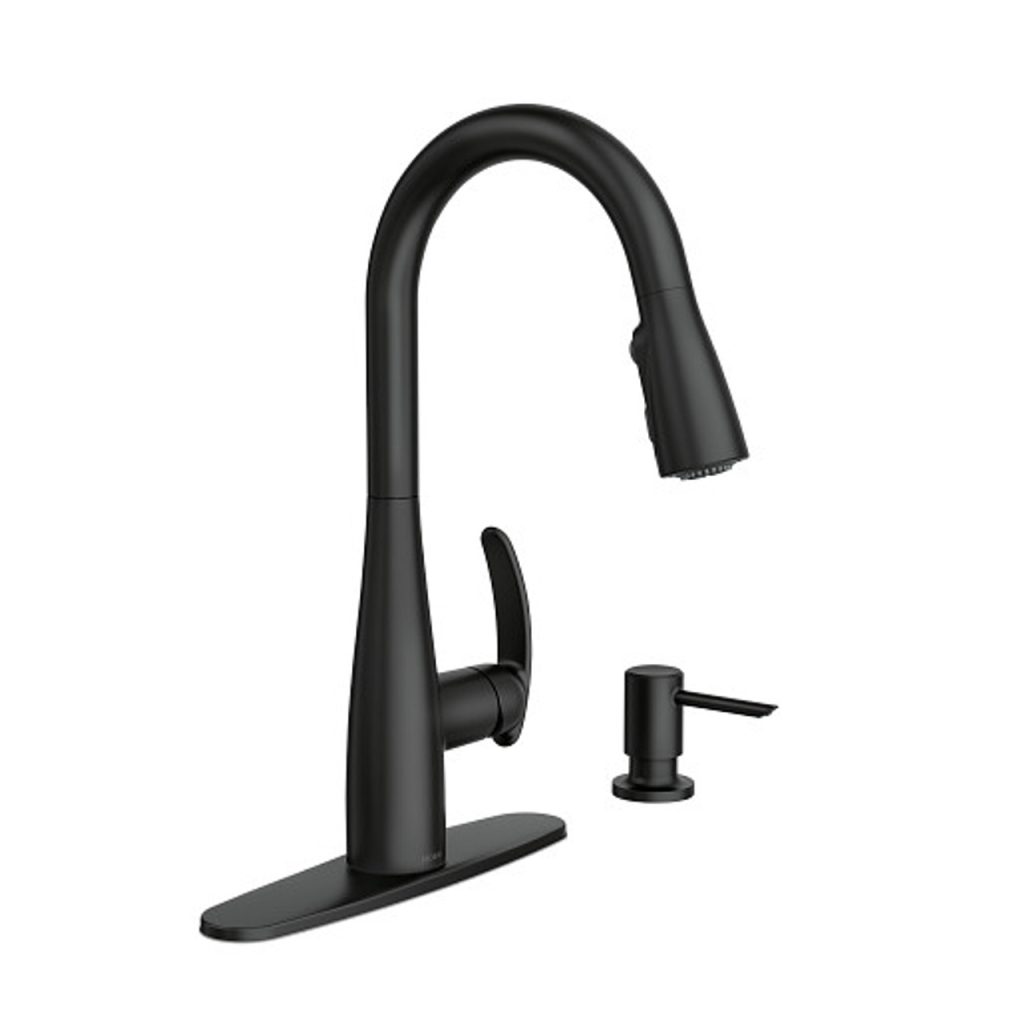
Low water pressure in your Moen kitchen faucets parts can be a sign of several issues. It not only impacts effectiveness but can signal deeper problems. To fix low water pressure, follow these simple tips:
- Check the aerator. A clogged aerator often reduces water pressure. Unscrew and rinse it under water or soak it in vinegar.
- Inspect supply lines. Ensure they are fully open and not kinked. Twisted lines restrict water flow.
- Clean or replace the cartridge. Sediment build-up can block water. Pull out the old cartridge and put in a new one if needed.
- Look for leaks. Hidden leaks in your plumbing can cause low pressure. Consult a plumber if you find such issues.
- Flush the system. Sometimes, debris in lines affects water pressure. Turn off the faucet, open the lines at the highest and lowest points, and flush.
- Assess the pressure valve. It might be set too low. Adjust it carefully to increase flow.
By taking these actions, you should see an improvement in water pressure. Remember, a successful moen kitchen faucets repair often involves simple checks and fixes. Regular maintenance can prevent many such problems. If these steps don’t help, contact Moen’s customer service for support.
Upgrading and Maintaining Your Moen Kitchen Faucets
Keeping your Moen kitchen faucets in top shape goes beyond repairs. Upgrading and regular maintenance are key. Here’s how to keep your faucets running like new:
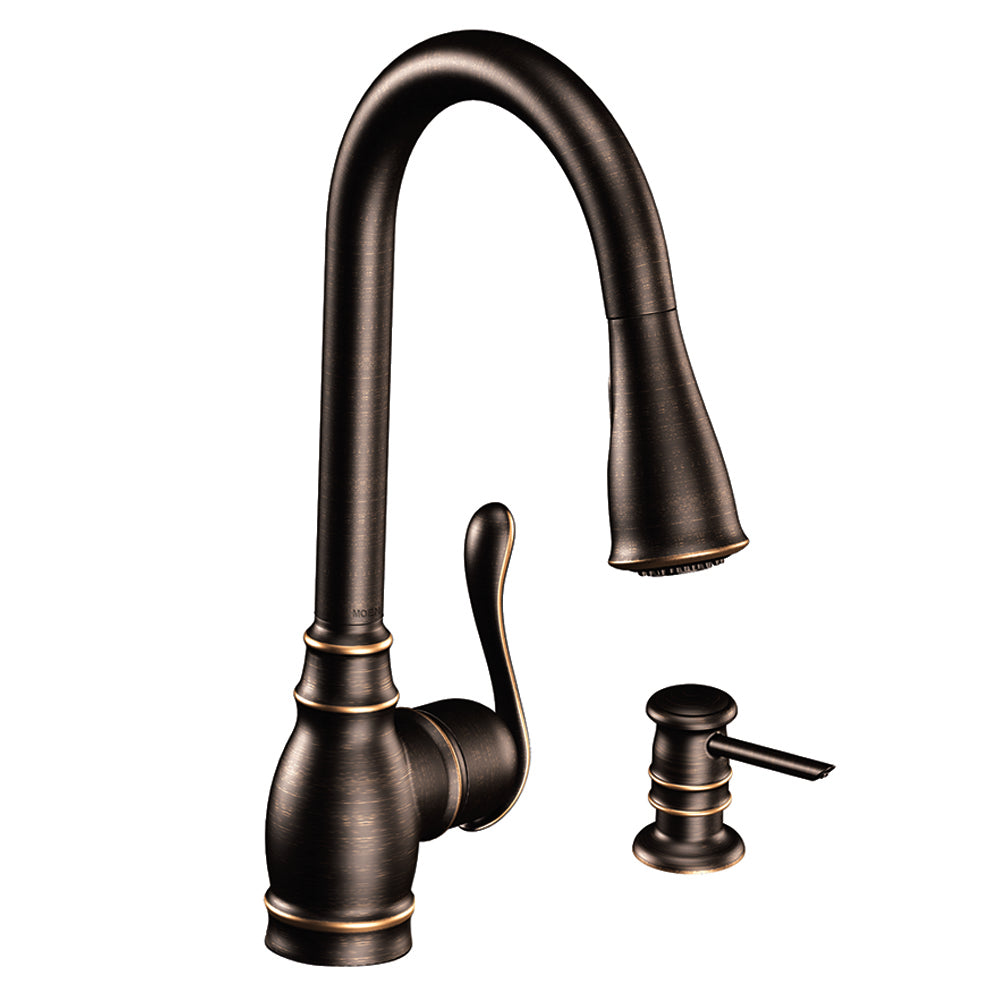
- Inspect Faucets Regularly. Look for wear and tear every few months. Pay attention to leaky spouts, stiff handles, or irregular water flow.
- Clean Faucets Often. Wipe down your faucet with mild soap and water. Avoid harsh chemicals that can damage the finish.
- Upgrade with Genuine Parts. Use Moen’s genuine parts for replacements. They ensure a perfect fit and long-lasting function.
- Install Water Filters. Filters protect faucets from sediment build-up. They can prevent many common issues.
- Follow User Manuals. Moen’s guides offer specific care tips. Stick to their recommendations for the best results.
- Consider Style Updates. If your faucets kitchen style looks outdated, browse Moen’s collection. A new faucet can transform your kitchen’s look.
- Seek Professional Help. Uncertain about a task? Call a plumber. They can ensure a correct and safe upgrade or fix.
By staying proactive with upgrades and maintenance, your Moen kitchen faucets will perform well for years. Plus, these steps add value and beauty to your kitchen space. Keep your faucets updated, and they’ll keep making your daily routine smoother.
Moen Kitchen Faucet Warranty and Customer Service
When tackling Moen kitchen faucets repair, having a good understanding of the warranty and customer service options is important. Moen is known for its reliable customer support and a solid warranty on kitchen faucets. Here’s what you should know:
- Check warranty coverage. Moen offers a limited lifetime warranty. It covers leaks, drips, and finish issues under normal use.
- Save receipts and documents. Keep purchase details for warranty claims. They serve as proof of ownership and purchase date.
- Contact customer service. Moen provides help through phone or email. Reach out for repair guidance or warranty questions.
- Follow warranty guidelines. Use genuine Moen parts for repairs. This ensures warranty remains valid.
- Get help with complex issues. For tricky repairs, Moen may offer additional support. Don’t hesitate to ask for it.
- Consult online resources. Moen’s website has FAQs and how-to videos. Use them for troubleshooting and repair tips.
Understanding and using Moen’s warranty and customer service offerings will support your efforts in Moen kitchen faucets repair and can help ensure that your faucet works smoothly for years to come.
