
The right way to fixing leaky faucets. Leaky faucets can be a nuisance in any home. Not only do they waste water and drive up your water bill, but the constant dripping sound can also be quite irritating. However, fixing a leaky faucet is a relatively simple task that can be done with just a few basic tools and some know-how. In this article, we will walk you through the steps to fix a leaky faucet and get it running smoothly again.
Identifying the Type of Faucet
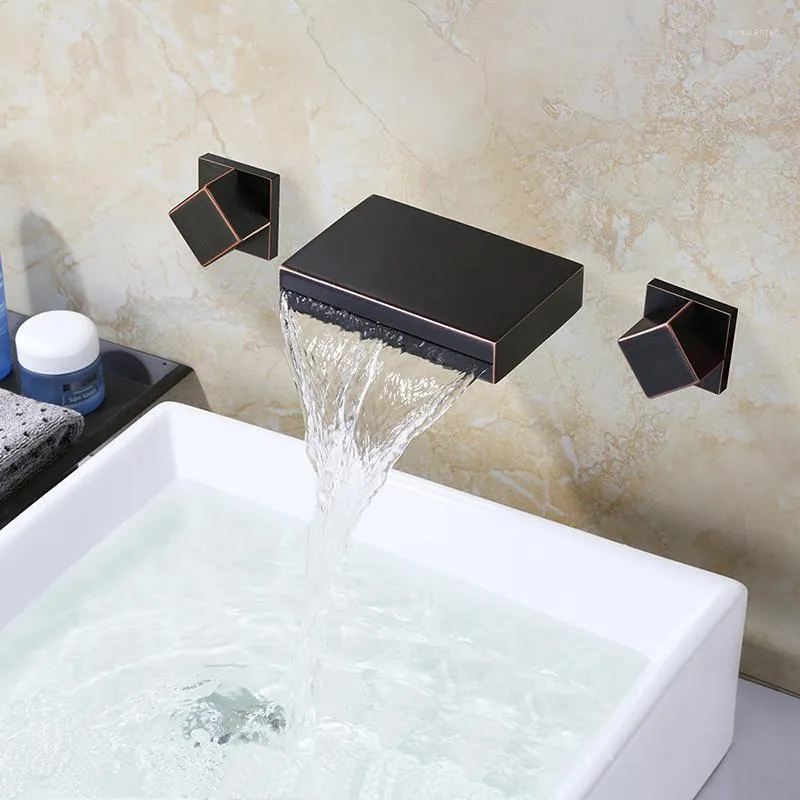
Before you begin, it’s important to identify the type of shower faucets you have as this will determine the appropriate method for fixing the leak. There are four main types of faucets: compression, ball, cartridge, and ceramic disc. Each type of faucet has its own unique way of functioning and therefore requires different maintenance.
Compression Faucets
Compression faucets are the most common type of faucet and are often found in older homes. They have separate hot and cold handles and are relatively easy to identify. If you have a compression faucet, the first step is to turn off the water supply to the faucet. This can usually be done by turning off the water valves located under the sink. Once the water supply is turned off, you can begin disassembling the faucet to identify the source of the leak.
Ball Faucets
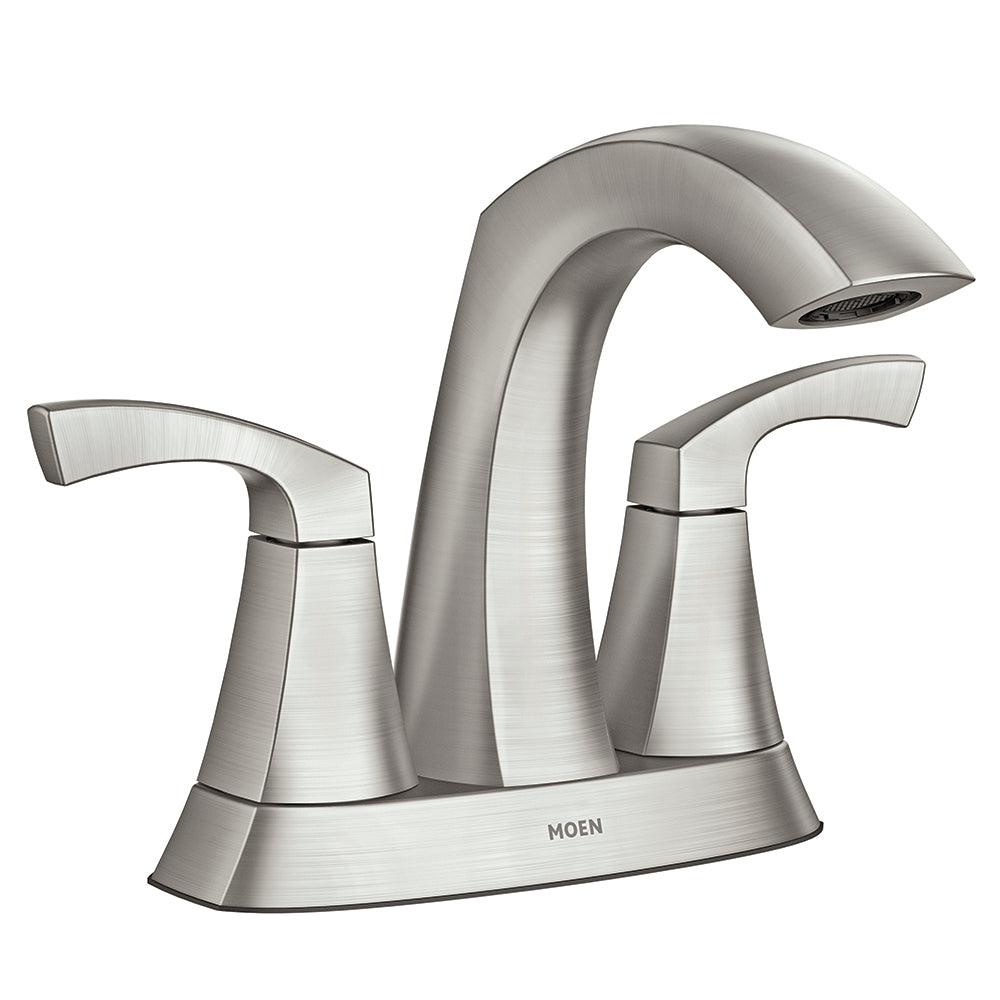
Ball faucets are commonly found in kitchen sinks and are identified by a single handle that controls both the hot and cold water. To fix a leaky ball faucet, you will need to remove the handle and the cap, as well as the cam and packing. It’s important to pay close attention to the order in which you remove these parts, as reassembling them incorrectly can result in further leaks.
Cartridge Faucets
Cartridge faucets are similar to ball faucets in that they have a single handle, but they operate differently. To fix a leaky cartridge faucet, you will need to remove the handle and the cartridge itself. When removing the cartridge, be sure to take note of its orientation as this will be important when reassembling the faucet.
Ceramic Disc Faucets
Ceramic disc faucets are known for their durability and are often found in newer homes. To fix a leaky ceramic disc faucet, you will need to remove the handle and the cartridge just like with a cartridge faucet. However, instead of a rubber O-ring, ceramic disc faucets have a ceramic disc that can become worn and cause leaks.
Replacing Washers and O-Rings
One of the most common causes of a leaky faucet is a worn out washer or O-ring. These small rubber parts can become brittle and cracked over time, allowing water to seep through and cause a constant drip. To fix this type of leak, you will need to locate the washer or O-ring and replace it with a new one. This typically involves disassembling the faucet and removing the old washer or O-ring using a screwdriver or pliers. Once the old part has been removed, simply replace it with a new one and reassemble the faucet.
Cleaning and Reassembling the Faucet
In some cases, fixing leaky faucets may be caused by a buildup of mineral deposits or debris inside the faucet. This can obstruct the flow of water and cause leaks. To fix this type of issue, you will need to clean the bathtub faucets thoroughly using a brush and some white vinegar. Once the faucet is clean, reassemble it carefully, making sure to follow the correct order of parts.
Replacing the Cartridge or Ceramic Disc
If the leak persists after replacing the washer or O-ring, the issue may be with the cartridge or ceramic disc itself. These parts can wear out over time and will need to be replaced to fix the leak. To replace the cartridge or ceramic disc, you will need to remove the handle and any retaining nuts, and then pull out the old part. It’s important to take note of the orientation of the old part so that you can install the new one correctly. Once the new part is installed, reassemble the faucet and test it to ensure the leak has been resolved.
Checking for Additional Leaks
After fixing the initial leak, it’s important to check the entire faucet for any additional leaks. Turn on the water supply and run the faucet to check for any drips or leaks. If you notice any additional leaks, you may need to go back and reassemble the faucet, paying close attention to the order and orientation of the parts.
How to use faucets
Types of Faucets
Before learning how to use faucets, it is important to have a basic understanding of the different types available. The most common types of faucets include:
- Compression faucets: These faucets have separate hot and cold water handles and require a compression mechanism to stop the flow of water.
- Ball faucets: These faucets have a single handle that controls both the hot and cold water flow. They use a ball mechanism to regulate the water temperature and flow.
- Cartridge faucets: Similar to ball faucets, cartridge faucets have a single handle for controlling water flow and temperature. They use a cartridge mechanism to achieve this.
- Disk faucets: These faucets have a single handle and use a disk mechanism to control water flow and temperature.
Step-by-Step Guide on How to Use Faucets
Now that we have covered the different types of faucets, let’s delve into the step-by-step guide on how to use them effectively.
Step 1: Turn the Faucet On
To start fixing leaky faucets, you will need to turn it on. The method for turning on the faucet may vary depending on the type you have. For compression faucets, you will need to twist the handles clockwise to turn the water on. For ball, cartridge, and disk faucets, you will need to lift the handle or twist it to the desired position to start the flow of water.
Step 2: Adjust the Water Temperature
If your faucet has separate handles for hot and cold water, adjust them accordingly to achieve the desired temperature. For bathroom faucets with a single handle, move the handle to the left for hot water and to the right for cold water. Finding the right temperature may require some trial and error, so be patient as you make adjustments.
Step 3: Use the Water
Once the water is flowing at the desired temperature, you can begin using it for various purposes such as washing your hands, filling up a glass of water, or rinsing dishes. Be mindful of the water pressure and adjust it as needed to suit the task at hand.
Step 4: Turn the Faucet Off
After you have finished using the water, it is important to turn the faucet off to prevent wastage. Simply reverse the steps you took to turn the faucet on. For compression faucets, twist the handles counterclockwise to shut off the water flow. For other types of faucets, lower the handle or twist it to the closed position.
Conclusion
Fixing leaky faucets is a relatively simple task. That can be done with just a few basic tools and some know-how. By identifying the type of faucet you have and following the appropriate steps. You can easily resolve the issue and get your faucet running smoothly again. Whether it’s a worn out washer, a buildup of mineral deposits, or a faulty cartridge. There is a solution to fix your leaky faucet and save water in the process.