
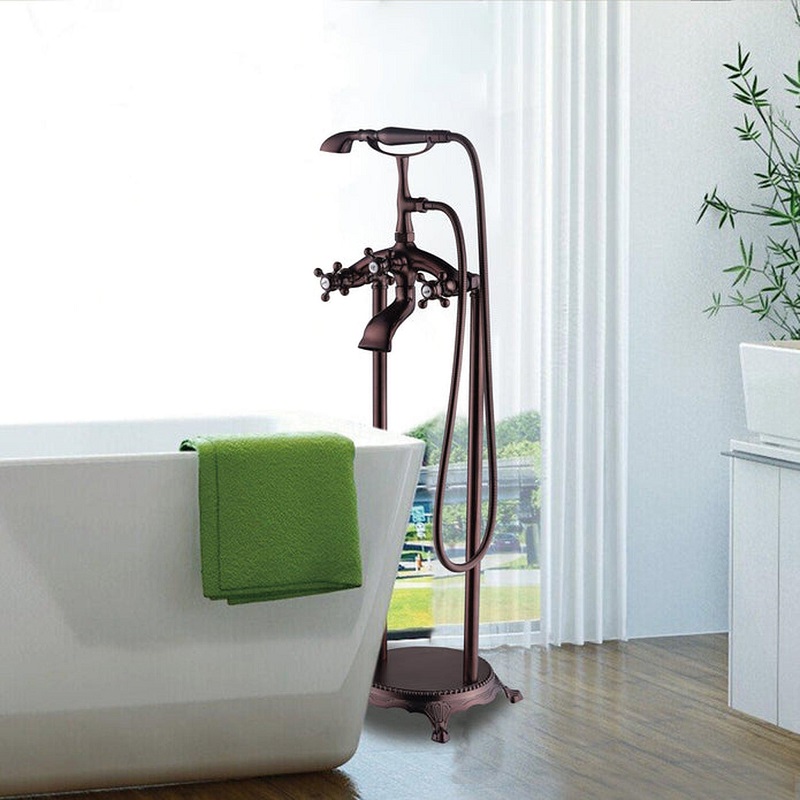
How to fix leaking bathtub faucets? Whether it’s a steady drip or a constant stream, a leaking bathtub faucet can be a frustrating and wasteful problem to deal with. Not only does it waste water and increase your water bill, but it can also cause damage to your bathtub and surrounding areas. However, fixing a leaking bathtub faucet is a relatively simple task that can be done by most homeowners with just a few tools and some basic knowledge. In this guide, we will go through the steps to diagnose and fix a leaking bathtub faucet, as well as some tips for preventing future leaks.
Diagnosing the Problem
Before you can fix a leaking bathtub faucet, you need to determine the source of the leak. The first step is to identify whether the leak is coming from the hot water faucet, the cold water faucet, or the tub spout. Here are some common signs to look for:
Dripping from the faucet handles:
If water is dripping from the handles when the faucet is turned off, it is likely that the internal seals or cartridges are worn out and need to be replaced.
Leaking from the tub spout:
If water is leaking from the tub spout when the faucet is turned off, the problem is likely with the diverter valve, which controls the flow of water from the faucet to the spout.
Constant running water:
If the bathtub faucet is constantly running and cannot be turned off completely, the issue may be with a faulty cartridge or valve stem.
Once you have identified the source of the leak, you can proceed with the appropriate steps to fix it.
Fixing the Leaking Bathtub Faucet
Depending on the type of faucet and the source of the leak, the method for fixing a leaking bathtub faucet can vary. Here are the general steps to follow for common types of leaks:
- Turn off the water supply: Before you begin any work on the faucet, it is important to shut off the water supply to the bathtub. This can usually be done by turning the shut-off valves located under the sink or bathtub. If you cannot locate the shut-off valves, you may need to turn off the main water supply to your home.
- Disassemble the faucet: Once the water supply is turned off, you can begin disassembling the faucet to access the internal components. This typically involves removing the handles and any decorative trim pieces to expose the cartridge or valve stem.
- Replace the internal components: Depending on the source of the leak, you may need to replace the cartridge, valve stem, or diverter valve. Most hardware stores carry replacement parts that are compatible with common faucet brands, so be sure to bring the old parts with you to ensure a proper fit.
- Reassemble the faucet: After replacing the internal components, reassemble the faucet in the reverse order that you disassembled it. Be sure to tighten all connections securely to prevent future leaks.
- Turn on the water supply: Once the faucet is reassembled, turn on the water supply and check for any leaks. If the leak persists, you may need to adjust the components or seek professional help.

Preventing Future Leaks
After fixing a leaking bathtub faucet, there are several steps you can take to prevent future leaks and prolong the life of your faucet:
- Regular maintenance: Periodically inspect the faucet for any signs of leaks or wear, and address any issues promptly.
- Use caution when turning the handles: Avoid applying excessive force when turning the handles, as this can cause wear and tear on the internal components.
- Install a water-saving aerator: Consider installing a water-saving aerator on your bathtub faucet to reduce water usage and minimize wear on the internal parts.
- Hire a professional: If you are uncomfortable with fixing the faucet on your own, or if the leak persists after attempting to fix it, it is best to hire a professional plumber to assess and repair the problem.
How to clean bathtub faucets
Bathtub faucets are an essential part of any bathroom, providing a steady flow of water for showering and bathing. Over time, they can become dirty and clogged with mineral deposits, soap scum, and other grime. Regular cleaning of bathtub faucets is important not only for hygiene but also for maintaining their performance and appearance.
Removing Mineral Deposits
One of the most common issues with causes faucets is the buildup of mineral deposits, also known as limescale or calcium deposits. These white or greenish deposits are caused by hard water and can affect the performance of the faucet. To remove mineral deposits, follow these steps:
- Soak a soft cloth or sponge in white vinegar and wrap it around the faucet. Make sure the cloth comes into contact with the areas where the mineral deposits are present.
- Let the vinegar-soaked cloth sit on the faucet for at least 30 minutes to an hour. This will allow the acidic properties of the vinegar to break down the mineral deposits.
- After soaking, remove the cloth and scrub the faucet with an old toothbrush to dislodge the loosened deposits. You may also use a toothpick or cotton swab to get into hard-to-reach areas.
-
Rinse the faucet thoroughly with water to remove any remaining vinegar and mineral deposits.
Cleaning with Baking Soda
Another effective method for cleaning bathtub faucets is to use baking soda, which has mild abrasive properties that can help remove stubborn grime and stains. Here’s how to clean bathtub faucets with baking soda:
- Create a paste by mixing baking soda with a small amount of water. The consistency should be thick enough to spread onto the faucet.
- Apply the baking soda paste onto the faucet, making sure to cover the areas with the most buildup.
- Let the paste sit on the faucet for about 15-30 minutes to allow the baking soda to work its magic.
- Use a soft cloth or sponge to scrub the faucet, focusing on the areas with stains and grime. The mild abrasive action of the baking soda will help lift the dirt and restore the faucet’s shine.
- Rinse the faucet thoroughly with water to remove the baking soda residue.

Cleaning the Aerator
The aerator is a small attachment located at the end of the water purifier faucets, responsible for regulating the flow of water and preventing splashing. Over time, the aerator can become clogged with debris and mineral deposits, causing reduced water pressure. Here’s how to clean the aerator of your bathtub faucet:
- Unscrew the aerator from the faucet using a wrench or pliers. Be careful not to damage the aerator or the surrounding area.
- Disassemble the aerator by removing any internal components, such as screens or rubber washers.
- Soak the disassembled aerator in a mixture of equal parts water and white vinegar for at least an hour. This will help dissolve any built-up debris and mineral deposits.
- Use an old toothbrush, toothpick, or cotton swab to scrub the individual components of the aerator, removing any remaining debris or buildup.
- Rinse the aerator thoroughly with water to remove the vinegar solution and reassemble it. Screw the aerator back onto the faucet, making sure it is secure but not over-tightened.
In conclusion
A leaking bathtub faucet can be a common and frustrating issue. But it is one that can be easily resolved with the right tools and knowledge. By identifying the source of the leak, replacing any worn-out components. And taking preventative measures, you can effectively fix a leaking bathtub faucet and prevent future leaks. And remember, if you’re ever unsure or uncomfortable with the repair process, don’t hesitate to seek help from a professional plumber.