
How to change faucets? Replacing a faucet is a relatively straightforward DIY project that can refresh the appearance of your kitchen or bathroom and improve the functionality of your sink. Whether you’re upgrading a worn-out faucet or simply desiring a new style, knowing how to change faucets allows you to save money and enhance your home’s aesthetics. This comprehensive guide will walk you through the step-by-step process of replacing a faucet, ensuring a successful and efficient installation. Let’s dive into the world of plumbing and unlock the secrets to changing faucets.
Gather the Necessary Tools and Materials:
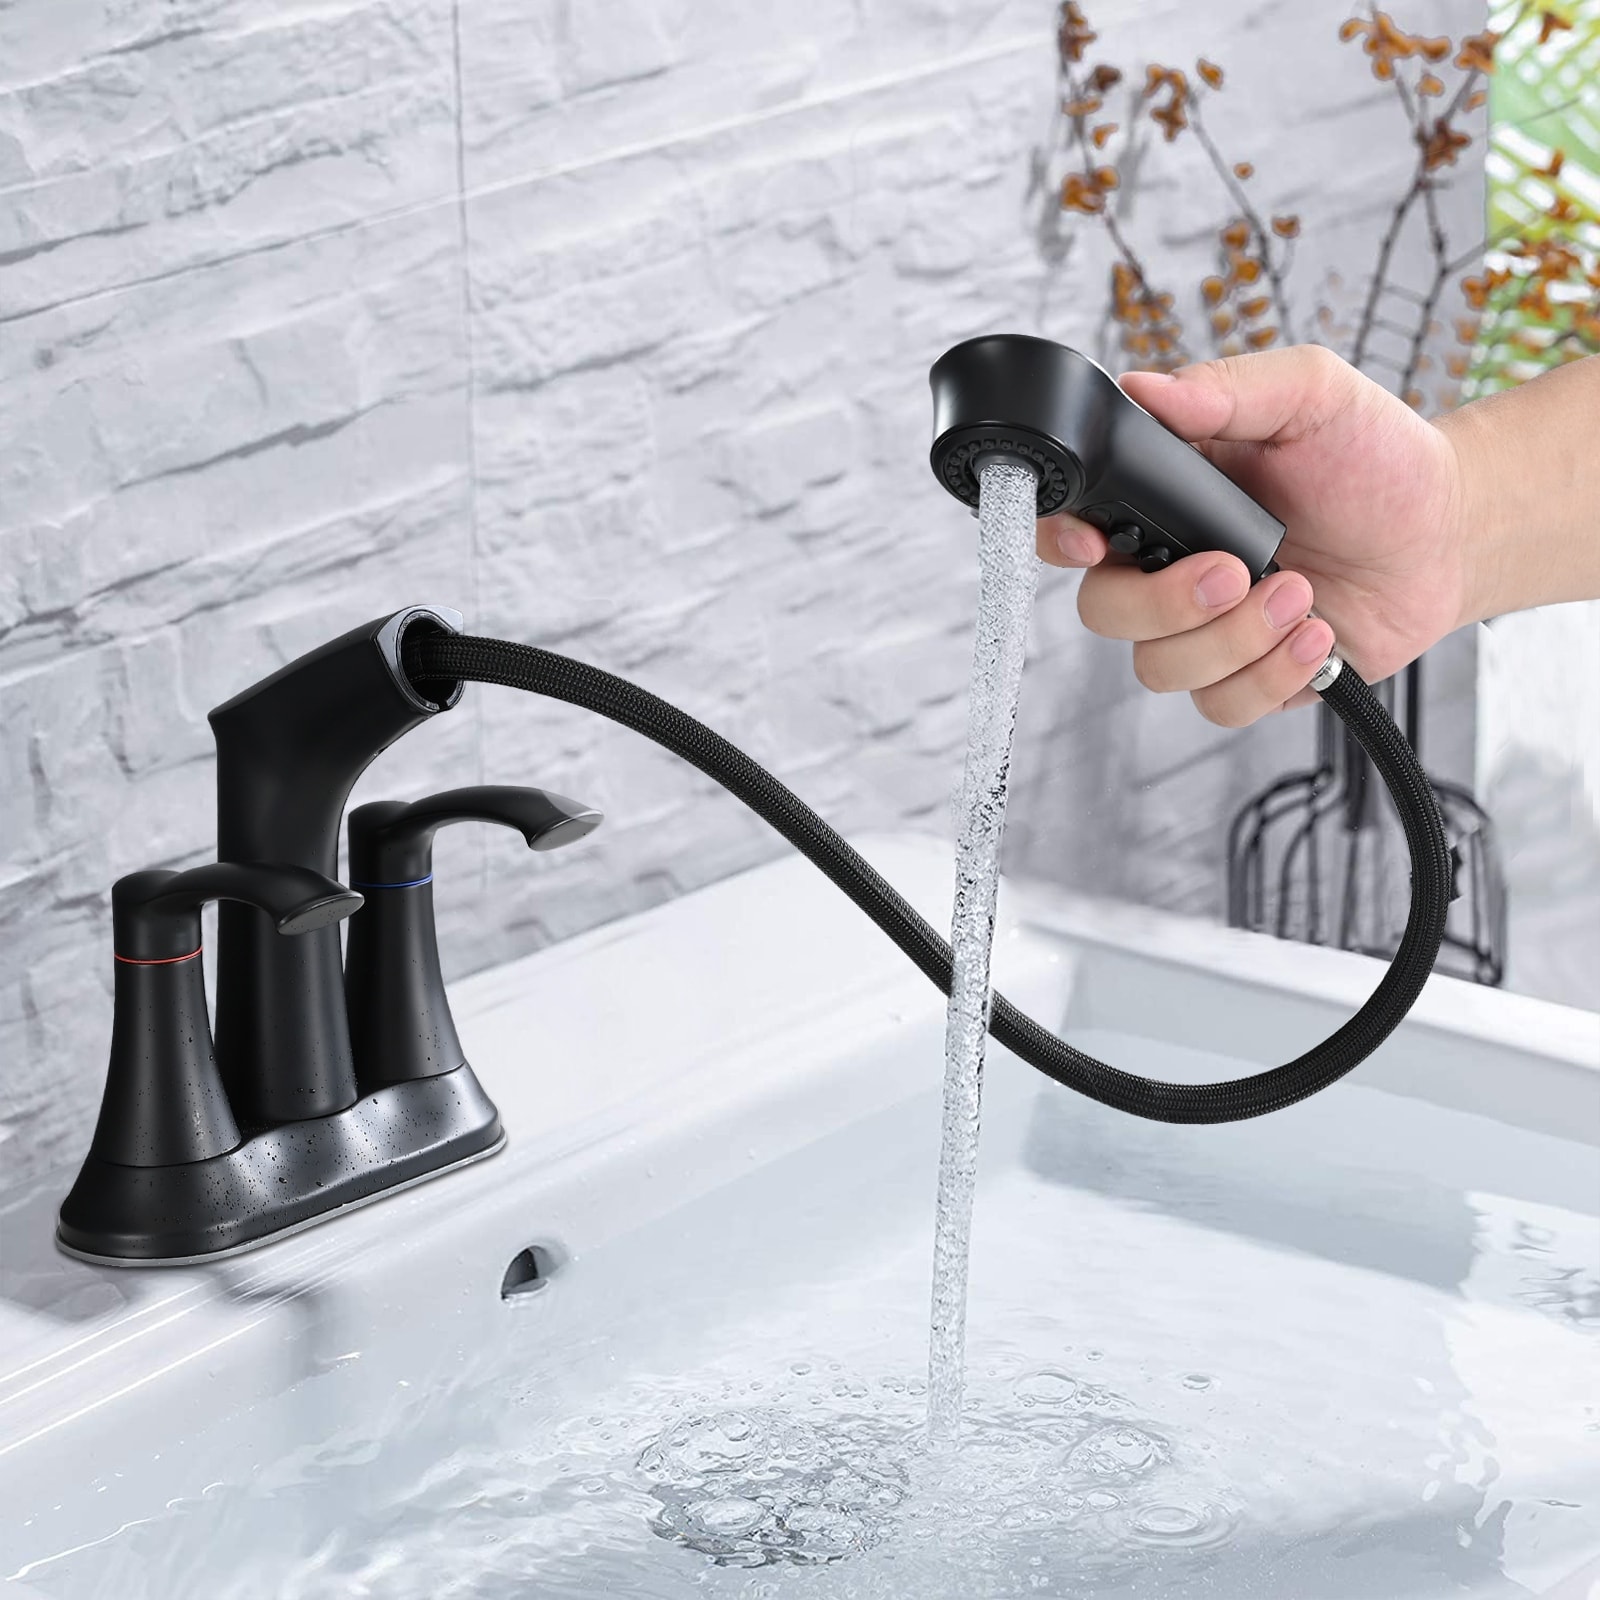
Before beginning the pull-down faucets replacement process, gather the following tools and materials:
- Adjustable wrench or basin wrench
- Pipe tape or thread sealant
- Plumber’s putty
- Screwdriver
- Penetrating oil (if necessary)
- Bucket or towels to catch water drips
Turn Off the Water Supply:
To avoid water damage and leaks during the faucet replacement, it’s essential to turn off the water supply. Follow these steps:
- Locate the shut-off valves: Look for the shut-off valves under the sink—one for hot water (often labeled “H”) and one for cold water (often labeled “C”).
- Close the shut-off valves: Turn the handles clockwise until they stop to shut off the water supply. If your sink does not have individual shut-off valves, you may need to turn off the main water supply to your home.
- Test the water supply: Turn on the old faucet’s handles to confirm that the water supply is shut off.
Disconnecting the Old Faucet:
Once the water supply is turned off, you can start removing the old faucet. Follow these steps:
- Disconnect the supply lines: Use an adjustable wrench or basin wrench to loosen the nuts connecting the supply lines to the faucet’s threaded tailpieces. Place a bucket or towels underneath to catch any water drips.
- Remove the mounting nuts: Under the sink, locate and remove the mounting nuts that secure the faucet to the sink or countertop. Use an adjustable wrench or basin wrench to loosen and remove these nuts.
- Disconnect the sprayer (if applicable): If your faucet has a separate sprayer, detach it by loosening the nut connecting it to the faucet body. Set the sprayer aside.
Installing the New Faucet:
With the old faucet removed, it’s time to install the new faucet. Follow these steps:
- Apply plumber’s putty or silicone sealant: Place a small amount of plumber’s putty or silicone sealant around the base of the new shower faucets. This helps create a watertight seal.
- Insert the new faucet: Carefully lower the new faucet into the mounting holes and position it correctly. Ensure that any rubber gaskets or washers provided with the faucet are correctly aligned.
- Secure the mounting nuts: From underneath the sink or countertop, tighten the mounting nuts onto the faucet’s threaded tailpieces. Use an adjustable wrench or basin wrench to secure the nuts, taking care not to overtighten and potentially damage the faucet or sink.
- Connect the supply lines: Attach the supply lines to the faucet’s tailpieces, ensuring they are properly tightened. Apply pipe tape or thread sealant to the threads before making the connections.
- Install the sprayer (if applicable): If your new faucet includes a separate sprayer, connect it to the faucet body using the provided hardware. Secure the nut by hand or with pliers, being careful not to overtighten.
Testing the New Faucet:
Now that the new faucet is installed, it’s crucial to test its functionality and check for any leaks. Follow these steps:
- Turn on the water supply: Slowly open the shut-off valves by turning them counterclockwise. Listen for any sputtering sounds, indicating air trapped in the pipes. Allow the water to flow for a few minutes to purge this air.
- Check for leaks: Carefully inspect the faucet connections, supply lines, and sprayer connections (if applicable) for any signs of leaks. If necessary, tighten the connections further or use pipe tape or thread sealant to create a tighter seal.
- Test faucet operation: Test the functionality of the new faucet by turning the handles or using any designated controls. Ensure that hot and cold water flow correctly and that the sprayer operates smoothly.
Advantages of change faucets
Changing faucets is a home improvement project that offers numerous advantages. Beyond its aesthetic benefits, replacing old or outdated faucets can significantly enhance the overall style, functionality, and efficiency of your kitchen or bathroom.
Aesthetic Enhancement:
One of the primary advantages of changing faucets show is the immediate impact on the overall appearance of your kitchen or bathroom. Consider the following points:
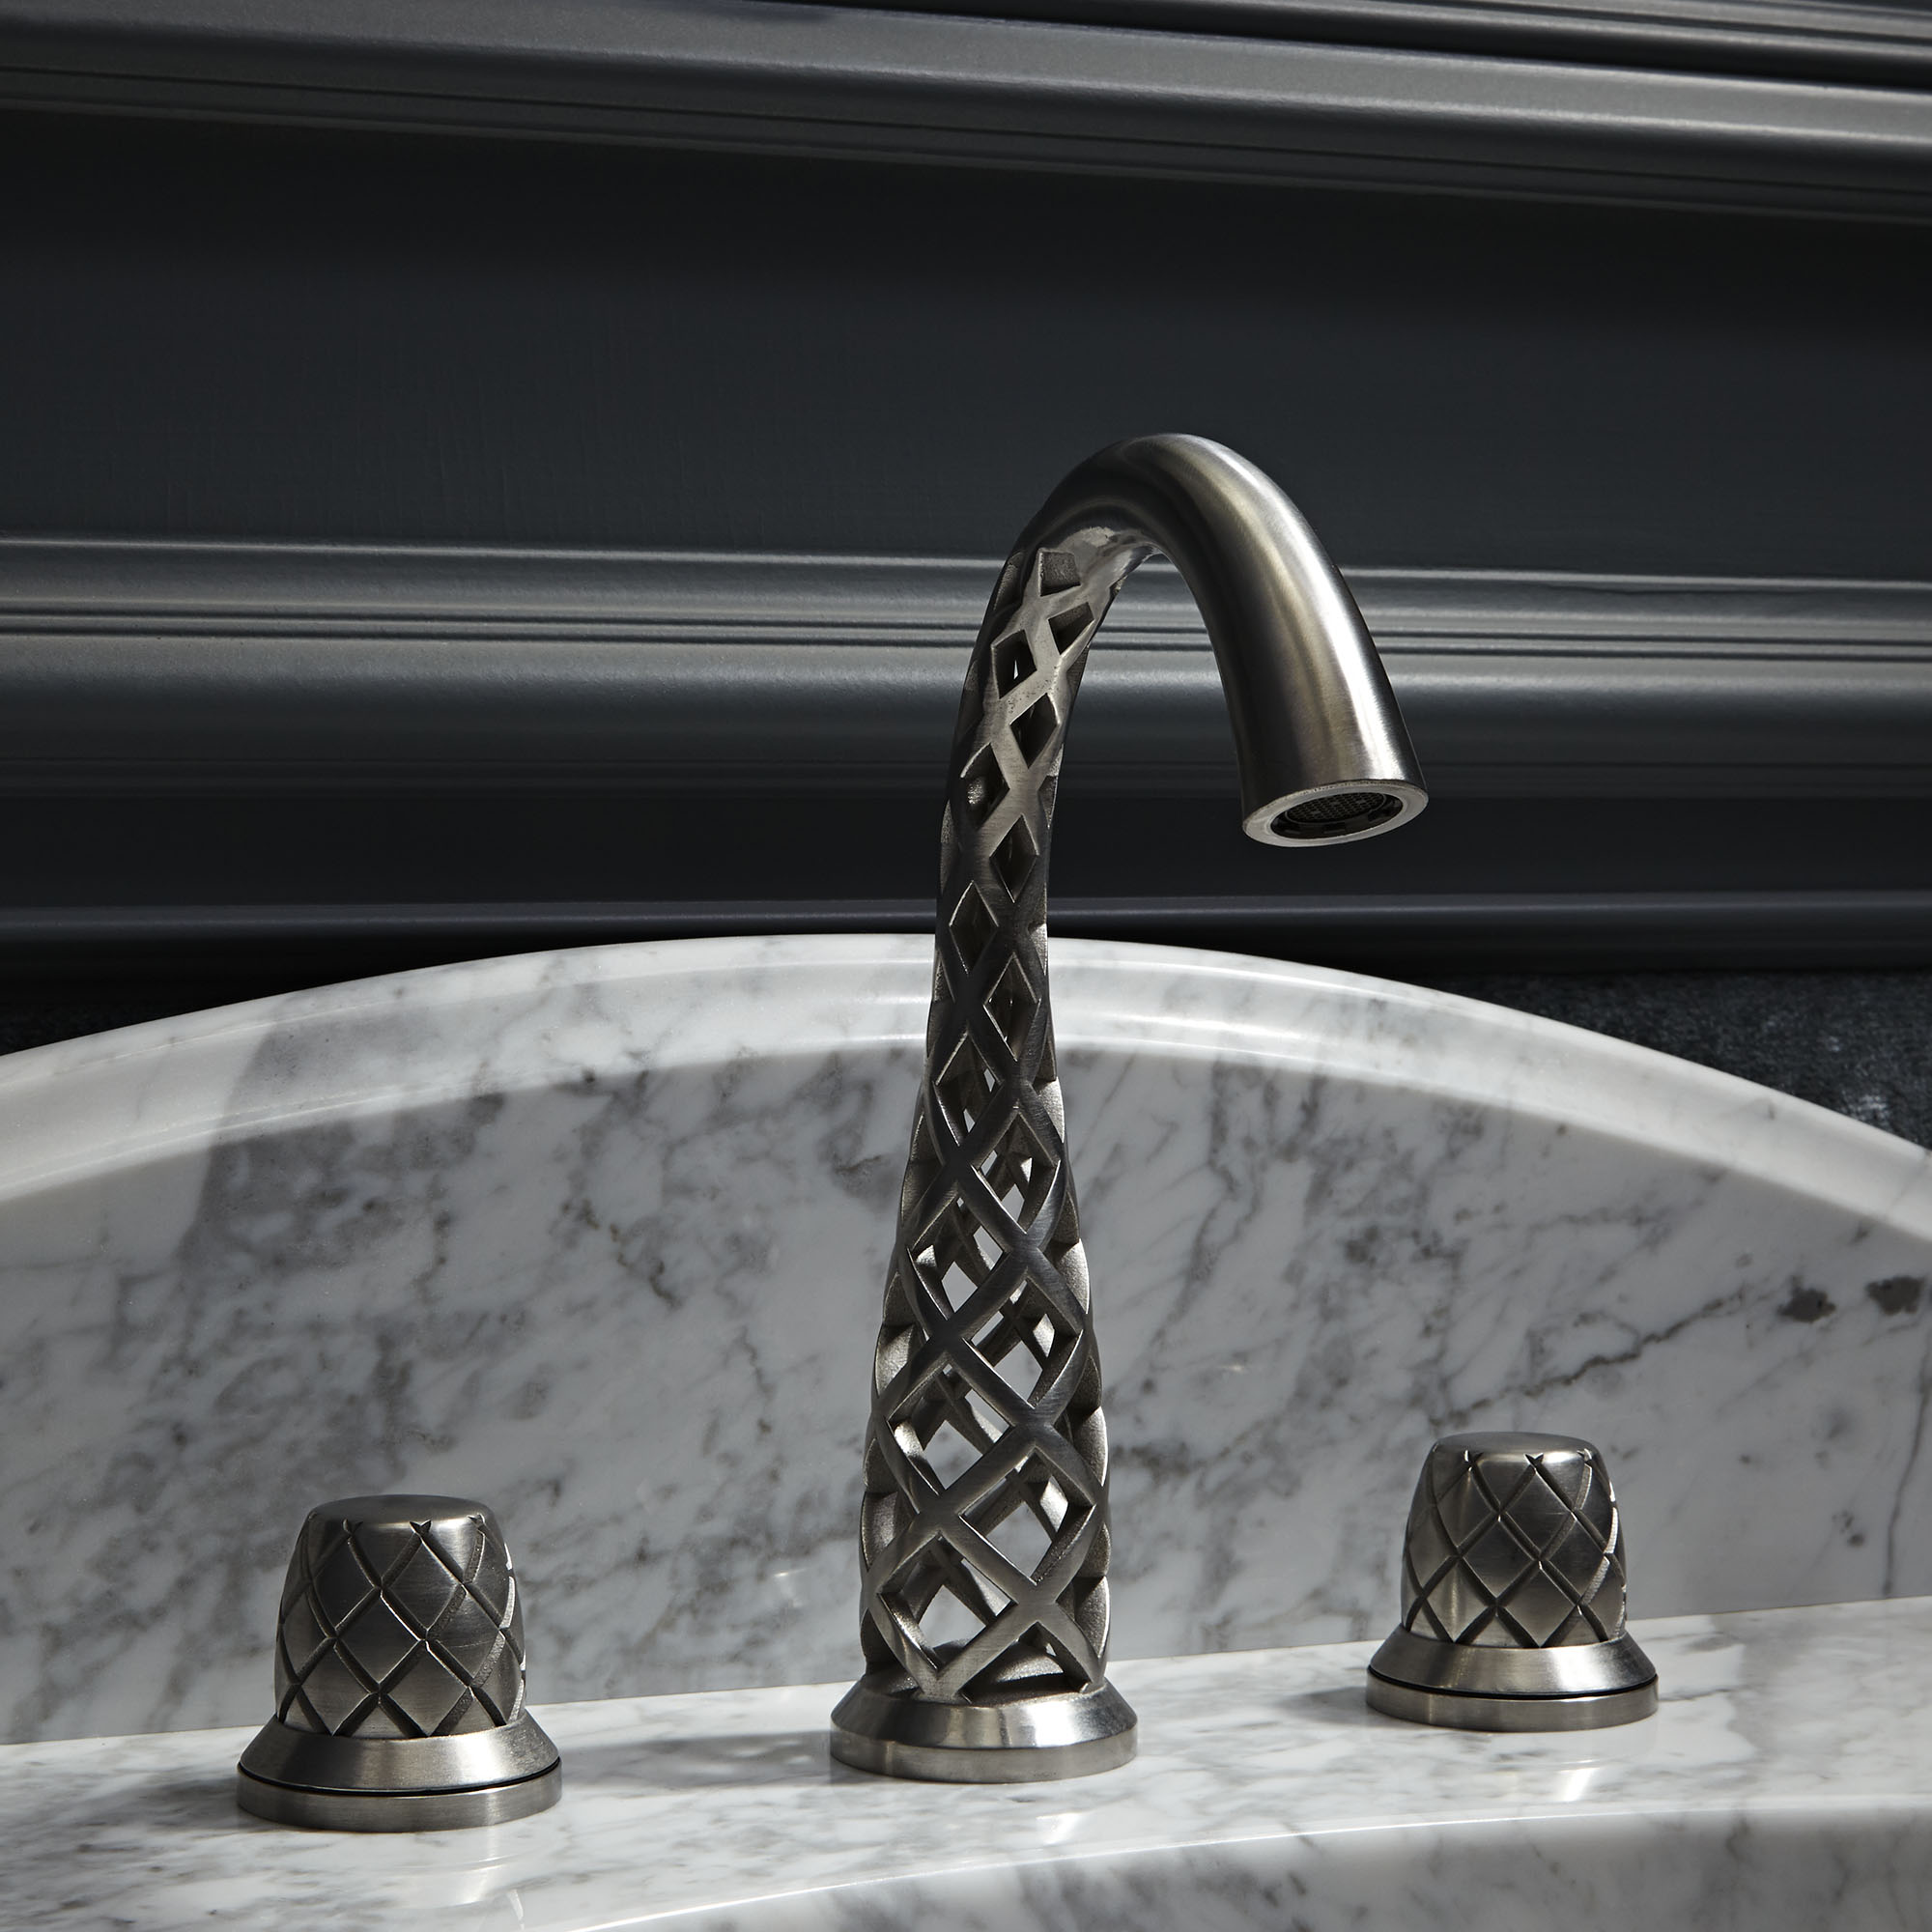
- Modern and updated look: Replacing an old faucet with a new, stylish model instantly transforms the look and feel of the space. Sleek and contemporary faucet designs can create a more modern aesthetic, elevating the overall style.
- Matching decor: Changing faucets allows you to select fixtures that align with your desired design theme. Whether you prefer a traditional, rustic, or minimalist look, there is a wide range of faucet designs and finishes available to complement your decor.
- Customization options: Faucet manufacturers offer a variety of customization options, including different handle styles, spout designs, and finishes. This allows you to tailor the faucet to your personal taste and create a cohesive look with other components in the space.
Improved Functionality and User Experience:
Upgrading faucets can significantly enhance their functionality, making everyday tasks more convenient and efficient. Consider the following advantages:
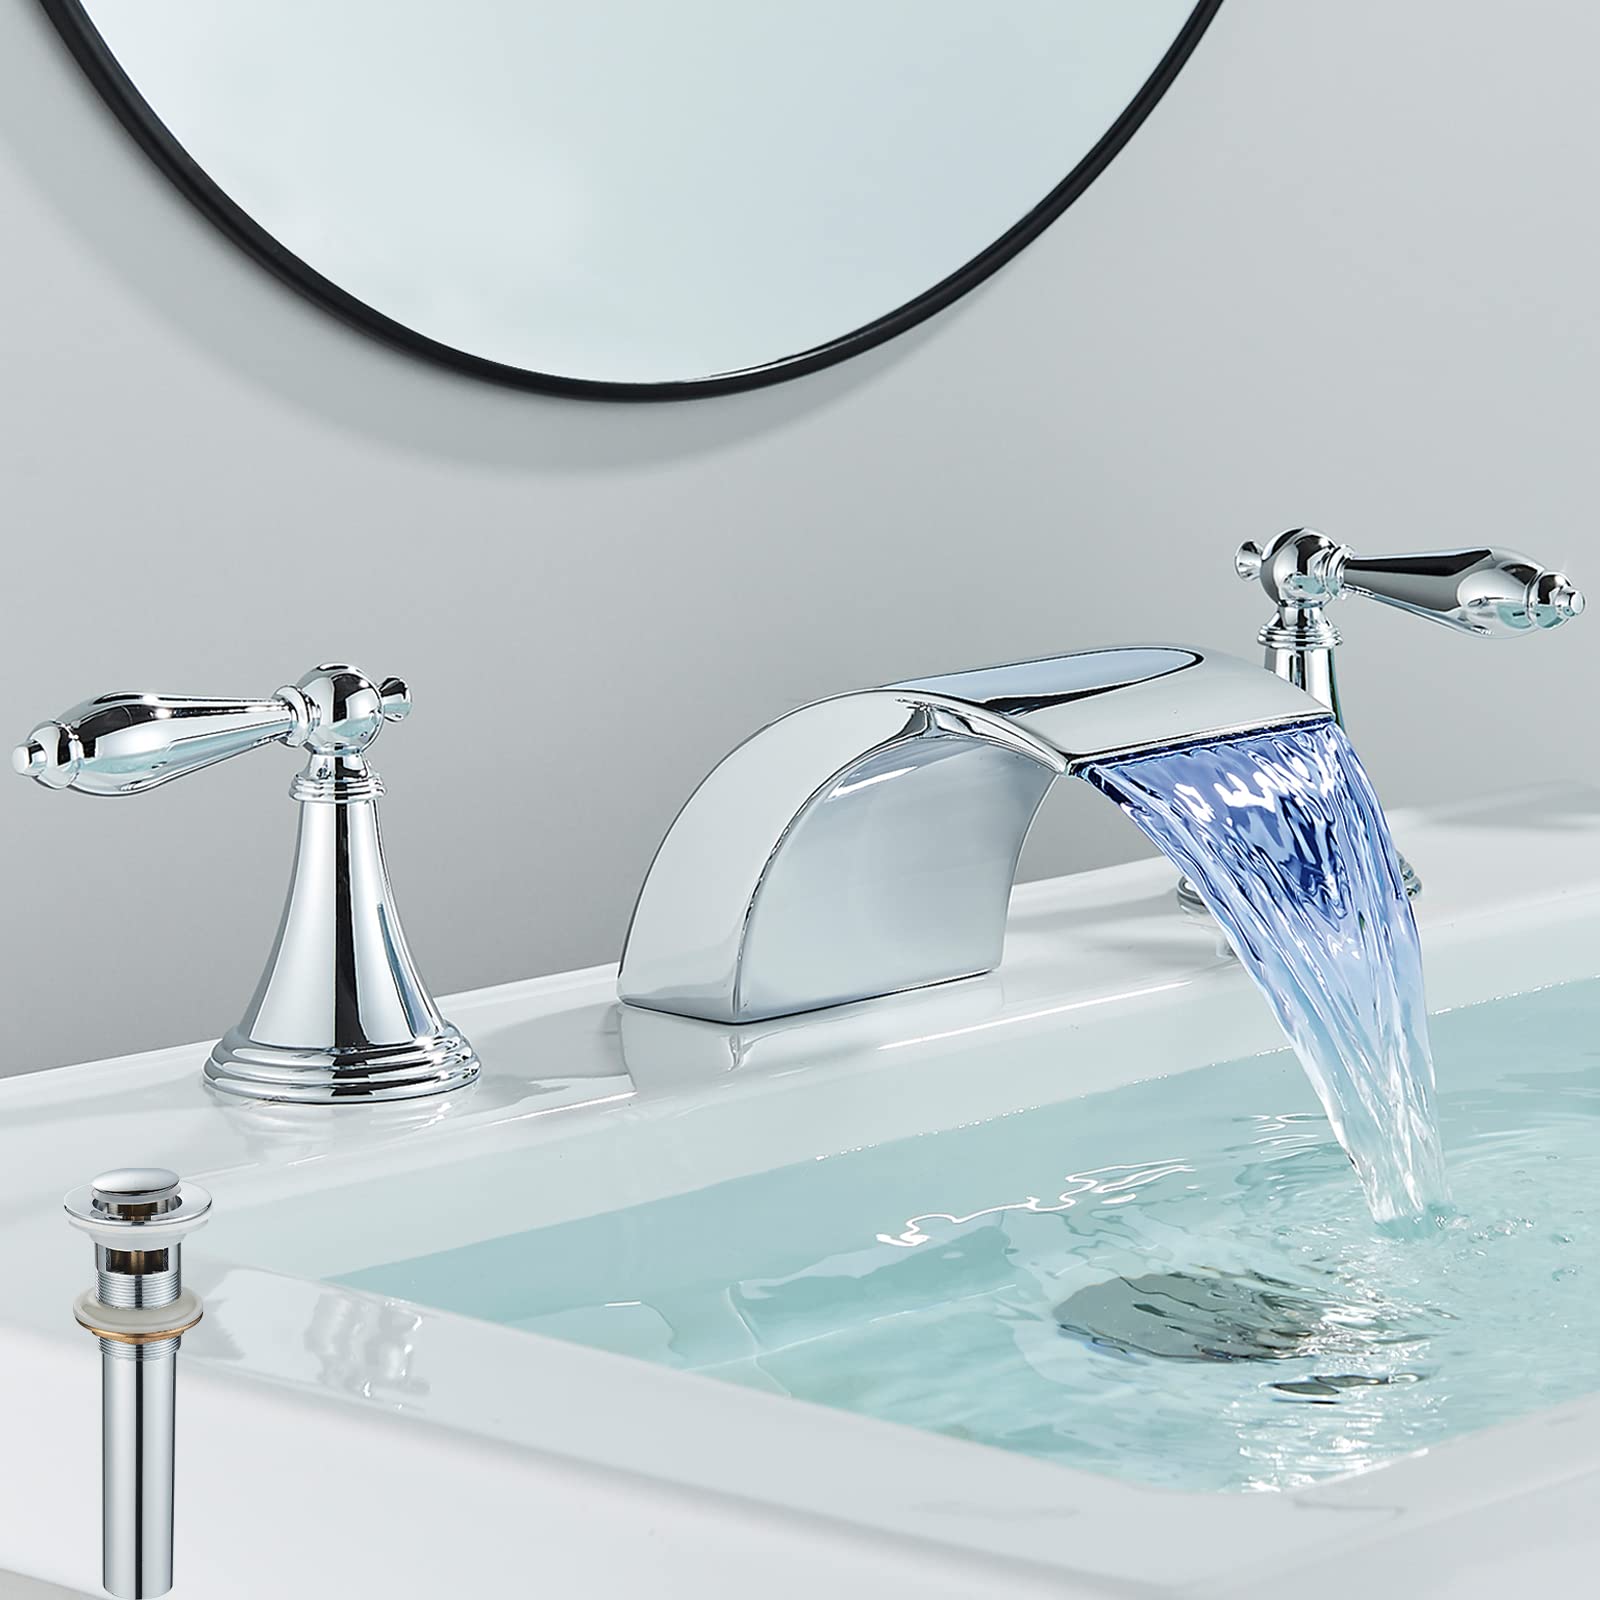
- Advanced features: New faucets often incorporate advanced features that improve usability and convenience. This can include sensor-activated touchless technology, pull-out or pull-down sprayers, or adjustable flow and temperature settings.
- Smooth operation: Over time, old faucets may develop leaks, drips, or sticky handles, impacting their functionality. New faucets offer improved reliability, ensuring smooth operation and preventing water waste.
- Water conservation: Many modern faucets are designed with water-saving features, including low-flow aerators or flow restrictors. These features enhance water efficiency, reducing usage without compromising performance.
Enhanced Durability and Longevity:
Replacing faucets provides an opportunity to invest in high-quality fixtures that offer improved durability and longevity. Consider the following advantages:
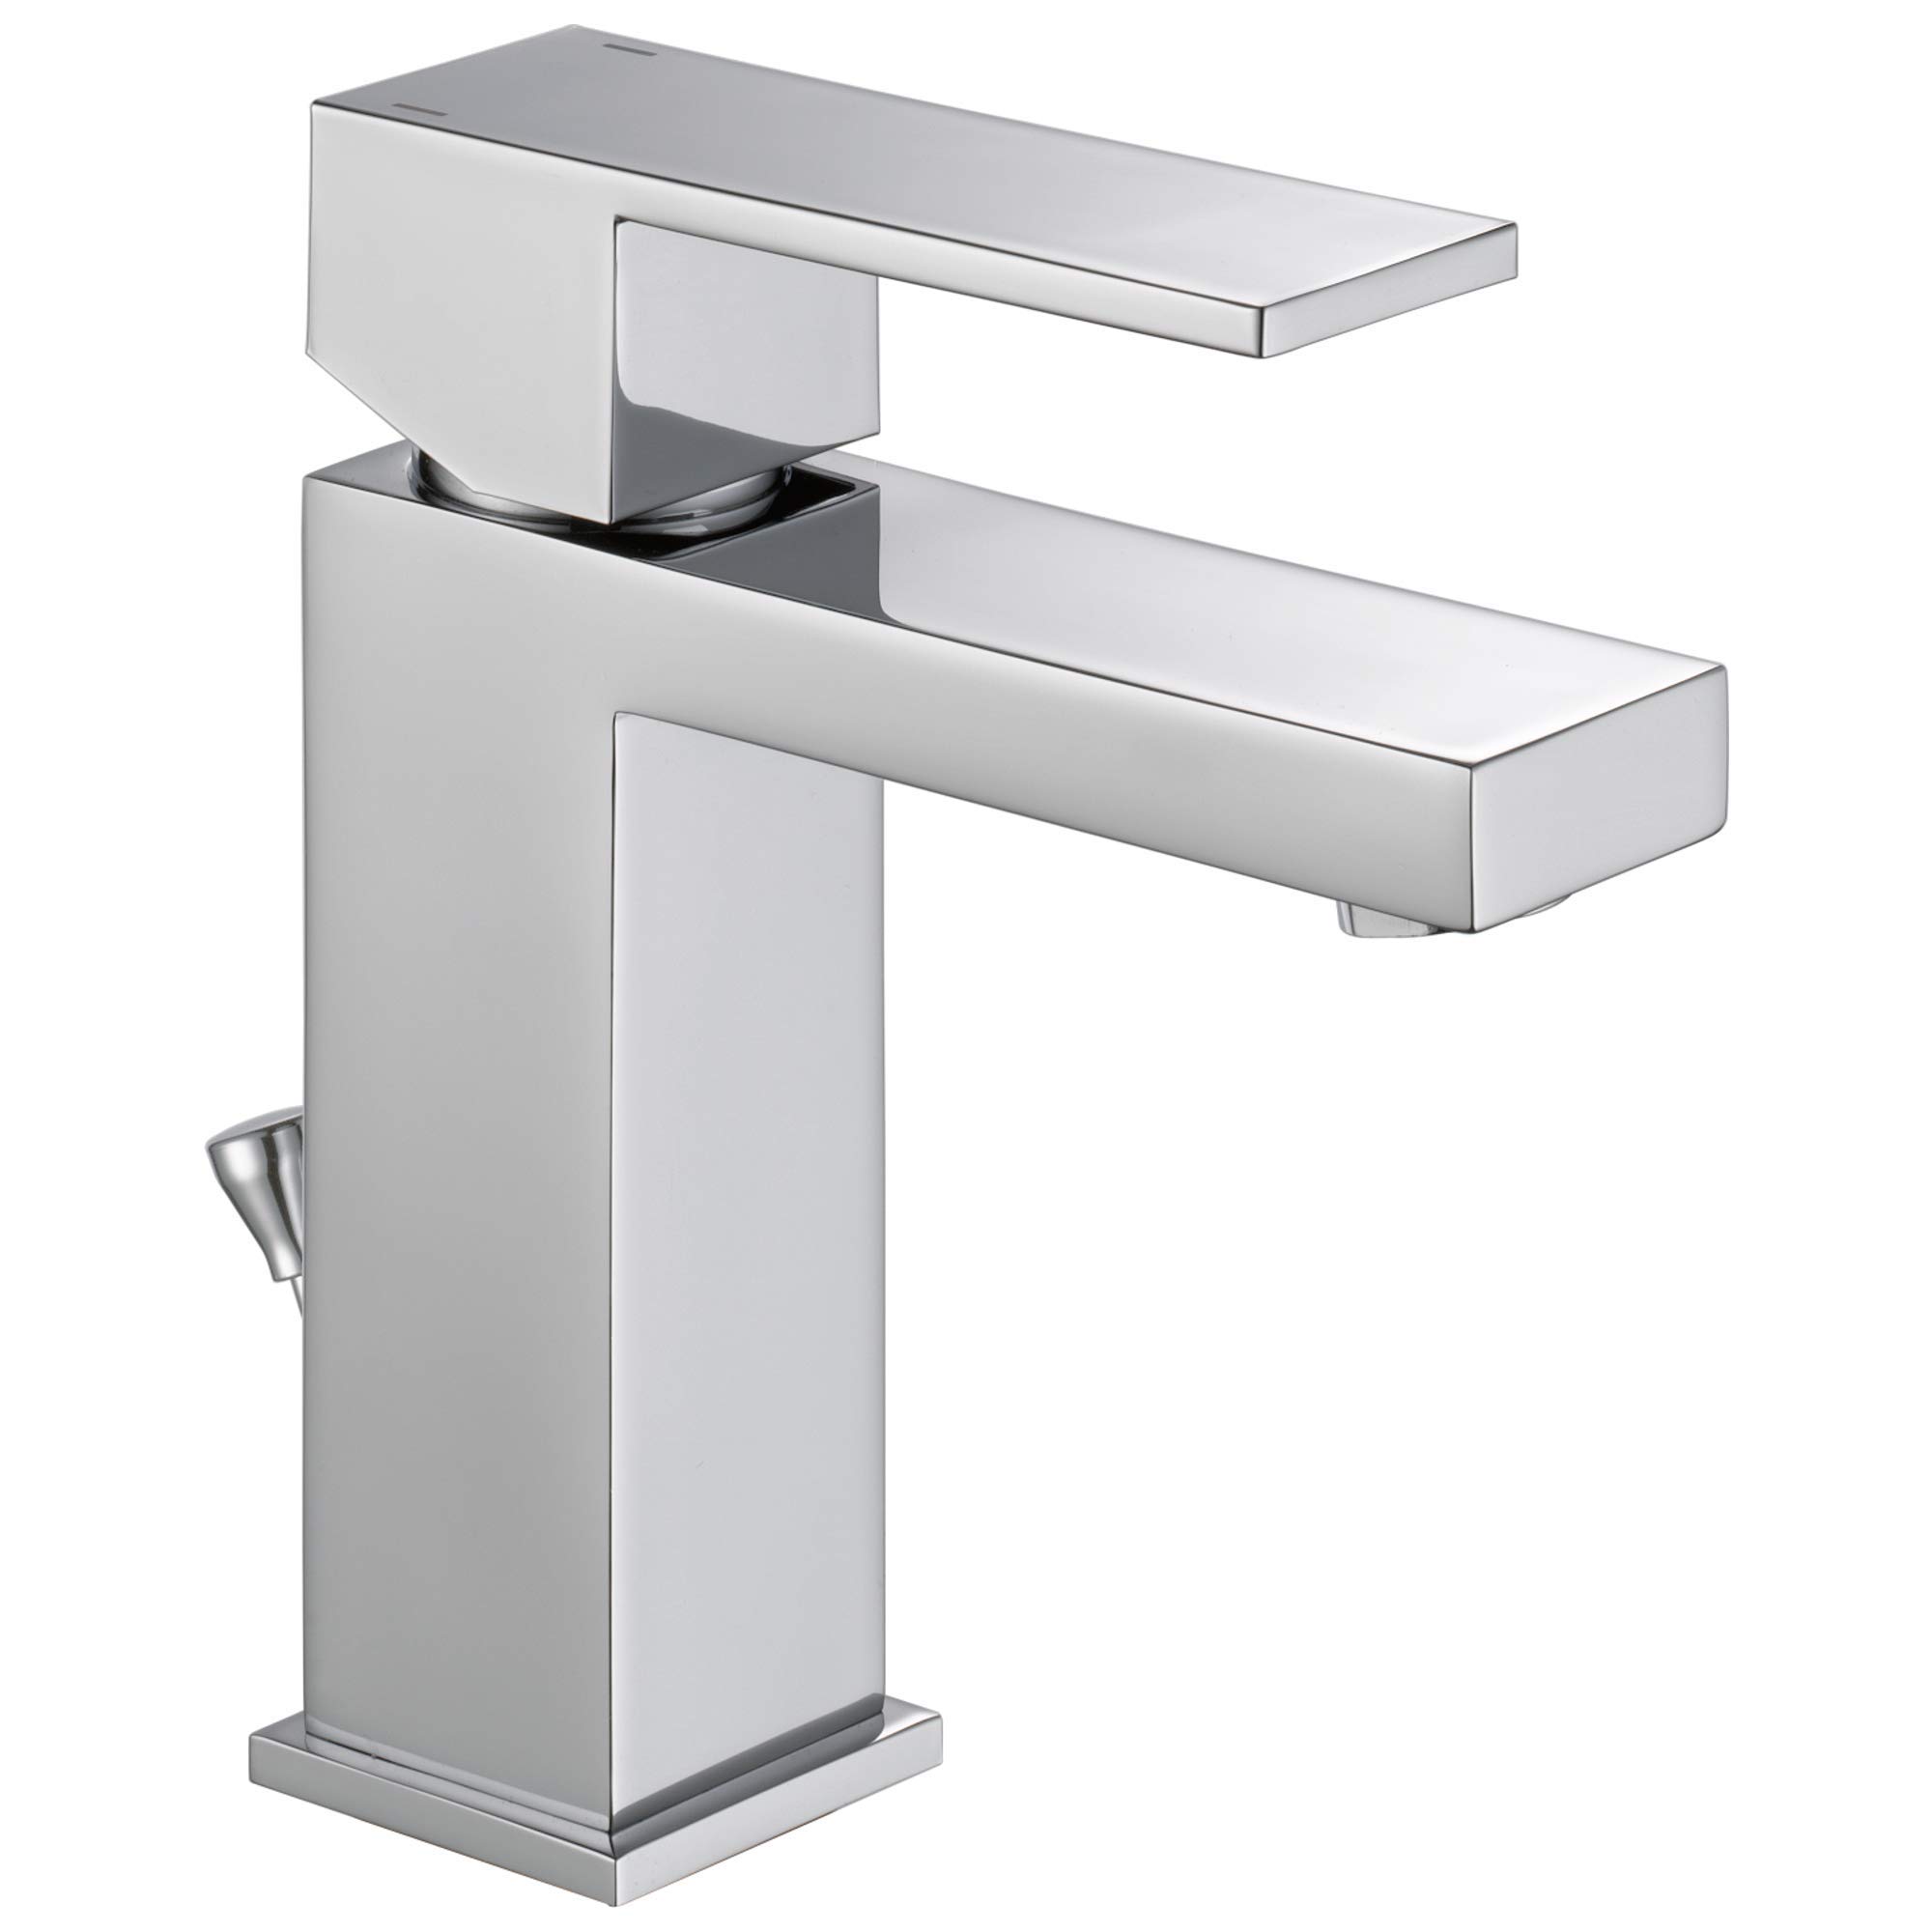
- High-quality materials: New faucets are often constructed using durable materials such as solid brass or stainless steel, ensuring resistance to corrosion, rust, or tarnish. This, in turn, prolongs the lifespan of the fixture.
- Reliable cartridges and valves: Faucets with modern cartridges and valves offer improved functionality and longevity. These components are designed for smoother operation, reduced wear, and better control of water flow and temperature.
Conclusion:
Replacing a faucet is a manageable DIY project that can update the appearance and functionality of your sink. By following this step-by-step guide, you can confidently change faucets and achieve a successful installation. Remember to gather the necessary tools, turn off the water supply, disconnect the old faucet, install the new faucet, and test for leaks and proper functionality. With patience and attention to detail, you can complete this project and enjoy the benefits of a fresh and upgraded faucet.
