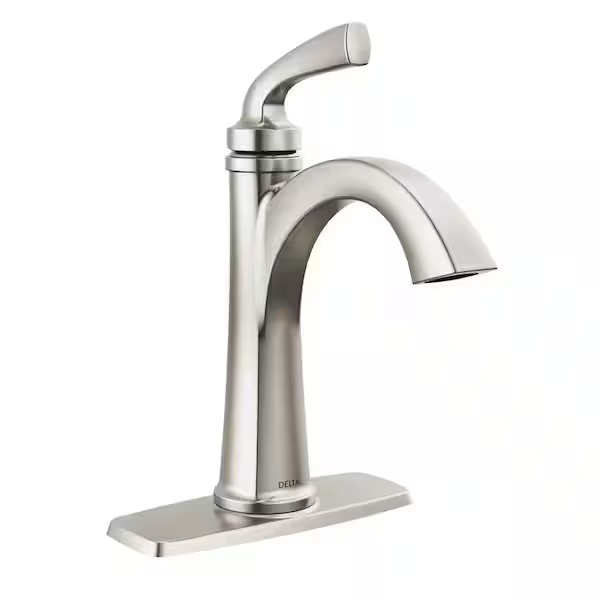
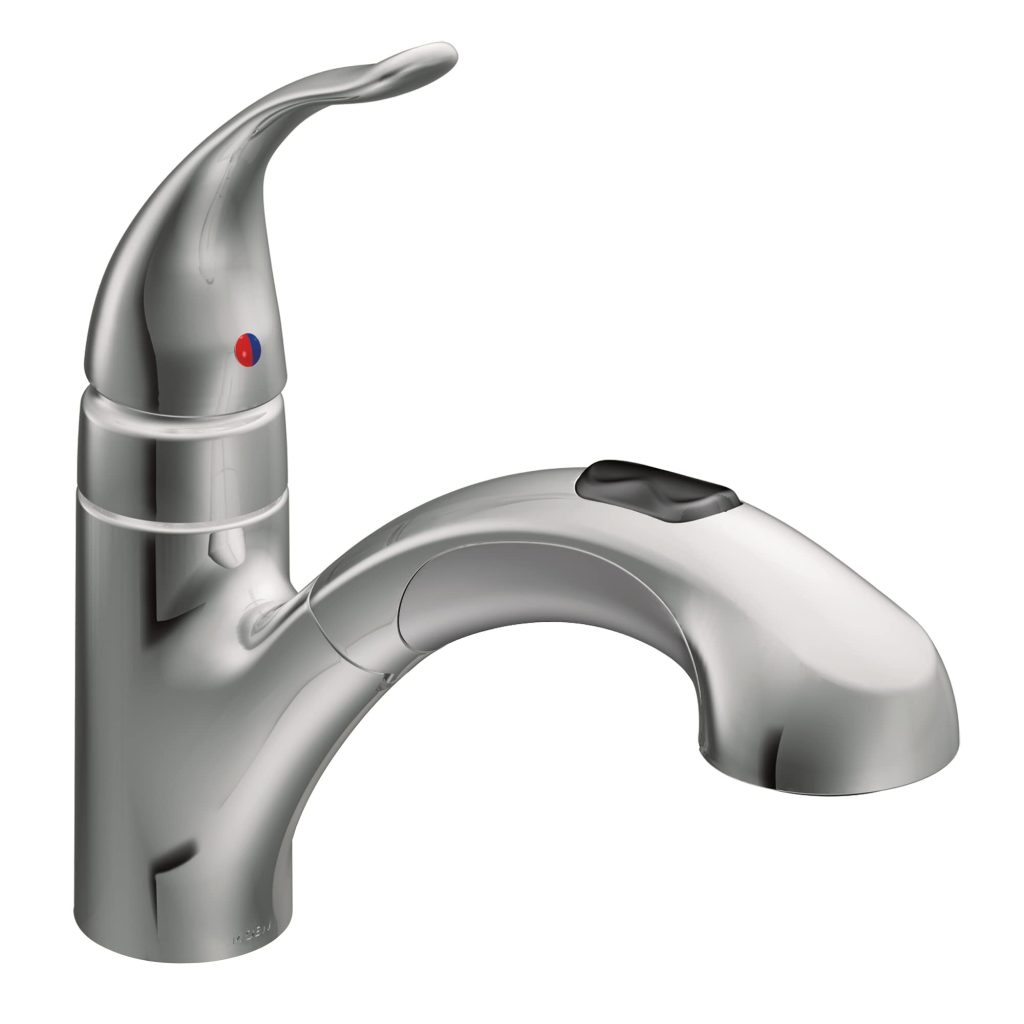
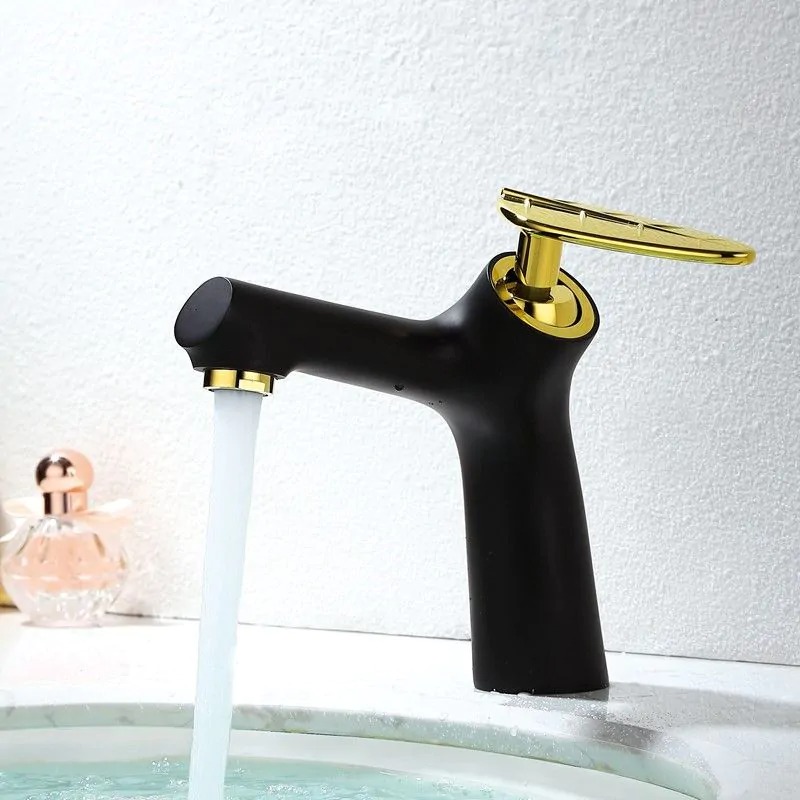
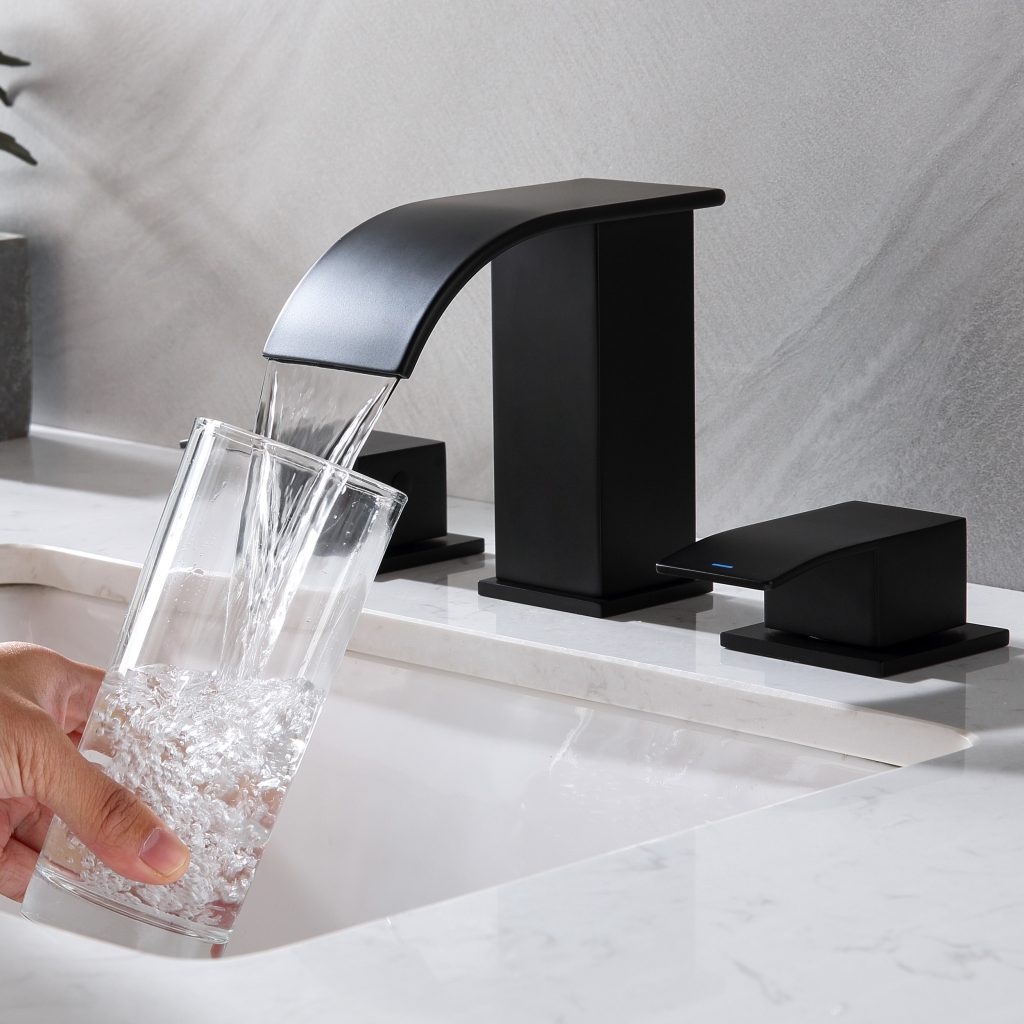
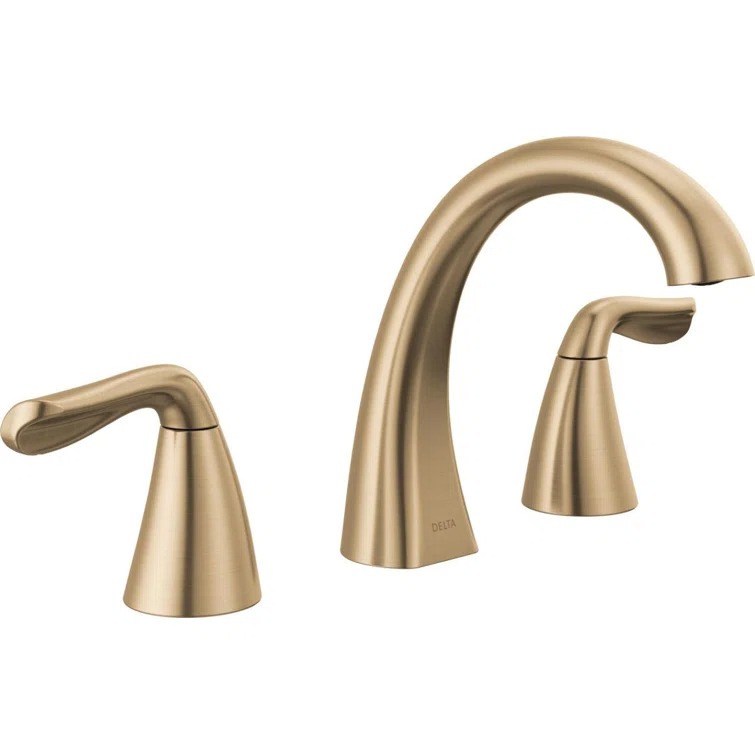
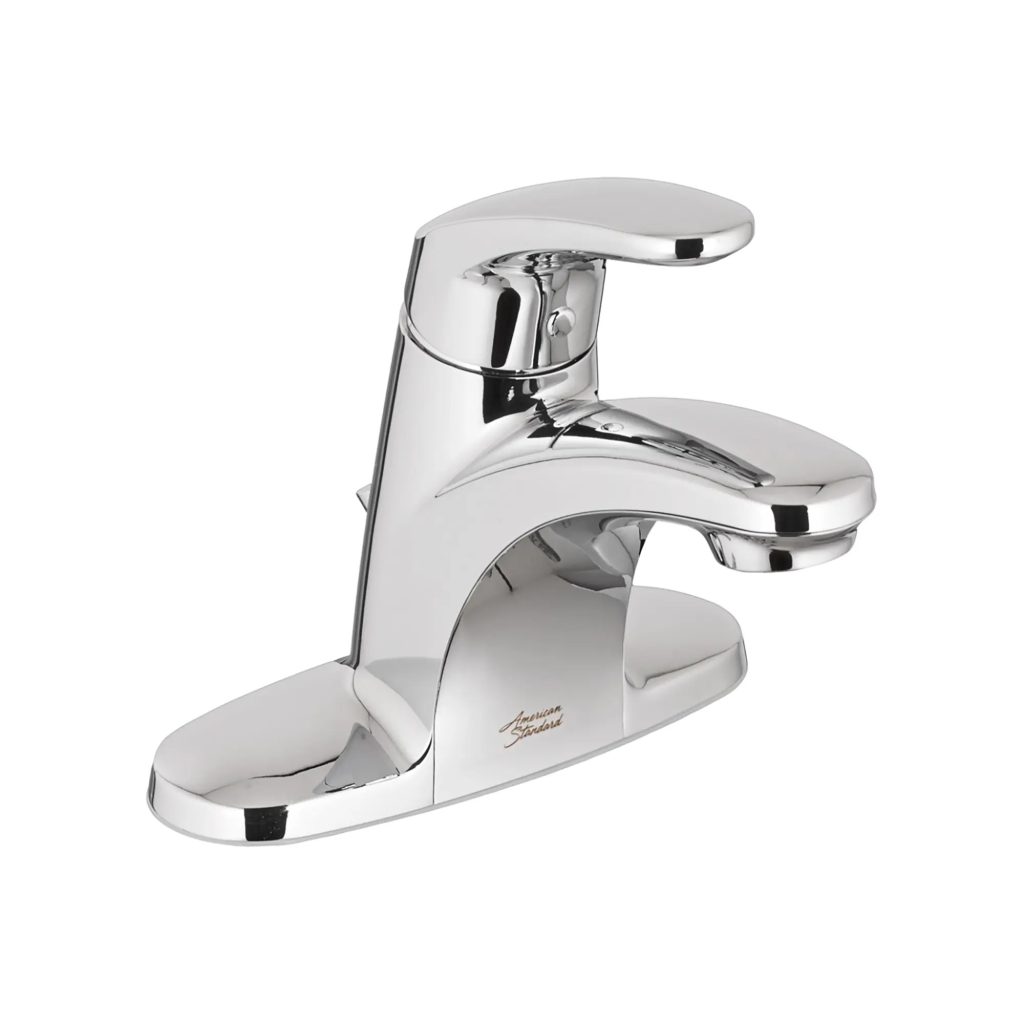
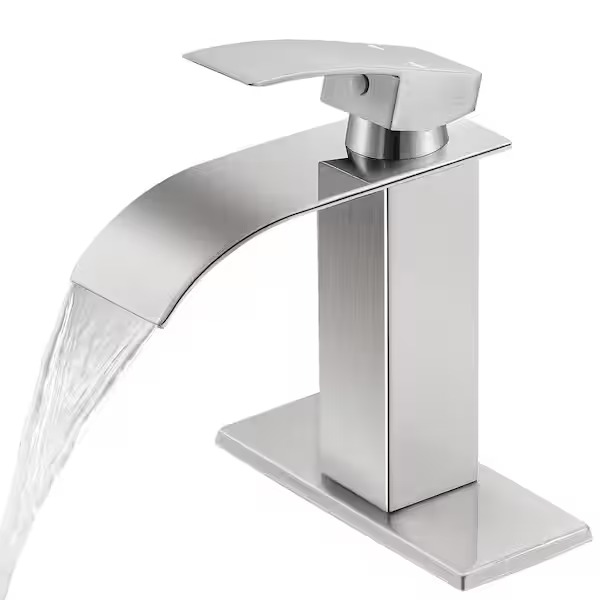
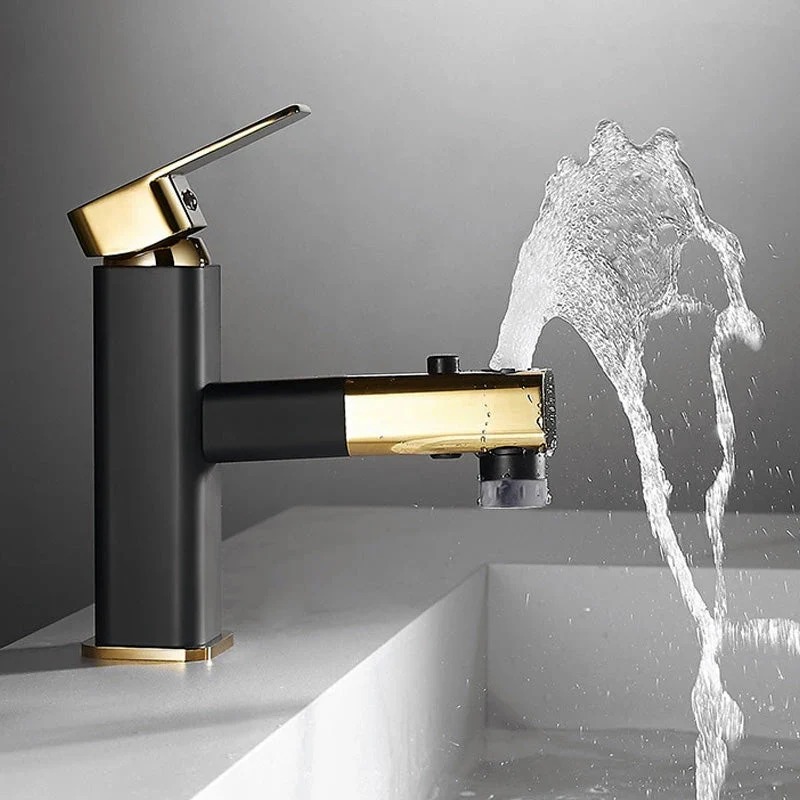
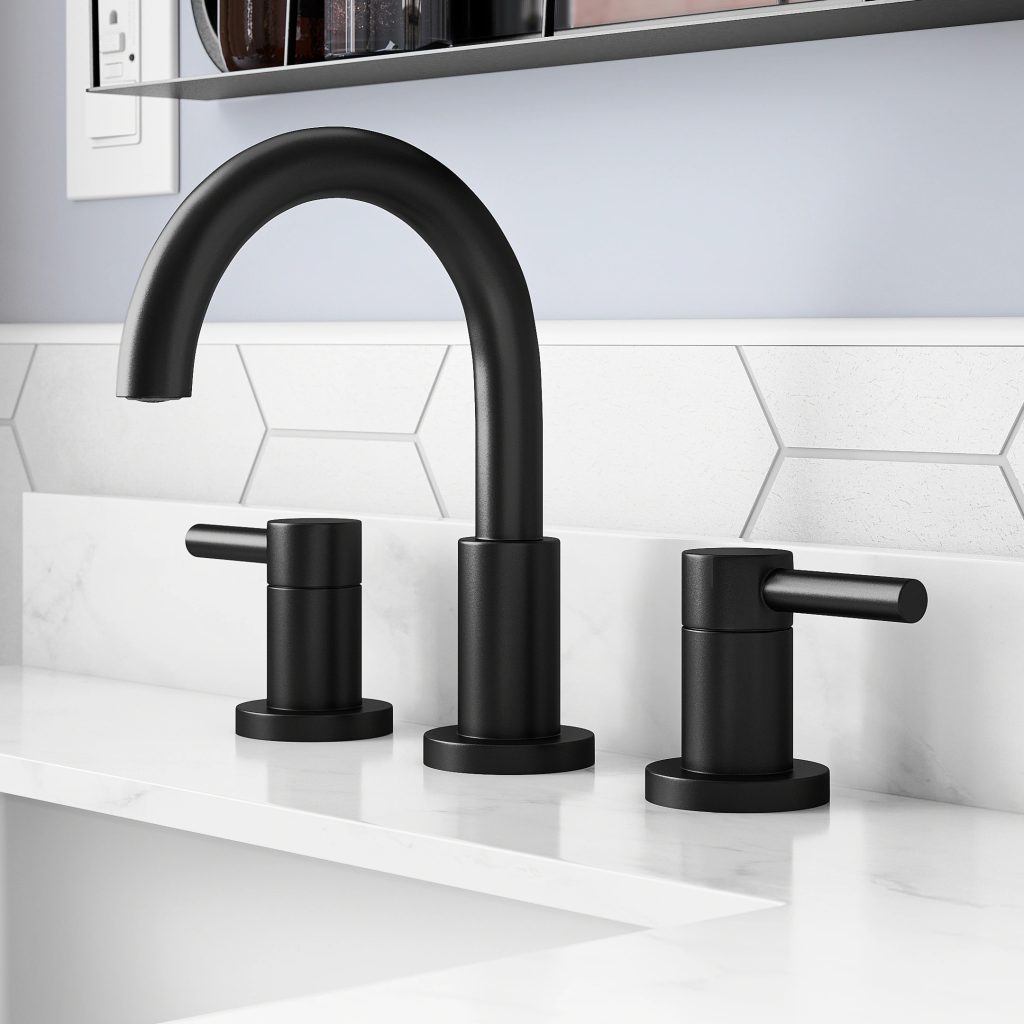
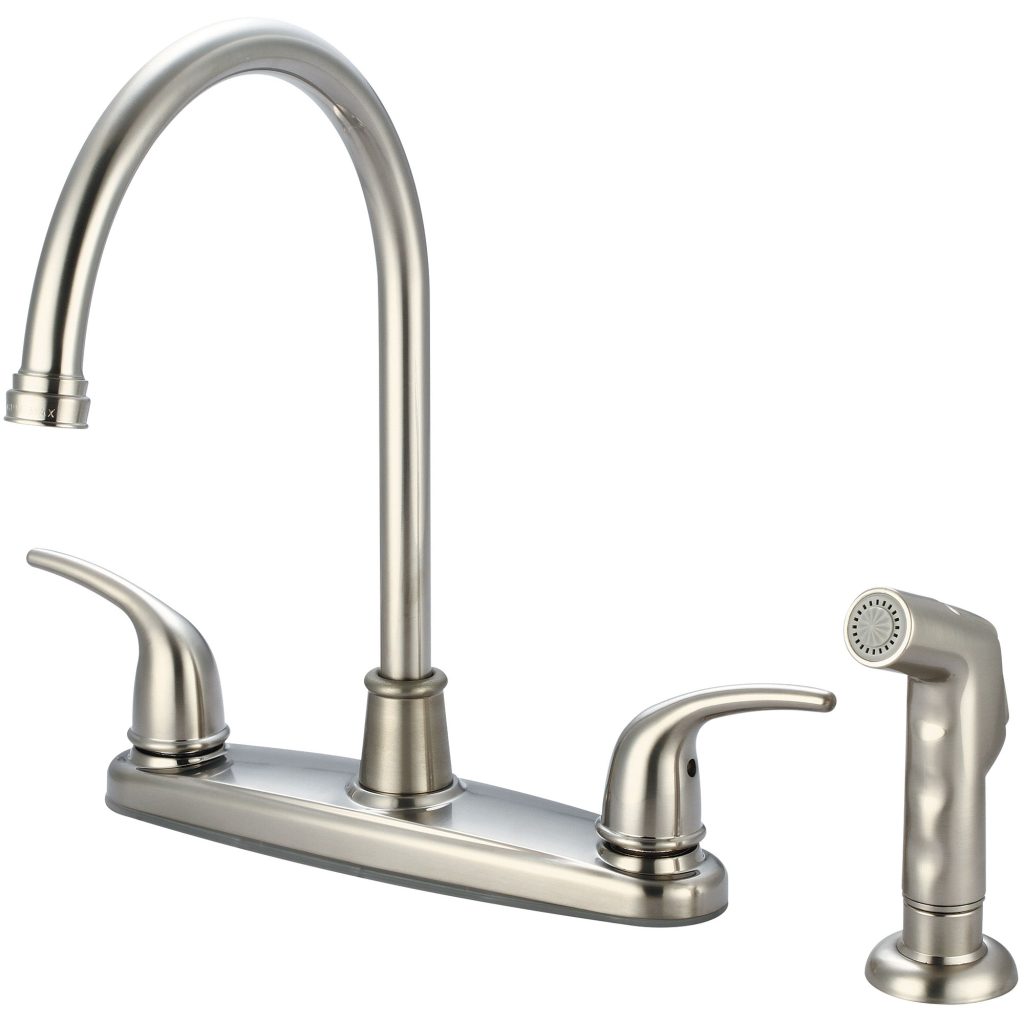
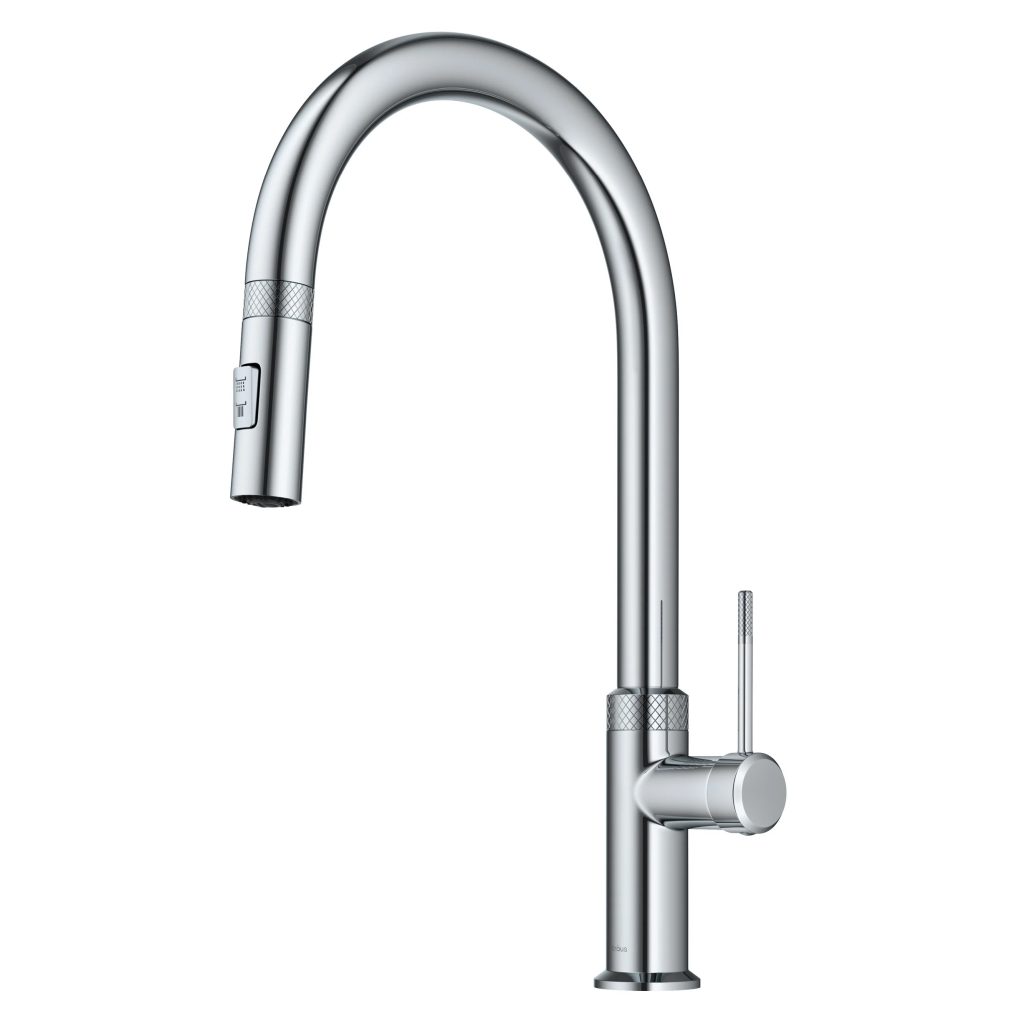
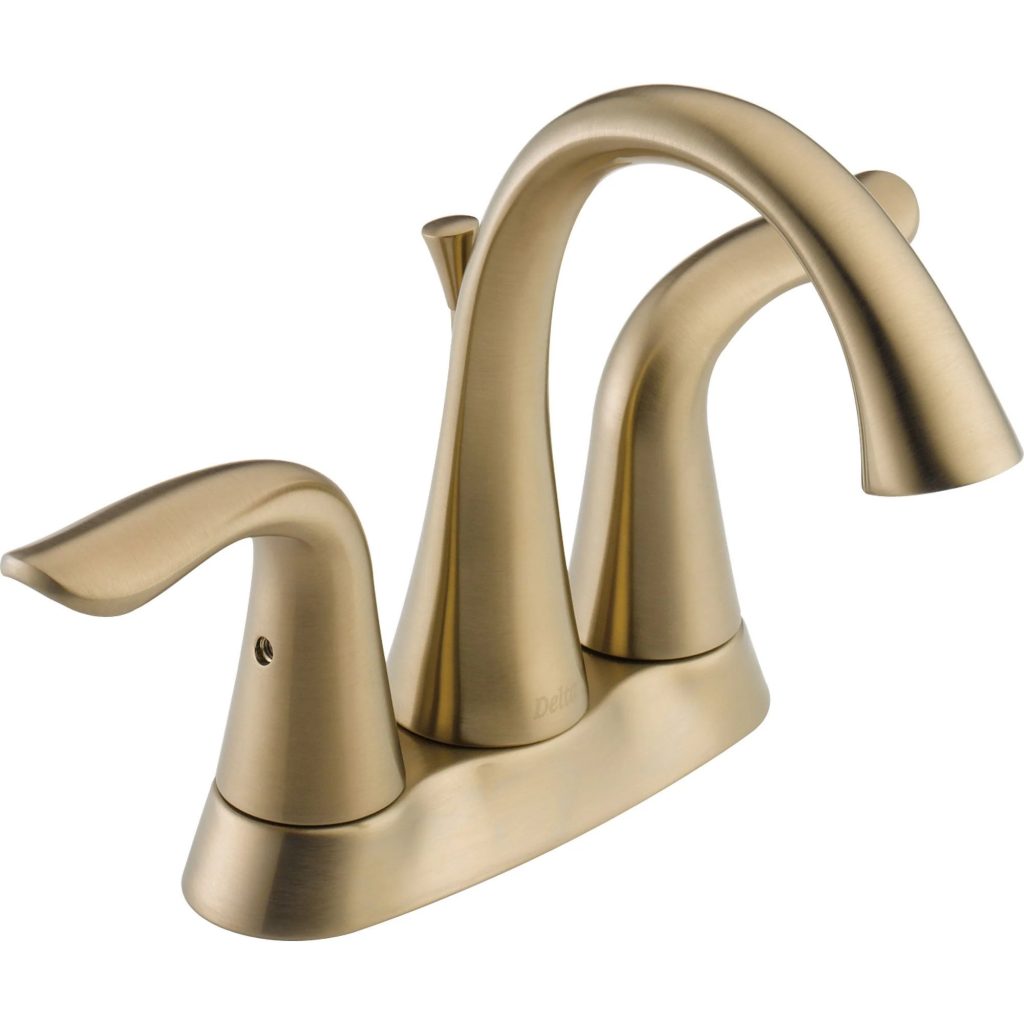
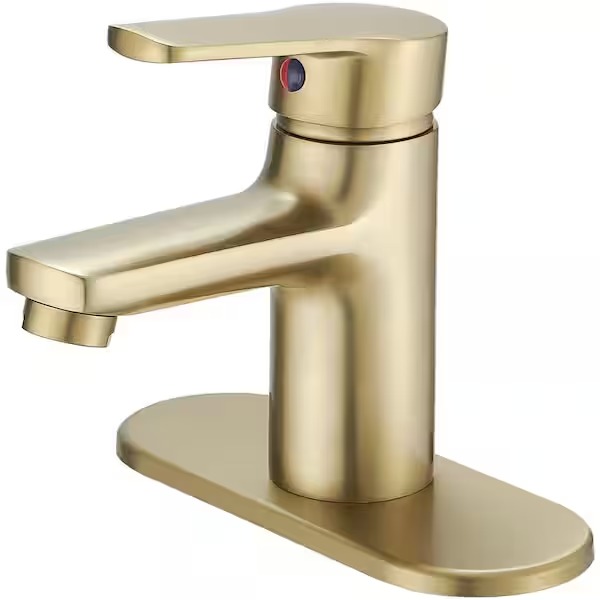
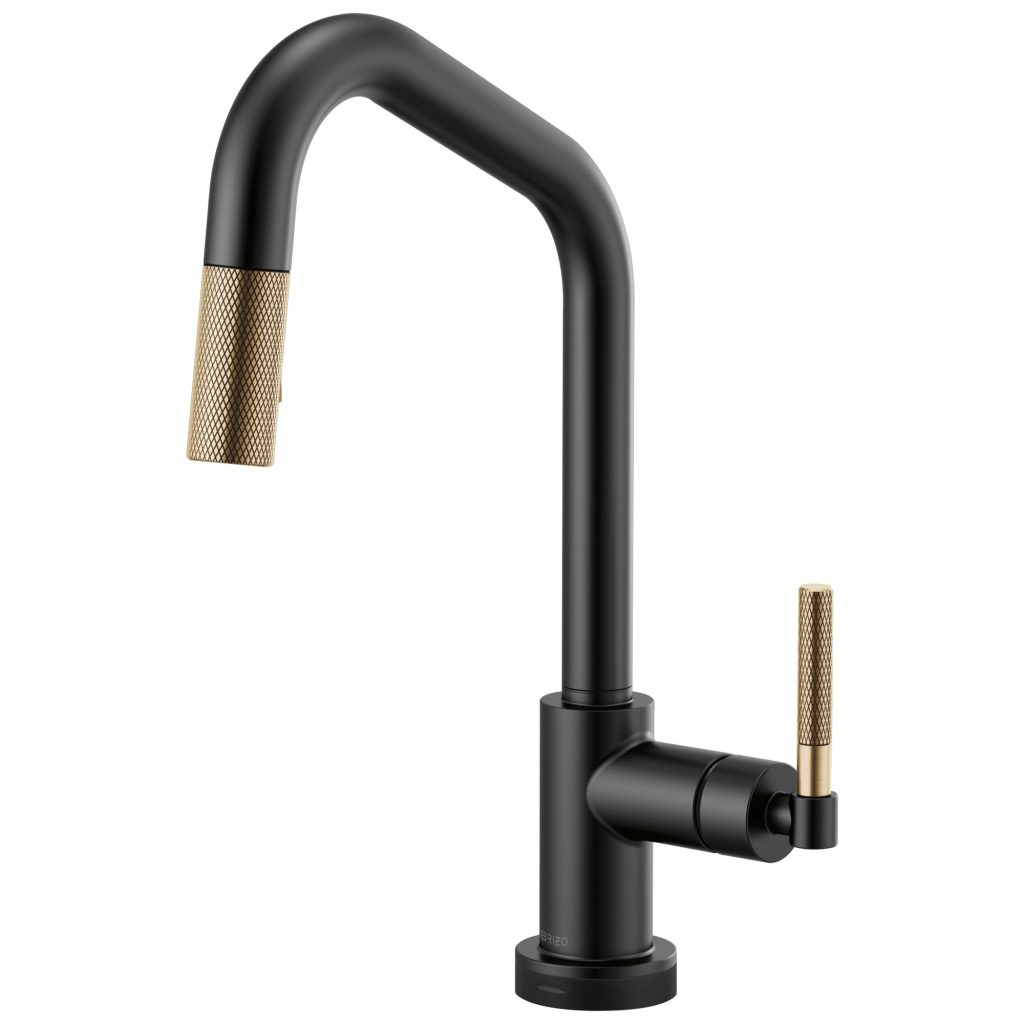
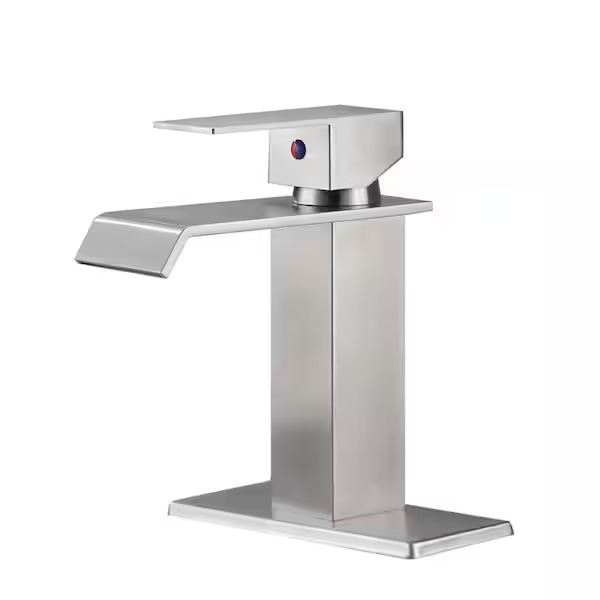
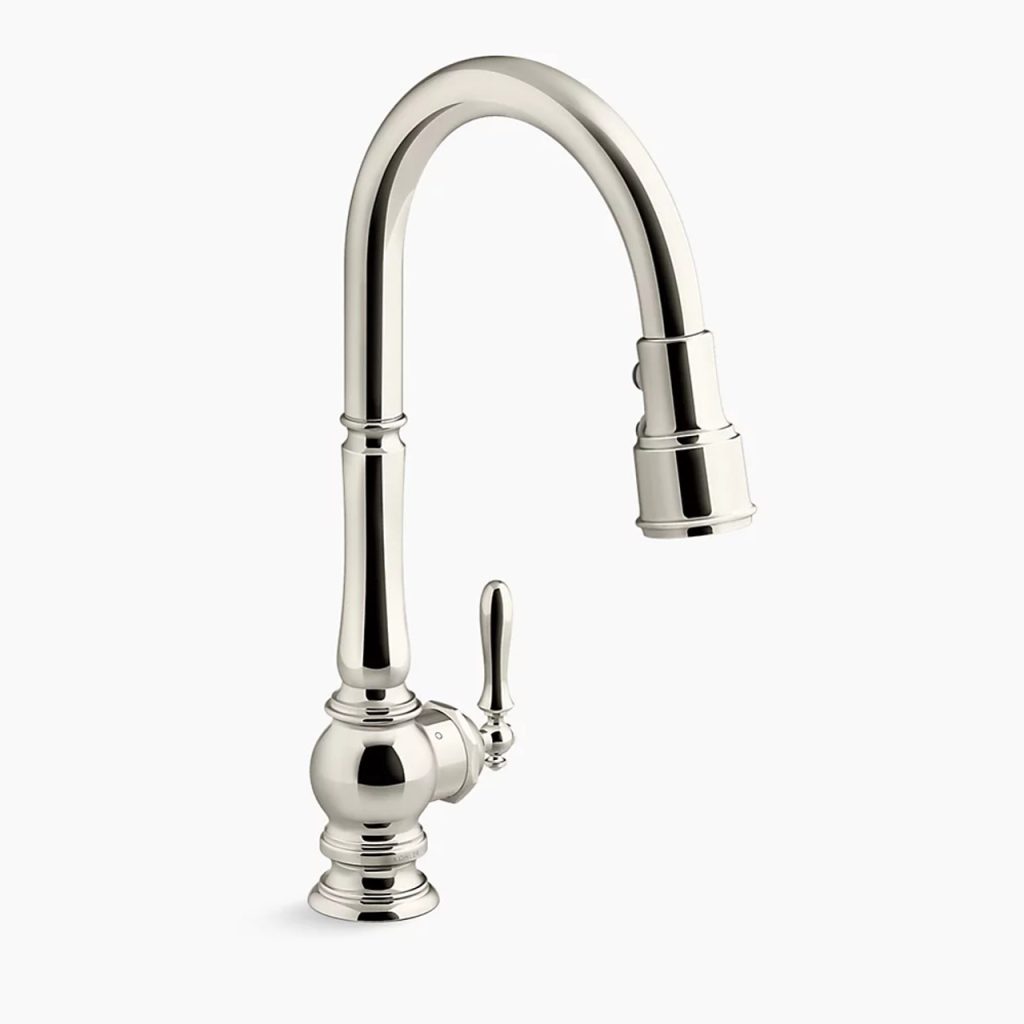
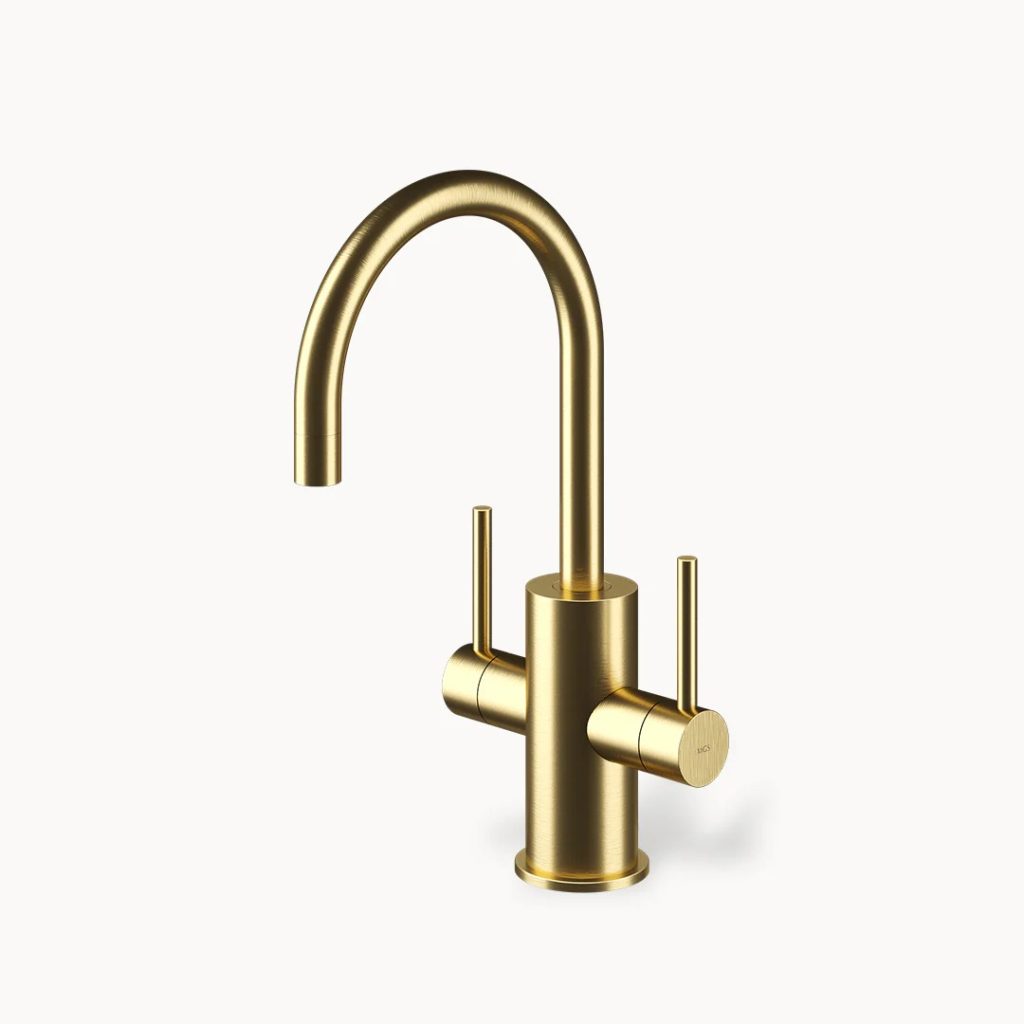
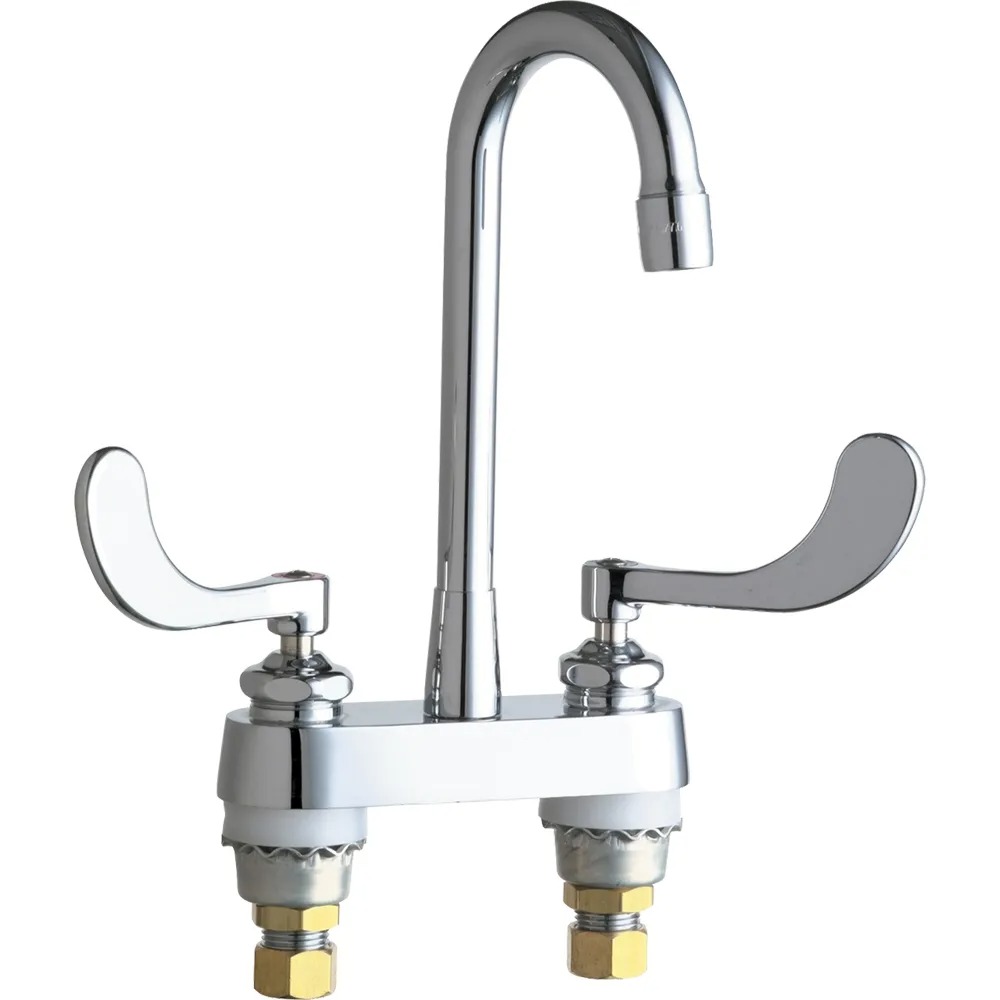
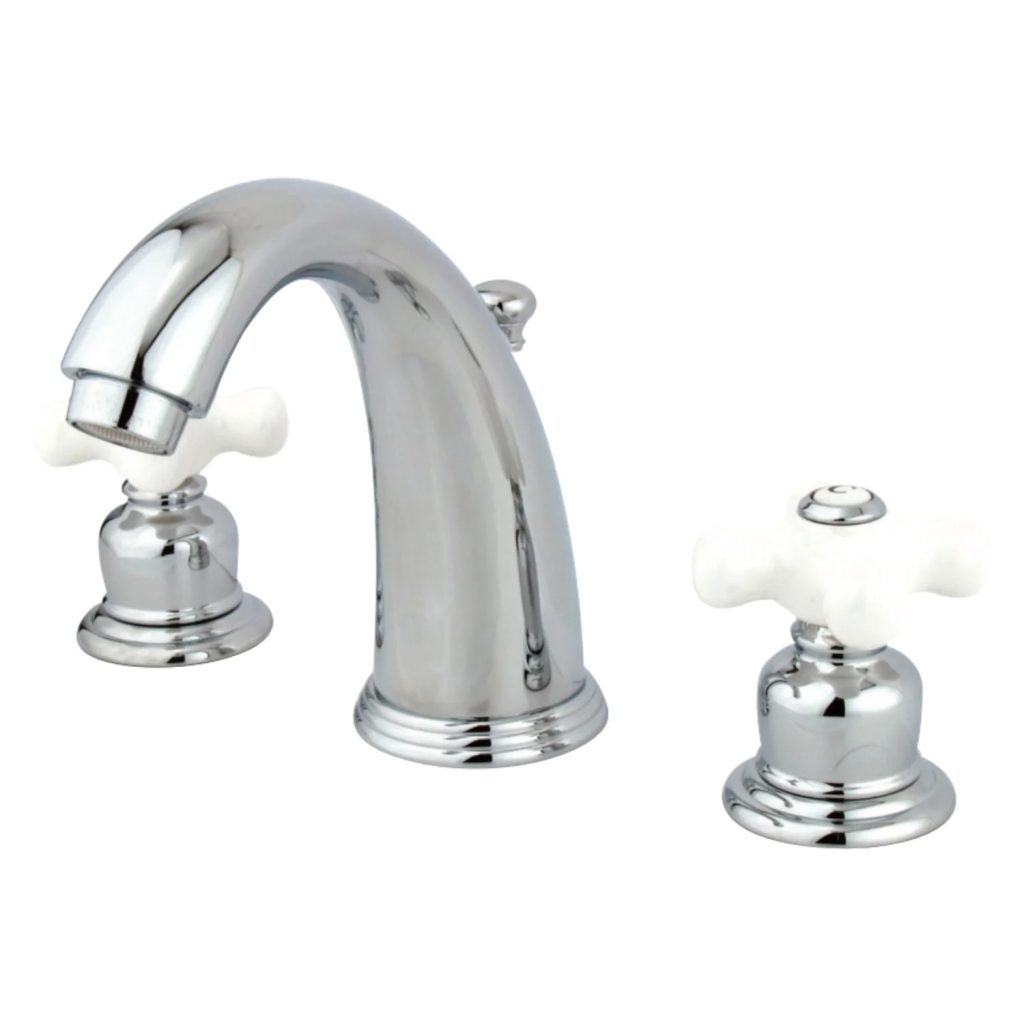
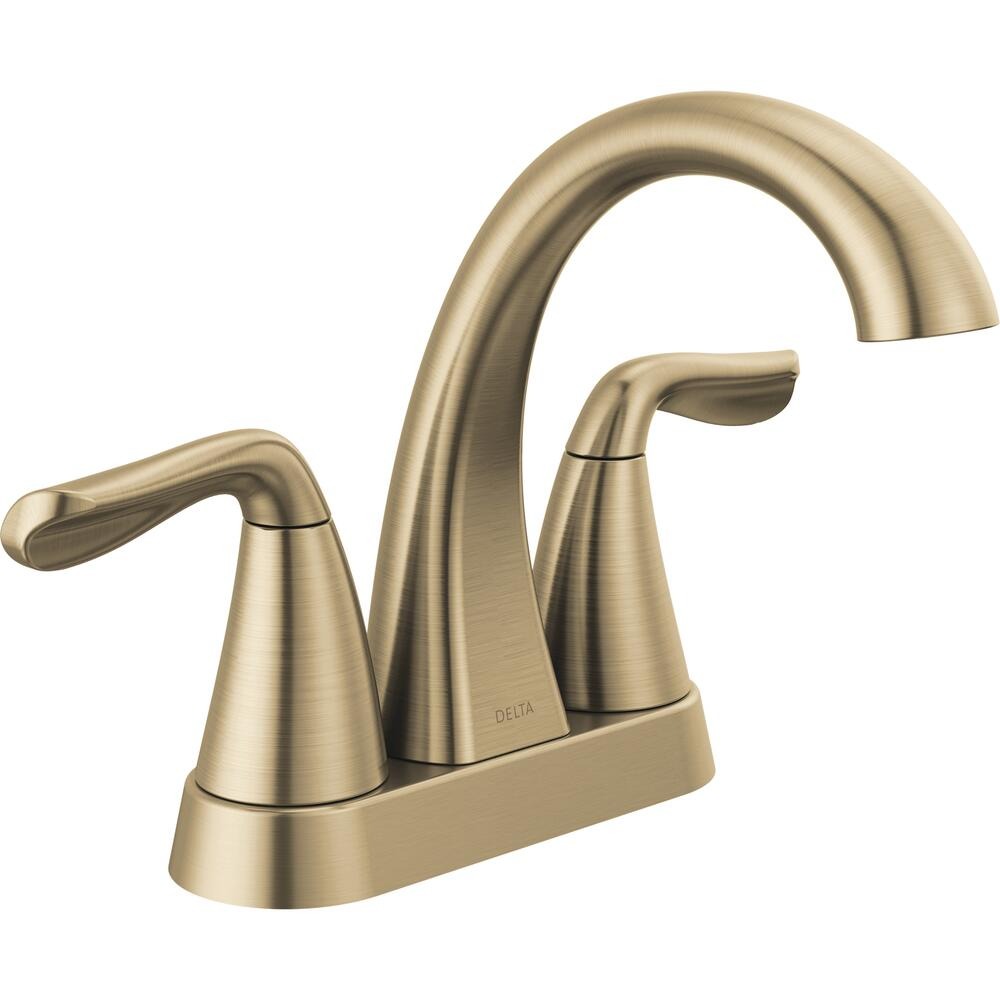
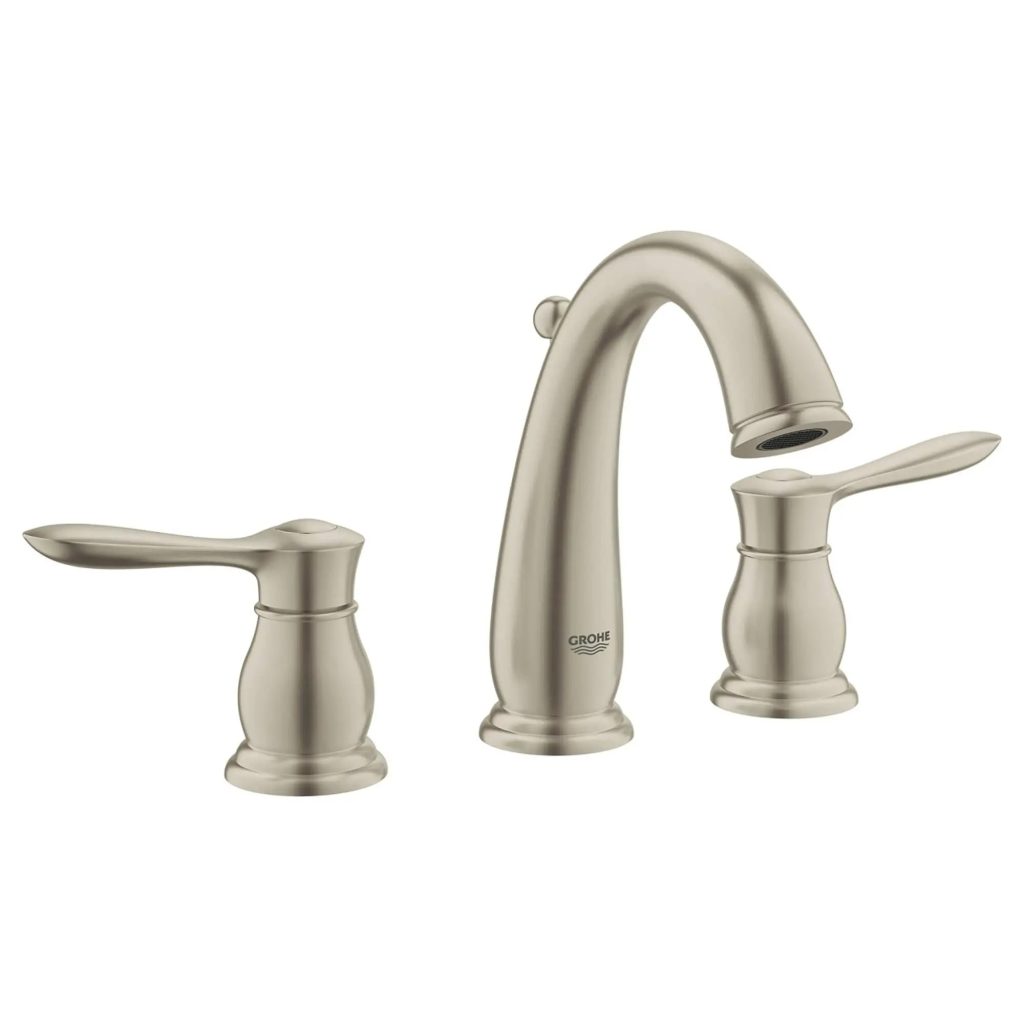
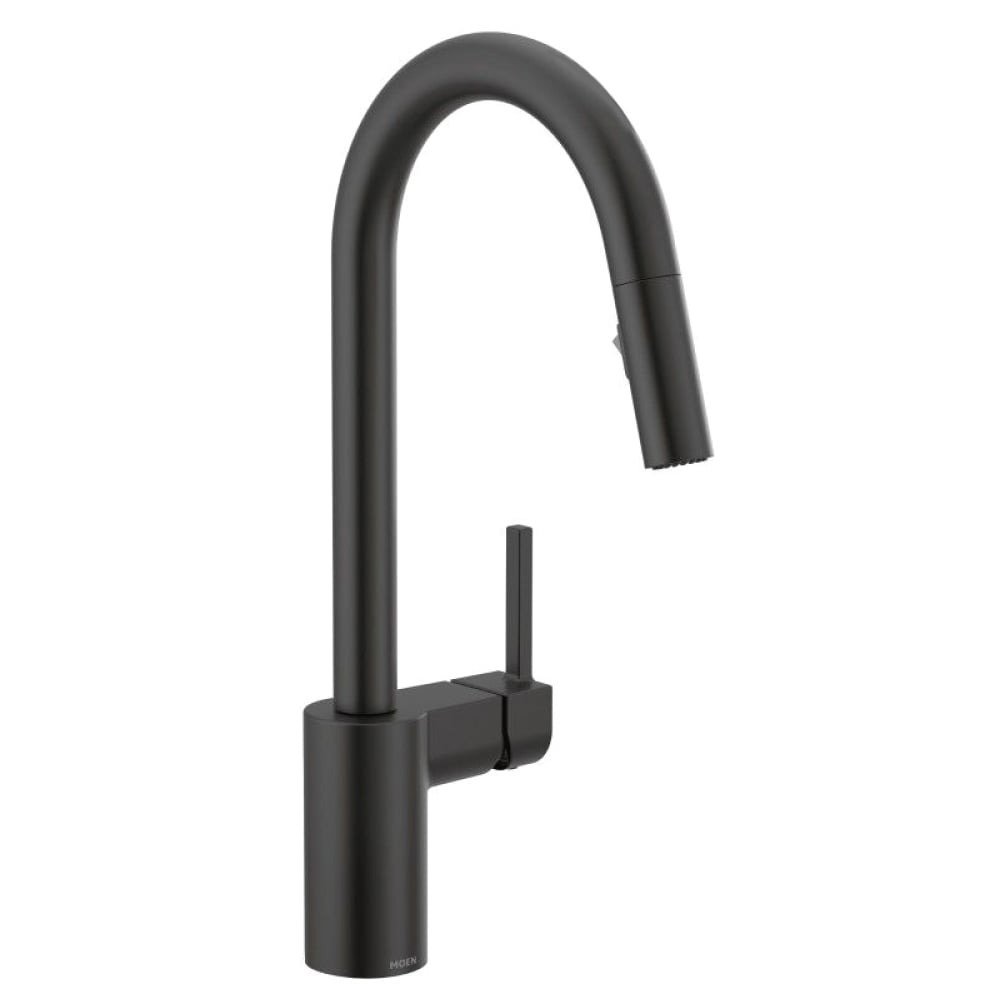
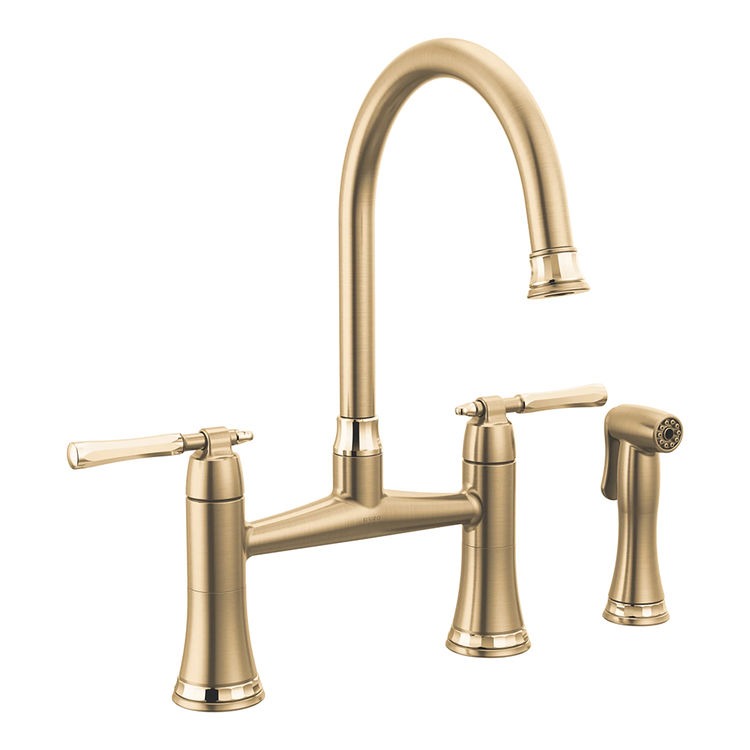
zinc vs Brass Faucets – Selecting the Superior Faucet Material

Introduction to Faucet Material Choices

Choosing the zinc vs brass faucets material is key to both function and style in your bathroom or kitchen. Brass and zinc are common materials, each with its own pros and cons. Brass is durable, corrosion-resistant, and has a high-end look. Zinc, on the other hand, is more budget-friendly, but doesn’t last as long. Consider also the finish, as it affects the faucet’s look and resistance to wear. Make sure to evaluate not only the exterior but also the construction quality and manufacturing process. This will help ensure you select a faucet that performs well over time.

zinc vs brass faucets

Brass Faucets: Advantages and Aesthetics

Brass faucets bring durability and style to bathrooms. Their solid construction resists corrosion. This assures a lasting shine and maintains function over time. Brass also offers versatility in design. It complements both modern and classic bathroom aesthetics.

Long-Lasting Durability

Brass faucets are known for their sturdiness. They withstand daily use with ease. This makes them a smart investment for homeowners. With proper care, they can last up to 50 years.

Anti-Microbial Properties

Another advantage of brass is its natural anti-microbial quality. This helps to keep the water supply clean. Less bacteria means a healthier home environment.

Variety of Finishes

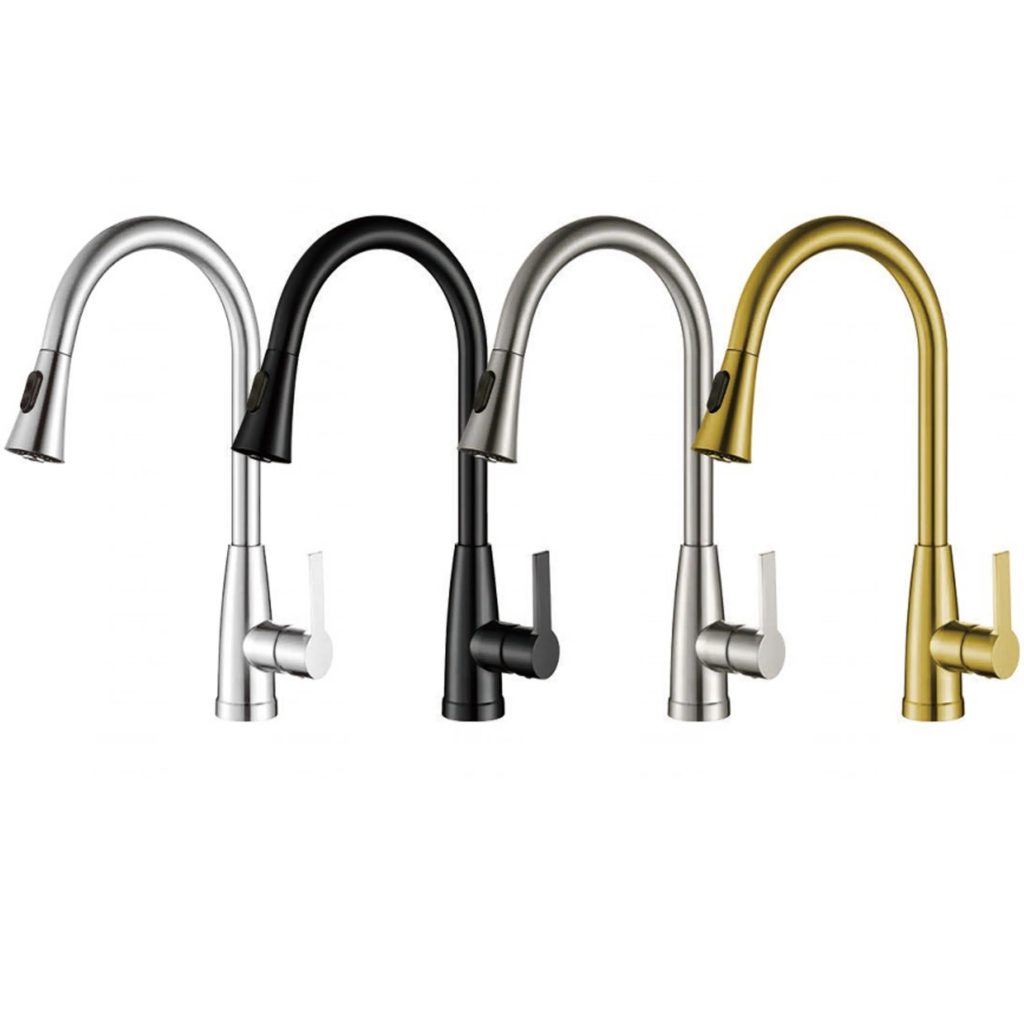
Brass faucets come in various finishes. Choose from polished chrome, brushed nickel, or antique brass. Each finish brings a unique look. It can match any bathroom’s theme or personality.

Aesthetically Pleasing

Solid brass faucets add elegance to any space. They offer both a sleek and classic feel. Whether you’re upgrading or starting fresh, brass faucets make a statement.

Understanding Zinc Faucets: Budget-Friendly Options

Zinc faucets are often chosen for their cost-effectiveness. They provide short-term affordability for those on a budget. Although less durable than brass, they offer immediate savings. Here’s what you need to know about zinc faucets:

Economical Choice

Zinc is a lighter, budget-friendly option. It is ideal when cost is a priority over longevity.

Shorter Life Expectancy

Compared to brass, zinc faucets have a reduced lifespan. They may show signs of wear sooner.

Lighter Construction

Zinc faucets are light in weight, making them easy to handle during installation.

zinc vs brass faucets

Aesthetics Over Time

Zinc’s appearance can deteriorate faster. It might not resist corrosion as well as brass, leading to earlier replacement.

Compatible with Many Finishes

Zinc faucets can be found with various finishes. Chrome and nickel plating are common choices.

In conclusion, zinc faucets stand out as cost-effective solutions. Homeowners with budget constraints can turn to zinc. However, it’s crucial to consider their shorter lifespan and potential for corrosion.

Evaluating Durability and Lifespan of Faucet Materials

When debating zinc vs brass faucets, durability is key. Brass wins with its longer lifespan and robustness. It stands up to daily use and resists corrosion. We see brass fixtures lasting decades with the right care. Zinc, while initially more cost-effective, tends to wear out faster. It is prone to corrosion, affecting its lifespan negatively.

Brass Faucets: The Long-Term Choice

Brass has a proven track record for enduring use. It resists wear from water exposure well. Expect a brass faucet to handle high traffic with less risk of leaks. This material also copes with hard water conditions better. Invest in brass for fixtures that last and offer steady performance over time.

Zinc Faucets: Short-Term Savings

Zinc faucets offer immediate budget relief at the expense of longevity. They are lighter and easier on upfront costs. However, they may need replacing sooner than brass counterparts. Zinc is less resistant to water damage and can deteriorate swiftly. Choose zinc when initial savings trump durability concerns.

To sum up, brass faucets deliver in terms of durability and lifespan. They may cost more upfront, but the long-term benefits justify the investment. Zinc faucets are practical for short-term scenarios but might not hold up as well. Remember, a faucet’s lifespan impacts overall value and maintenance.

Analyzing Finish and Style: Chrome, Nickel, and Beyond

Choosing a faucet involves more than just material. The finish and style play important roles too. They affect durability and the look of your bathroom. Here are key points about different finishes:

Chrome Finish

Chrome is popular and versatile. It withstands scratches and is easy to clean. This makes it practical for high-use areas. It adds a shiny, modern touch to bathrooms.

Nickel Finish

Nickel offers a rich, warm look. It comes in polished or brushed styles. It resists water spots and fingerprints better than chrome. Nickel adds elegance to any bathroom design.

Beyond Chrome and Nickel

There are more finishes like bronze, brass, and matte black. Each brings a different feel to bathroom spaces. Bronze gives a classic look, while matt black can be sleek and modern.

Remember, finishes are not just about color. They protect the faucet. Consider how well they hold up against corrosion and wear. Also, think about how they match your bathroom’s overall style. In summary, look for a finish that combines function and fashion for the best experience.

zinc vs brass faucets

The Role of Construction and Manufacturing in Faucet Quality

When selecting the material for your faucets, consider how they are made. The method of manufacturing influences quality and longevity. Here, we delve into key aspects of how faucets are built. This helps you choose a product that offers durability and reliability.

Materials Used

High-quality faucets often use brass or stainless steel. These materials resist corrosion and handle frequent use well. Faucets made of zinc are budget-friendly. Yet, they may not last as long as those made of more robust materials.

Construction Methods

Faucets are formed through processes like casting or forging. These production methods impact the faucet’s strength and leak-resistance. Forged brass faucets, for example, tend to be stronger and more leak-resistant.

Finishing Touches

The finish is not just for looks; it also protects the faucet. Finishes like chrome or nickel add a protective layer that resists scratches and corrosion. This extends the life of the faucet.

Considering these factors will guide you in choosing a faucet that blends quality construction with high functionality. Each component, from material to finish, plays a vital role in the faucet’s overall performance and endurance.

Factors to Consider for Long-Term Performance

When picking faucets, you must weigh long-term performance. Here are vital factors to ponder:

Material Quality Is Fundamental

Go for high-grade materials like brass for lasting durability. They withstand frequent use and corrosion.

Check the Valve Type

Opt for ceramic or solid brass valves. These resist leaks and provide enduring operation.

Assess the Finish

Finishes like chrome offer durability and ease of cleaning. They also add a modern flair.

Easy Maintenance Matters

Choose faucets that are simple to maintain. This can extend their lifespan and appearance.

Factor In Design Consistency

Ensure handle and spout designs are coherent. This ensures lasting functionality and style.

Think About Water Efficiency

Select faucets that save water. This can lower bills and aid the environment.

Prioritize Manufacturer Reputation

Purchase from reputable brands. They often provide better quality and warranties.

zinc vs brass faucets

Conclusion: Making the Informed Choice for Faucets

When choosing faucets, consider material, finish, and quality. Brass faucets offer durability and elegance. They resist corrosion and have a long lifespan. Zinc faucets are budget-friendly but less durable. They may need more frequent replacements.

Select finishes like chrome or nickel for both beauty and protection. They stand up to wear and simplify cleaning tasks. Remember, quality construction ensures faucet longevity and reliability. This leads to fewer leaks and less need for repairs.

Prioritize faucets that fit your style and meet long-term performance needs. Go for brands with strong reputations for stand-out warranties and customer service. Also, think about water efficiency. Faucets that save on water use benefit both the environment and your wallet.

Posted in Kitchen | Tagged , , | Leave a comment

Should You Drip Outside Faucets? – The Right Way

Introduction to Outside Faucet Winterization

Should you drip outside faucets? As the cold season approaches, outside faucet winterization becomes crucial for homeowners. This process helps to prevent costly damages associated with freezing temperatures. Understanding how to properly winterize outdoor faucets is key to maintaining your home’s plumbing integrity during the winter months.

drip outside faucets

When to Begin Dripping Your Outside Faucets

Knowing the right time to start dripping your outside faucets is crucial for preventing freeze damage. As the temperature drops, pay close attention to the forecast. The key point to start the drip is when temperatures approach freezing, typically 32 degrees Fahrenheit or 0 degrees Celsius. According to plumbing experts, the ideal time to drip faucets is before the thermometer hits 20 degrees Fahrenheit or -6.6 degrees Celsius. At these temperatures, the risk of pipes freezing increases significantly.

Faucets that are on the perimeter of your home are at the highest risk. These include faucets on exterior walls or in unheated areas like basements or garages. It is especially important for these faucets to be dripping when the temperature plunges. Jake Romano of John the Plumber suggests turning on the taps just enough to keep a consistent drip. This helps prevent water from freezing and expanding in the pipes, which could lead to bursts.

In regions with milder winters

You might not need to drip faucets as frequently. However, for peace of mind during an unexpected cold snap, it’s wise to be prepared. Remember, it’s not just about having the faucet dripping; make sure both hot and cold water lines are running a slight, steady drip. This step is often overlooked but essential, as neglected cold or hot water pipes are still vulnerable.

Identifying Vulnerable Faucets in Cold Weather

In cold weather, certain faucets are more prone to freezing. These typically include faucets that:

  • Are located on exterior walls or areas with little insulation.
  • Connect to pipes in unheated spaces like basements, attics, or crawl spaces.
  • Serve as outdoor hose bibbs or are in unsheltered outdoor areas.

To find these at-risk faucets, look for taps that feel colder to touch or that have shown signs of freezing in the past. Faucets with metal pipes are especially vulnerable due to metal’s high thermal conductivity. If you’re unsure, touch the pipe; if it feels very cold, consider this faucet high priority for dripping.

Remember, even faucets in garages or under porches can freeze if the temperature drops enough. These areas might not receive the same amount of heat as your home’s interior, putting them at risk. It’s crucial to assess your home every winter and identify any areas that have changed that might expose faucets to the cold.

drip outside faucets

After identifying which faucets need attention, you can take steps to prevent freezing. For example, let a slow drip run, use faucet covers for added insulation, and keep cabinet doors open indoors to allow warm air to circulate around the plumbing.

Step-by-Step Guide to Drip Outside Faucets

When winter looms, knowing how to drip outside faucets can save you from costly repairs. This step-by-step guide will walk through the process, ensuring that your faucet dripping is effective.

  • Check the Forecast: Start monitoring the weather as temperatures begin to drop. The critical time for faucet dripping is just before the freezing point, typically at 32°F (0°C).
  • Identify Vulnerable Faucets: Faucets on exterior walls or in uninsulated spaces are most at risk. Make these your priority when it comes to dripping.
  • Turn on the Faucet: Slightly open the tap to start a slow drip. This prevents standing water that can freeze and cause pipes to burst.
  • Adjust for Temperature: If the weather report predicts temperatures to fall below 20°F (-6.6°C), ensure you have a consistent drip flowing.
  • Hot and Cold Water: It’s essential to have both hot and cold water lines dripping. For separate valves, slightly turn on both. For single valves, find a midpoint to allow both lines to drip.
  • Keep an Eye on the Weather: Continue to drip your faucets until the forecast consistently stays above freezing during the day and night.

Remember, a small amount of precaution can prevent significant damage. By following these steps, you are better prepared to protect your home’s plumbing during the cold season. Keep in mind that you should drip outside faucets as part of a comprehensive winterization strategy.

Insulation Tactics for Outdoor Plumbing

Keeping your outdoor plumbing from freezing is critical in the winter months. Here’s how you can protect your pipes with proper insulation:

  • Inspect Outside Faucets: Check faucets for any signs of wear or susceptibility to cold. If they’re located on an exterior wall or in an uninsulated space, they’re at risk.
  • Use Foam Covers: Foam faucet covers work well to shield your taps from freezing temperatures. They’re affordable and easy to install.
  • Apply Pipe Wrap: Wrapping exposed pipes with insulation foam helps maintain the water temperature inside.
  • Consider Pipe Heating Cables: For extreme cold, electric heating cables can keep your pipes warm. Just wrap them around the pipes and plug them in.
  • Seal Gaps and Cracks: Use caulking or spray foam to fill any holes or gaps where cold air could enter and reach the pipes.
  • Install Frost-Proof Faucets: If possible, upgrade to frost-proof outdoor faucets. They’re built to withstand the cold better than regular faucets.

By implementing these measures, you can greatly reduce the risk of freezing and bursting pipes, saving costly repairs. Always remember to keep monitoring the weather and take additional steps if a severe freeze is forecasted.

Shutting Off Water to Prevent Freezing

Shutting off the main water supply is a key step in preventing frozen pipes. This action is especially vital if you plan on being away during a cold spell. To properly shut off the water, follow these simple steps:

  • Locate the main water valve, usually found in basements or near the water meter.
  • Turn the valve clockwise to close it and stop water flow to the house.
  • Open all faucets to drain remaining water from the pipes.
  • Leave the faucets open until you turn the water back on.

drip outside faucets

Recommended Temperature Settings to Avoid Frozen Pipes

To prevent your pipes from freezing, maintaining a warm and consistent temperature inside your house is essential. Here are some recommended temperature settings that can offer protection against frozen pipes during the cold season:

  • Set Indoor Temperature: Keep your indoor temperature at a minimum of 55 degrees Fahrenheit, even when you’re away. This level of warmth is generally sufficient to reduce the risk of freezing in your household pipes.
  • Nighttime Settings: Don’t drop the heat at night; keeping a steady temperature helps prevent pipes from cooling down and potentially freezing.
  • Temperature for Vacant Homes: If you’re leaving your home for an extended period during winter, still keep the thermostat set to at least 55 degrees Fahrenheit. This can prevent extensive damage from freezing pipes.
  • Areas With Little Insulation: For parts of your home that are poorly insulated, such as basements or attics, consider a slightly higher setting to account for the loss of heat in these spaces.

Troubleshooting Common Faucet Dripping Mistakes

Even with the best intentions, mistakes can happen when trying to prevent outside faucets from freezing. It’s important to recognize common pitfalls to ensure your dripping efforts are effective. Here are some common mistakes to avoid:

Not Dripping Both Hot and Cold Water Lines

One of the most common mistakes is not dripping both hot and cold water lines. Ensure you turn both handles just enough to maintain a steady drip, or, if you have a single-handle faucet, position it so both hot and cold water drip.

Dripping Too Much or Too Little

Finding the right balance is key. A stream that’s too strong is wasteful, but a drip too slow may not prevent freezing. Aim for about one to two drips per second, which generally keeps the water moving without excess usage.

Ignoring Outdoor Pipe Insulation

Dripping faucets isn’t sufficient alone. Without proper insulation, your pipes may still freeze. Remember to cover pipes with foam insulation or use a heating cable for additional protection.

Outdoor Faucets

Posted in bathroom | Tagged , , | Leave a comment

Do All Faucets Have Cartridges? – The Structure of The Faucet

Do all faucets have cartridges? Faucets are an essential part of any household, providing a convenient way to control the flow and temperature of water. One key component of faucets that is often overlooked is the cartridge. Cartridges play a crucial role in the functionality of faucets, helping to regulate the flow and temperature of water. In this article, we will explore the function of cartridges in faucets, their importance, and how they work.

faucets have cartridges

What are Cartridges?

A cartridge is a small, cylindrical component that is typically made of ceramic or plastic. It is inserted into the faucet’s handle and is responsible for controlling the flow and temperature of water. Depending on the type of faucet, cartridges can come in various designs and configurations. However, the basic function of a cartridge remains the same – to regulate the water flow and temperature.

Types of Cartridges

There are several types of cartridges commonly used in faucets, including compression cartridges, ceramic disc cartridges, and ball valves. Compression cartridges are the oldest type of cartridge and are commonly found in older, traditional faucets. Ceramic disc cartridges are more modern and are known for their durability and high performance. Ball valves, on the other hand, are used in single-handle faucets and are designed to control both the flow and temperature of water.

Importance of Cartridges

Cartridges play a critical role in the functionality of faucets. They help to regulate the flow and temperature of water, ensuring a smooth and consistent water output. Without a functioning cartridge, a faucet would be unable to control the water flow, leading to potential leaks, drips, or uneven water temperature. By having a well-maintained cartridge, homeowners can ensure that their faucets operate efficiently and without any issues.

How Cartridges Work

The operation of a cartridge depends on its specific design and configuration. In general, when the faucet handle is turned, the cartridge moves, allowing water to flow through the faucet. By adjusting the position of the cartridge, the user can control the flow and temperature of the water. For example, in a single-handle faucet, rotating the handle adjusts the position of the cartridge, changing the flow and temperature of the water. In a two-handle faucet, each handle is connected to its own cartridge, allowing for independent control of hot and cold water.

Maintenance and Replacement

Like any mechanical component, cartridges require regular maintenance to ensure they continue to function properly. Over time, the internal seals of the cartridge may wear out, leading to leaks or drips. In such cases, the cartridge will need to be replaced. Fortunately, cartridges are relatively easy to replace and can be done by the homeowner with minimal tools and know-how. By keeping the cartridges in good condition, homeowners can extend the lifespan of their faucets and prevent costly repairs in the future.

faucets have cartridges

How to use faucets have cartridges

Faucets are an essential part of any household’s plumbing system. They control the flow of water and are used for various purposes such as washing dishes, taking a bath, or even drinking water. One crucial component of a faucet is the cartridge, which is responsible for controlling the flow and temperature of the water.

Understanding Faucet Cartridges

Faucet cartridges are essential components that regulate the flow and temperature of water in a faucet. They are found in both single-handle and double-handle faucets and are typically made from ceramic, brass, or plastic. A cartridge contains the necessary seals and mechanisms that allow it to control the water flow and temperature when the faucet’s handle is turned. Understanding the type of faucet cartridge in your faucet is crucial when it comes to maintenance and replacement.

Using Faucet Cartridges

When using faucet cartridges, it is essential to handle them with care. Avoid using excessive force when turning the faucet handle, as this can cause damage to the cartridge. Ensure that the handle is turned gently to regulate the flow and temperature of the water. It is also important to regularly clean the faucet cartridges to prevent the buildup of mineral deposits, which can affect their performance. Use a mild cleaning solution and a soft brush to clean the cartridges, and ensure that they are rinsed thoroughly before reinstallation.

Maintaining Faucet Cartridges

Regular maintenance is essential to ensure that faucet cartridges function correctly. Periodically inspect the cartridges for any signs of wear or damage, such as leaks or difficulty in turning the handle. If you notice any issues with the cartridges, it is important to address them promptly to prevent further damage to the faucet. Additionally, it is recommended to lubricate the cartridges with a silicone-based lubricant to keep them functioning smoothly. Proper maintenance of faucet cartridges can prolong their lifespan and prevent the need for frequent replacements.

Replacing Faucet Cartridges

Over time, faucet cartridges may need to be replaced due to wear and tear or damage. To replace a cartridge, start by turning off the water supply to the faucet. Next, remove the faucet handle and any other components that may be covering the cartridge. Once the cartridge is exposed, carefully remove it from the faucet, taking note of its orientation and position. Then, install the new cartridge, ensuring that it is placed correctly and securely. Finally, reassemble the faucet and turn on the water supply to test the new cartridge. If you are unsure about how to replace a faucet cartridge, it is recommended to seek the help of a professional plumber.

faucets have cartridges

Advantages of faucets have cartridges

Faucets are an essential component of any home’s plumbing system and are used on a daily basis to provide clean water for various tasks such as washing dishes and hands. Faucets with cartridges have become increasingly popular due to their numerous advantages.

Durability

One of the main advantages of faucets with cartridges is their durability. Traditional faucets often use rubber washers, which are prone to wear and tear over time. This can lead to leaks and drips, causing water wastage and the need for frequent repairs. In contrast, faucets with cartridges are designed to withstand the test of time. The cartridges are made from durable materials such as ceramic or stainless steel, which are resistant to corrosion and wear. This means that faucets with cartridges are less likely to develop leaks and drips, saving homeowners the hassle of frequent maintenance and repair.

Ease of Use

Faucets with cartridges are also known for their ease of use. The design of the cartridge allows for smooth and effortless operation of the faucet handle. This means that users can easily control the flow and temperature of the water with minimal effort. The cartridges are also designed to provide precise control, allowing for accurate adjustments to the water flow and temperature. This makes faucets with cartridges ideal for both kitchen and bathroom use, as they provide a comfortable and convenient user experience.

Energy Efficiency

Another advantage of faucets with cartridges is their energy efficiency. The precise control offered by the cartridges allows users to conserve water and energy by eliminating wastage. Users can easily adjust the flow of water to a desired level, reducing the amount of water used for daily tasks such as washing dishes or hands. Additionally, faucets with cartridges are often equipped with features such as aerators, which help to reduce water consumption by mixing air with the water stream. This not only saves water but also reduces the amount of energy required to heat the water, leading to lower utility bills and a positive environmental impact.

faucets have cartridges

Conclusion

In conclusion, cartridges are an essential component of faucets that help to regulate the flow and temperature of water. They come in various types and play a critical role in ensuring that faucets operate efficiently and without issues. Regular maintenance and timely replacement of cartridges are crucial to prevent leaks and drips and to prolong the lifespan of faucets. Understanding the function of cartridges in faucets is important for homeowners to maintain their plumbing fixtures and ensure a steady supply of water in their homes.

Posted in Kitchen | Tagged , , | Leave a comment

How to Prepare Outside Faucets for Winter?

Introduction: The Importance of Winterizing Outdoor Faucets

How to prepare outside faucets for winter? As winter approaches, the need to winterize outdoor faucets becomes critical. Just as we prepare our homes and wardrobes for the colder months, our home’s plumbing requires similar attention. Failure to prepare outside faucets for winter can lead to frozen pipes. These pipes may burst and cause extensive damage to your home.

outside faucets for winter

Step 1: Locate and Disconnect All Outdoor Hoses

Preventing winter water woes starts with your outdoor hoses. To prepare your faucets for the freezing temperatures, begin by identifying all hoses. Take a walk around your home’s exterior to find any hoses connected to faucets. Once located, carefully disconnect each one. Removing hoses is crucial because any water left inside can freeze and expand, causing damage to both the hose and the faucet. After disconnecting, be sure to drain any remaining water out of the hoses. Turn them upside down to ensure all water escapes. This simple action protects the hoses from cracking and safeguards your faucets from the peril of bursting pipes. With your hoses detached and drained, you’re on the right track to secure your outdoor faucets against the cold season.

Step 2: Find and Turn Off the Interior Water Supply Valve

The next step to winterize your outdoor faucets is to locate the interior water supply valve. This valve stops water from flowing to your outdoor faucets. You will typically find it near the main water shut-off valve. It’s often in the basement or the utility area of your home. Look for a lever-style valve, not a standard one. It might have a bleeder cap for draining water. When you find the valve, turn off the water. This prevents water from reaching the outdoor faucets. Your house may have separate valves for interior and exterior lines. Ensure you turn off the correct one for the faucets outside. If you have trouble identifying the valve, do not hesitate to call a plumber. They can assist you in locating and turning off the appropriate valve.

Step 3: Drain Water from Pipes and Outdoor Faucets

Once you’ve turned off the interior water supply valve, it’s time to focus on the water that may still be in your pipes and outdoor faucets. To prevent the water from freezing, you must ensure that it’s fully drained, a task that protects the internal workings of your plumbing system. Here’s how you can do it in simple steps:

  • Open the outdoor faucet. Go outside and turn the faucet on to release any water that may be inside. Let it run until the water stops dripping out.
  • Drain the pipes. Go back inside and find the bleeder cap on the shut-off valve. Place a bucket below to catch water. Then, remove the cap to let out any water left in the pipes.
  • Catch and clean. As water drains, use the bucket to catch it to prevent messes. Once the water is done draining, rinse the bleeder cap and reattach it firmly.
  • Check for leaks. After the water stops running, inspect the faucet and fittings for any potential leaks. Tighten any loose parts and repair as needed.
  • Close the faucet. Once you have confirmed there’s no more water and no leaks, close the outdoor faucet tightly. This step seals the system and protects against cold air.

By following these straightforward actions, you can confidently protect your outdoor faucets from the harsh winter ahead.

outside faucets for winter

Step 4: Open and Clean the Bleeder Cap

After draining the pipes, the next move is to address the bleeder cap. This cap plays a key role in making sure all water is out of the system. Here’s how to easily manage this critical step:

  • Locate the bleeder cap. Find the bleeder cap on the shut-off valve inside your home.
  • Place a container beneath. Set a bucket under the cap to catch any dripping water.
  • Open the cap carefully. Use a wrench to gently twist off the bleeder cap.
  • Clean the cap. Once removed, wipe the cap with a rag to clear debris.
  • Wait for water to drain. Let any residual water flow into the bucket.
  • Replace and secure the cap. After draining, reattach the bleeder cap and tighten it.

Simple acts like opening and cleaning the bleeder cap are vital for prepping your home’s outdoor faucets for winter. By ensuring you complete this step, you’re helping to prevent any water left in the pipes from freezing and causing damage. Remember to handle the bleeder cap with care to maintain its condition for future use.

Step 5: Insulate and Protect with Outdoor Faucet Covers

After draining your faucets, the next step is insulating them. This protects against freezing temperatures. Insulation covers are key to this step. They act as a barrier, keeping cold air away from the faucet.

Choose the right cover for your faucets. They come in various shapes and materials. Foam covers work well and are easy to install. Simply slip them over the faucet and secure. Some covers use a hard shell or thick fabric for extra protection.

Step 6: Consider Installing Frost-Free Faucets

When preparing your outdoor faucets for winter, think about installing frost-free faucets. These are a permanent fixture designed to resist freezing temperatures and prevent the water within the pipes from freezing. Here is a quick guide on why and how to consider this option:

  • Examine your faucets: Check current outdoor faucets to see if they’re frost-free.
  • Understand the benefits: Frost-free faucets can reduce the risk of burst pipes by keeping water away from the exposed end of the spigot.
  • Seek professional advice: If you’re unsure about the type your faucets are, ask a plumber. They can recommend the best type for your home.
  • Consider location-specific needs: If you live in a region with severe winters, frost-free faucets are more of a necessity than a choice.
  • Plan for installation: Choose a time, before winter hits, for the plumber to make the switch.
  • Invest for long-term savings: Though there’s an upfront cost, these faucets can save money by avoiding repair costs from freeze damage.

By evaluating these aspects, you will ensure your plumbing is equipped to handle winter’s challenges. Frost-free faucits serve as a safeguard, offering peace of mind throughout the cold season.

outside faucets for winter

Conclusion: Maintaining Plumbing Integrity During Cold Months

The steps we’ve covered are key to safeguarding your home’s plumbing through winter. Summing up, start by taking off all outdoor hoses. Make sure to drain any leftover water. Next, locate and switch off the internal water supply valve. This will halt water flow to outdoor faucits. Move on to draining pipes and faucets to prevent ice damage. Don’t overlook the bleeder cap. Open it, clean it, and let water run out. Faucet covers are the next line of defense. They insulate and ward off the cold. Lastly, installing frost-free faucets offers a lasting solution for cold climates.

Every step you take prevents costly repairs. Pipes that burst from freezing can wreck your home and wallet. Take action before winter’s chill sets in. This way, you maintain the integrity of your plumbing and avoid the horrors of water damage. Prepping outdoor faucits for winter’s freeze is not just wise; it’s crucial. Thank you for following along. Stay warm and safe, and trust that your home is ready to face the cold season ahead.

outside faucets for winter

Posted in bathroom | Tagged , , | Leave a comment

Simplify Your Kitchen – How Do Touch Faucets Work?

Introduction to Touch Faucets

How do touch faucets work? Touch faucets are a modern convenience for any kitchen. They let you manage water flow with just a touch. Imagine you have soapy hands or you’re holding a heavy pot. Instead of struggling to turn a handle, a simple tap does the trick. This technology is not only cool; it’s practical. It helps keep your kitchen cleaner and more hygienic. Plus, it can make cooking and cleaning tasks more efficient. With a touch faucet, water starts and stops at your command. It’s an ideal addition to a busy kitchen. So, if you want a streamlined and smart kitchen, consider a touch faucet. It could change the way you think about kitchen faucets.

 touch faucets work

Key Differences Between Touch and Touchless Faucets

Touch and touchless faucets are modern kitchen innovations that streamline sink operations. Despite their similarities, crucial differences define their functionality and user interaction.

Touch Faucets

Touch faucets require physical contact to operate. Typically, you touch the faucet spout or handle to turn the water on or off. This interaction is possible due to the technology that detects a slight electrical charge from the human body. Users appreciate touch faucets for their balance of technology and control.

Touchless Faucets

Unlike touch models, touchless faucets use motion sensors to activate water flow. A simple hand motion near the faucet triggers the action. This type of faucet minimizes all contact, enhancing hygiene and reducing germ spread. It’s particularly useful for avoiding unintended activation when working in busy or messy cooking environments.

Understanding these differences can help you determine which type of faucet best suits your kitchen needs. Whether it’s the controlled use of a touch faucet or the hands-free convenience of a touchless model, both bring efficiency and modernity to kitchen routines.

The Technology Behind Touch Faucets

Touch faucets work using a smart and straightforward technology. They capture the slight electrical charge in the human body. When you touch the faucet, the system senses your body’s natural capacitance. This triggers the water to flow.

Touch faucets use a type of technology found in smartphone touchscreens. This innovation relies on the electrical properties of the human body to function. Capacitance, a small electrical charge present in all of us, is key. It helps the faucet recognize when it has been touched.

Once touched, the system signals a controller. This controller then opens or closes the valve, starting or stopping the water flow. Adjusting the handles sets the temperature. This setting remains until you change it. As effortless as tapping your phone’s screen, tap the faucet to control water effortlessly.

 touch faucets work

Installation and Power Requirements for Touch Faucets

Installing a touch faucet in your kitchen is a step towards modern convenience. Understanding the power requirements is key for successful use. Here’s how to prepare for installation:

Power Source Options

Touch faucets need power to operate. Most models use batteries or are connected to your home’s electricity. Battery-operated faucets typically require AA or AAA batteries. Faucets with a direct electrical connection need a nearby power outlet. If you choose a battery-powered model, remember to check battery life regularly.

Installation Process

Installing a touch faucet might be complex. If you’re handy, you might manage it yourself. However, professional help ensures everything works correctly from the start. The process includes mounting the faucet, connecting it to the power source, and testing operations. Always follow the manufacturer’s instructions during installation.

Electrical Safety Measures

Touch faucets with electrical hookups should have a Ground Fault Circuit Interrupter (GFCI) outlet. This protects against electrical shocks. Ensure that the power source and faucet connections are water-safe and secure. Feel free to call a plumber or electrician if you are unsure about this part.

Maintenance Tips

To keep your touch faucet working well, perform regular checks. Replace batteries before they run out, and ensure the electrical components stay dry. For those hard-to-solve issues, consulting the faucet’s manual or contacting customer support can help.

Benefits of Using Touch Faucets

Touch faucets provide several advantages that can enhance kitchen functionality and health safety.

Water Conservation and Hygiene

Touch faucets help save water and reduce germ spread. They shut off automatically, cutting unnecessary water flow. This feature minimizes water waste significantly. Also, since you don’t need to touch the handles often, it decreases germ transfer. This especially helps in maintaining hygiene after handling raw food or dealing with waste.

Convenience and Accessibility

Touch faucets offer exceptional ease of use. They are particularly beneficial for children, the elderly, or anyone with mobility challenges. Simply touching the spout or faucet body activates the water flow. It’s straightforward and does not require grasping or twisting motion. This makes kitchen tasks faster and reduces strain from repetitive movements. Furthermore, it allows for multitasking. You can activate the faucet with your elbow or forearm even if your hands are full or dirty.

Potential Issues and Troubleshooting Tips

Despite their convenience, touch faucets can encounter issues. Knowing how to troubleshoot can save time and frustration.

Common Problems

  • Power Failures: Check batteries regularly; replace if necessary. Ensure power source connections are secure.
  • Sensor Malfunctions: Clean the sensor area to remove dirt or grime that may block touch sensitivity.
  • Water Flow Issues: If water does not stop or start as it should, inspect the solenoid valve, replacing it if malfunctioning.

 touch faucets work

Troubleshooting Steps

  • Check Power Source: Confirm that all connections are secure and batteries, if used, are functioning. Without power, touch faucets won’t operate effectively.
  • Clean and Reset: Regularly clean the faucet’s sensor and handle area. Reset the system by disconnecting and reconnecting power.
  • Consult the Manual: Refer to the product’s manual for specific troubleshooting guides tailored to your faucet model.

Choosing the Right Touch Faucet for Your Home

Choosing the right touch faucet for your home involves several considerations. Here are some crucial factors to help you select the best touch faucet that suits your needs and enhances your kitchen’s functionality:

  • Design and Finish: Pick a faucet that matches your kitchen’s style and color scheme. Touch faucets come in various designs and finishes. Options include stainless steel, chrome, and matte black.
  • Features: Look for useful features like automatic shut-off, temperature control, and easy-to-use handles. Some models offer advanced options like voice-activated commands.
  • Power Source: Decide between battery-operated and electricity-powered models. Consider the setup of your kitchen and accessibility to a power source.
  • Installation Requirements: Ensure the faucet is compatible with your sink’s configuration. Check the number of holes and space around the sink.

Selecting the right touch faucet enhances your kitchen’s efficiency and hygiene. Carefully weigh these factors to make an informed decision that meets your preferences and practical requirements.

Conclusion

To wrap it up, touch faucets embody a perfect blend of technology and convenience. They transform kitchen routines, offering exceptional hygiene, water conservation, and ease of use. With touch faucets, you can activate water flow with a simple contact, avoiding contamination and saving precious resources. Whether for children or those with mobility issues, they make water access easier for everyone.

Choosing the right touch faucet requires consideration of design, features, power source, and budget. Opt for a design that complements your kitchen’s aesthetics, and select features that cater to your daily needs. Factor in whether you prefer battery-operated or electricity-powered options and consider installation prerequisites. While they might be a higher initial investment, the long-term benefits of reduced water usage and improved hygiene can justify the cost.

 touch faucets work

In essence, ‘how do touch faucets work’ isn’t just a question of mechanics but one of making daily life more efficient and sanitary. Should issues arise, regular maintenance and some troubleshooting know-how will keep your touch faucet running smoothly. For a modern, functional, and clean kitchen environment, the touch faucet stands out as a wise and forward-thinking choice.

Posted in Kitchen | Tagged , , | Leave a comment

Shower Faucet Mechanics – How do Shower Faucets Work?

The Role of the Single Handle in Shower Faucets

How do shower faucets work? Navigating the waters of a perfect shower experience often hinges on the functionality of the shower faucet. The single handle shower faucet has become a game-changer in modern baths for several reasons. Here’s how the single handle influences the operation and why it’s a preferred choice for many homeowners.

shower faucets work

Understanding the Mixing Valve

How do shower faucets work? The mixing valve is central to a single handle shower faucet’s function. It dictates how hot and cold water blend, delivering your ideal shower temperature. When you manipulate the handle, you’re actually adjusting a cartridge within the mixing valve.

A sophisticated balance occurs inside the mixing valve. It receives separate hot and cold water streams, merging them before reaching your shower head. This is crucial for a consistent, comfortable shower experience.

Different faucets have various mixing valve designs. However, all aim to provide a steady mix of hot and cold water. Regularly checking this component is key, as it directly impacts your faucet’s performance.

In essence, the mixing valve is the hidden hero of the single handle shower faucet. It works silently behind the scenes to ensure your water is just right every time. Understanding it better can help in both using and maintaining your shower setup effectively.
The Interaction Between User and Faucet

How do shower faucets work? Mastering a single handle shower faucet is all about the user-faucet interaction. With a single motion, you can start your shower journey. Turn the handle left or right, and you’re met with warmer or cooler water. Lift the handle, and the water flow increases. It’s a dance of simplicity that shapes your shower experience.

Here are the steps of interaction simplified:

  • Approach the faucet – You come to your shower, ready for a soothing bath.
  • Grasp the handle – Reach for the single handle that calls for your attention.
  • Gauge your need – Decide on the temperature and flow you desire.
  • Turn or lift – Rotate for heat, lift for the stream; your moves dictate the outcome.
  • Fine-tune your setting – Adjust till you find that sweet spot for a perfect shower.

This interaction isn’t just about getting clean; it’s about ease and comfort. Even with soapy hands or in a hurry, the single handle lets you adjust your shower without a second thought. It’s no wonder that once you understand and experience this simple interaction, showers become a more pleasurable part of the day.

shower faucets work

Pressure-Balancing Mechanisms Explained

How do shower faucets work? For reliable shower temperature control, understanding pressure-balancing mechanisms is key. These mechanisms are a vital part of single handle shower faucets. They help prevent sudden changes in water temperature. This means a more consistent and safer shower for you.

Inside each pressure-balancing valve, there is a spool or diaphragm that adjusts water pressure. It reacts to changes in the hot or cold water lines. When there’s a drop in cold water pressure, like when someone flushes a toilet, the valve corrects it. It reduces the hot water to match, keeping shower temperature stable.

Here are the benefits of pressure-balancing mechanisms:

  • Stable Temperature: They offer consistent water temperature, even when other water fixtures are in use.
  • Safety: These valves reduce risks of getting scalded during your shower.
  • Comfort: They provide a comfortable shower experience without temperature fluctuations.
  • Simple to Use: Just one handle to adjust your shower’s temperature and flow.

Pressure-balancing valves are not perfect, though. They cannot adjust the water temperature if there’s a change in water supply temperature. However, they are a great solution for avoiding sudden temperature changes. If you have a single handle shower faucet, it likely has one of these mechanisms.

Why Choose a Single Handle Faucet?

Choosing a single handle shower faucet comes with several benefits that make it an attractive option for both new and renovating homeowners. Here’s why it’s often the go-to choice:

  • Ease of Use: Single handle faucets are incredibly user-friendly. With one motion, you can control both water flow and temperature.
  • Space-Efficient Design: These faucets require less space, making them ideal for smaller bathrooms.
  • Accessibility: They are easier for children and those with limited mobility to operate, improving safety and independence.
  • Low Maintenance: Fewer parts mean less wear and tear, resulting in fewer leaks and maintenance.
  • Modern Aesthetics: A single handle faucet has a sleek look that can match most contemporary bathroom designs.

A single handle shower faucet simplifies the shower process, saves space, enhances safety, requires less upkeep, and boasts a modern design. These factors make it a compelling option for any bathroom upgrade or installation.

Maintenance Tips for Single Handle Faucets

Maintaining your single handle shower faucet is crucial for its longevity and performance. Here are some straightforward tips to keep your faucet in top condition:

  • Regular Cleaning: Wipe down your single handle faucet frequently to prevent build-up of soap scum or mineral deposits. Use a mild cleaner and a soft cloth to avoid scratching the surface.
  • Cartridge Checks: Periodically inspect the cartridge inside your mixing valve. If your water flow or temperature control feels off, it might be time to replace it. Many faucet models make this a simple task you can do at home.
  • O-Ring and Seal Inspections: Look for any signs of wear on the o-rings and seals within the faucet. These small parts can degrade over time, leading to leaks. Replacing them promptly can prevent bigger issues.
  • Avoid Harsh Chemicals: Harsh chemicals and abrasive cleaners can damage the finish of your faucet. Stick to recommended cleaning agents and methods as per the manufacturer’s instructions.

Overview of Shower Faucet Components

Understanding the parts of a shower faucet is key to its proper function and maintenance. Each component plays a role in delivering water to your shower, controlling its temperature, and regulating flow. Let’s break down the basic elements of a shower faucet and their functions:

  • Handle: The point of control for users; it dictates water flow and temperature. Single-handle designs merge both functions into one motion.
  • Valve: Often hidden inside the wall, the valve is the central hub where hot and cold water is mixed and regulated. It responds to the handle’s movements.
  • Cartridge: Located within the valve; it is responsible for the precise mixing of hot and cold water. Cartridges need to be checked and sometimes replaced.
  • Showerhead: The outlet where water exits, available in various styles for different spray experiences. Mounting can be on the wall or ceiling.
  • Pressure-balance mechanism: A part of the valve that maintains steady water temperature, adjusting for changes in hot or cold water pressure.
  • Thermostatic control: Available in some faucets to set a specific water temperature that remains constant throughout the shower.

shower faucets work

Installation and Repair Tips for Shower Faucets

How do shower faucets work? Installing and repairing a single handle shower faucet is within reach for many DIY enthusiasts. Here’s what you need to know.

Preparing for Installation

Before starting, turn off the water supply to avoid spills and check that you have all the necessary tools. It includes a wrench, pliers, and tape for sealing threads. Follow the manufacturer’s instructions for specifics. Ensure your water lines are in good condition.

Installing a New Faucet

  • Attach the Valve: Secure the mixing valve to your water lines as directed.
  • Fix the Handle: Install the single handle on the mixing valve’s stem.
  • Set the Trim: Place the trim over the valve, adding a decorative touch.
  • Connect the Showerhead: Screw on the showerhead to the arm extending from the wall.
  • Seal the Connections: Use plumber’s tape to prevent leaks at threaded joints.

Test the system for leaks and proper operation before wrapping up.

Troubleshooting Common Issues

Leaks or poor performance often point to specific parts.

  • Handle issues: May suggest a faulty valve or worn seals.
  • Inconsistent temperature: Could indicate a pressure-balance issue or cartridge problem.
  • Low water pressure: Might be linked to a clogged showerhead or a valve obstruction.

Repair Basics

  • Replace the Cartridge: Turn off the water, remove the handle, and swap out the old cartridge.
  • Change Worn Seals: Remove the handle and valve to access and replace any worn seals.

Seek professional help for complex issues or if you don’t feel confident with the task at hand.

shower faucets work

Posted in bathroom | Tagged , , | Leave a comment

Repairing Tub Faucets – Correct Maintenance Method

Identifying the Type of Tub Faucet

Before you start repairing tub faucets, you need to identify the type you have. Different faucets have unique mechanisms and might need specific tools for fixing. Common types include compression faucets, which are usually two-handled, cartridge faucets that may have one or two handles, and ball faucets or disk faucets with a single handle. Understanding the type of your faucet helps you know the structure and the kind of repairs needed.

repairing tub faucets

Shutting Off the Water Supply

Before you begin any repairs on tub faucets, it’s crucial to shut off the water supply. This prevents any unwanted water flow and potential flooding, which can complicate repairs. Here are simple steps to ensure you safely stop the water supply:

  • Locate the Shut-Off Valves: Find the main water valve or the local valves near your bathroom. Local valves are usually under the sink or behind the tub access panel.
  • Turn Off the Valve: Rotate the valve handle clockwise to close it. It may require some force if it hasn’t been used in a while.
  • Check the Faucet: After turning off the valves, open the tub faucet to drain any remaining water in the pipes. This step confirms that the water supply has been effectively stopped.

By following these steps, you ensure a safer environment to proceed with repairing your tub faucets without the risk of unexpected water spilling out.

Disassembling the Faucet

To successfully repair your tub faucet, you must first take it apart to diagnose its internal components. Here is a step-by-step process to guide you through disassembling the faucet:

  • Remove the Handle(s): Use a screwdriver to carefully remove the screws holding the faucet handles. This may involve popping off a decorative cap or panel to access the screws.
  • Take Out the Stem or Cartridge: With the handles off, you’ll be able to see the stem or cartridge. Depending on your faucet type, you might need pliers or a wrench to remove this part.
  • Inspect O-Rings and Washers: As you remove the stem or cartridge, look for any worn O-rings or washers. These can often be the cause of a leaky faucet.
  • Examine Other Components: A closer look at the remaining faucet parts may reveal more issues. Check for any debris or mineral buildup that could be causing problems.

Remember to be gentle during disassembly. Forcing parts can lead to damage, making your repair job more difficult. Keep all parts in a safe place as you work, so nothing gets lost. Lastly, take note of the order in which you remove parts, as this will make reassembling the faucet smoother.

repairing tub faucets

Inspecting and Replacing the Washer

After disassembling your tub faucet, examine the washer closely. This small component often causes leaks when worn out. Here are the steps to inspect and replace the washer:

  • Identify the Washer: Locate the washer, which usually sits on the stem or cartridge. It’s commonly made of rubber.
  • Assess the Condition: Check if the washer is rigid, cracked, or worn down. These conditions suggest it needs replacement.
  • Remove Old Washer: Use a screwdriver to remove the washer from the stem or cartridge. Some may need pliers if tightly fitted.
  • Install New Washer: Align the new washer properly and secure it in place. Ensure it fits snugly without forcing it.
  • Lubricate if Necessary: Sometimes, applying a little plumber’s grease can help in smoother operation and sealing.

Replacing the washer correctly is crucial for stopping drips and ensuring the longevity of your faucet. Always choose a washer that matches the original in size and shape for optimal performance.

Cleaning or Replacing the Faucet Seat

Why Cleaning the Faucet Seat is Crucial

A dirty or damaged faucet seat can lead to leaks and inefficient faucet operation. Cleaning the seat can often resolve minor issues and ensure a watertight seal with the new washer.

Steps to Clean the Faucet Seat

  • Inspect the Seat: Look for mineral deposits or damage.
  • Clean Thoroughly: Use a cloth and fine-bristled brush to scrub off debris.
  • Check for Damage: If the seat is pitted or grooved, it may need replacing.

When to Replace the Faucet Seat

If cleaning doesn’t solve the problem, replacing the faucet seat might be necessary. A damaged seat can prevent a proper seal, causing leaks.

Replacing the Faucet Seat

  • Choose the Correct Seat: Match the new seat to your faucet’s brand and model.
  • Use the Right Tools: A seat wrench is often needed to remove the old seat.
  • Install the New Seat: Carefully screw in the new seat and ensure it is secure.

By understanding how to clean and replace the faucet seat, you can further enhance the performance of your repaired tub faucet and prevent future leaks.

repairing tub faucets

Reassembling the Faucet

After inspecting and replacing necessary parts, like the washer or faucet seat, it’s time to put the faucet back together. Here are the steps to reassemble your tub faucet correctly:

  • Reattach the Faucet Seat: If you removed or replaced the faucet seat, screw it back in place first.
  • Replace the Stem or Cartridge: Carefully insert the stem or cartridge back into the faucet body. Confirm it aligns correctly.
  • Secure O-Rings and Washers: Ensure that any new O-rings or washers are seated properly. They must fit snugly.
  • Reinstall the Handle(s): Once the internal components are in place, reattach the faucet handles with the screws. Don’t over-tighten, to avoid damage.

Reassembling your faucet with care will prevent future leaks and ensure smooth operation. Each step should be done with attention to ensure parts align and function as they should. If you face trouble, review the steps or consult a professional.

Checking for Leaks and Testing the Faucet

After reassembling your faucet, ensure there are no leaks. Here’s how to check and test:

  • Turn On the Water Supply: Open the main valve or local bathroom valve. This lets water flow to your newly fixed faucet.
  • Observe for Leaks: Look around the faucet base, handles, and connected pipes. Watch for any water droplets or wet spots that can indicate leaks.
  • Listen for Drips: Silence can help you hear any water drips. Listen closely if water sounds are coming from the faucet when turned off.
  • Test Faucet Operation: Turn on the faucet to different temperatures. Make sure the water flow adjusts smoothly without any strange noises.
  • Check Other Functions: If your tub faucet includes a shower diverter, test it. The water should switch from tub to shower without leaking.

By following these steps carefully, you ensure your repair holds up and your faucet functions well. If there are leaks, you might have reassembled something incorrectly or a part might need more inspection.

When to Consider a Full Faucet Replacement

Sometimes, despite your best efforts at repair, your tub faucet may still have issues. In such cases, a full faucet replacement may be needed. You should consider replacing your tub faucet if certain problems persist after attempting to fix them. Here are a few signs that it’s time to repairing tub faucets:

  • Persistent Leaks: If, after replacing washers and seals, you still notice drips or leaks, the faucet itself may be the issue.
  • Severe Corrosion or Damage: Over time, the body of the faucet can corrode or become so damaged that repairs won’t last.
  • Obsolete Parts: If replacement parts for your specific model are impossible to find, updating to a new faucet may be more practical.
  • Poor Water Pressure: Should you experience consistently low water pressure that isn’t fixed by cleaning aerators or addressing supply issues, the internal workings of the faucet may be compromised.
  • Redesigning the Bathroom: When updating your bathroom’s look, a new faucet can provide both improved function and aesthetic appeal.

repairing tub faucets

When repairing tub faucets, choose one that matches your bathroom style and meets current functionality needs. Look for a durable model with a good warranty. Replacing a faucet can be a DIY project, but hiring a professional is recommended if you’re not confident in your plumbing skills. Remember, a new faucet can significantly improve your bathroom experience and even conserve water when chosen wisely.

Posted in bathroom | Tagged , , | Leave a comment

Essential Guide to Harden Faucets Maintenance

Introduction to Harden Faucets

Harden faucets are renowned for their durability and style. These fixtures are common in both residential and commercial settings. They offer a blend of aesthetic appeal and functional excellence. Understanding the basic framework and varieties of Harden faucets can significantly ease maintenance efforts. This segment of the guide will introduce key features and types of Harden faucets. It will also highlight their general applications in home and business environments. Familiarity with these details ensures effective usage and attentive care.

harden faucets

Common Issues with Harden Faucets

Even the most reliable fixtures like harden faucets encounter common problems over time. These issues can affect their performance and appearance. Recognizing these problems early can help prevent more serious damage. Here are some frequent difficulties that owners of harden faucets may face:

Leaking

Leaks in harden faucets often occur around the handle or at the faucet’s base. This can result from worn O-rings or sealants. Leakage may also be due to a malfunctioning cartridge or improper installation.

Dripping

A constant drip from the faucet spout is another sign of wear. Dripping usually indicates a need to replace washers or gaskets within the faucet assembly.

Reduced Water Pressure

Sometimes, harden faucets may show reduced water flow. This can happen due to mineral buildup in the aerator or problems with the faucet’s internal parts.

Stiff Handles

Over time, handles may become hard to turn. It is often due to sediment accumulation or a lack of lubrication on moving parts.

Routine Maintenance Tips for Longevity

Proper maintenance extends the lifespan of harden faucets and ensures they remain functional and attractive. Here are effective tips to help maintain these fixtures:

Regular Cleaning

Frequent cleaning prevents mineral and sediment accumulation on harden faucets. Use mild soap and water for routine cleaning. Avoid harsh chemicals that can damage the faucet’s finish.

Periodic Inspections

Check your harden faucets regularly for signs of wear or damage. Pay attention to leaks, drips, or stiffness in operation. Early detection allows for timely repairs.

Soft Water Use

If possible, use soft water to minimize lime and mineral build-up in your harden faucets. This build-up can reduce water flow and affect functionality over time.

Replacement of Worn Parts

Replace worn components like washers, O-rings, and gaskets routinely. These parts are typically inexpensive but essential for preventing leaks and drips.

Lubrication of Moving Parts

Apply silicone-based lubricant to any moving parts in your harden faucets. This helps keep the handles smooth and operation effortless.

By following these simple, effective maintenance tips, your harden faucets can retain their functionality and aesthetic appeal longer, avoiding common issues that might require heavy repairs.

harden faucets

Step-by-Step Cleaning Process

A systematic approach to cleaning harden faucets can prevent many common issues. Here’s how to efficiently clean your harden faucets step-by-step.

Assemble Your Cleaning Supplies

Start by gathering all necessary items. You will need mild soap, a soft cloth, an old toothbrush, and distilled vinegar. These supplies are gentle on harden faucets.

Remove Surface Dirt and Grime

Wet the soft cloth with warm soapy water. Gently wipe the entire surface of the faucet to remove loose dirt and grime. Avoid abrasive materials that can scratch the finish.

Target the Aerator

Unscrew the aerator carefully. Use the old toothbrush to scrub it clean under running water. Soak it in distilled vinegar for an hour if it’s heavily clogged.

Clean Around the Handles

Apply soap to the toothbrush and gently scrub around the handles. This area often accumulates grime that can cause stiffness.

Troubleshooting Harden Faucet Problems

Troubleshooting harden faucets requires precision and understanding of common issues. This section provides step-by-step solutions to common problems faced by harden faucet owners.

Identify the Problem

Start by identifying what the issue is. Is it a leak, drip, reduced flow, or stiff handle? Knowing this helps in applying the correct fix.

Leaks Around Handles

For leaks around the handles, check the O-rings or sealants. Replace them if they are worn out.

Handle Drips

If the faucet drips, it may need new washers or gaskets. Replace these parts to stop the drip.

Low Water Pressure

Check the aerator for mineral buildup. Clean or replace it to improve water flow.

Stiff Handles

If handles are stiff, clean and lubricate moving parts in the faucet.

Addressing Rust and Corrosion

For rust and corrosion, clean the affected areas. Using rust removers and protectors can help prevent further damage.

By following these steps, you can effectively troubleshoot and fix common issues with your harden faucets. Regular maintenance will minimize the occurrence of these problems.

Replacing Parts and When to Do It

Maintaining harden faucets involves timely part replacements. Knowing when to replace parts is crucial. Replace parts when they show signs of wear or damage.

harden faucets

Recognizing Worn Parts

Frequent inspection can reveal issues that need immediate attention. Components like washers, O-rings, and gaskets often need replacement. Look for visible signs of deterioration.

Scheduling Regular Replacements

Create a regular schedule for replacing parts. This prevents unexpected failures. Harden faucets typically need certain parts replaced every 1-2 years. Adjust this based on water quality and usage.

Doing Replacements Correctly

Always use correct tools and replacement parts specific to harden faucets. Incorrect parts or tools can cause damage. If unsure, consult the manufacturer’s guidance or seek professional help.

Regular part replacement ensures harden faucets continue to function effectively. Manage replacements proactively to maintain performance and appearance.

Professional vs. DIY Maintenance

When it comes to maintaining harden faucet, homeowners have two choices: professional help or DIY. Each approach has its advantages and considerations.

Benefits of Professional Maintenance

Hiring a professional plumber offers certain benefits:

  • Expertise: Professionals have the skills to handle complex issues.
  • Time-saving: They can fix problems quickly due to their experience.
  • Warranty: Work done by licensed plumbers may come with a warranty.
  • Tools: They have the right tools for every job, which may not be available at home.

Advantages of DIY Maintenance

DIY maintenance can be beneficial for simple tasks:

  • Cost-effective: Saves money on service fees.
  • Learning: Owners learn about their faucet’s mechanics.
  • Convenience: Repairs can be done on the owner’s schedule.

When to Choose Professional Help

Seek professional help if you encounter the following:

  • Complex issues: Problems beyond basic repairs need expert care.
  • Repeated problems: If the same issue occurs frequently, a deeper problem may exist.
  • Lack of tools: Some repairs require specific tools not typically owned by homeowners.

Tips for Successful DIY Maintenance

If you decide to go the DIY route, remember these tips:

  • Research: Read guides or watch tutorials on harden faucet maintenance.
  • Safety: Always shut off water supply before starting repairs to avoid accidents.
  • Quality parts: Use replacement parts designed for harden faucets.

Balancing professional and DIY maintenance can maximize your harden faucets’ longevity and performance. Professionals tackle tough issues while simple repairs can be managed personally.

harden faucets

Conclusion and Maintenance Checklist

After exploring the intricacies of harden faucet maintenance, it’s clear that regular care can prevent most common issues. Homeowners can save time and money with proper upkeep. Here, we provide a concise checklist to ensure your harden faucet remain in top condition:

  • Inspect Regularly: Check for leaks, drips, and wear at least once a month.
  • Clean Frequently: Use mild soap and water regularly to remove grime and mineral build-up.
  • Replace Parts: Change washers, O-rings, and gaskets every 1-2 years, or when they show signs of damage.
  • Use Soft Water: If possible, to reduce lime scale and prolong your faucet’s life.
  • Lubricate: Apply silicone lubricant to moving parts to ease handle operation.
  • Professional Check: Yearly inspection by a plumber can catch issues you might miss.
Posted in Kitchen | Tagged , , | Leave a comment

How to Cover Outside Faucets? – Easy Steps

Importance of Protecting Outdoor Faucets in Winter

How to cover outside faucets? Protecting outdoor faucets in winter is essential. It prevents costly pipe damage due to freezing temperatures. Cold weather can cause water in pipes to freeze and expand, leading to possible cracks and bursts. Covering outdoor faucets is a simple measure that saves money on potential repairs.

outside faucets

Selecting the Right Materials for Faucet Covers

How to cover outside faucets? Choosing the right materials for your DIY faucet covers is key. These materials must be strong, withstand cold, and last over time. Let’s look at what you need for a robust faucet cover.

Durability and Weather Resistance

Pick materials that handle freezing temperatures well. Look for items like thick fabrics, old towels, or insulated foam. These can resist winter weather and protect your faucets.

Eco-Friendly and Cost-Effective Options

Recycled materials are both cheap and green. Old clothes or towels are great choices. These are often free and equally effective.

Ensuring Adequate Insulation

Insulation is vital. It keeps the heat in and the cold out. Consider using items with insulating properties. This can be anything from specialized batting to bubble wrap.

By selecting appropriate materials, you create a faucet cover that will serve you for many winters. It’s a simple project that can save you from costly repairs. Plus, it’s satisfying to make something useful with your own hands.

Step-by-Step Guide to Crafting a Faucet Cover

How to cover outside faucets? Creating your own faucet cover is easy. With these steps, you make a cover that keeps faucets warm all winter.

  • Gather Materials: Start with an old towel, shirt, or piece of foam insulation. Add a large plastic bag and strong tape like duct or packing tape to your list.
  • Measure the Faucet: Measure your outdoor faucet. Add a few inches to ensure the cover will fit snugly.
  • Cut and Fold: Cut your fabric or foam so it wraps around the faucet multiple times. Fold it to size if needed.
  • Wrap the Faucet: Place the material over the faucet. Make sure it extends past the faucet and covers any exposed pipes.
  • Secure with a Bag: Slip the plastic bag over the wrapped faucet. Push it as close to the wall as possible.
  • Tape it Up: Tape around the bag and fabric. First, do a rough wrap to hold it in place. Then, wrap it completely to secure it.
  • Check for Gaps: Make sure there are no exposed areas. These could let in cold air and cause freezing.

Now your outdoor faucet is covered for the cold months! Make sure to remove the cover and check the faucet when warm weather returns.

outside faucets

Safety Tips for Creating Your Own Faucet Cover

When making your own faucet cover, safety comes first. Here are essential tips to avoid harm and make a reliable cover.

Use Non-Toxic Materials

Choose safe, eco-friendly materials for your cover. Avoid toxins that harm you and nature.

Handle Tools with Care

Use scissors and tape with caution. Store sharp tools away from kids and pets.

Wear Protective Gear

Don protective gloves and eyewear. They shield from accidental scrapes and pokes.

Check the Weather

Pick a warm, calm day for this project. Cold and windy conditions raise injury risks.

Keep a Clean Workspace

A tidy area prevents tripping and falling. Clear your space of clutter before starting.

By following these safety tips, you ensure a secure DIY experience and a successful faucet cover project. Stay safe, plan well, and get crafting!

The Role of Insulation in Faucet Covers

Insulation is key in preventing faucet freezes. It helps maintain a warm temperature around the pipes, avoiding ice formation. This section discusses various insulation types suitable for DIY faucet covers.

Types of Insulation

Different insulations offer varied protection:

  • Foam Insulation: Offers excellent warmth and is easy to handle.
  • Fiberglass: Traps air and is efficient but harder to work with due to its nature.

Importance of Proper Insulation

Correct insulation prevents water in the pipes from freezing. It reduces the risk of burst pipes and costly repairs. Well-insulated covers save energy too.

Installation Tips for Insulation

Wrap the insulation snugly around the faucet. Cover any exposed parts of the pipe. Secure with weather-resistant tape to provide a barrier against cold air infiltration.

Insulation is not just functional; it’s a crucial aspect of home maintenance. Having the right insulation can make a significant difference in faucet protection.

Regular Maintenance for Longevity of Faucet Covers

Regular upkeep is crucial for DIY outdoor faucet covers. It helps them last longer. Here are simple maintenance steps:

  • Inspect Covers Regularly: Check for wear or damage. Look at your covers every few weeks.
  • Clean Your Covers: Remove any debris. Use mild soap and water for a quick wash.
  • Make Repairs Promptly: Fix any tears or holes. Use durable tape or replacement fabric.
  • Store Properly: During warm months, dry covers before storing. This prevents mold.
  • Adjust for Weather: With changing seasons, check insulation is still effective. Add or remove layers as needed.

By caring for faucet covers, you ensure they work winter after winter. They keep faucets safe from cold. Plus, maintenance avoids last-minute fixes when the chill hits.

outside faucets

Troubleshooting Common DIY Faucet Cover Problems

When you create DIY faucet covers, you might face some common issues. Here’s how to solve them effectively.

Problem 1: Inadequate Insulation

Sometimes your cover might not prevent freezing. Check if the insulation is thick enough. Add more layers if necessary.

Problem 2: Moisture Accumulation

Moisture can gather under the cover. Ensure the cover is tight and sealed. Consider using waterproof materials.

Problem 3: Wind Displacement

Strong winds might displace loose covers. Secure your covers with durable ties or weights.

Problem 4: Material Deterioration

Materials exposed to elements can degrade. Inspect your covers regularly and replace worn materials.

Problem 5: Incorrect Size

A cover that’s too large or small won’t protect well. Measure your faucets before making covers. Adjust materials accordingly.

Address these problems promptly. Keep your faucet covers functional throughout winter.

Seasonal Adjustments for Faucet Covers

When crafting DIY outdoor faucet covers, consider the changing seasons. This ensures your covers remain effective all year. Here are some guidelines for seasonal adjustments to keep your covers functional:

Spring and Fall Adjustments

During spring and fall, weather can be unpredictable. Lighter covers are usually sufficient. These seasons typically require less insulation but still need protection from unexpected cold snaps and wind.

  • Check covers regularly: Weather changes can be sudden. Regular checks ensure covers are intact and secure.
  • Adjust insulation as needed: Add or remove layers based on the current weather forecast. Keep materials handy for quick changes.

Winter Preparations

Winter demands more robust protection due to extreme cold. Heavier materials and more thorough insulation are crucial.

  • Increase insulation: Use thicker materials to prevent freezing. Materials like fiberglass or foam work well.
  • Secure covers tightly: Ensure there are no gaps where cold air can penetrate. Use durable tapes or ties.

outside faucets

Summer Considerations

How to cover outside faucets? In summer, focus mainly on protecting faucets from dust and debris. Insulation is less of a concern.

  • Use lighter covers: Simple covers can prevent dust and small animals from entering.
  • Store winter covers: Properly clean and store heavy insulated covers for next winter. This extends their life.

By adjusting your DIY faucet covers according to the season, you ensure optimal protection and longevity. This proactive approach saves on potential repair costs and keeps your outdoor faucets in good condition.

Posted in Kitchen | Tagged , , | Leave a comment

Prevent Pipe Bursts: Covering Outdoor Faucets in Winter

The Importance of Protecting Outdoor Faucets

When winter arrives, safeguarding covering outdoor faucets in winter becomes crucial. Cold temperatures can cause water in the pipes to freeze. This expansion can lead to pipes bursting. That’s why protecting your faucets is not just about avoiding minor inconveniences. It’s about preventing significant damage and expensive repairs.

covering outdoor faucets in winter

Covering outdoor faucets in winter is one of the most effective measures you can take. It’s a simple action that can save a lot of trouble. Such protection shields the faucet and its connected pipes from the harsh cold. This helps mitigate the risk of freezing.

Experts caution that as winter gets harsher, especially in northern areas, taking proactive steps is necessary. Faucets and pipes left without insulation are at risk. A cover acts as a thermal barrier. It traps warmth around the faucet, preventing frost and freezing.

How to Properly Cover an Outdoor Faucet

Covering your outdoor faucet can prevent costly damage during winter.

Best Materials for Insulating Outdoor Faucets

To insulate faucets effectively, choose specific materials that withstand cold.

  • Insulated faucet covers provide immediate protection and are readily available.
  • Materials like wool, bubble wrap, or straw add extra insulation within covers.

Step-by-Step Guide to Covering Your Faucets

Follow these steps to shield your faucets from freezing temperatures:

  • Turn off the water supply to the outdoor faucet if possible.
  • Drain water from the faucet to prevent freezing inside the pipes.
  • Wrap the faucet in an insulating material such as an insulated cover.
  • If using loose materials, enclose them around the faucet and secure firmly.
  • Check that the cover fits snugly and no parts of the faucet are exposed.

By using these methods, you can minimize the risk of freezing pipes and avoid plumbing disasters.

Benefits of Using Faucet Covers in Cold Weather

Using faucet covers during cold weather has clear benefits. It keeps your outdoor taps warm. This warmth halts frost and ice from forming. With a cover, the risk of frozen pipes drops. This means you avoid costly repairs from bursts. You also keep your water flowing in winter.

Store-Bought vs DIY Faucet Covers: Which to Choose

When it comes to faucet covers, you have two options. One is buying them from a store. The other is making them yourself. Store-bought covers are designed for cold protection. They fit well and save time. On the other hand, DIY covers can be made from household items. They can save money. But they might not be as secure or durable as store-bought ones. In choosing, consider your budget and the severity of your winter weather.

covering outdoor faucets in winter

Winterizing Your Home: The Role of Faucet Covers

As temperatures drop, winterizing your home becomes critical. This includes covering outdoor faucets in winter. Faucet covers play a key role in this process. They act as a shield, preventing cold air from freezing the water inside pipes. Such protection is vital to avoid pipe bursts and the resulting damage.

Faucet covers are a simple yet effective way to reduce the risk of freezing. They are designed to provide insulation. This keeps the pipes warm enough to prevent ice from forming. By doing so, you ensure your pipes are safe from the winter cold. Covering outdoor faucets is a step homeowners shouldn’t skip.

When you winterize faucets, you’re not just guarding against immediate issues. You’re also preserving the long-term integrity of your plumbing system. Preventative measures like faucet covers can save you from expensive repairs. They are an essential component of your winter home maintenance checklist.

Advanced Solutions: Alternatives to Faucet Covers

While covering outdoor faucets in winter is effective, there are advanced alternatives available. These can provide additional protection against freezing temperatures. Often, these solutions involve technology designed to prevent freezing, without manual coverage.

The Freeze Miser: An Innovative Approach

One novel solution is the Freeze Miser. This device attaches directly to outdoor faucets. It knows when to release a tiny amount of water. The key is to prevent the water from freezing inside the pipes. The tiny flow ensures that water remains moving. Still water can freeze faster than moving water. It’s a cost-effective tool for preventing pipe bursts in winter, without costly water bills.

The Freeze Miser operates automatically and can be a better choice for some homeowners. Especially for those who feel covers are insufficient in their climate. Or for those who want more convenience. Users can install it easily and leave it to work throughout the season. This ensures outdoor faucets stay safe even during unpredictable cold snaps.

While traditional covers are helpful, a Freeze Miser can provide constant protection. It is an investment in securing your home against winter’s challenges. With this device, the protection goes beyond fabric wraps. It’s active prevention, tailored to the real-time needs of your outdoor plumbing.

covering outdoor faucets in winter

Frequently Asked Questions About Faucet Covers

When it comes to covering outdoor faucets in winter, there are common questions that homeowners often ask. Addressing these questions can guide you to protect your faucets effectively and avoid potential damage.

When to Winterize Outdoor Faucets

You should begin winterizing your outdoor faucets when the temperature consistently starts to dip below freezing. Ideally, this should be done before the first frost hits to prevent any water inside from freezing and causing damage to your pipes. A good rule of thumb is to winterize your faucets when the weather forecast predicts consistent temperatures of 32°F (0°C) or lower.

The Effectiveness of Dripping Faucets vs. Covering Them

Both dripping faucets and covering them are methods to prevent freezing, but their effectiveness varies based on certain factors.

  • Dripping faucets: Allows water to flow, which can prevent freezing. This method is beneficial if the water supply cannot be turned off. However, it can lead to higher water bills.
  • Covering faucets: Insulates and keeps the cold air away from the faucet. This method is suitable for those who can shut off the water supply to the faucets. Faucet covers are typically a more cost-effective option for prevention.

It’s important to assess your individual situation when deciding between these two methods. For instance, if you are able to shut off the water supply and drain your outdoor faucets, then covering them is likely the better choice. If you cannot shut off the water or expect extreme cold conditions, allowing a slight drip can offer extra protection.

covering outdoor faucets in winter

Preparing for Sub-Zero Temperatures: Additional Tips and Tricks

Beyond covering outdoor faucets in winter, there are more ways to prepare for freezing weather. These tips can help keep your home safe and warm during the harshest winter months.

  • Insulate your home: Check for drafts around doors and windows. Use draft stoppers or weather-stripping to keep the cold out.
  • Service your heating system: Before winter starts, have a professional check your heating system. This will ensure it operates efficiently when you need it most.
  • Know where your main water valve is: In case a pipe does burst, you’ll want to shut off water quickly to minimize damage.
  • Keep cabinet doors open: Allow warm air to circulate around pipes under sinks and appliances. This can help prevent freezing.
  • Use heat tape: For pipes at high risk of freezing, apply heat tape that can be plugged in to keep them warm.

Follow these additional measures alongside using faucet covers. By doing so, you’ll add extra layers of protection against the extreme cold. Taking action before sub-zero temperatures set in is vital. The goal is to keep your home secure all winter long.

Posted in Kitchen | Tagged , , | Leave a comment